
Will updating macOS erase files? Short answer: No. Upgrading should not pose any risks to your data. But things don’t always go 100% according to plan. There are situations where users report data loss after an update… And in some cases, it’s permanent.
In this article, we explain why that can happen (through no fault of the user), how to recover data lost during an update, and how to avoid this situation so you can enjoy stress-free upgrades for the rest of your Mac’s lifetime. Read on.
Table of Contents
Does Upgrading Mac OS Delete Everything
“If I update my Mac software, will I lose everything?”
As long as everything goes according to plan, you should NOT lose any data after upgrading macOS. There are only 2 situations where an update would directly cause problems:
- Buggy updates. If you had a weak internet connection while downloading the update file, it may get corrupted. Also, there are some cases where the earliest versions of the newest macOS are just buggy – you can’t predict what problems will happen with new technology.
- Outdated programs. Some apps don’t get updates at the same time as a new macOS drops. In some cases, some updates just won’t be compatible. An outdated app’s data may not be usable or even available after a macOS upgrade. In fact, Apple themselves are quick to make apps obsolete when they come up with better software (for ex. iTunes).
In the last section of this article, we have a couple of tips to help you avoid these situations and keep your data fully intact after every update.
How to Back Up Data Before Mac Update
For users who want a Mac update, it’s best practice to first back up your data to a separate drive. Fortunately, all Macs come with Time Machine preinstalled. Time Machine is a powerful backup tool that also makes it super convenient to restore all your data on a new installation.
Step 1. Prepare an external drive with enough space to store your data and securely connect it to your Mac.
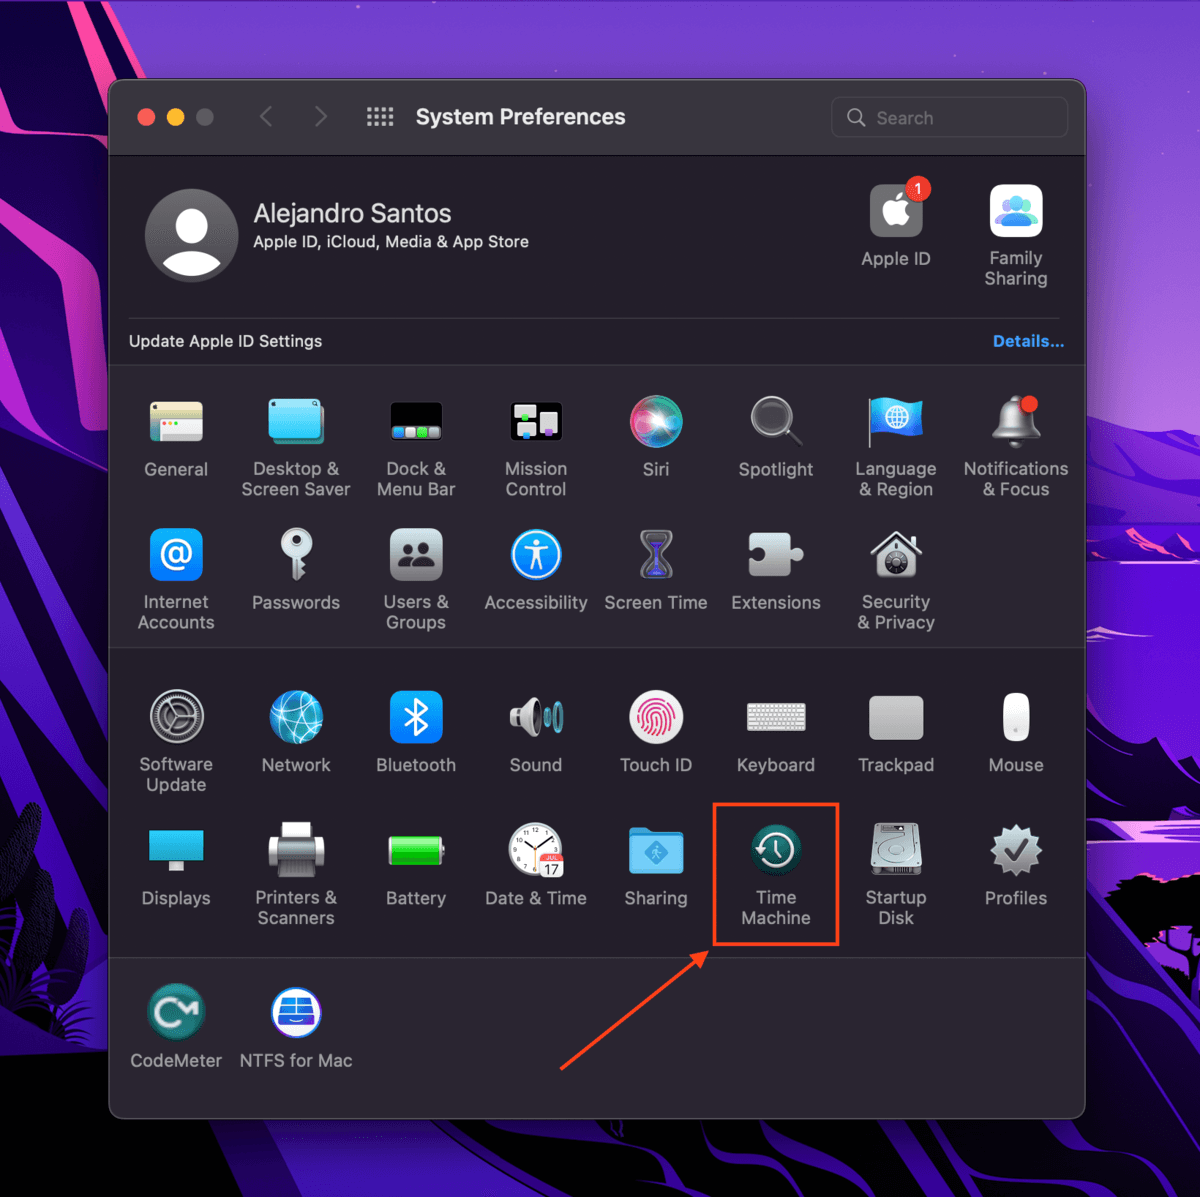
Step 2. Open System Preferences > Time Machine.
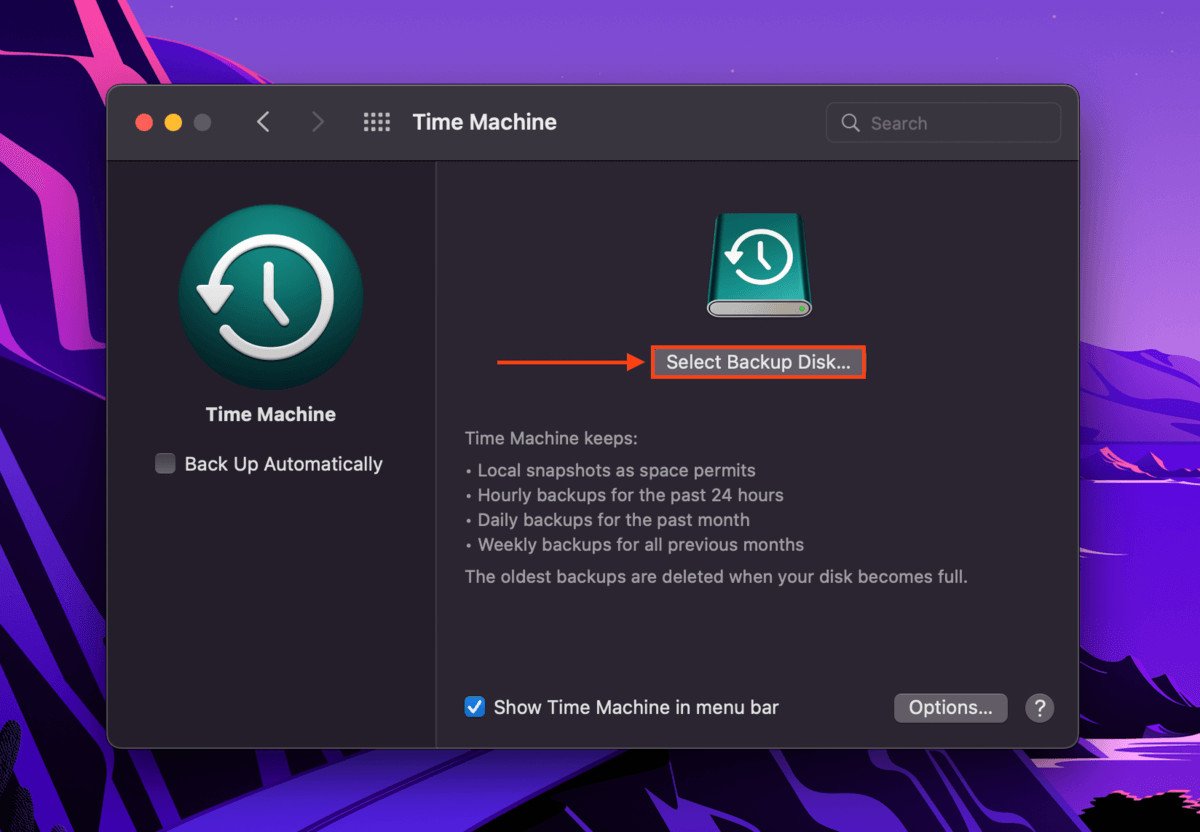
Step 3. Click “Select Backup Disk…”
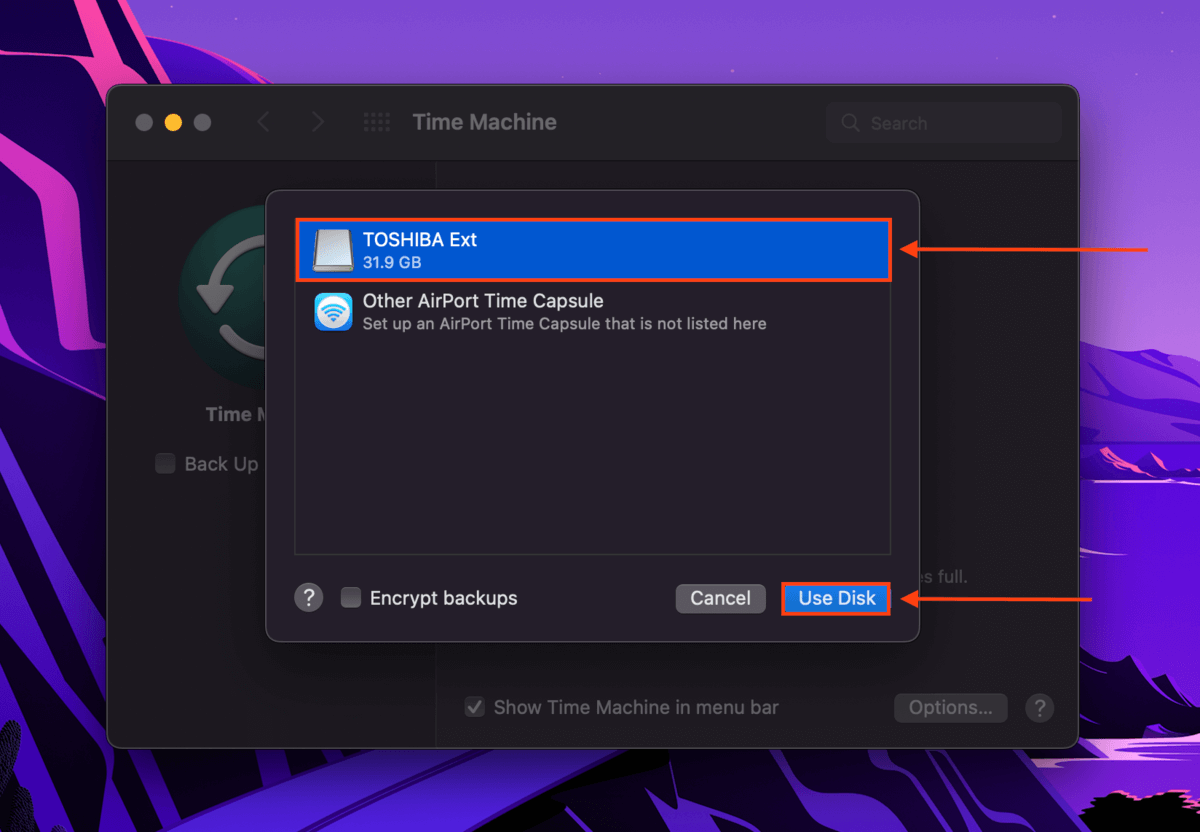
Step 4. Select your drive from the list, then click “Use Disk.”
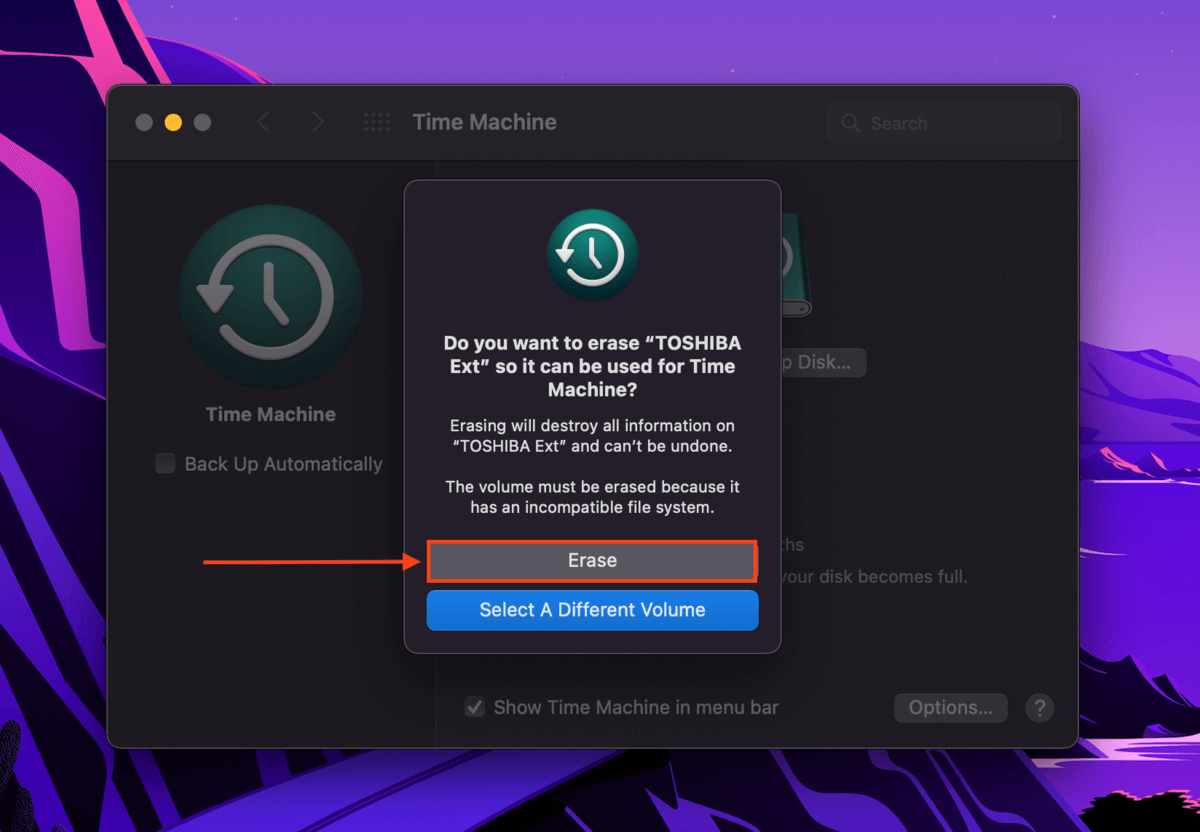
Step 5. Depending on your drive’s file system, you may be prompted to erase or format it. Make sure you’ve backed up your data before proceeding, then click “Erase.” Time Machine will now start backing up your data to the drive.
Once you’ve upgraded macOS, connect your Time Machine drive to your machine and transfer your data using the Migration Assistant app (Finder > Applications > Utilities).
How to Recover Data Lost After Mac OS Update
If you were unable to set up Time Machine before losing your files, you’ll need a more powerful tool to extract your data directly from the file system.
Disk Drill is a data recovery software that we often use on Macgasm for demonstrations. It’s very easy-to-use (even for the least tech-savvy users) yet has proven highly effective for every device we’ve thrown at it.
To use Disk Drill to recover data lost after updating macOS:
Step 1. Download and install Disk Drill.
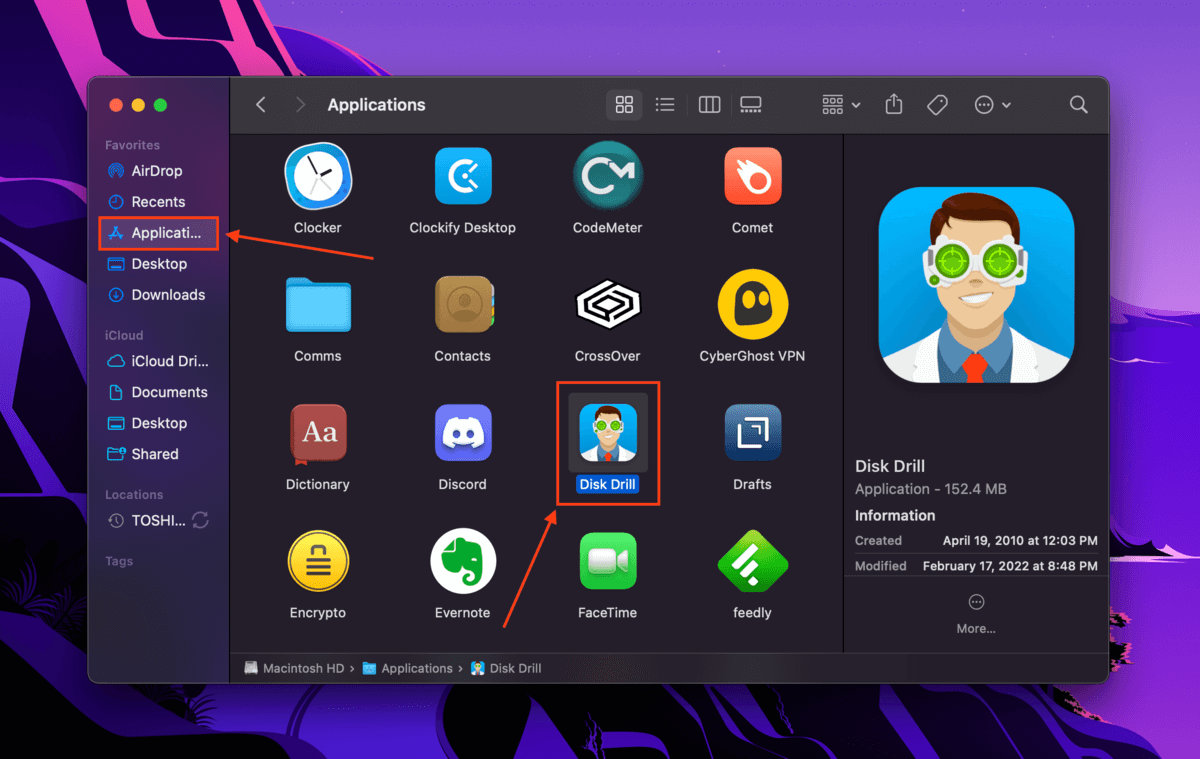
Step 2. Launch Disk Drill (Finder > Applications > Disk Drill).
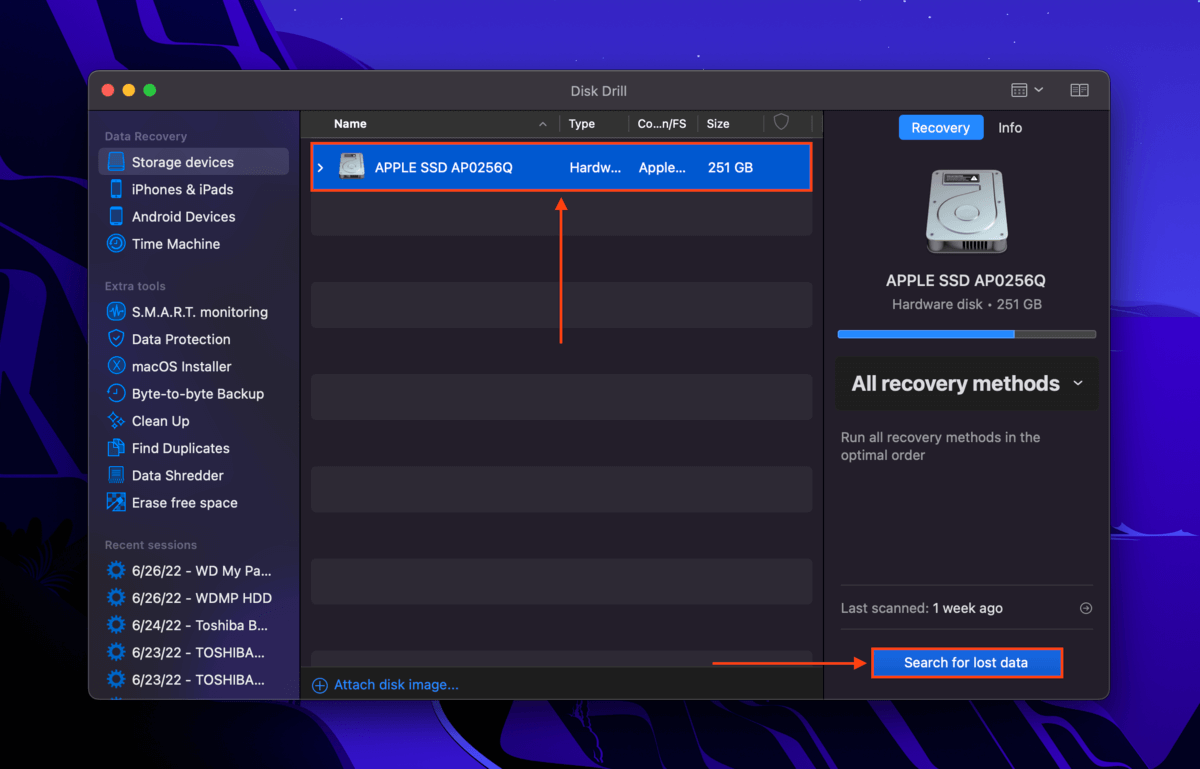
Step 3. Select your internal drive (usually labeled “Apple SSD” or similar) and click “Search for lost data.”
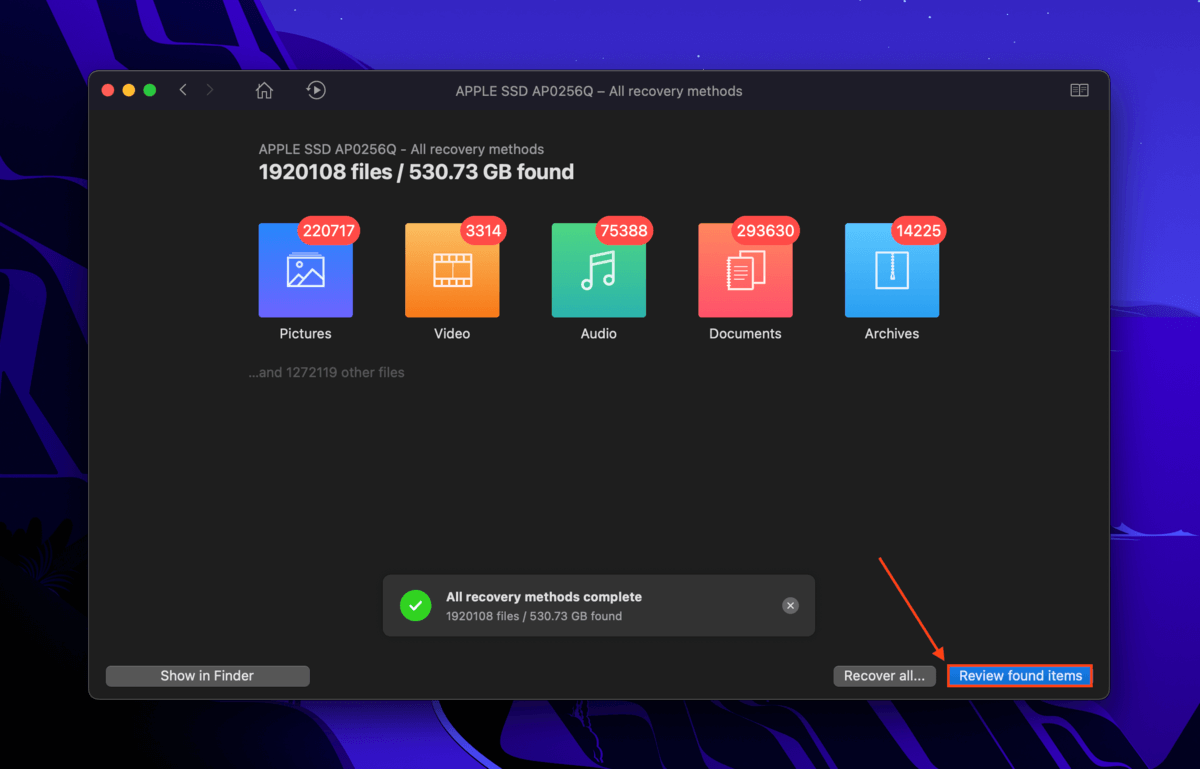
Step 4. Wait for Disk Drill to finish scanning your drive. Then, click “Review found items.”
Step 5. If you only want to save specific data, use the search bar to find files by name or extension. You can also filter the search results using the left sidebar.
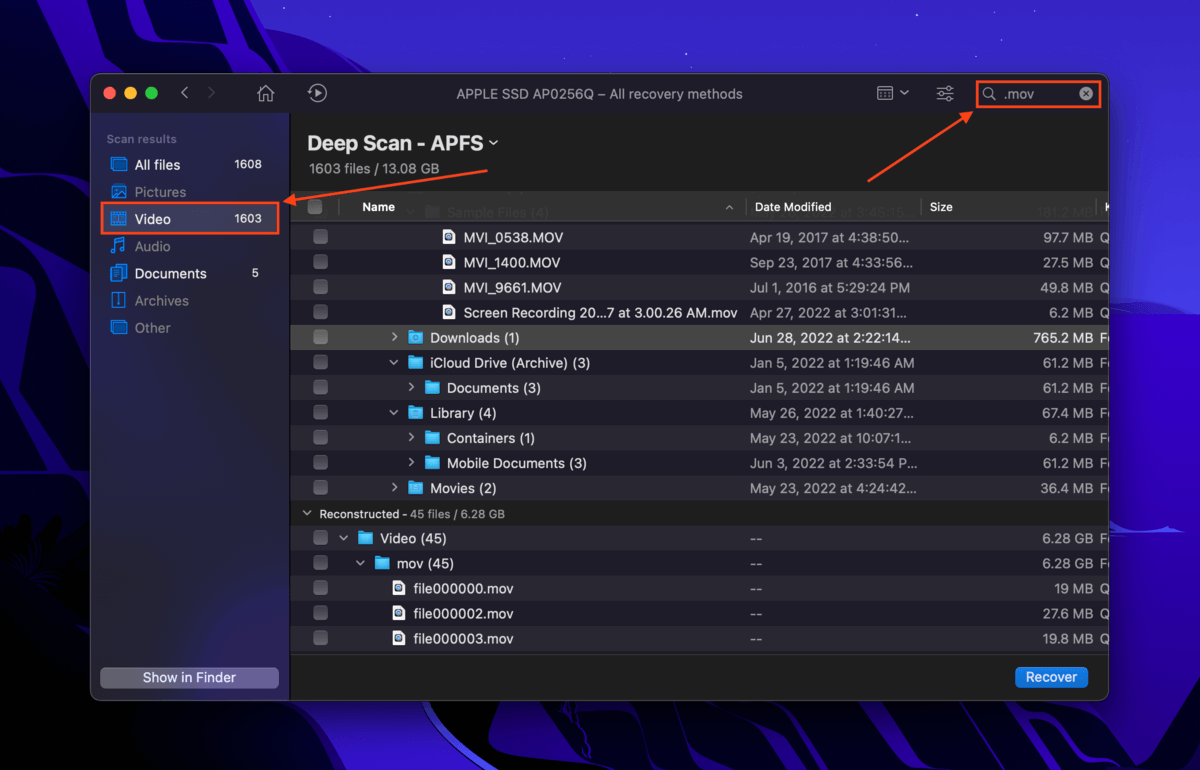
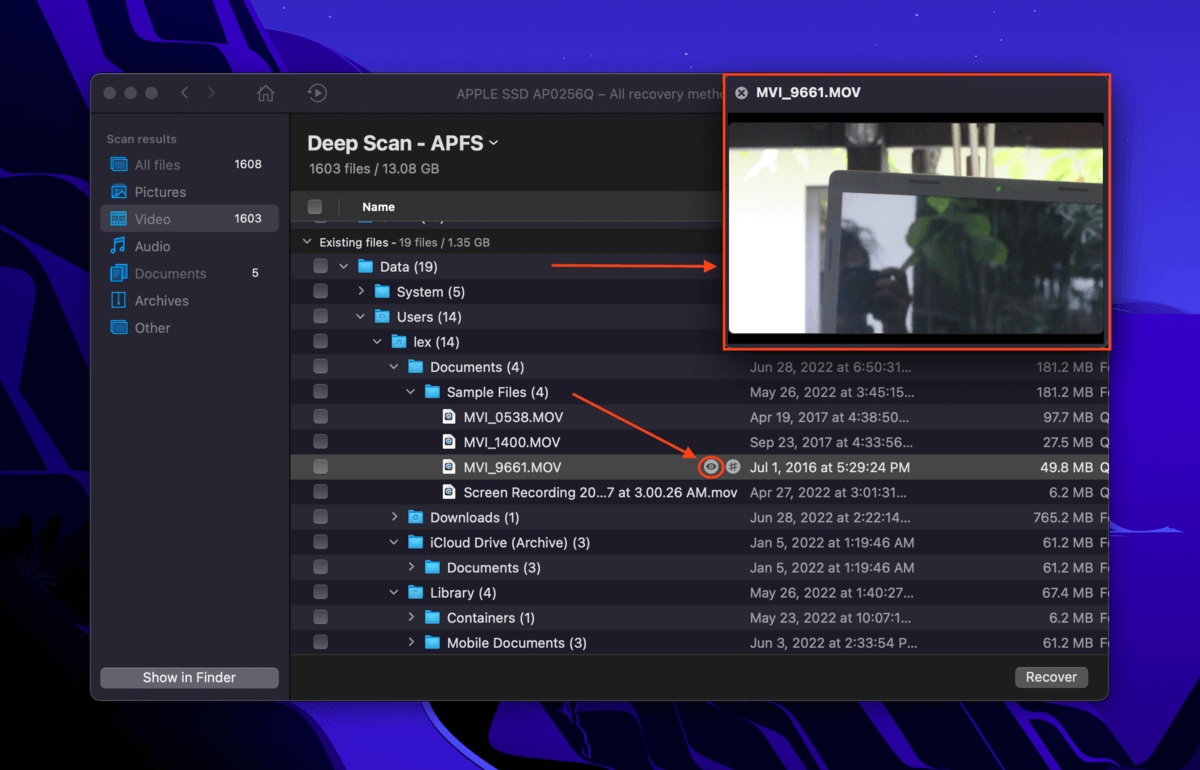
Step 6. It’s a good idea to preview your files to make sure that they’re recoverable – especially when data recovery software are unable to retrieve exact file names. Hover your mouse beside any file and click the eye button that appears.
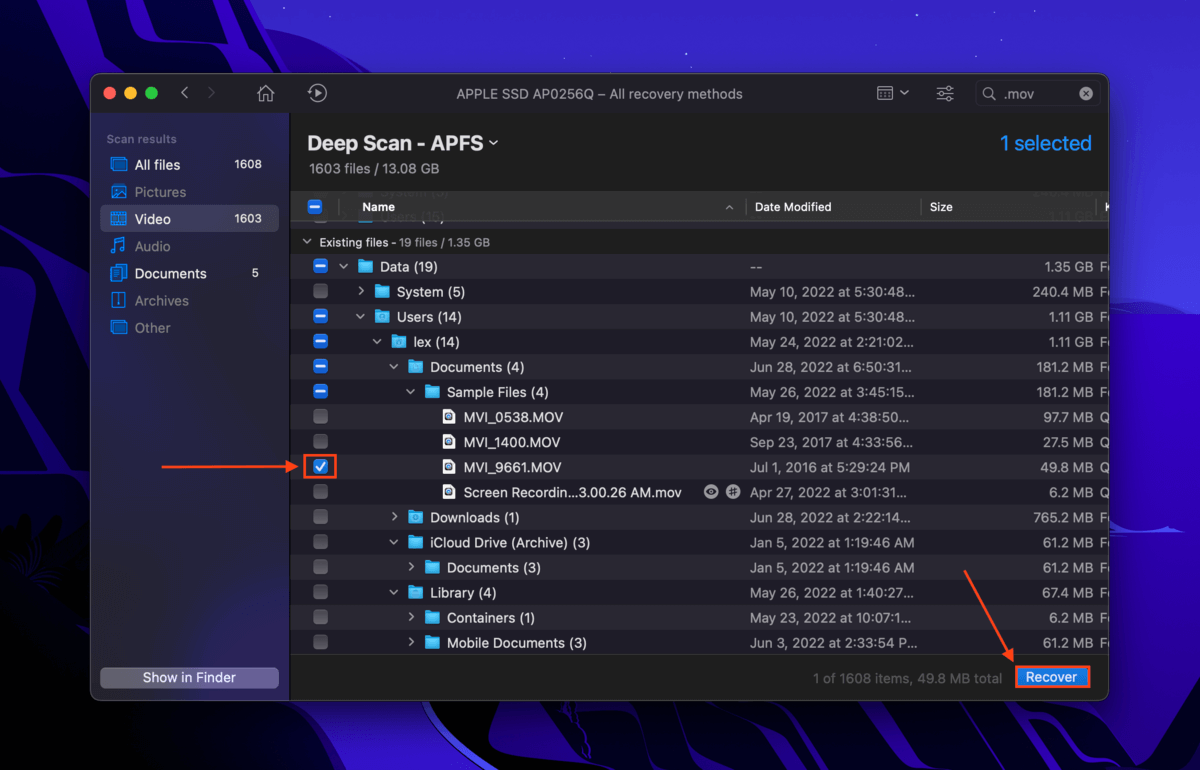
Step 7. Use the checkboxes in the left-most column to select the files you want to restore, then click “Recover.”
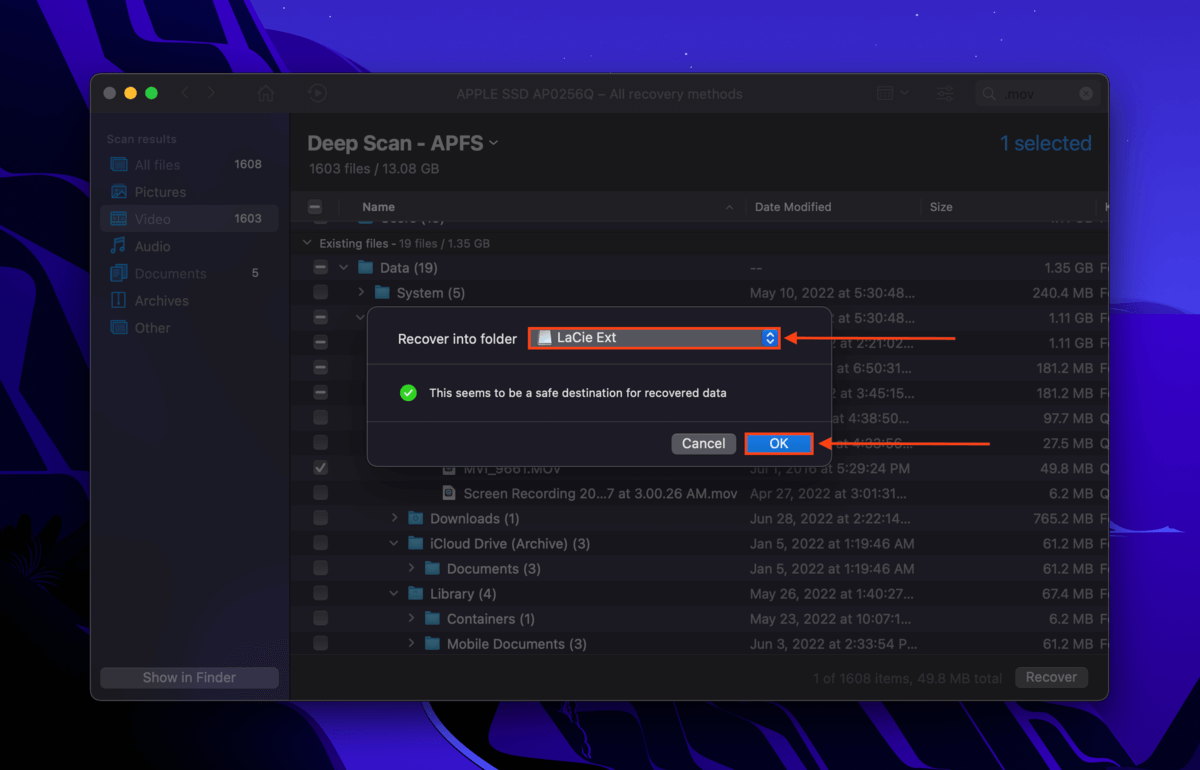
Step 8. Select a location on a separate storage device (like a USB drive or external HDD) where Disk Drill will save the restored files. Then, click “OK.”
How to Prevent Data Loss During Mac OS Update
All you need to do to prevent data loss during a macOS udpate are these 3 precautionary tasks:
- Backup your data. Even if nothing goes right, you avoid the worst consequences. Fortunately, macOS provides the Time Machine app right out of the box. For a step-by-step guide on how to use Time Machine to backup your data, read the “how to backup” section of this article.
- Maintain your apps. Update them regularly or at least after other users have tested for bugs. If no compatible update is available, you’ll have to migrate your files to an app that will work with your new OS. Or you can delay upgrading your Mac until updates are available for the apps you need.
- Download the update without installing. Instead of initiating the update through System Preferences > Software Update, download the update file through the App Store or from the Apple website. Make sure you do this somewhere with good internet. This helps ensure the integrity of the update file and will lessen the likelihood of errors. Simply double-click the file to install the update.


