
Disk Utility (and macOS in general) is usually really good at fixing disk issues… But there are some cases where you may receive the “macOS can’t repair the disk” error. Don’t be fooled – you CAN still troubleshoot a drive that throws up this error and keep your data in the process.
This article will show you how to recover and fix your drive, even when Disk Utility tells you that you can’t. Read on!
Table of Contents
3 Major Reasons Why the Error Occurs
If Disk Utility can’t repair the disk, it usually boils down to these 3 major reasons:
- Disk corruption. Your drive may have too many bad blocks/sectors or your drive’s controller is dying. All storage devices have a finite lifespan and suffer from wear and tear.
- Broken port or cable. Dust, debris, wear, and tear may be getting in the way of the mechanical connection between your drive and your Mac.
- Software issues. There is such a thing as “soft bad sectors”, where disk errors are caused by logical damage. This may be caused by faulty or infected software (along with other issues, like corruption).
How to Recover Data when MacOS Can’t Repair Drive
Before attempting any of the fixes we’re going to teach you in this article, it’s super important that you secure your data first! Faulty drives already risk data loss by default, but it typically gets worse the more you use it. Some of the fixes may also naturally cause data loss (for ex. formatting).
Data recovery software are powerful apps that can extract data directly from a drive’s file system – even if it’s corrupted and/or not showing up in Finder. Disk Drill, our tool of choice for this article, is exceptionally good at providing support for all major file systems such as ExFAT, FAT32, HPFS+, and APFS (one of which your drive is likely using).
Step 1. Ensure that the drive you want to back up is securely connected to your Mac.
Step 2. Download and install Disk Drill.
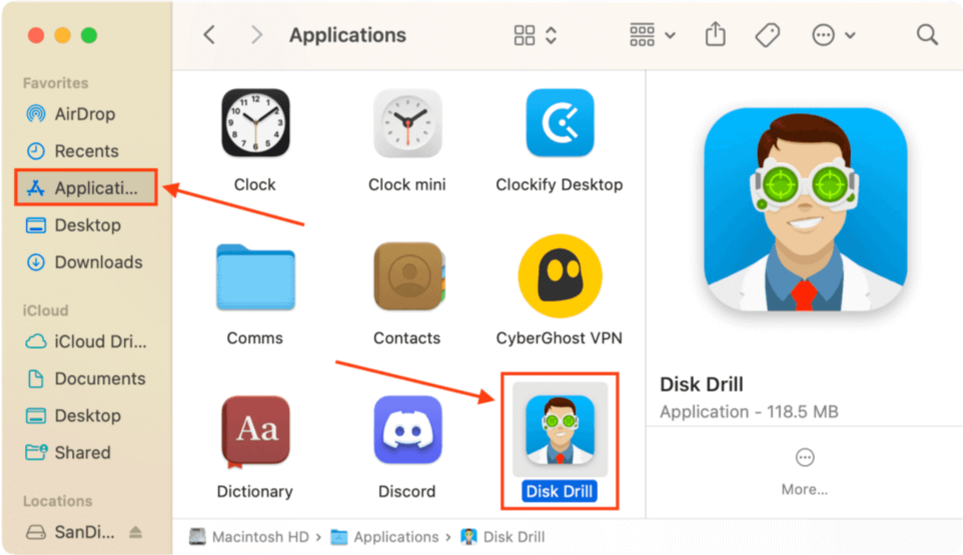
Step 3. Launch Disk Drill (Finder > Applications).
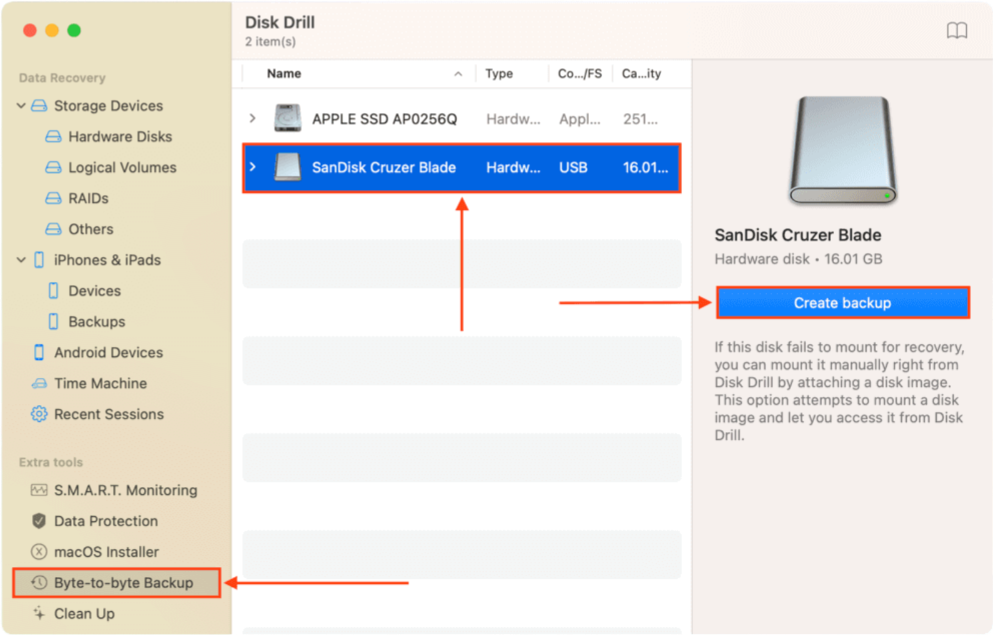
Step 4. Click Byte-to-byte backup in the left sidebar. If this is your first time launching the app, click OK, let’s do it. Then, select your drive and click Create backup.
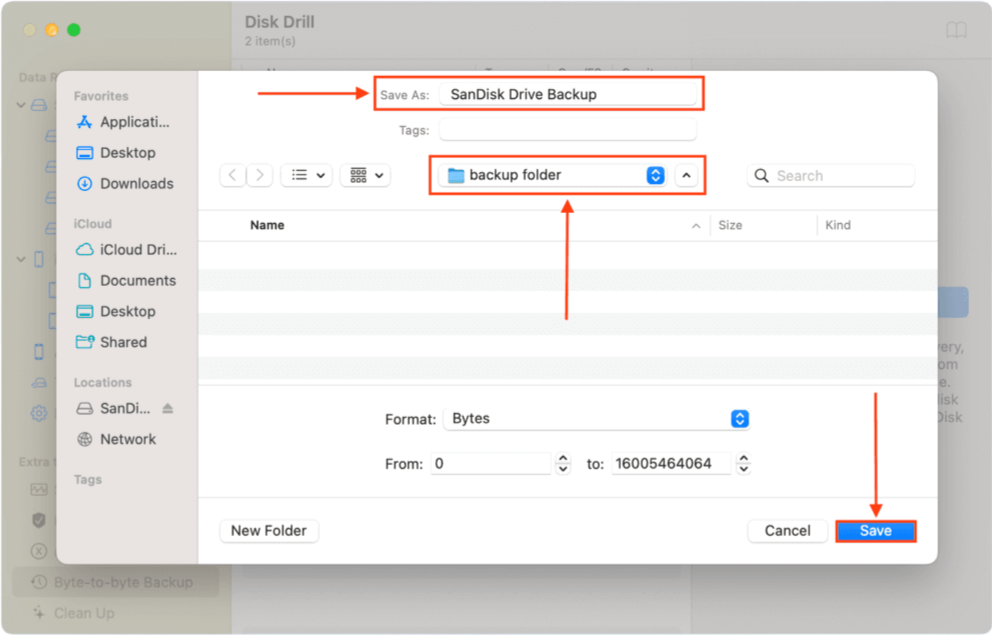
Step 5. Name your backup file and save it to a safe location (not on the same drive).
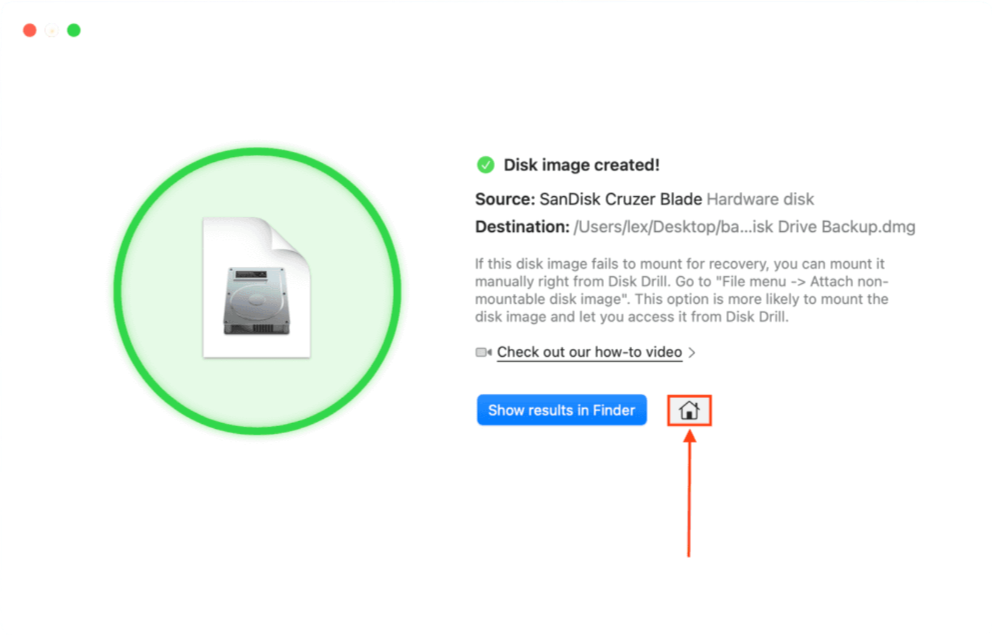
Step 6. Сlick the Home button to return to Disk Drill’s main window.
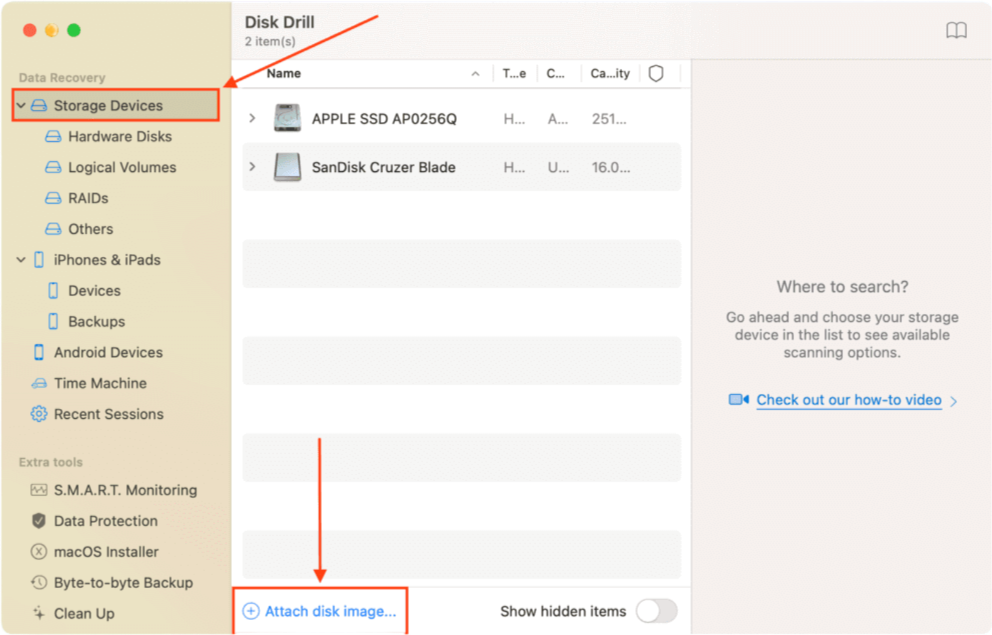
Step 7. Click Storage Devices in the left sidebar. At this point, you can scan your drive directly (select it from the middle pane and click Search for lost data). But if you created a backup as we recommended, click Attach disk image at the bottom of the window.
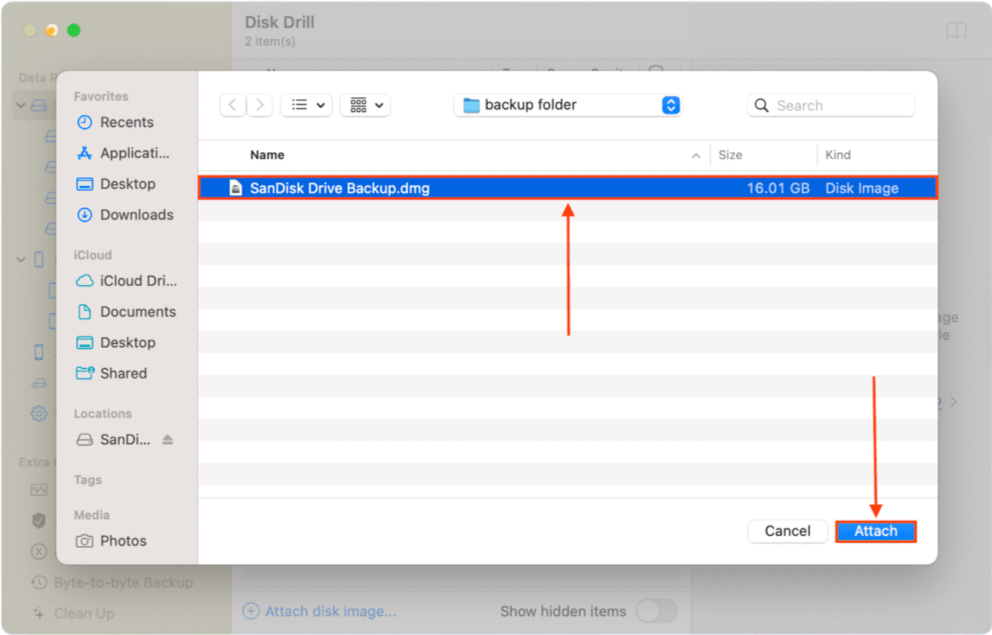
Step 8. Select the backup we created in the last method and click Attach.
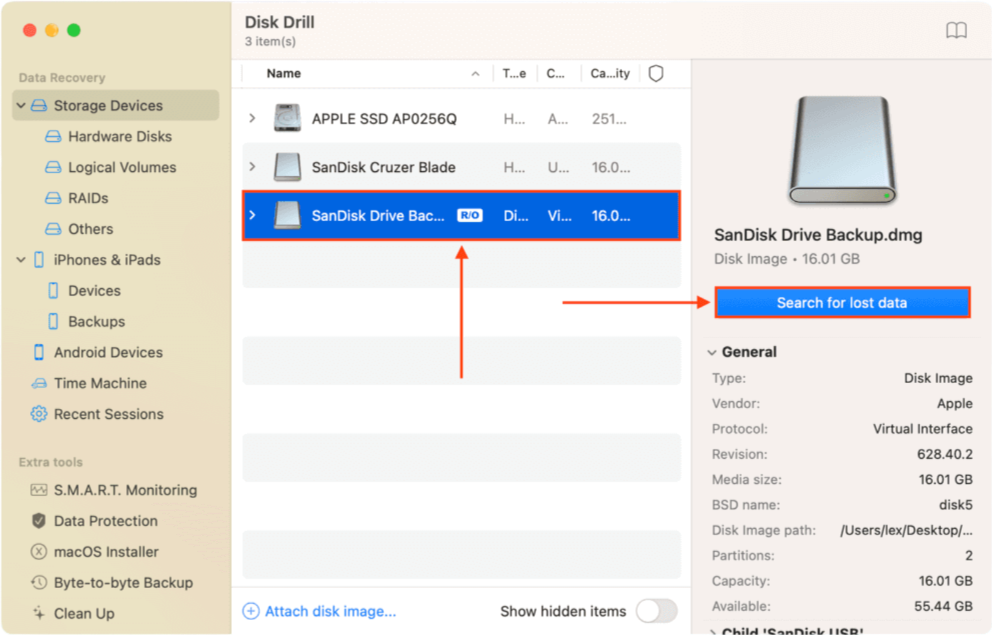
Step 9. Click on the backup image we attached and click Search for lost data.
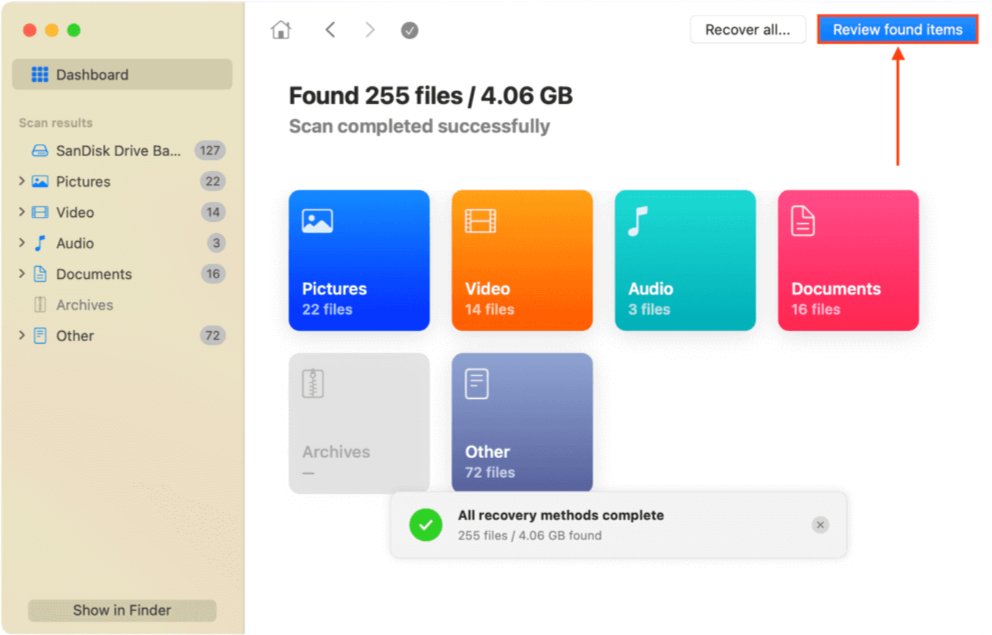
Step 10. Wait for Disk Drill to complete its scan, then click Review found items.
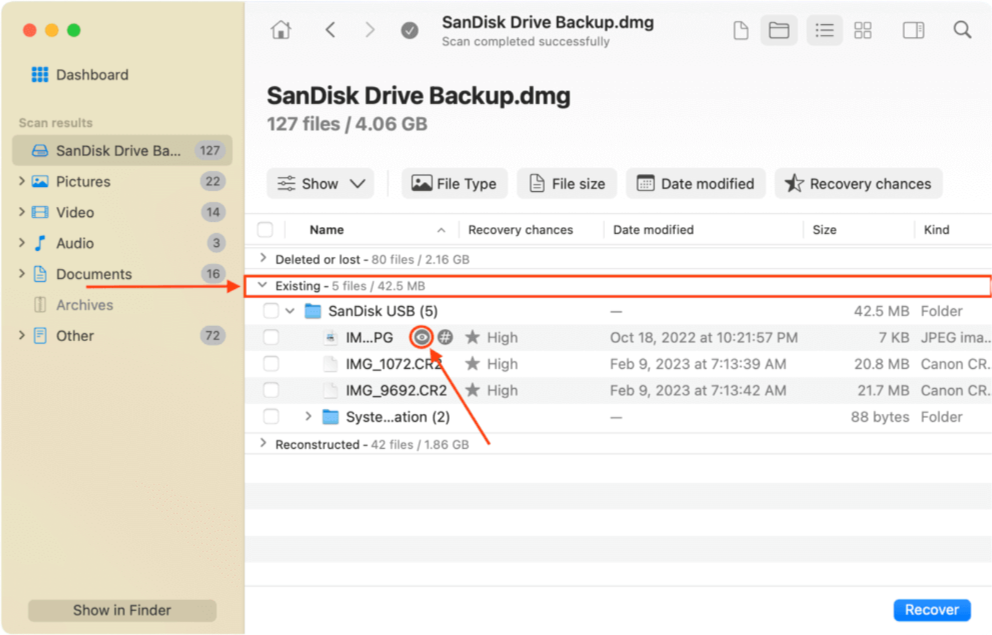
Step 11. Expand the Existing tab to view the files currently in your image backup. If you are scanning the faulty drive directly, you may want to check the Deleted or lost and Reconstructed tabs as well. You can preview any file by hovering your mouse pointer beside its file name.
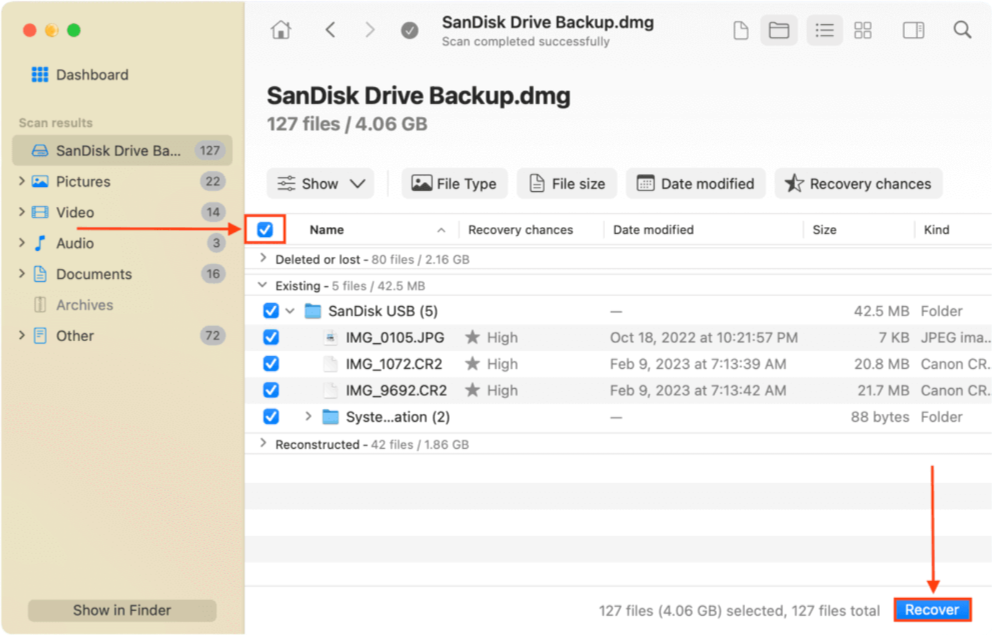
Step 12. Select the files and folders you want to restore or tick the box in the header section of the leftmost column to select all files. Then, click Recover.
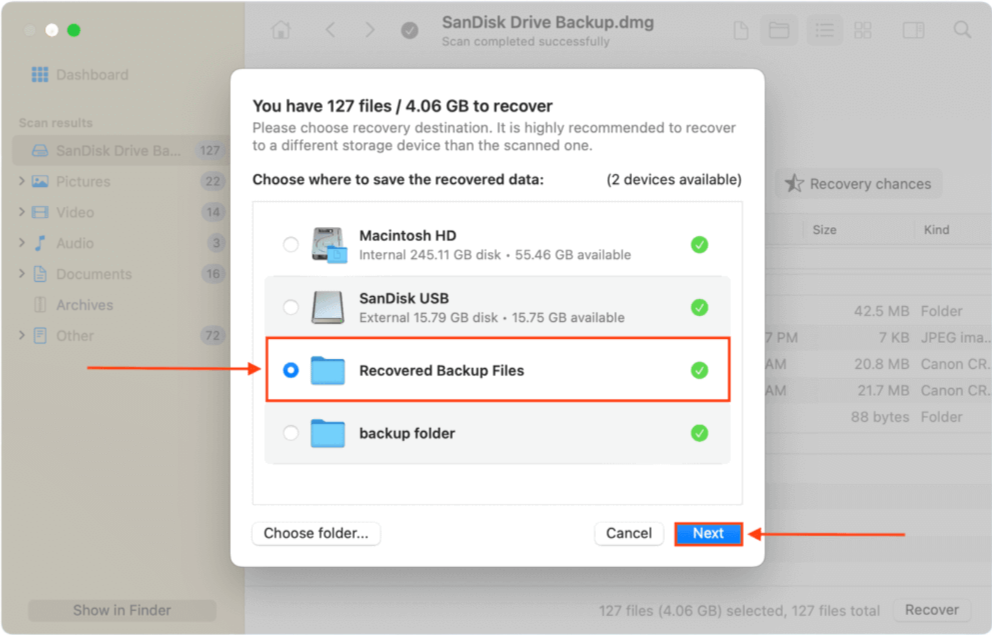
Step 13. Select a location on your Mac where Disk Drill will save the recovered files and click Next.
Once your data is secure, you can safely proceed with fixing your drive without worry.
How to Fix Drive that Can’t Be Repaired by Disk Utility
Disk Utility is one of the best disk repair software available for Mac. However, when Disk Utility itself is struggling to repair your drive, there are other solutions you have to explore. Below are 7 of the most effective fixes for Disk Utility repair errors.
Fix 1: Reconnect Your Drive
The mounting process may have glitched out when you connected your drive. Properly eject it and try connecting it again.
Fix 2: Repair the Disk in macOS Recovery Mode
Even if Disk Utility didn’t work for you when you tried using the tool within the macOS environment, it may work better if you use it in Recovery Mode.
macOS Recovery Mode allows Disk Utility to work with disks more directly (and conduct more thorough checks and repairs), without the operating system and its processes interfering.
To repair your startup disk using Disk Utility in Recovery Mode:
- Shut down your Mac.
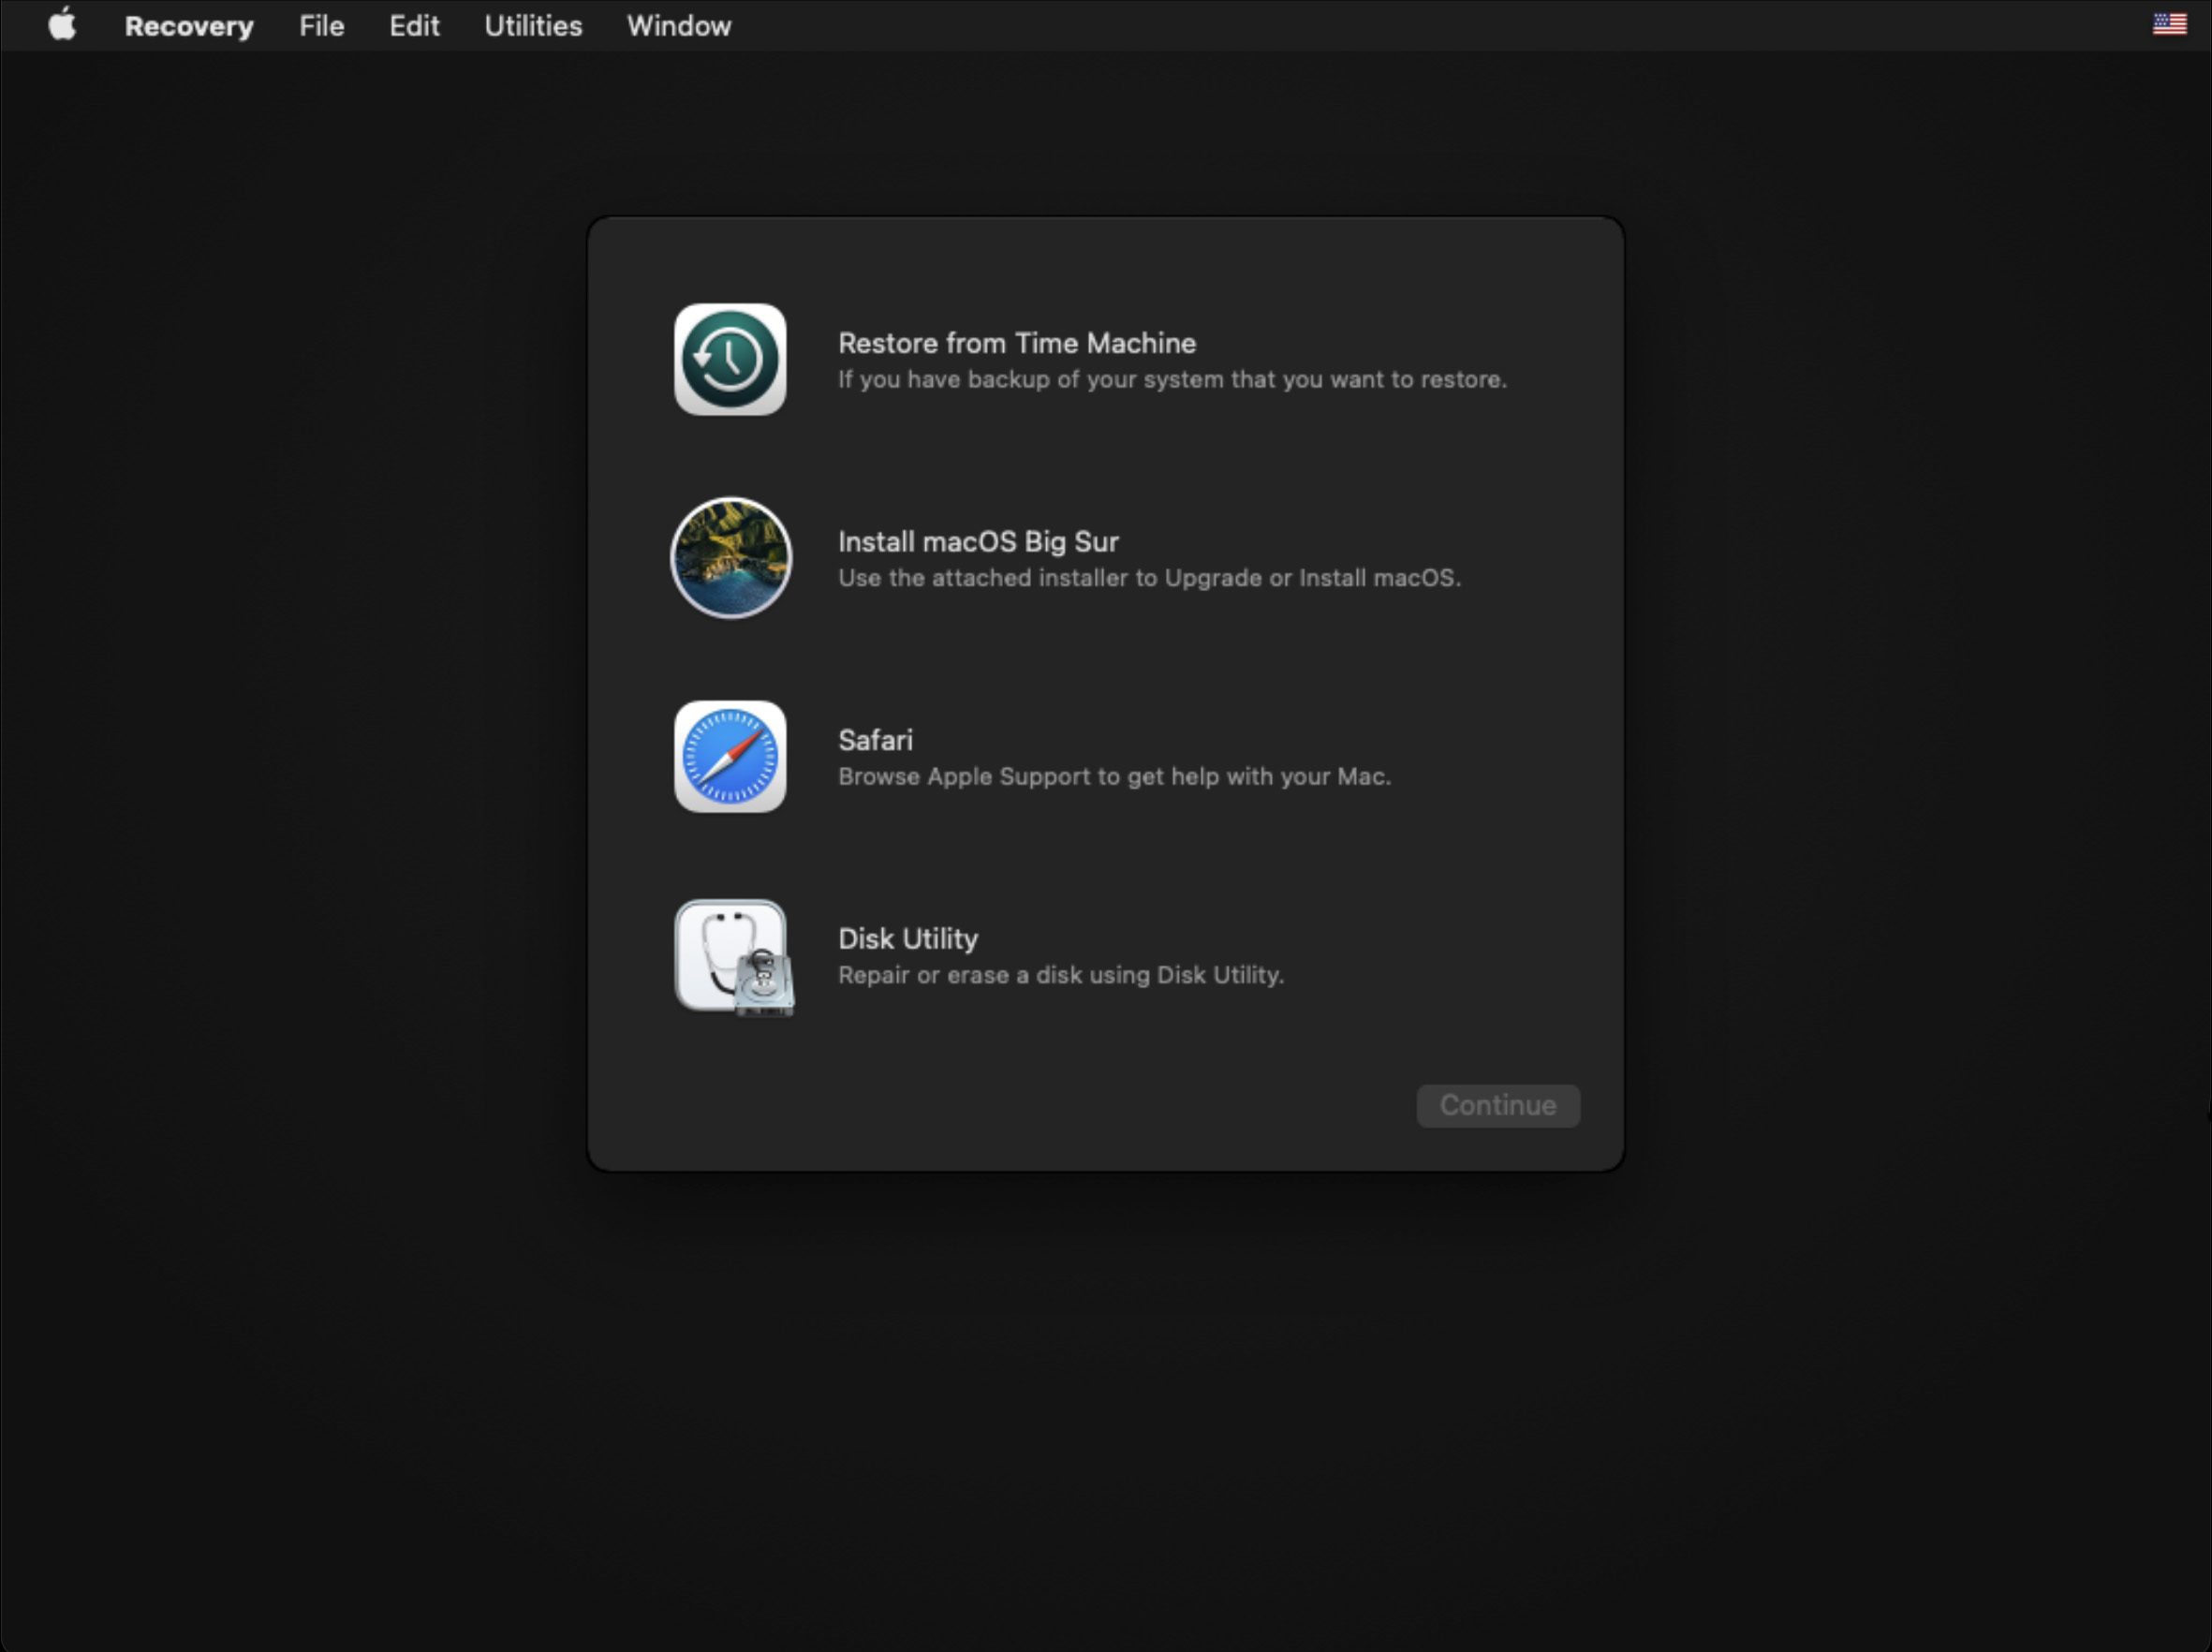
- On Apple Silicon Macs, press and how the power button until Loading Startup Options appears. Then, click Options > Continue. On Intel Macs, press Command + R simultaneously as your Mac is booting.
- Choose Disk Utility and click Continue.
- Select your startup disk from the left sidebar and click First Aid.
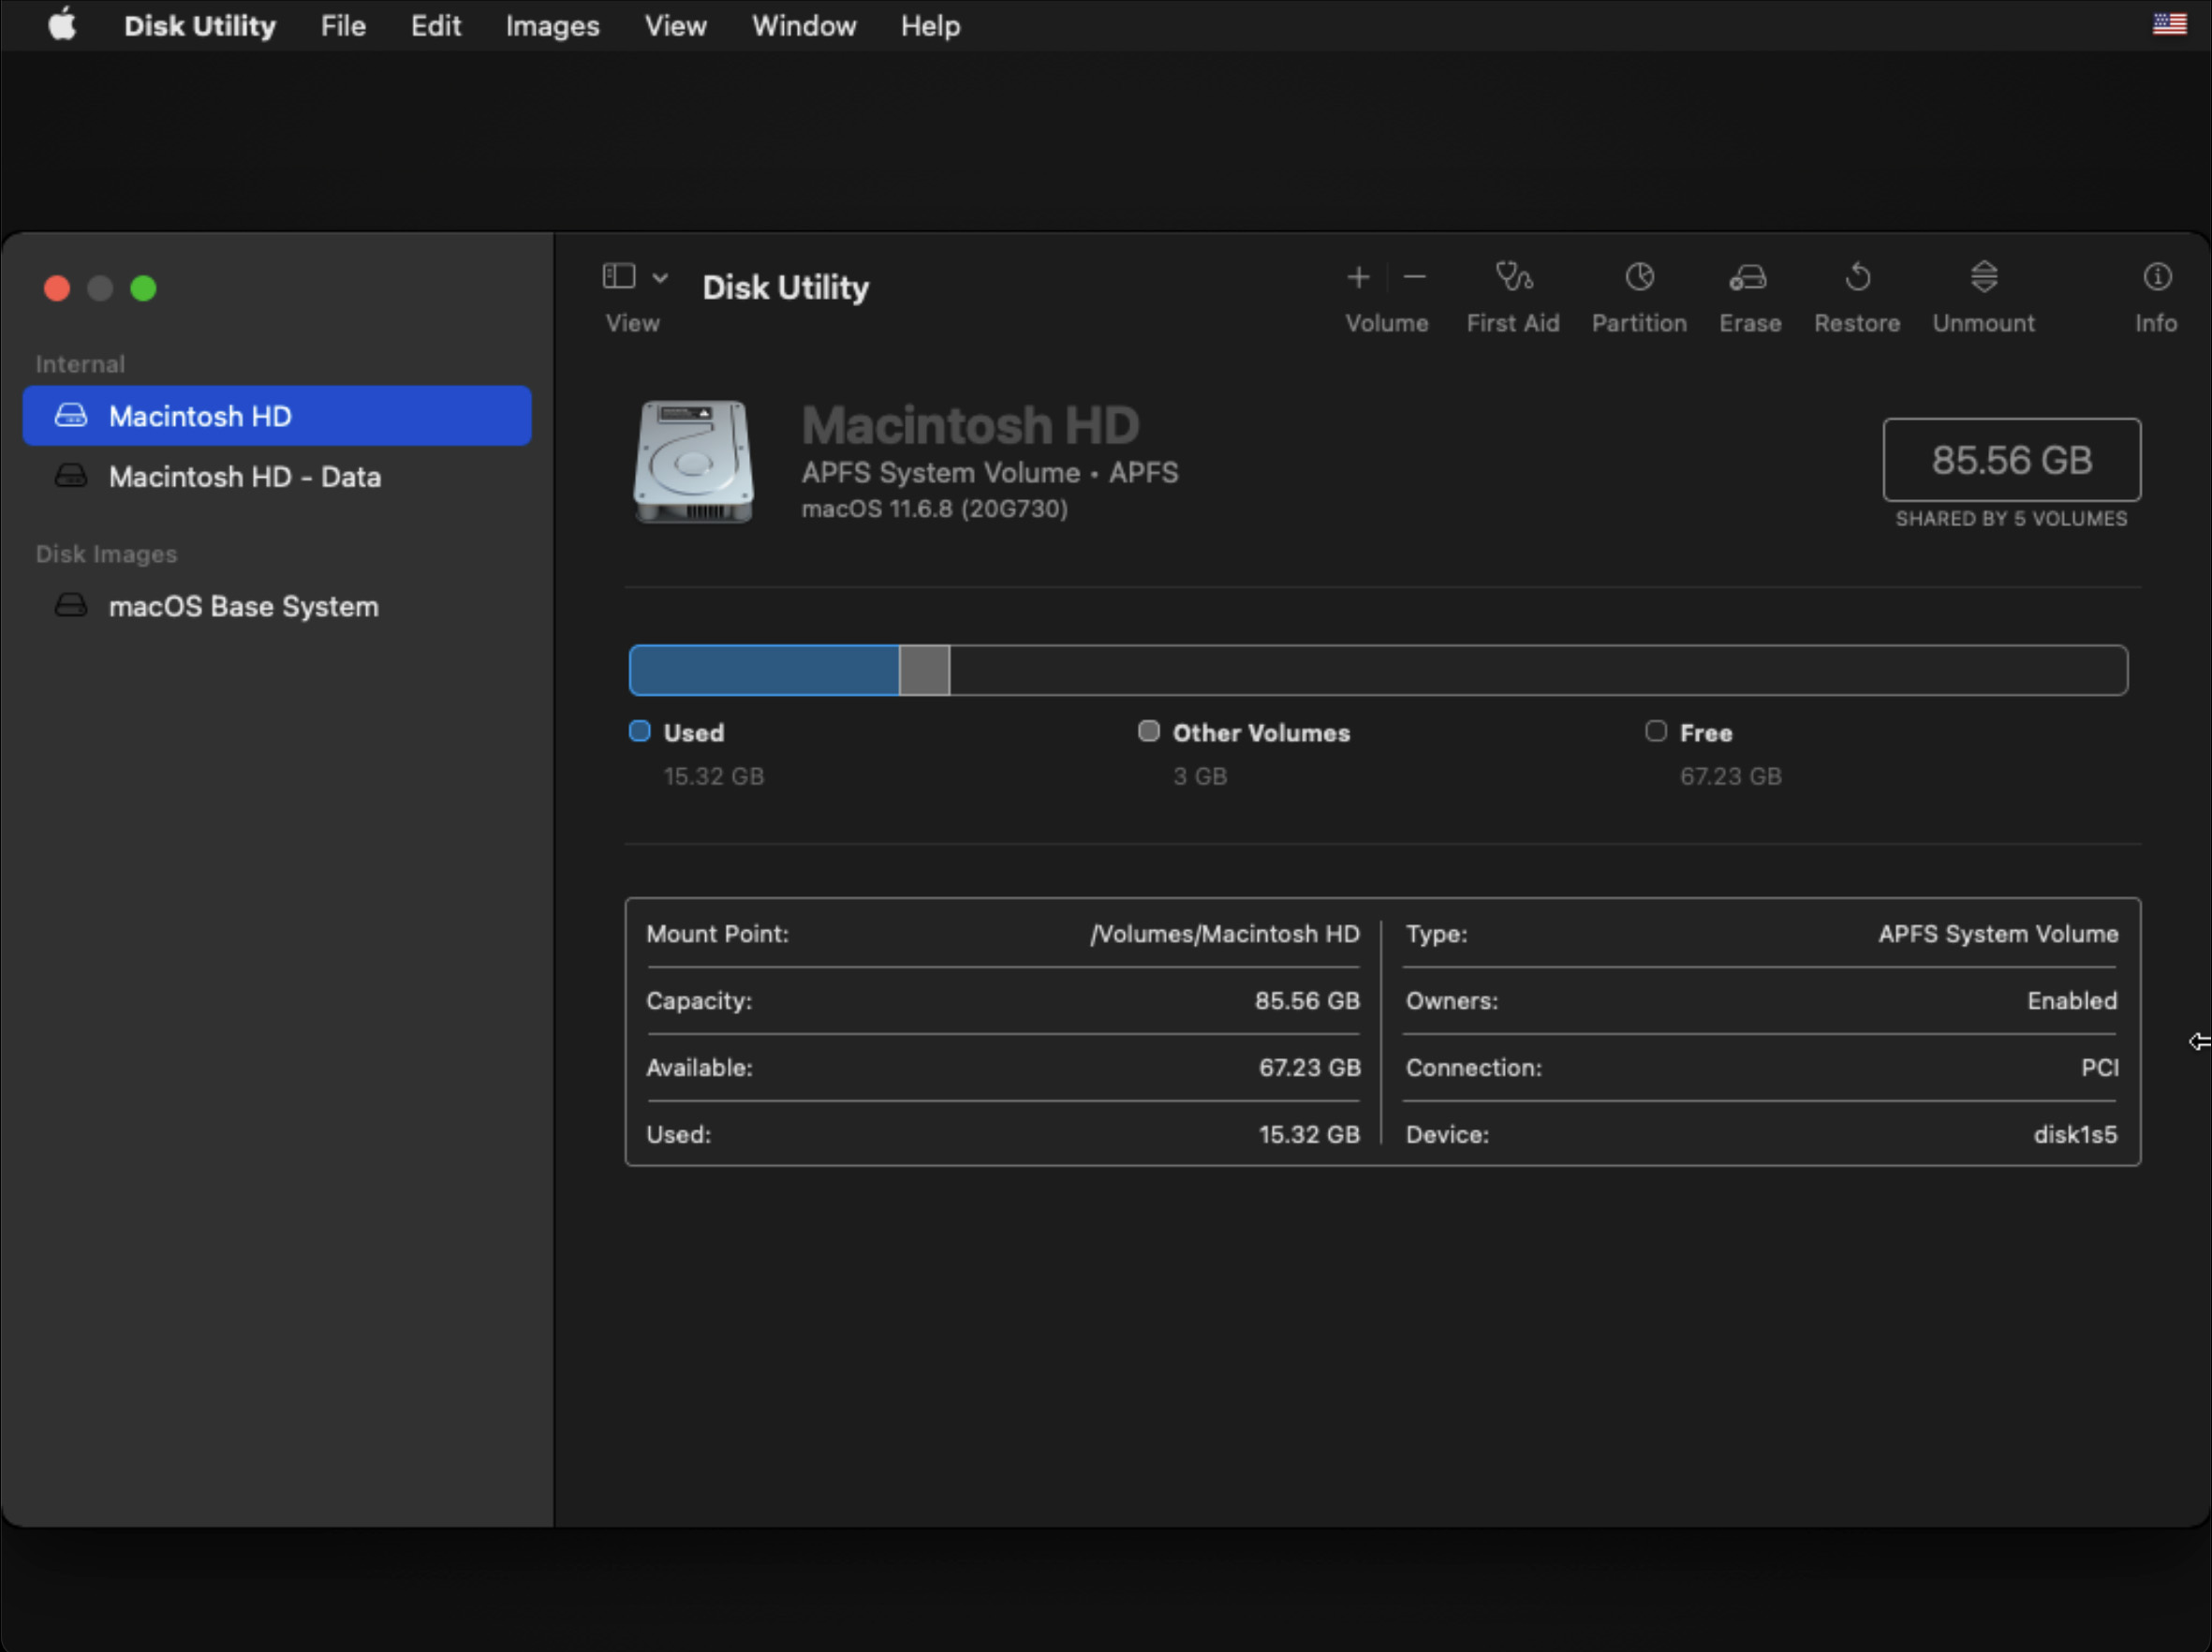
- Click Run to confirm the action.
Fix 3: Use First Aid on another Mac
If Disk Utility First Aid failed on your Mac, try running it on another Mac. Here’s why it could help: (1) your Mac may be unreliable for repairs due to corruption or poor maintenance, (2) your drive might be incompatible with your macOS version specifically, or (3) your Mac’s ports may be unable to hold a connection due to wear and tear.
By using First Aid on another Mac, we can confirm whether your Mac or your drive is the actual problem.
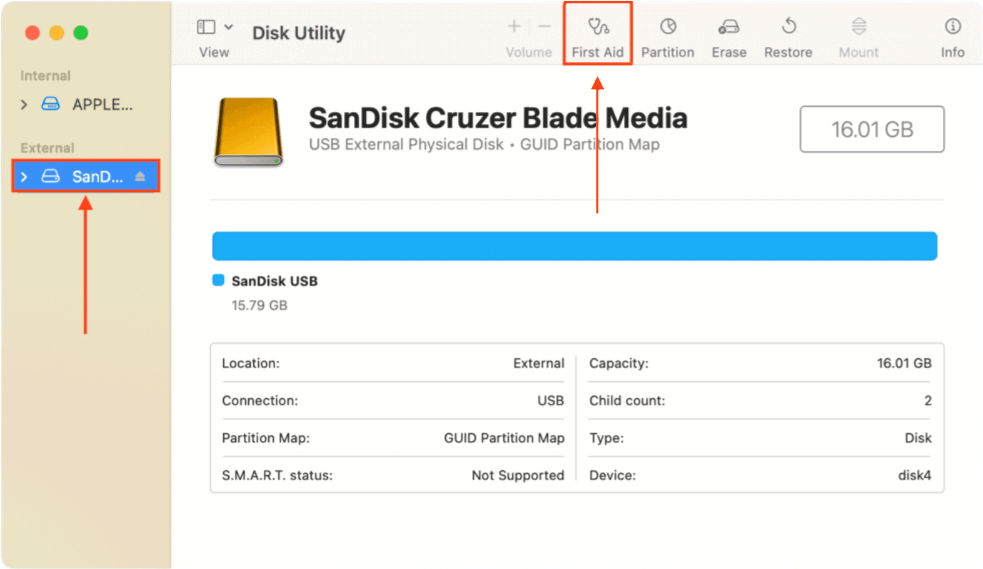
To run First Aid, launch Disk Utility (Finder > Applications > Utilities).

Then, select your drive from the left sidebar and click the First Aid button at the top of the window. Confirm when prompted.
If the First Aid has failed even on a different Mac, proceed with the next fix.
Fix 4: Execute FSCK in single-user mode
Single-user mode is useful for isolating problems because it only loads the processes required to run the bare essentials. This includes a command line, where we can execute the FSCK command – a self-diagnosis and repair tool for file systems.
Getting to single-user mode depends on the model of your Mac.
For Intel-based Macs:
Step 1. Shut down your Mac.
Step 2. Turn on your Mac and immediately press and hold the Command + S keys until you see a black window with white text (the command line or Terminal).
For Macs with T2 Chips:
Step 1. Shut down your Mac.
Step 2. Turn on your Mac and immediately press and hold the Command + R keys until the Apple logo or a spinning globe appears.
Step 3. On the menu bar, click Utilities > Terminal.
For Apple Silicon Macs:
Step 1. Shut down your Mac.
Step 2. Press and hold the Power button until the Apple logo or a spinning globe appears.
Step 3. On the menu bar, click Utilities > Terminal.
Once you’ve opened the Terminal app, type the following command and hit Return:
diskutil list
Take note of your drive’s identifier.
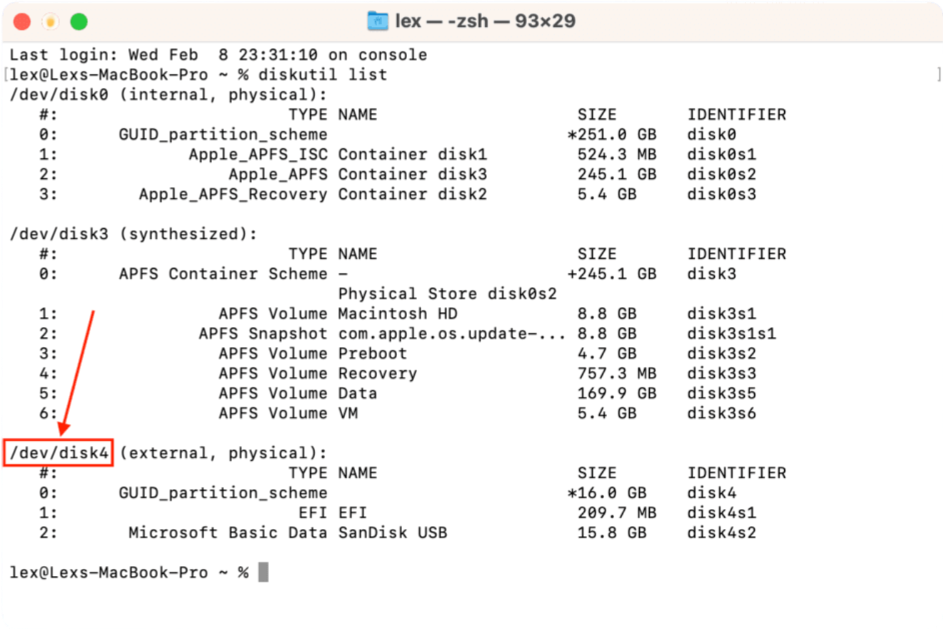
Then, type the following command and hit Return:
sudo fsck -fy /dev/disk4
Make sure you replace “/dev/disk4” with your own drive’s identifier and enter your password if prompted.
Fix 5: Format your drive
If none of the fixes have worked for you so far, your last resort is to format your drive. The good news is that formatting will most likely fix your drive for good because it excludes bad sectors from being used anymore.
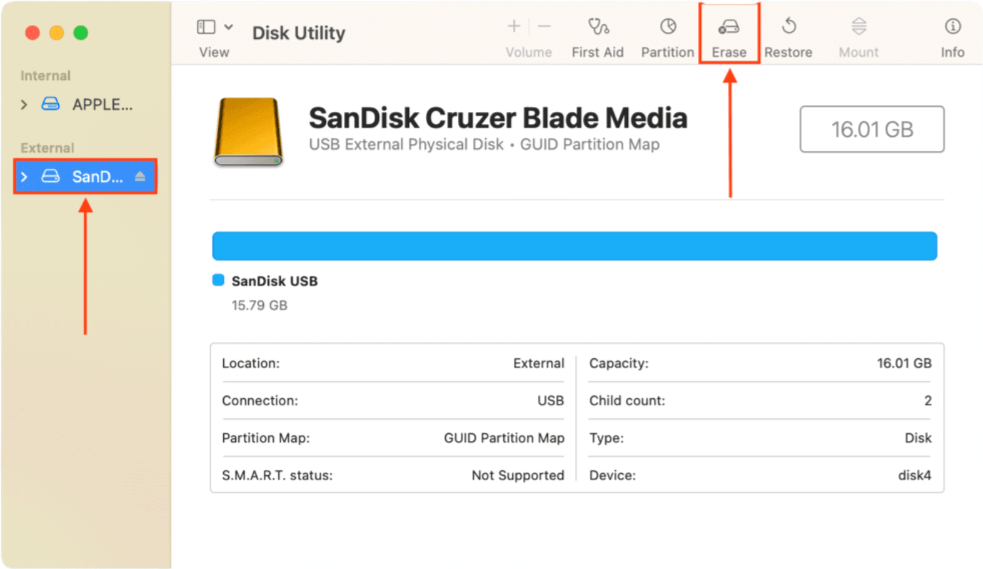
To format your drive, launch Disk Utility (Finder > Applications > Utilities).
Then, select your drive from the left sidebar and click the Erase button at the top of the window.
Fix 6: Try To Repair the Drive on the Windows PC
Similar to First Aid in Disk Utility, CHKDSK is a repair tool on Windows that can scan for and fix disk errors. However, CHKDSK is more specialized in repairing file system issues, directory errors, and fixing boot problems.
First Aid can cover a lot of ground in terms of verifying disk/partition integrity, but your drive may be experiencing issues that CHKDSK is better equipped to handle.
- Connect your drive to your Windows PC.
- Open Command Prompt as Administrator (using the Start menu or the search function on the task bar).
- Type the following command and hit Enter:
chkdsk D: /f
Replace D: with the drive letter of the disk you want to repair.
- Press Y if prompted to confirm the action.
Fix 7: Try Alternative Repair Tools
If none of the native tools and methods we suggested above worked for you, consider using third-party repair tools for Mac. These are software designed to diagnose and repair drive issues that are too complex for native utilities to resolve.
There are many drive repair tools to choose from online. While most of them generally fix similar problems, some repair tools have unique features or characteristics that make them more suitable for resolving certain issues than others.
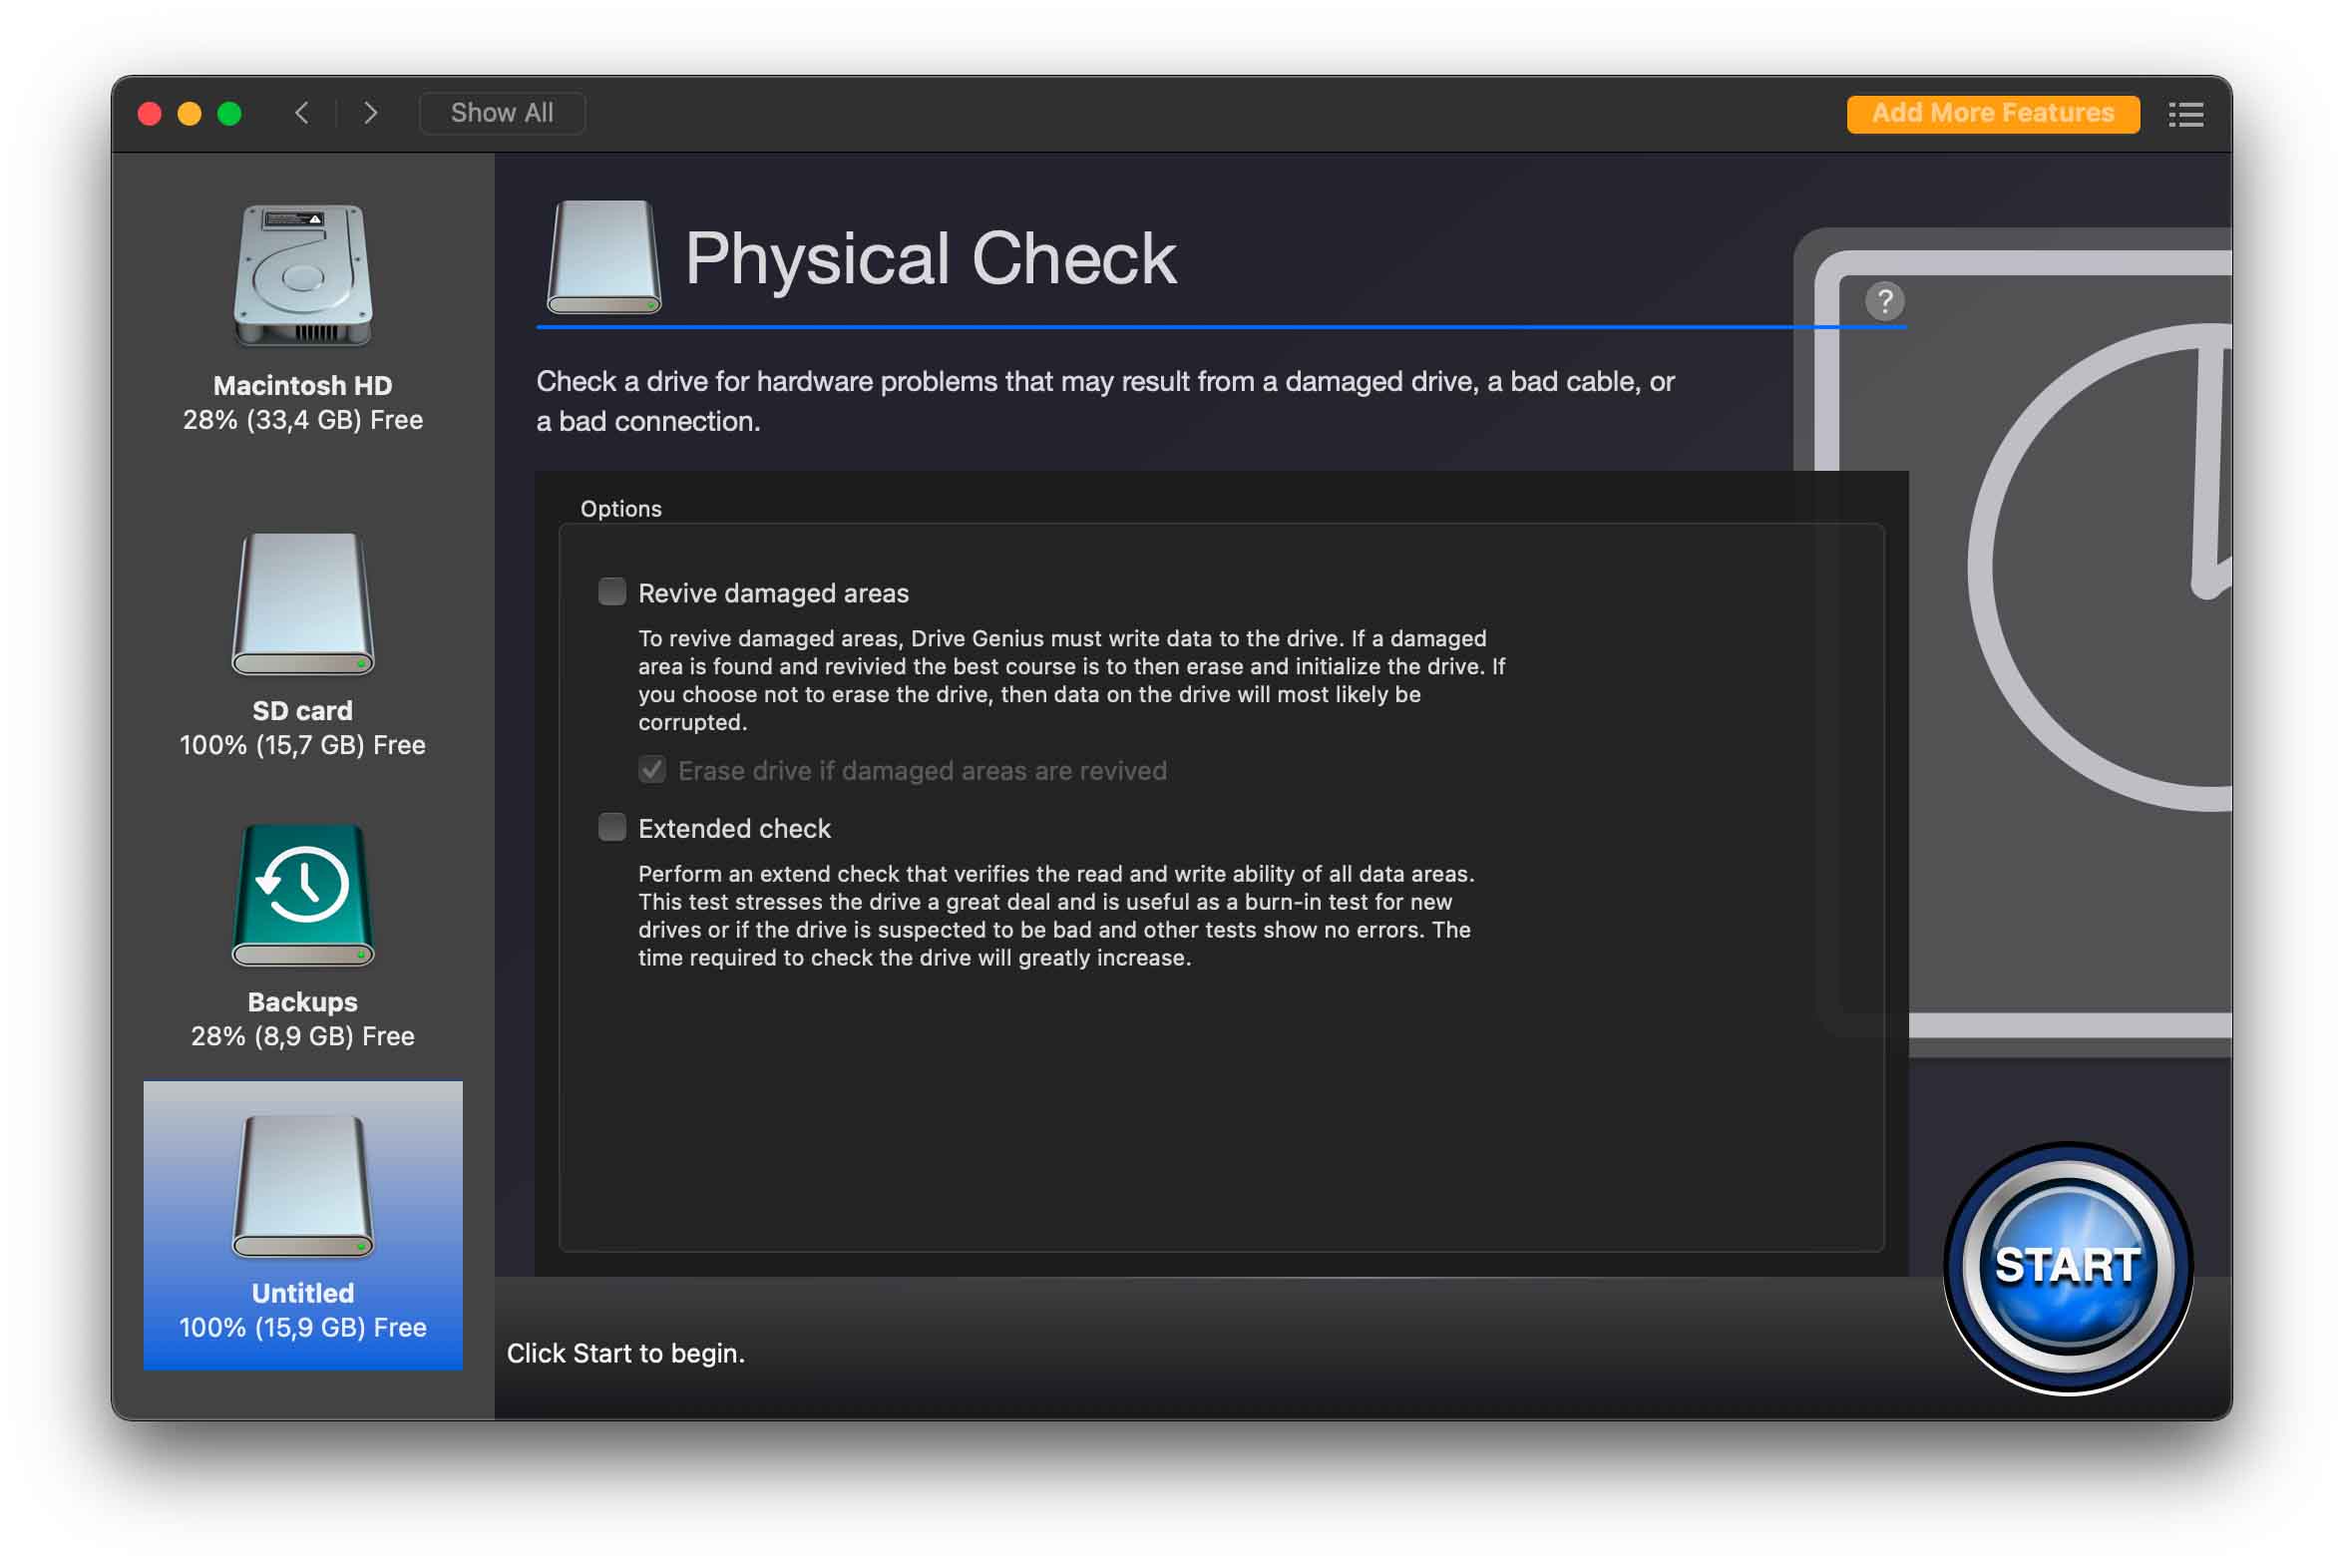
- Drive Genius – Drive Genius is a commercial disk repair tool. It was designed to help users resolve common and complex disk issues without needing technical knowledge. Examples of Drive Genius’ capabilities include repairing and rebuilding drive structures, repairing disk permissions, fixing corrupted files, and resolving RAID errors.
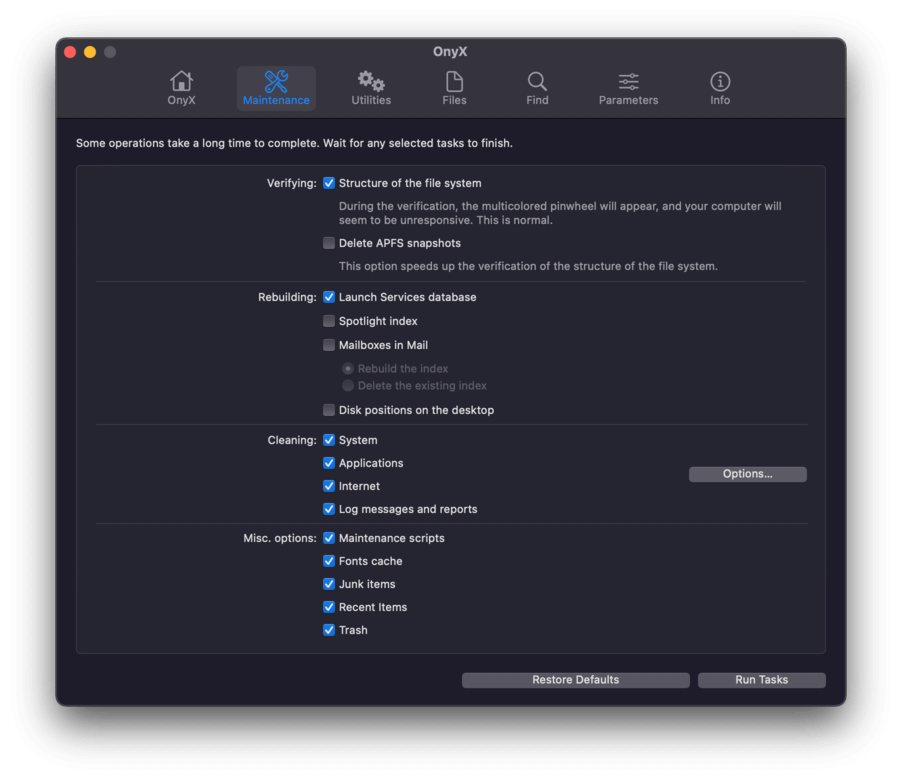
- OnyX – OnyX is a completely free Mac tool that was designed to help monitor, maintain, and repair disks. Some of OnyX’s capabilities include clearing system and user caches, verifying the startup disk’s structure, rebuilding databases and indexes, running maintenance scripts and tasks, and much more. OnyX is very powerful, but it has a steep learning curve – if you aren’t willing to study the software for some time, stick with Drive Genius and similar apps.
If you want more recommendations or want to learn more about the tools above, we recently wrote an article on the best disk repair software for Mac where both utilities are discussed in more detail alongside many other apps.
Fix 8: Send the Disk to Professionals
If none of the methods we demonstrated in this article worked on your disk or if you suspect that your drive has been physically damaged, we strongly encourage you to seek out professional services:
- Professional Data Recovery Centers – These are teams of recovery professionals that have special facilities and equipment that allow them to conduct more advanced recovery operations without further risking the data. The restored data is then transferred to another storage device and sent back to you, while your old drive is also returned or recycled.
- Professional Drive Repair Services – Similar to recovery centers, repair services are made up of technical specialists who use advanced (often, enterprise-level) tools to fix drives that commercial software can’t. Drives repaired by such services should be usable after the fact, but we still recommend that you avoid using a repaired drive for critical data.
Common Disk Utility Repair Errors
macOS is typically user-friendly, but many users struggle to recognize a lot of the Disk Utility errors they encounter while repairing the disk.
To help you, we rounded up the most common Disk Utility errors users encounter on Mac:
| Error | Description |
| S.M.A.R.T. errors | If your disk has SMART errors, your firmware is probably outdated. Update your firmware by updating macOS. |
| Hardware issues | This drive has a hardware problem that can’t be repaired by soft tools (usually indicating physical damage). Send your drive to a professional data recovery service instead. |
| Volumes are locked | Your disk is password-protected. Manually unlock it before attempting repairs. |
| Error 69716 | Some macOS updates include firmware updates that require original Apple SSDs. This error normally appears for users who are using non-Apple SSDs. |
| Error 69845 | In most cases related to this error, your partition is greyed out in Disk Utility. This error prompts user to scan the entire APFS container, not just a partition. |
| Error 69565 | This is an indication of an incompatible format. Format your drive to APFS. |
| Exit Code 8 | Your file system (or parts of it) may be corrupted and the file system verify or repair failed. You’ll have to reformat your drive. |
Conclusion
Disk Utility repair errors can be stressful to deal with because of the sheer number of variables you have to consider. Fortunately, even if Disk Utility cannot repair your hard drive, macOS still offers a lot of tools to help you restore and repair it. However, make sure that you recover your data first, as you are more likely to lose your files during the process.


