
For years, Apple’s screens (on MacBooks, iMacs, everything) have delivered outstanding quality. The sharpness, color accuracy, and brightness of these screens often set the standard for the industry. Still, there always comes a moment when the Mac’s display is not enough — for example, when a group of friends wants to watch a movie together, enjoy gaming on a bigger screen, or host a party with a slideshow running in the background.
That’s when the idea to cast your Mac’s display to the TV’s screen and watch whatever you want in high definition makes perfect sense. But here comes the question: how do you actually do it? To make things easier, we’ve put together the best solutions on how to stream from a Mac to a TV.
Table of Contents
What You Need to Start Streaming from Mac to TV?
Before we provide the methods of how to connect a Mac to a TV screen, it’s important to cover a few basics. These points can determine whether you’ll be able to stream successfully or run into issues along the way:
- ? The most important requirement is a Wi-Fi connection on both your Mac and your TV. Without being on the same network, the devices simply won’t recognize each other, and wireless methods will not work at all.
- ? A lot of newer TVs already know how to work with streaming. If yours is one of those models, it probably has AirPlay 2, Chromecast, or DLNA built in. If it doesn’t, that’s not the end of the world, and you just need something extra, like an Apple TV box or a Chromecast stick, to make it work.
- ? Not everyone wants to go wireless, and that’s fine. A cable can still do the job, but you have to make sure it matches your Mac. The latest MacBooks only give you USB-C or Thunderbolt ports, so you’ll need a USB-C to HDMI adapter for most TVs. If you’re on an older Mac, you might be looking at Mini DisplayPort or even DVI, which means another type of adapter.
- ? And don’t forget the battery. Streaming or screen mirroring drains it quicker than you think. If you’re setting up for a movie night or anything longer than a few minutes, keep the Mac plugged in so you don’t lose the picture halfway through.
4 Best Methods to Stream from Mac to TV
If you’ve gone through the basics and everything checks out, you’re ready to look at the actual methods. There isn’t just one way to stream from a Mac to a TV (the way depends on what gear you have, whether you’d rather stay wireless, or if you don’t mind using a cable). Some people prefer the built-in Apple option, while others find third-party tools more flexible. We’ve narrowed it down to the four solutions, so you can pick the one that fits your setup best.
Method 1: Use Elmedia Player
If you want to stream from a Mac to a Samsung TV (or really just about any other brand), Elmedia Player makes it pretty simple. It’s not tied to one platform either. The app works with Smart TVs, Apple TV, Chromecast, AirPlay, Roku, and even DLNA devices, so you’re free to use whatever setup you already have.

People often call Elmedia the best video player for Mac, and for good reason. It doesn’t just play files on your laptop — it also doubles as a solid way to push them straight to a bigger screen. You can throw almost any video or audio format at it without messing around with converters. Subtitles aren’t a problem either, whether they’re already in the file, added separately, or pulled in from OpenSubtitles. There are also enough knobs and sliders to tweak video resolution, audio output, and playback settings if you like fine-tuning. And because the developers keep it updated, it runs well on the latest versions of macOS without any headaches.
Here’s how to get started:
- First, download and install Elmedia Player on your Mac.
- Upgrade to the PRO version.
- Turn on your Mac and TV and connect them to the same network.
- Launch Elmedia Player and navigate the video you want to play.
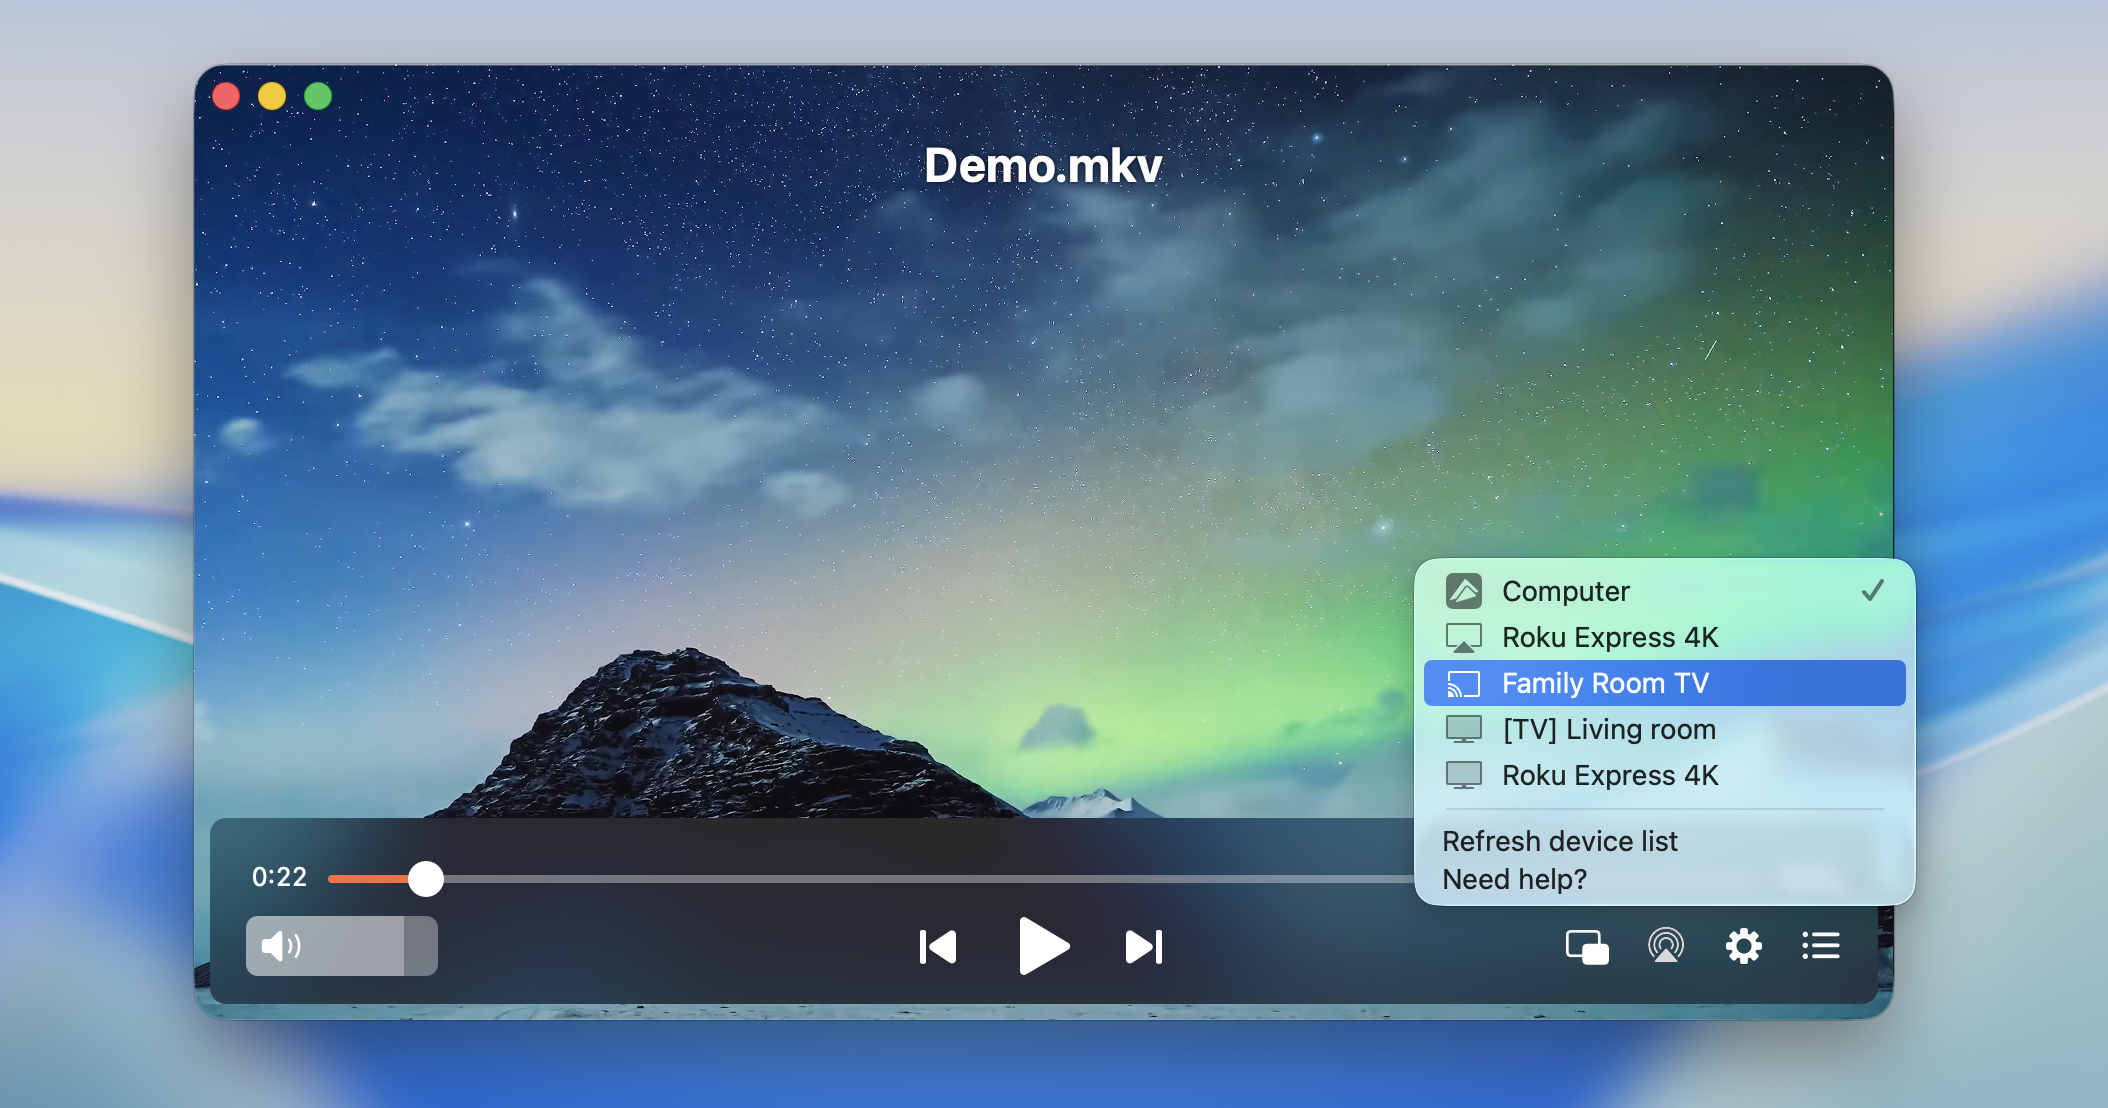
- Open the video and click the Streaming icon. It’s located in the bottom right next to Settings.

- Find your device from the menu and select it. That’s it!
Elmedia is best used when you already have videos saved on your Mac. Whether it’s movies, TV shows, or clips you’ve recorded yourself, the player can push them to the TV in a couple of clicks. No need for extra cables or tricky setups, it just works.
Method 2: Mirror Mac to Apple TV with JustStream
If you want something different from Elmedia, JustStream is a solid alternative. Elmedia makes the most sense if you’ve got a bunch of videos saved on your Mac. JustStream, on the other hand, comes in handy when you want to show what’s happening live — like a YouTube clip, a movie from a streaming site, or even a slide deck running in your browser.
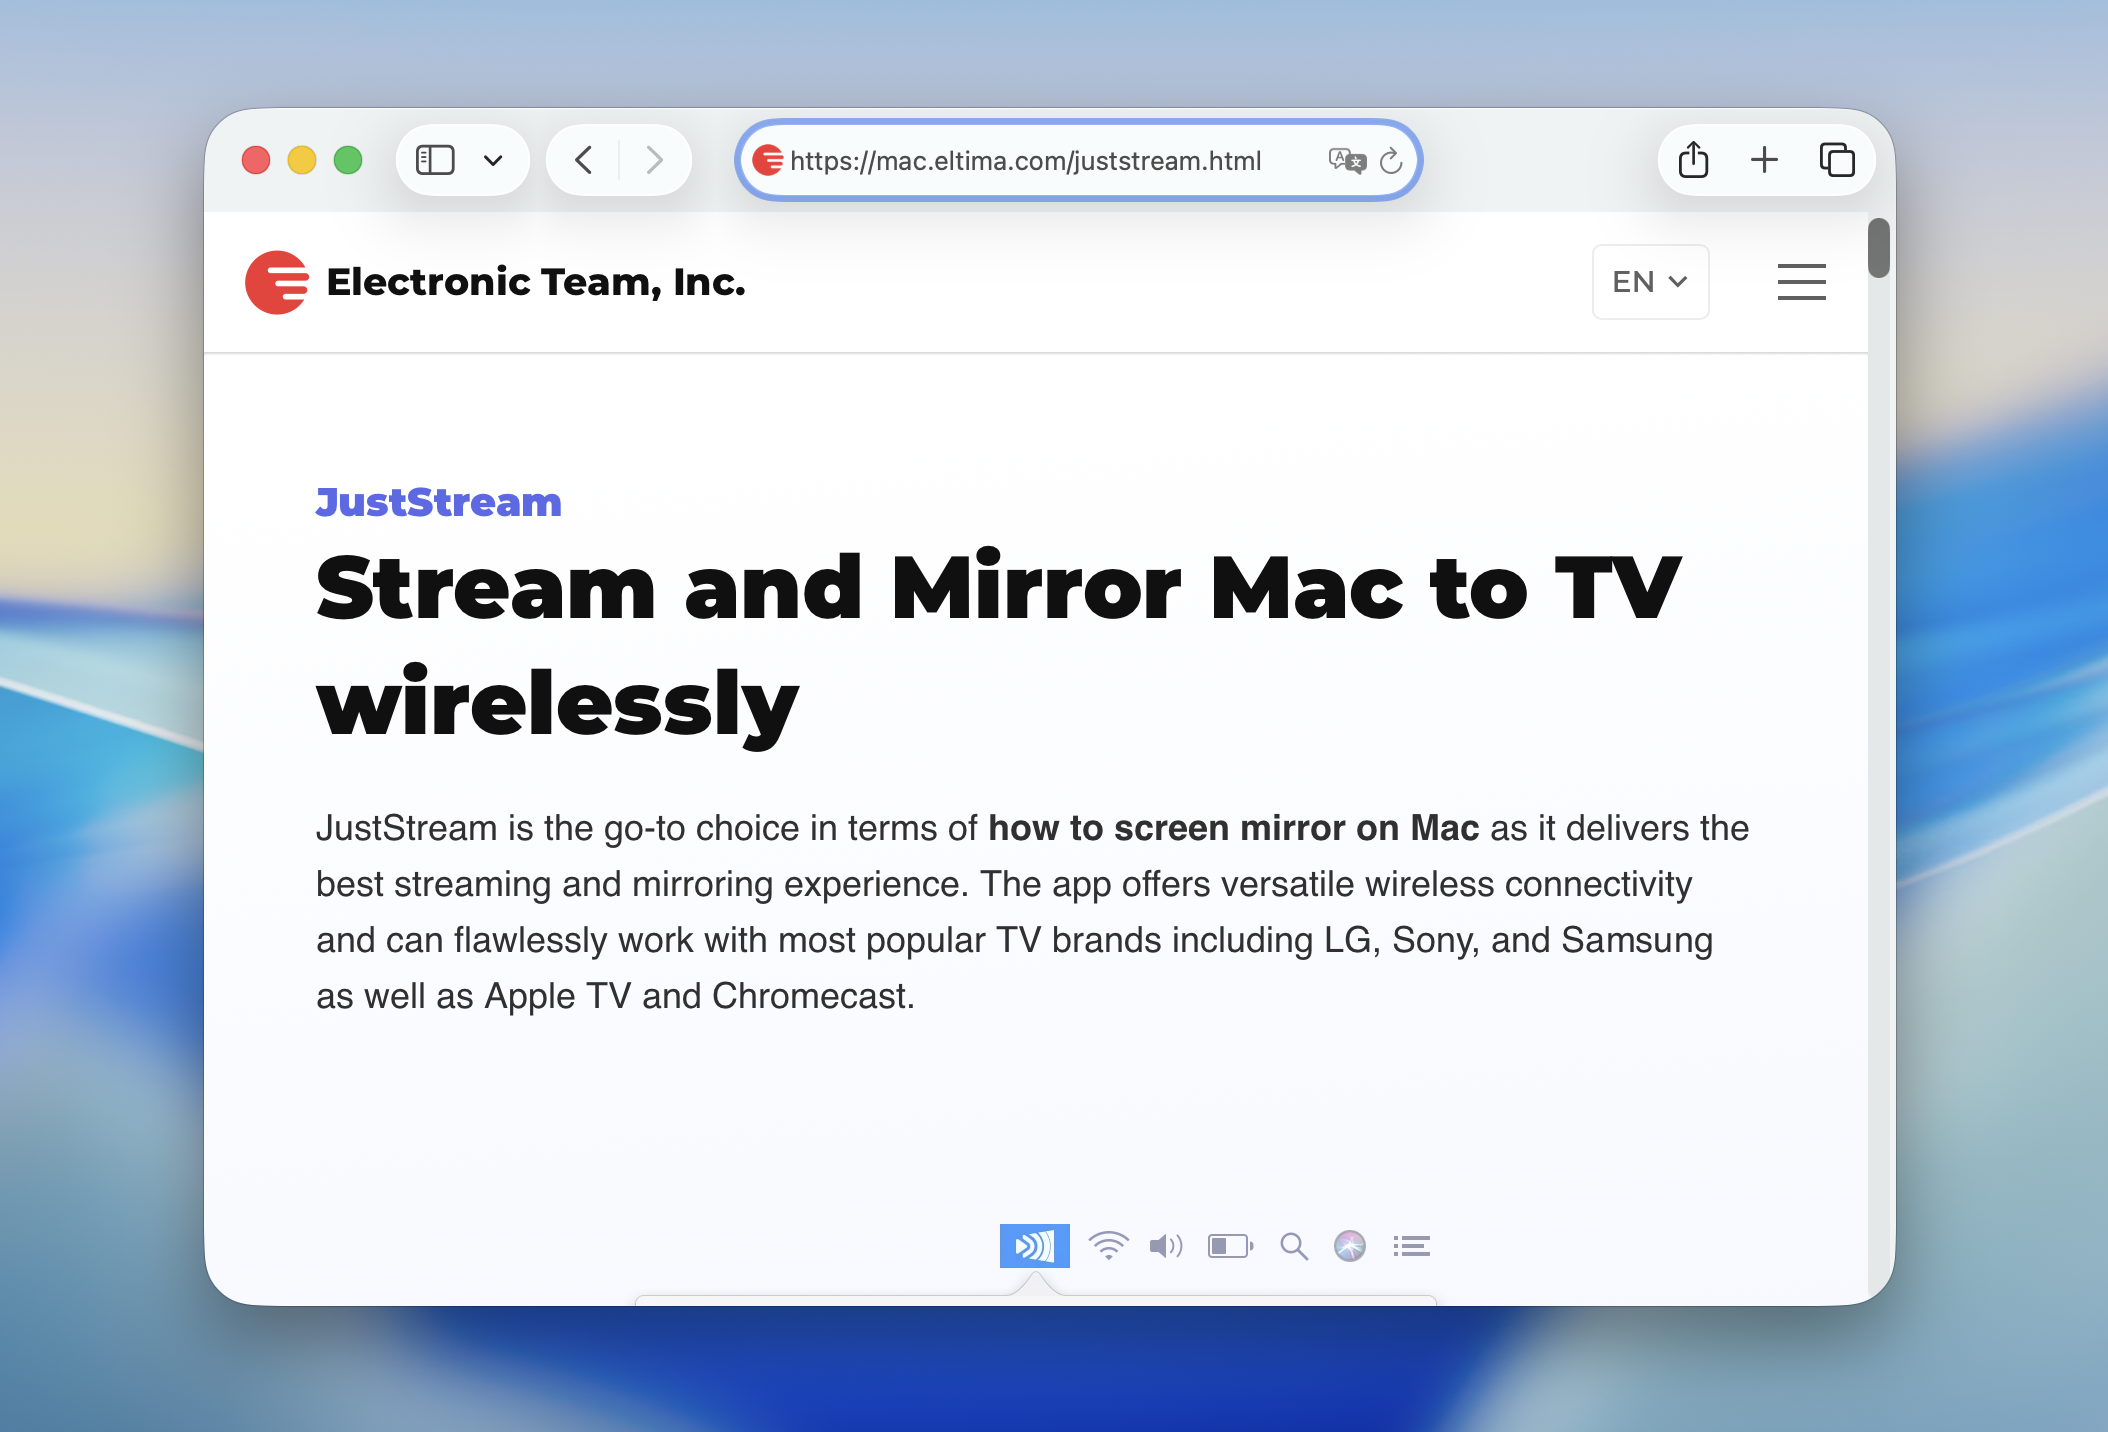
The app itself is small and easy to miss since it lives in the menu bar.From there, you can beam your screen to Apple TV, Chromecast, or any TV that supports DLNA. It’ll handle video, audio, pictures, or even a software demo without fuss, and you don’t have to mess with cables. Subtitles are supported as well, and playback stays in sync with external audio tracks. Because JustStream mirrors the whole screen, it’s flexible enough to show almost anything from your Mac on the big display. Here’s how to stream Mac to TV using JustStream:
- Download JustStream on your Mac.
- Make sure your devices are connected to the same Wi-Fi network.
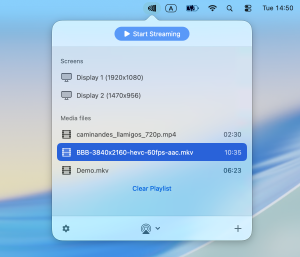
- Open JustStream and expand it from the menu bar.
- Click the AirPlay icon and you’ll see a list of available devices. Select the one you’d like to use.
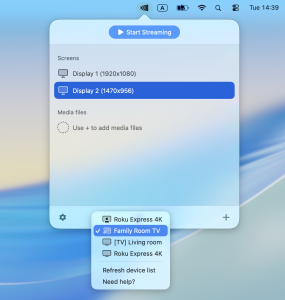
- Complete the process by clicking Start Streaming. Once done, JustStream will start streaming the file to the device of your choice.
Method 3: Use AirPlay to Stream from Mac to TV
If you don’t want to install any extra apps, AirPlay is the simplest way to stream from a Mac to Apple TV. It’s Apple’s own protocol that lets you mirror the Mac screen or send media directly from supported apps. The same technology also works for iPad or iPhone casting to Apple TV or any television that supports AirPlay 2.
You don’t actually need an Apple TV box anymore, as many Smart TVs from Samsung, LG, and Sony now come with AirPlay 2 built in. The only requirement is that both your Mac and the TV are on the same Wi-Fi network. To use AirPlay on macOS:
- Connect your Mac and TV to the same Wi-Fi network.
- Open Control Center from the menu bar.
- Click Screen Mirroring (this is the AirPlay feature).
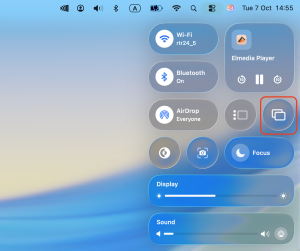
- Select your TV or Apple TV from the list, and if prompted, enter the code shown on your TV.
- Your Mac screen will appear on the TV. To stop, open Control Center again and click Screen Mirroring > Turn Off.
Method 4: Connect the Mac to the TV with a Cable
Alternatively, there is another method when it comes to how to stream from Mac to Samsung TV. It doesn’t require a network connection and involves using physical cables to connect both devices. The cable should be able to connect to MacBook’s Thunderbolt port, HDMI port, or DVI port.
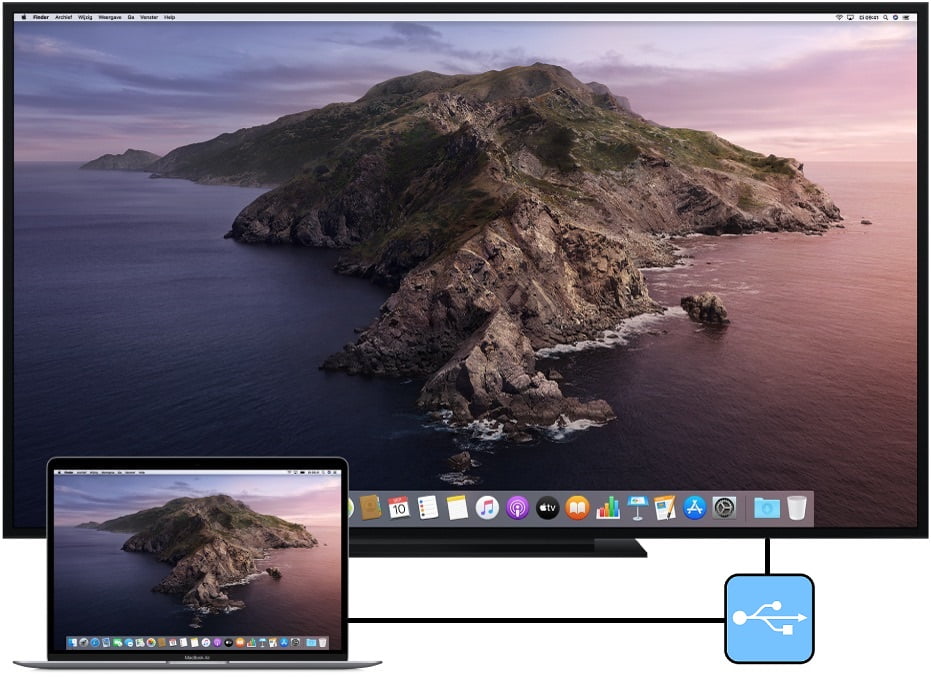
Connecting devices via the video cable will provide the same capabilities as if you connected wirelessly. You will be able to share your Mac’s screen to TV. So, here is a step-by-step guide to help you connect a Mac to a TV with a cable:
- Connect your Mac to the TV using the correct cable. Modern MacBooks rely on USB-C/Thunderbolt ports, so in most cases you’ll need a USB-C to HDMI adapter. Older Macs may still use Mini DisplayPort, HDMI, or DVI.
- Plug the other end of the cable into the HDMI (or another matching input) on your TV.
- A prompt should appear on your Mac asking how you want to use the display: entire screen, share a window or app, or extend display. Choose the option that suits you.

- In most cases, audio will be sent over HDMI automatically. If it doesn’t, go to System Settings > Sound and select your TV as the output device.
Conclusion
Above are some of the main ways to stream from Mac to TV. All of the methods discussed are useful and efficient. If you want to wirelessly mirror your Mac to your TV, there are several third-party apps to help you get the job done. If you don’t have a stable Internet connection, you can use a cable to connect your Mac and TV. Decide which one suits your needs best and start streaming.


