
OneDrive is a cloud storage service widely used on Windows and just as often kept by users after switching to macOS, since files are already stored there. On both Windows and macOS, users often look for a way to work with OneDrive as if it were a regular drive. Mapping OneDrive as a network drive helps with exactly that, since it makes cloud storage behave much closer to a local disk. Got that itch? Then you’re where you need to be.
Table of Contents
Option 1: Map OneDrive as a Network Drive on Mac and Windows Using a Third-Party App
The simplest and most reliable way to map OneDrive as a network drive is to use a dedicated third-party application. This way results in a truly mapped OneDrive drive that behaves like network storage rather than just a synced folder. Once mounted, OneDrive appears in system sidebars, stays accessible at all times, and can be used in the same way as other network locations.
There are quite a few tools that can handle this task, but our long-time choice is CloudMounter. We have used it before to mount Dropbox and Amazon S3 as network drives, so OneDrive was no exception.
CloudMounter works on Windows as well as Mac, so it fits whatever setup you’ve got. It allows you to mount OneDrive directly into the system file manager (Finder on macOS or File Explorer on Windows) without fully syncing all files to local storage. Once connected, your cloud content appears as a regular drive, but nothing is saved locally until you click it. That way, you can handle tons of files without chewing up space on your hard drive. On top of that, the layout feels clean and simple to use. CloudMounter strips everything down to just what matters (no cluttered options or confusing tweaks – just simple setup).
Here’s how you can set up OneDrive as a network drive using CloudMounter. We’re showing it on macOS just for clarity, yet the method works the same way on both operating systems. In case you run Windows instead, your experience will match closely. The only difference is the initial installation process, while the connection and mounting steps remain identical.
Step 1: First of all, download CloudMounter from the homepage. Once downloaded, open the installer to install the app on your device.
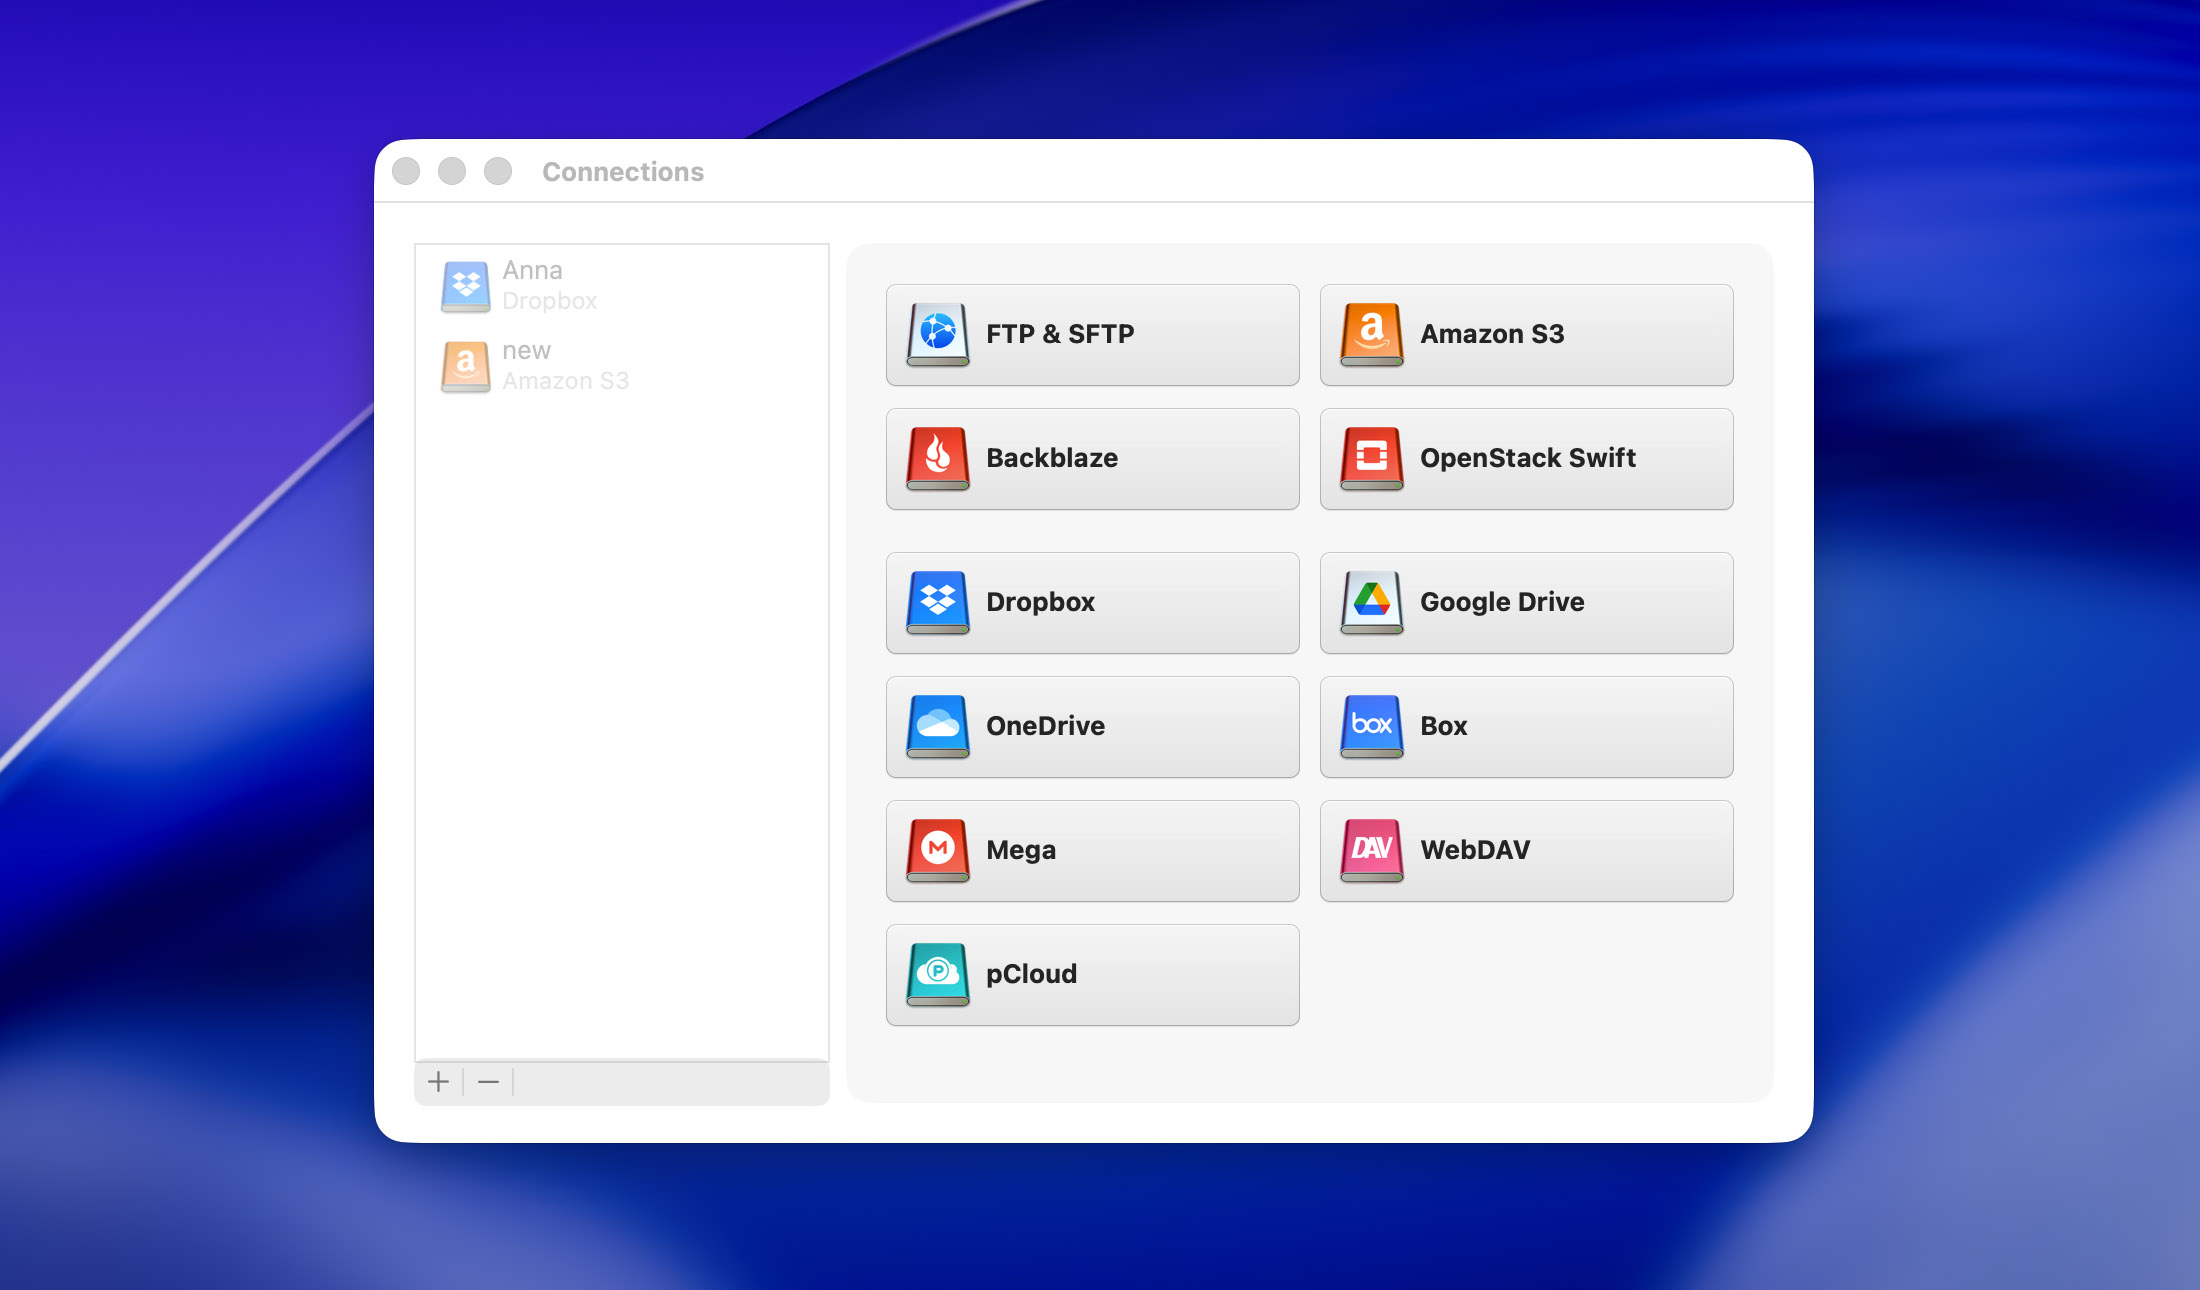
Step 2: Next, open the app. You’ll see the list of cloud services that can be used with CloudMounter.
Step 3: Select OneDrive from the list of options.
Step 4: You’ll now be able to log in to your OneDrive account. Enter the email address you use plus your password.
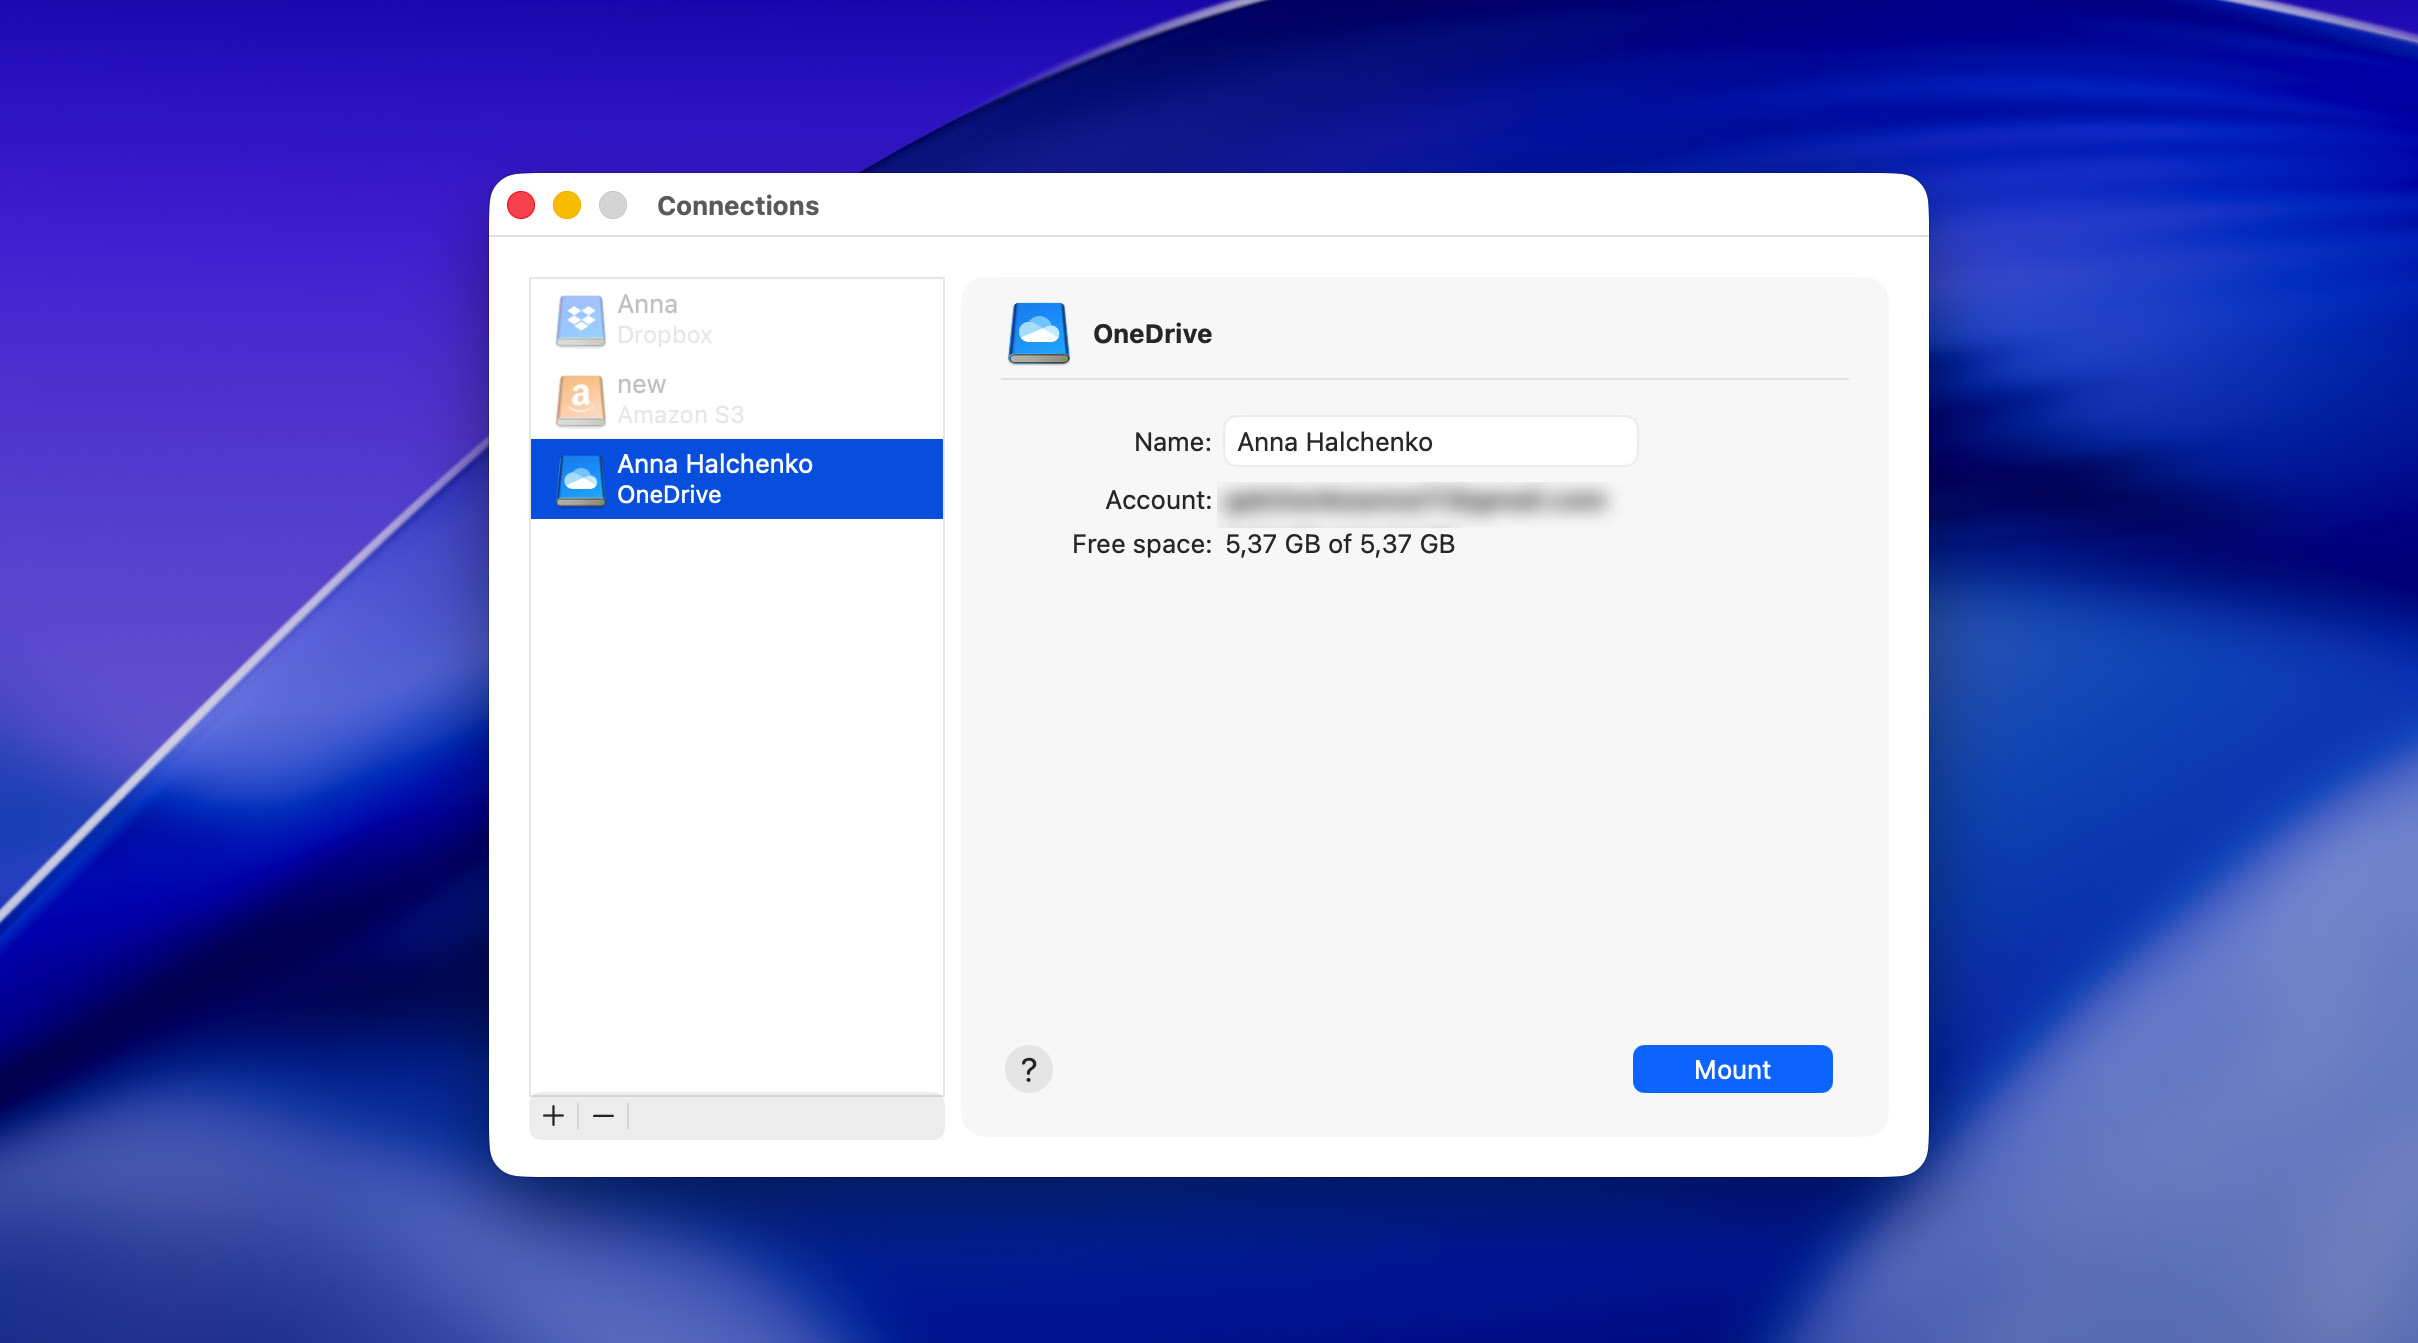
Step 5: You can now choose which disk you want to mount your OneDrive account to. Choose the option that is most convenient for you.
Step 6: Click the mount option, and you’ll now be able to mount your OneDrive account.
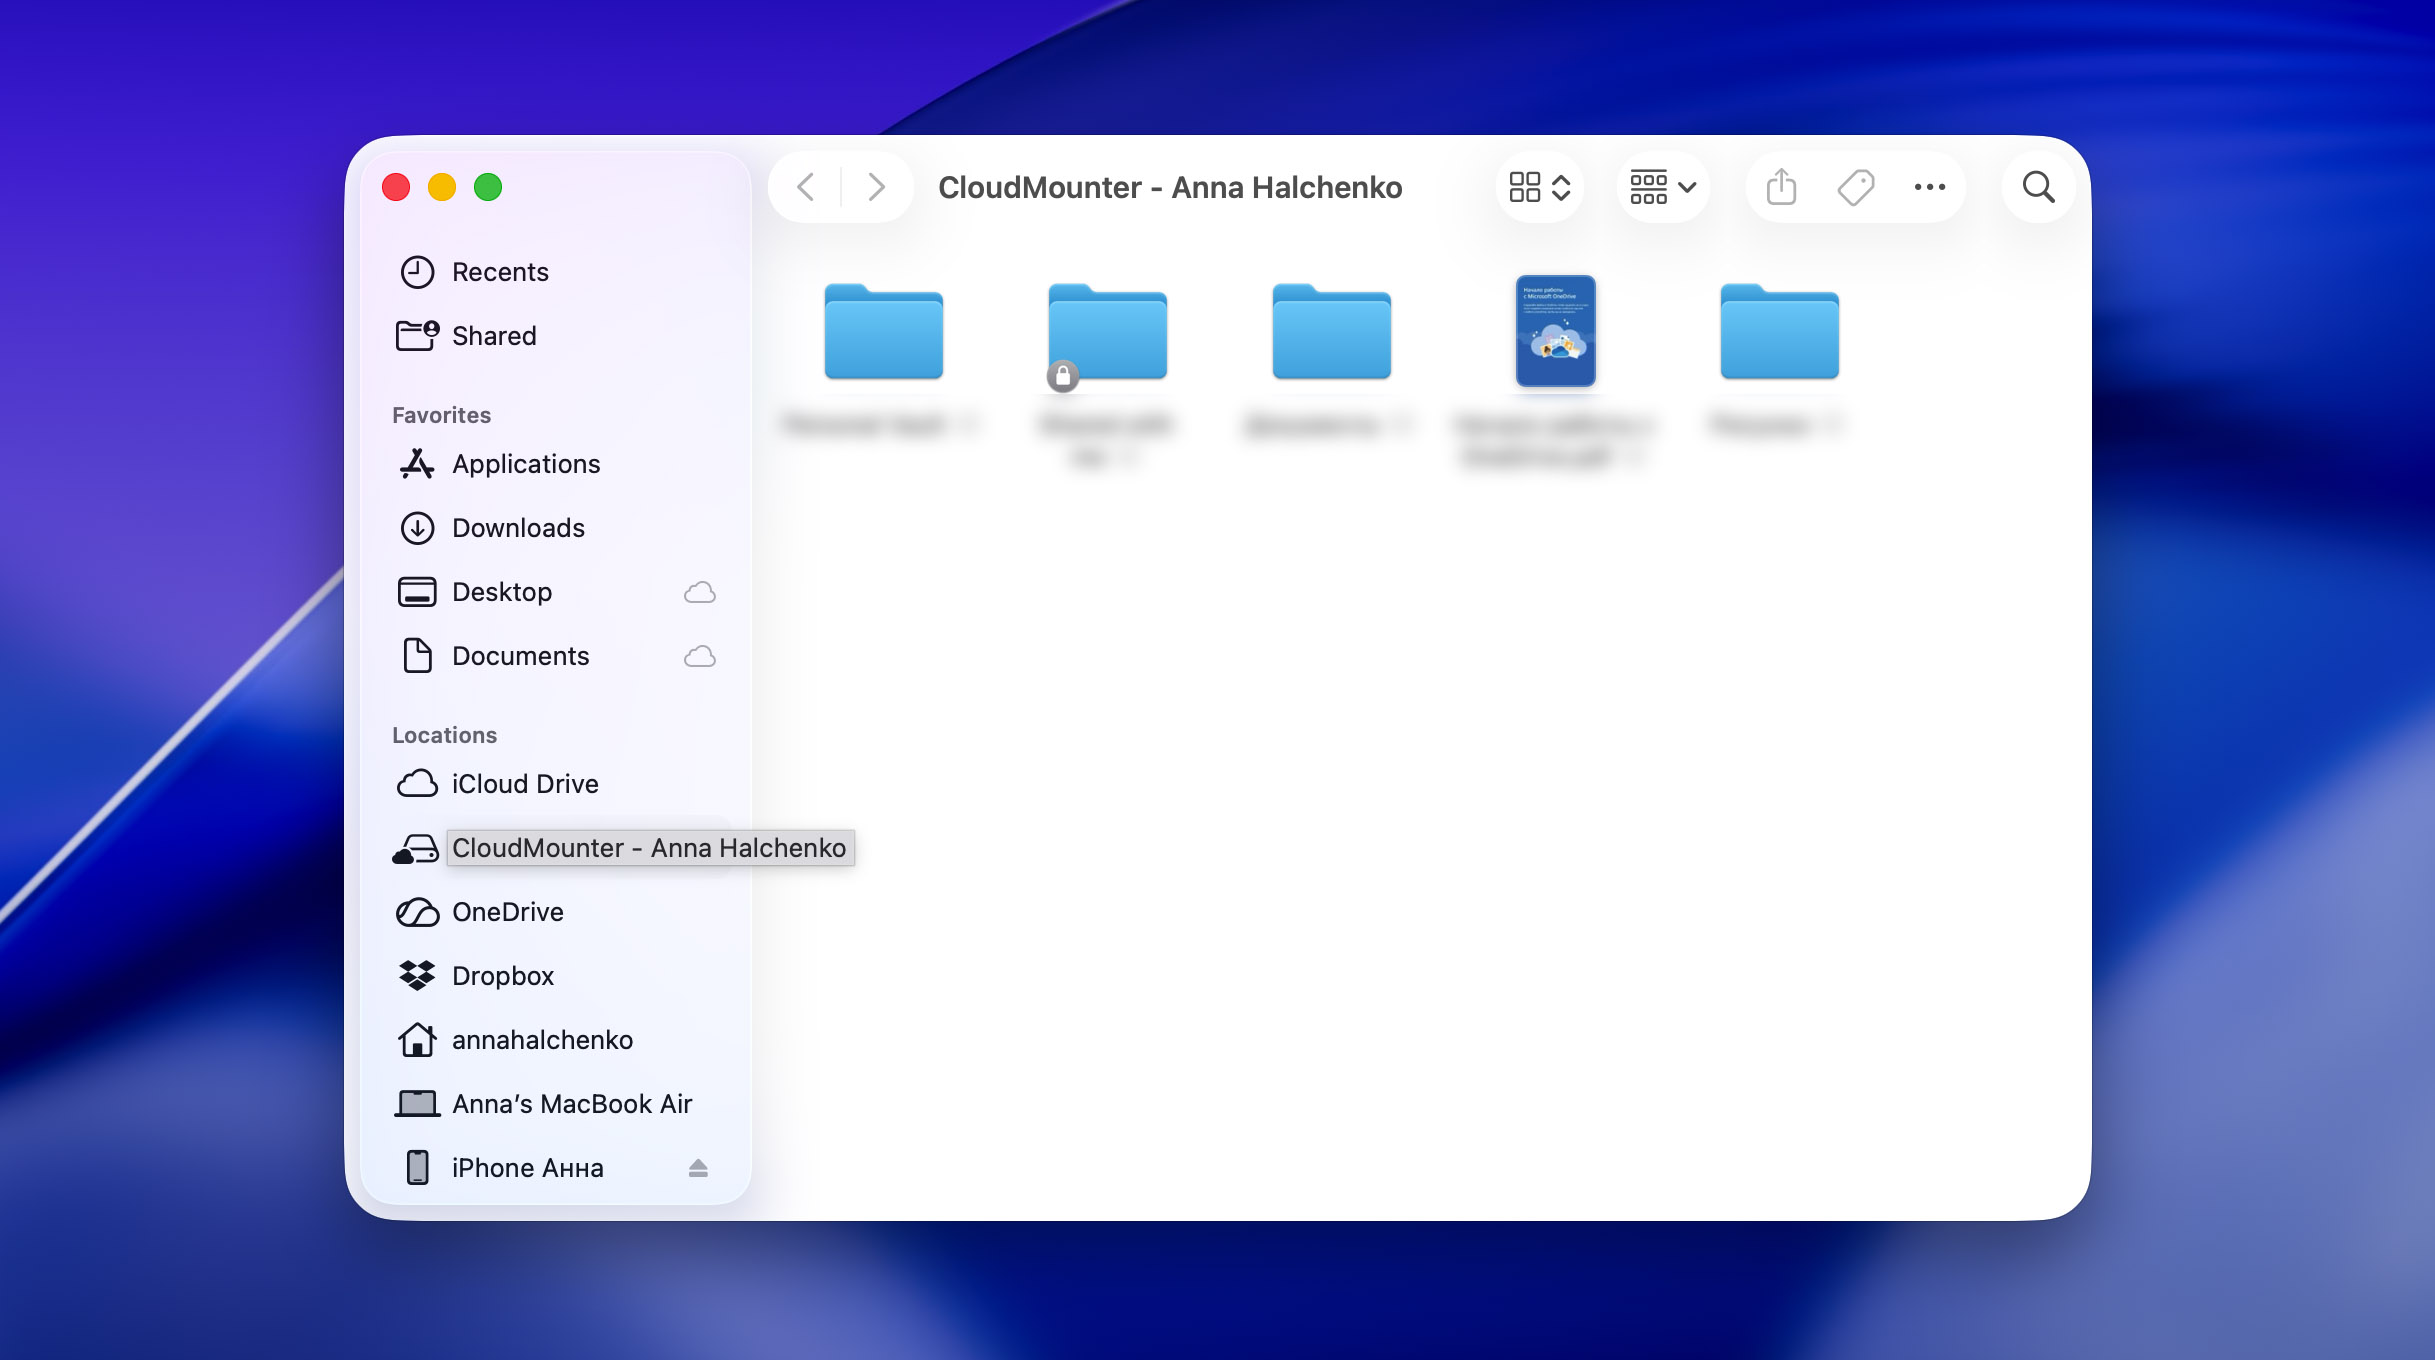
Step 7: You can now access your OneDrive in exactly the same way as you’d access your local drives. You can also search for files and folders directly from either the Finder tool with mac, or the File Explorer if you’re using Windows.
Option 2: Use OneDrive Files On-Demand (Native Method)
A while back, using OneDrive on your device meant fiddling with settings yourself. Now it’s way easier and usually, just download the OneDrive app (or skip that if it’s already there on Windows) log in, then let everything else happen automatically.
Your OneDrive files become available directly in the file manager, without the need to download everything in advance.
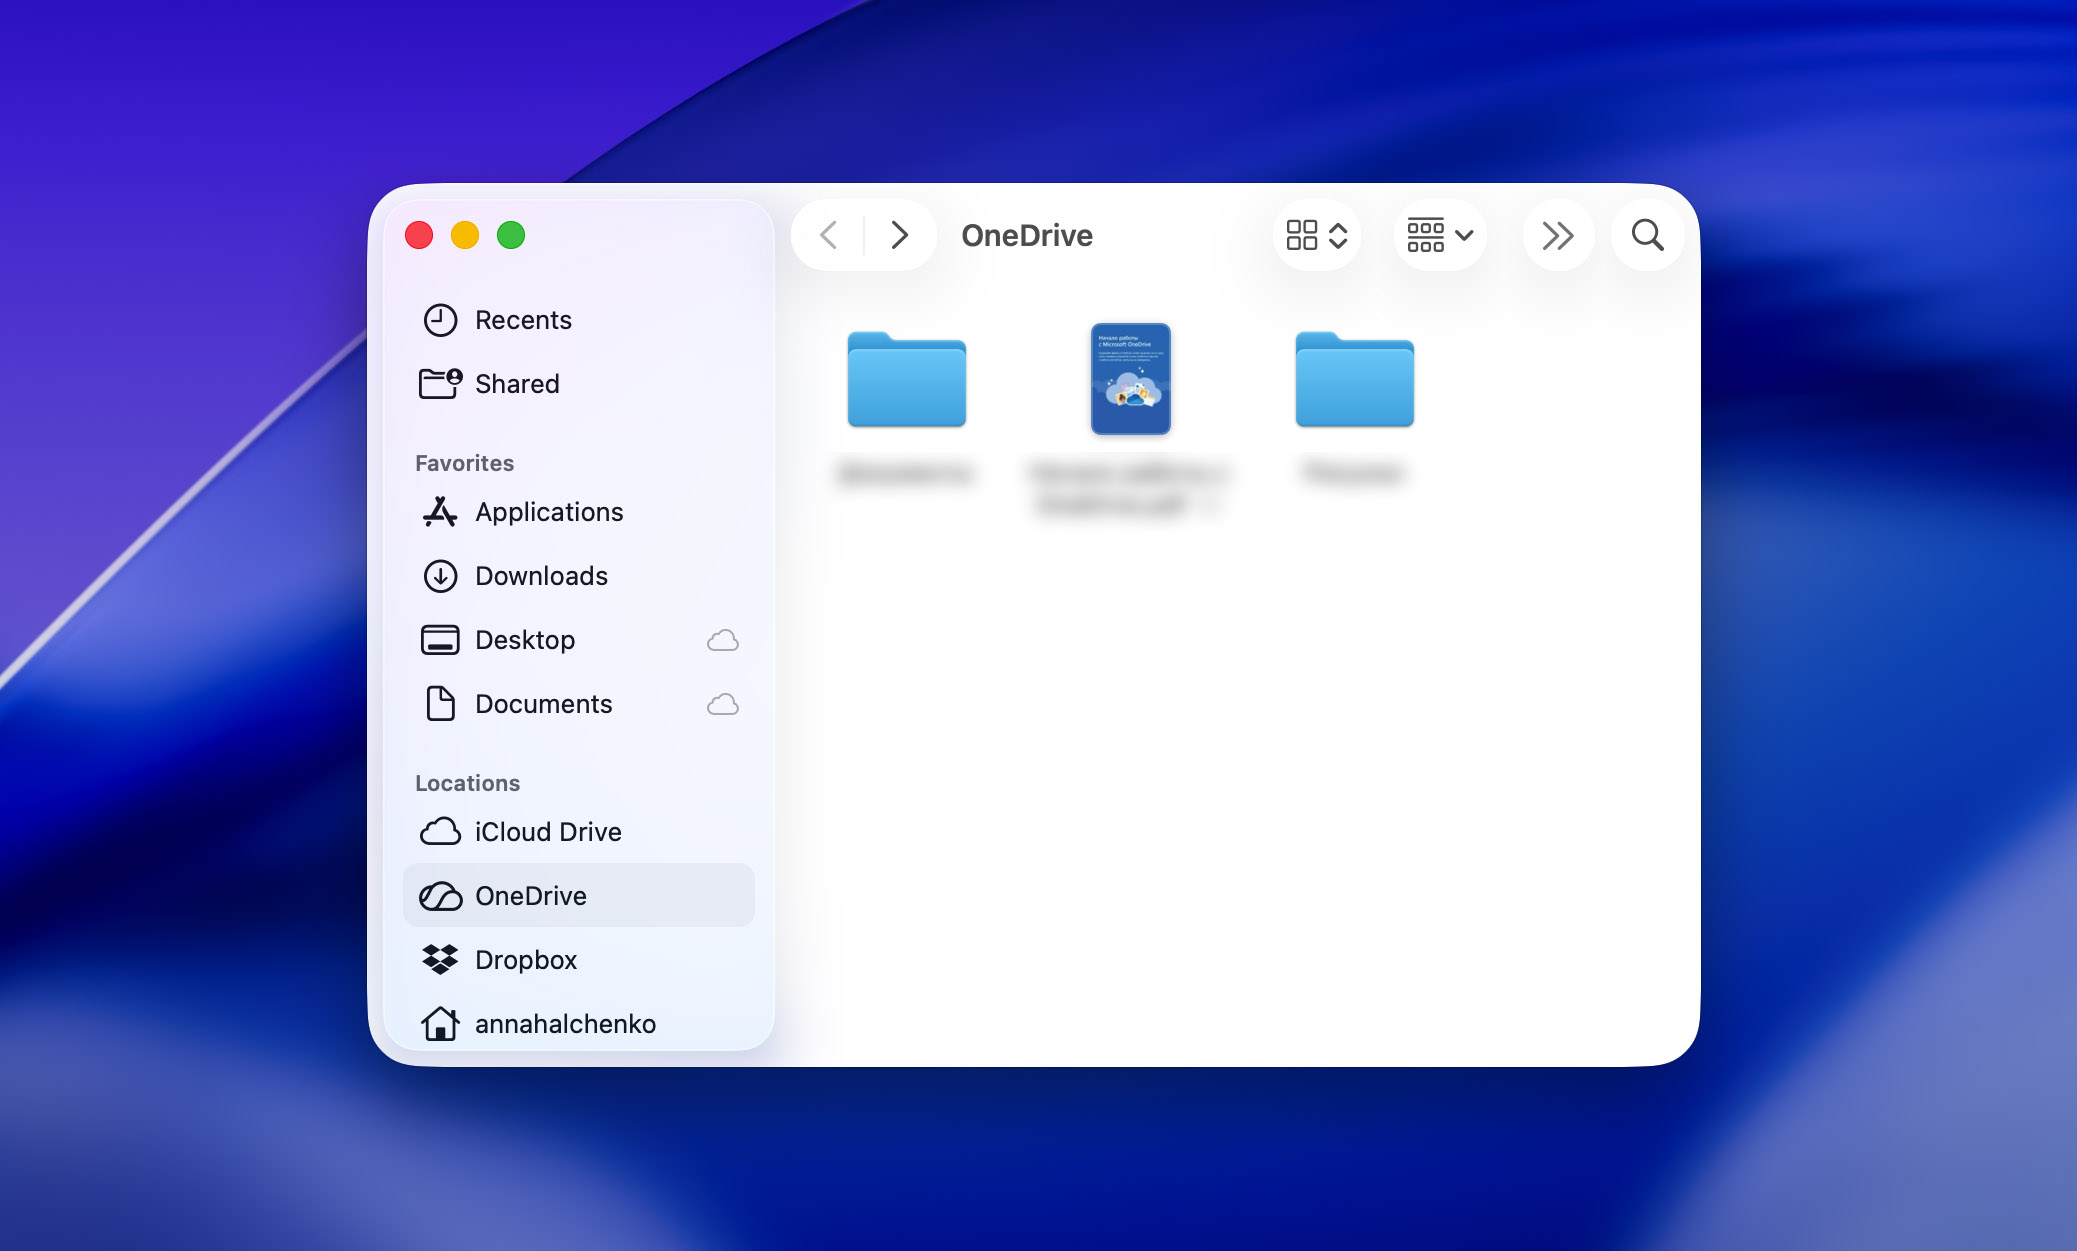
On macOS, OneDrive appears as a regular folder inside Finder. To make it available:
Step 1:Download and install the OneDrive app for macOS from the App Store or Microsoft’s website.
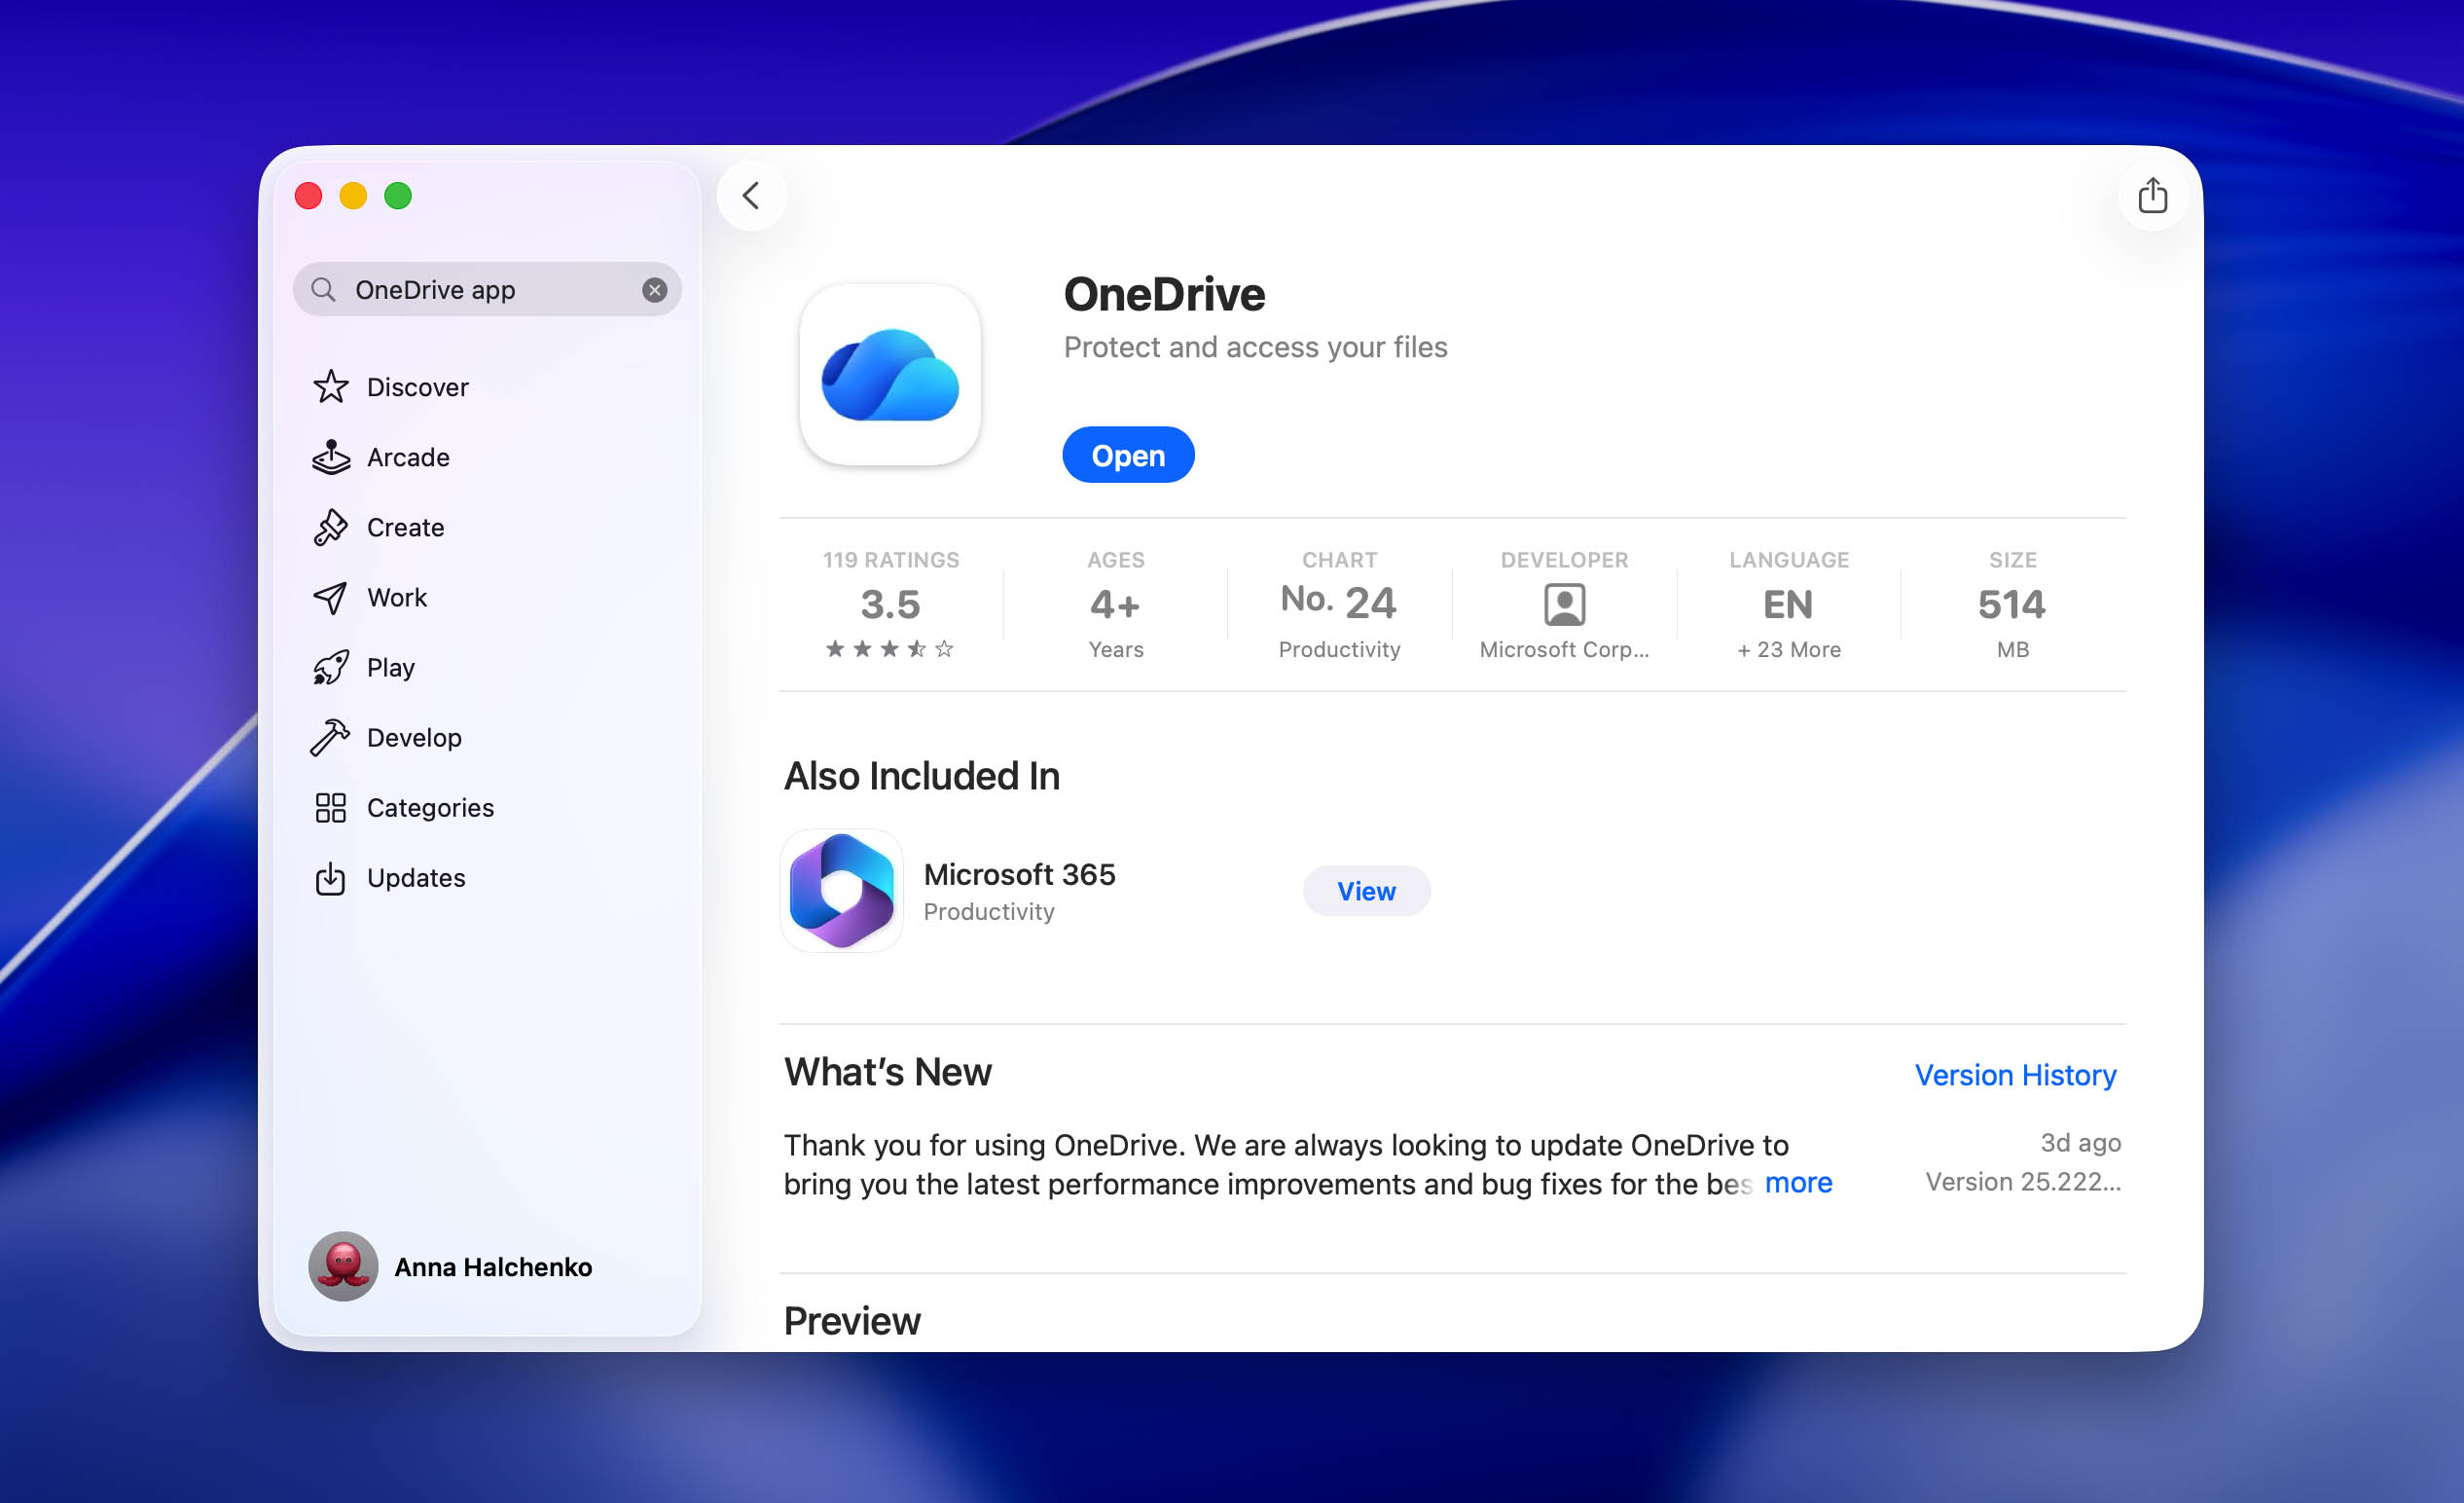
Step 2:Log in using your Microsoft account.
Step 3:First off, finish the basic setup – then check where OneDrive is set to save by default. Once done, you’ll see a new OneDrive folder pop up in Finder, most likely inside your user folder or pinned on the side panel. It mirrors everything stored online, giving you instant access to all files from your local device.
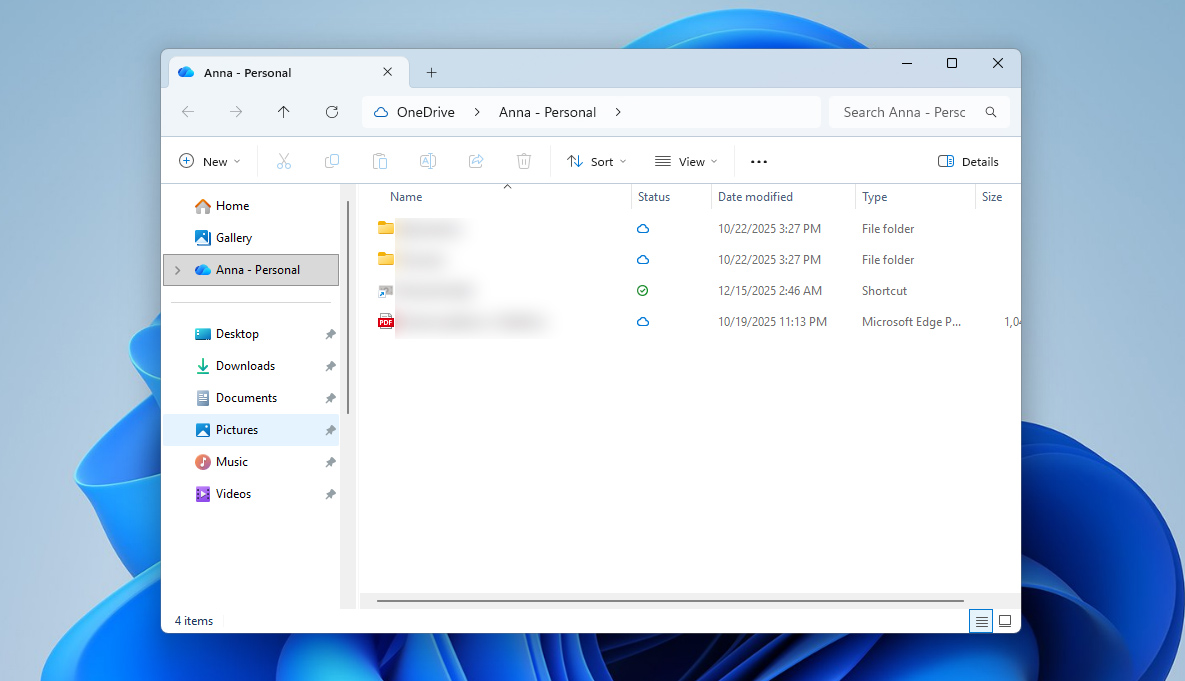
On Windows, it works much the same way:
Step 1:Launch the OneDrive app (it typically comes already set up on Windows 10 or Windows 11).
Step 2:Log in using your Microsoft account.
Step 3:Set up the basics first. After that’s sorted, you’ll spot OneDrive right inside File Explorer – shows up on the side menu too. Everything stored online pops up there, ready to view.
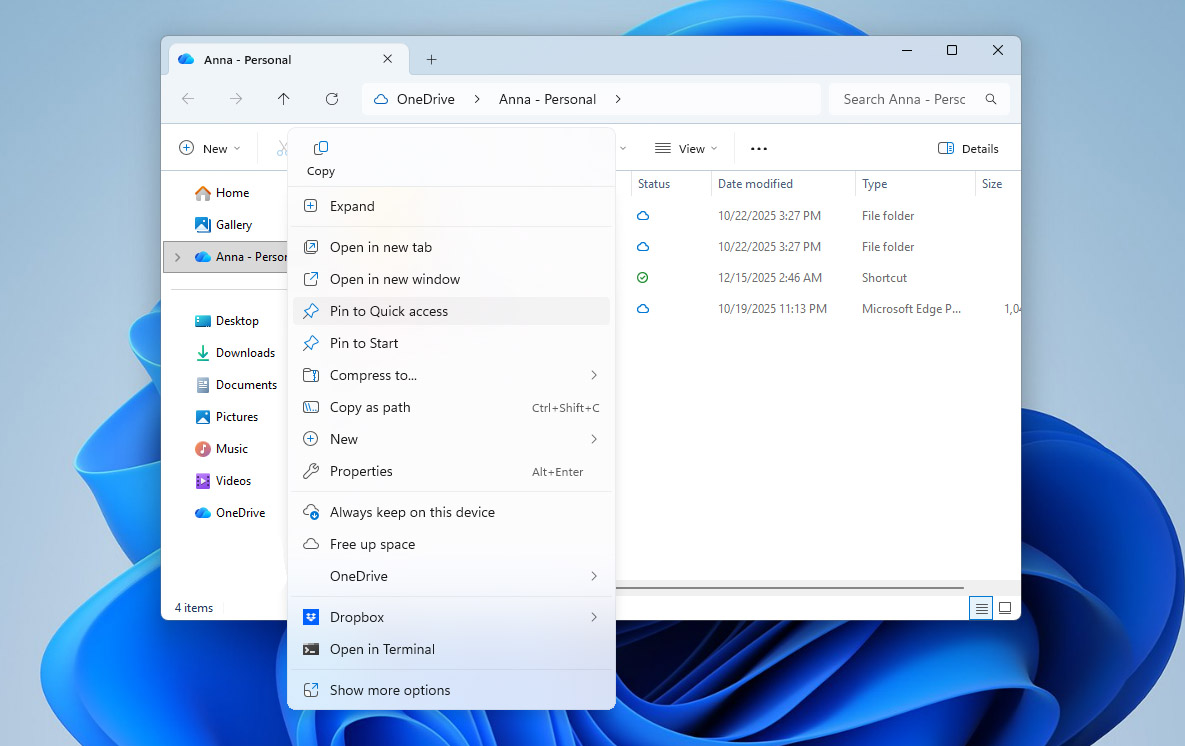
Step 4:If you’d like faster reach, you can also pin the OneDrive folder to Quick Access, but this is optional.
Option 3: Assign a Drive Letter to OneDrive Using the Terminal
The last working way to turn OneDrive into something that looks like a network drive is to use a built-in command in the Windows terminal. This method does not connect to OneDrive directly from the cloud. Instead, it takes the local OneDrive folder that is already synced on your computer and assigns it a separate drive letter. As a result, OneDrive appears in File Explorer as its own network drive.
Step 1:Check that OneDrive’s running on your device, also confirm it’s working right. See if your files are syncing without issues.
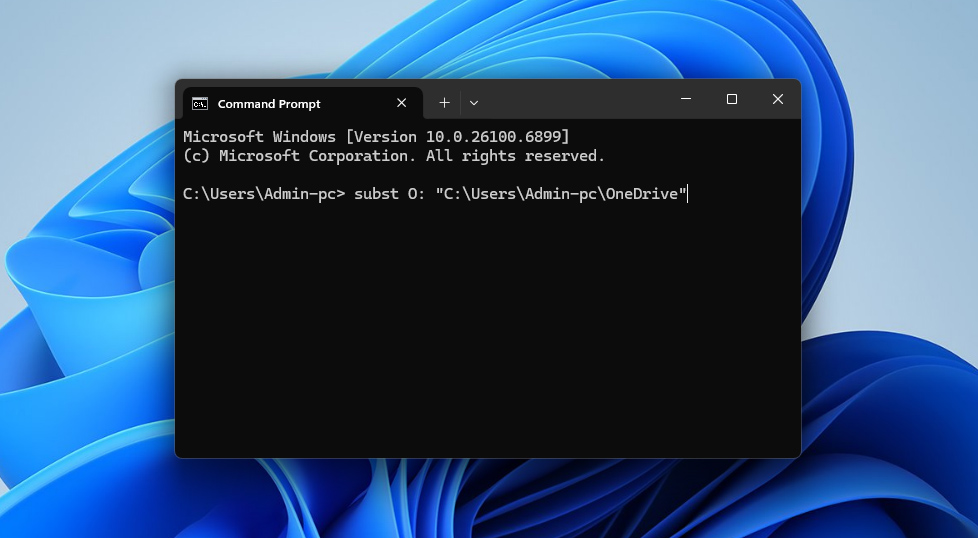
Step 2:Launch Command Prompt while locating your OneDrive directory ( it usually appears as C:\Users\YourUsername\OneDrive).
Step 3:Run this command: subst X: “C:\Users\YourUsername\OneDrive”, using any available drive letter instead of X.
Step 4:Launch File Explorer, head over to This PC. You will now see a new drive with the letter you selected. Opening it shows your OneDrive files.
Conclusion
That covers the main ways to work with OneDrive as a network drive. While there are several options available, CloudMounter is probably the best option if you are looking for a real network-drive experience. It is the only method that actually mounts OneDrive as network storage, rather than just imitating this behavior.
The other options discussed above can still be useful. They make access to OneDrive faster and more convenient and, for many users, that level of functionality may be enough. However, these methods focus more on syncing or visual shortcuts than on true network-drive behavior.


