
If your Toshiba external hard drive is not showing up on Mac, it’s possible that you’re on your way to data loss. And if you continue to use a problematic drive, the damage often gets worse. So stop using it until you finish reading this article.
Below are all the possible reasons why your drive isn’t showing, as well as the fixes you can try. More importantly, we guide you step-by-step through recovering the data on your drive with tools you can download on your Mac. Read on.
Why Mac Is Not Recognizing Toshiba External Hard Drive
While there are a multiple possible causes why Mac is not recognizing your Toshiba external hard drive, they usually only fall under 4 categories:
- Broken cable or port – It’s possible that the problem is not with your hard drive, but with your cables or ports. A bit of debris is enough for the connectors to fail.
- Corruption – Virus attacks, power outages, and software issues can all cause corruption. If your drive is corrupted, you can’t predict how it will act… And it’s common for corrupted drives to be unrecognizable by computers.
- Drive isn’t reading for macOS – If you have outdated drivers, your Mac isn’t mounting your drive properly, or there are logical errors on your drive, your Toshiba external hard drive won’t show up.
- Physical damage – External hard drives are prone to extreme temperatures, water damage, and scratches from dust, debris, or getting bumped (grinding mechanical parts against each other). Any of these can cause data loss and should be handled by a professional data recovery service.
The first 3 cases can usually be resolved by the user without needing to hire a service. Before attempting to fix your drive, restore your data first. Some fixes either wipe your data or reorganize disk sectors, which could make your data inaccessible. We’ll show you how in the next section.
How to Recover Data from a Toshiba External Hard Drive
If your drive appears in Disk Utility (Finder > Applications > Utilities) with the correct size, that means you should be able to scan it with data recovery software. This is a tool that can pull data from the file system and rebuild it (in case of fragmentation).
For this article, we’ll be using Disk Drill. We recently used it in a similar case for Seagate file recovery, and we’ve always found it to be one of our most reliable tools throughout the years. It’s also easy enough to use that beginners should be successful on the first try.
Step 1. Make sure your drive is securely connected to your Mac, then download and install Disk Drill.
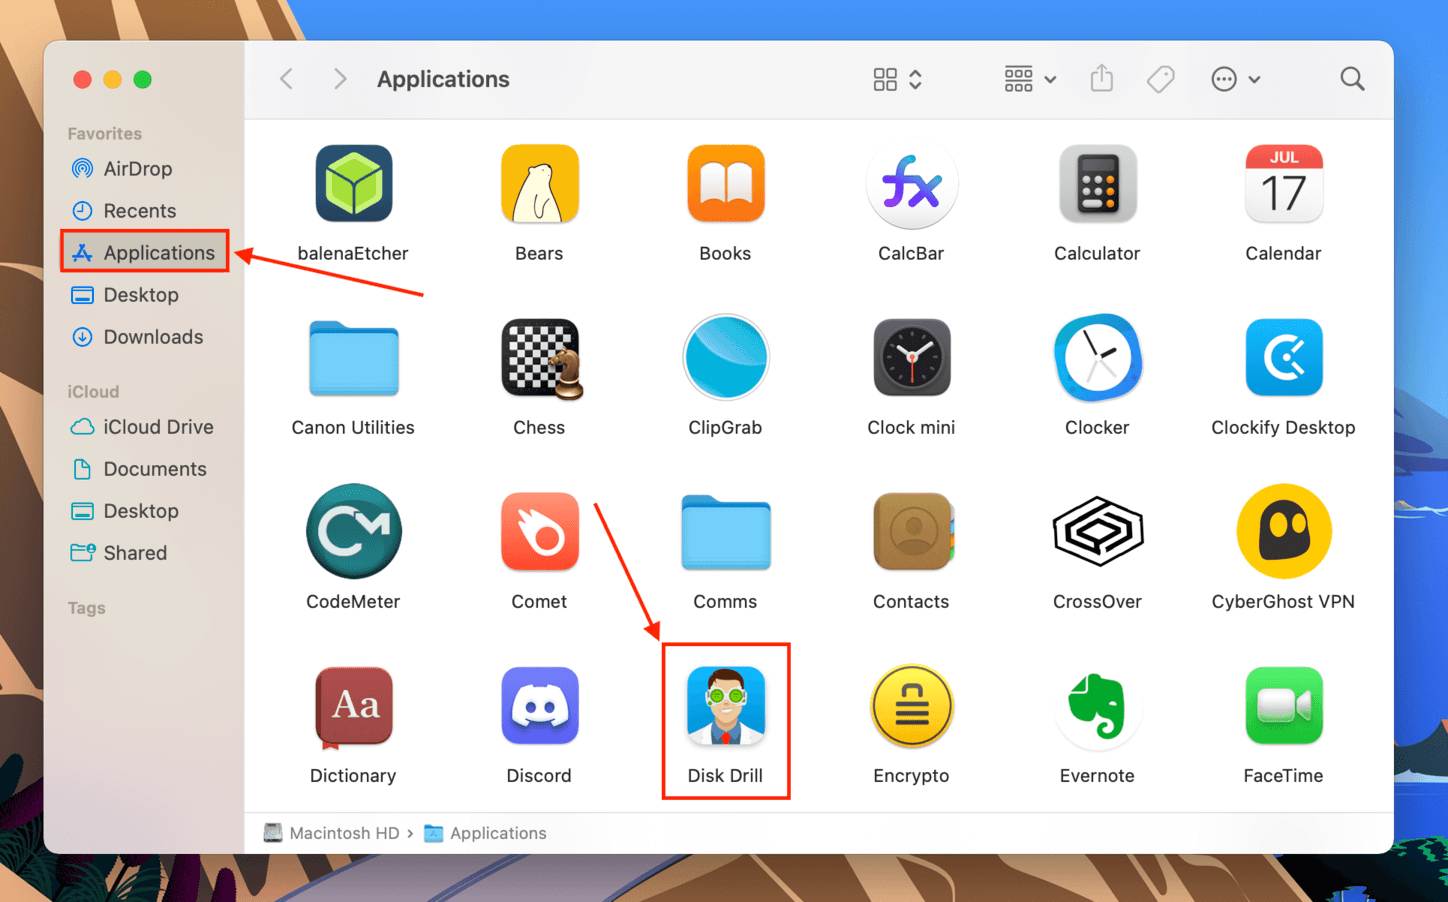
Step 2. Launch Disk Drill (Finder > Applications > Disk Drill).
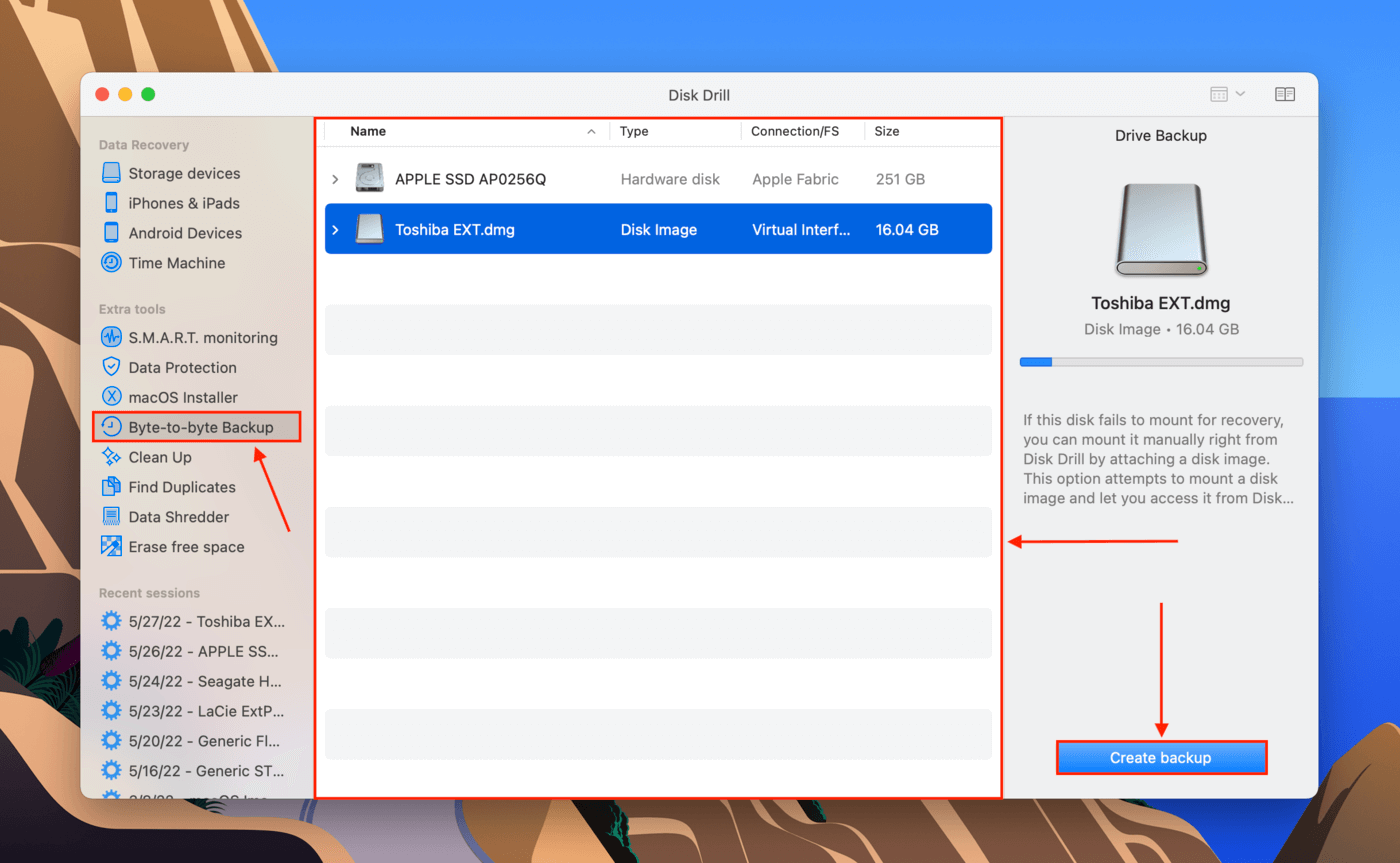
Step 3. Click “Byte-to-byte backup” on the left sidebar, select your drive from the middle pane, then click “Create backup.”
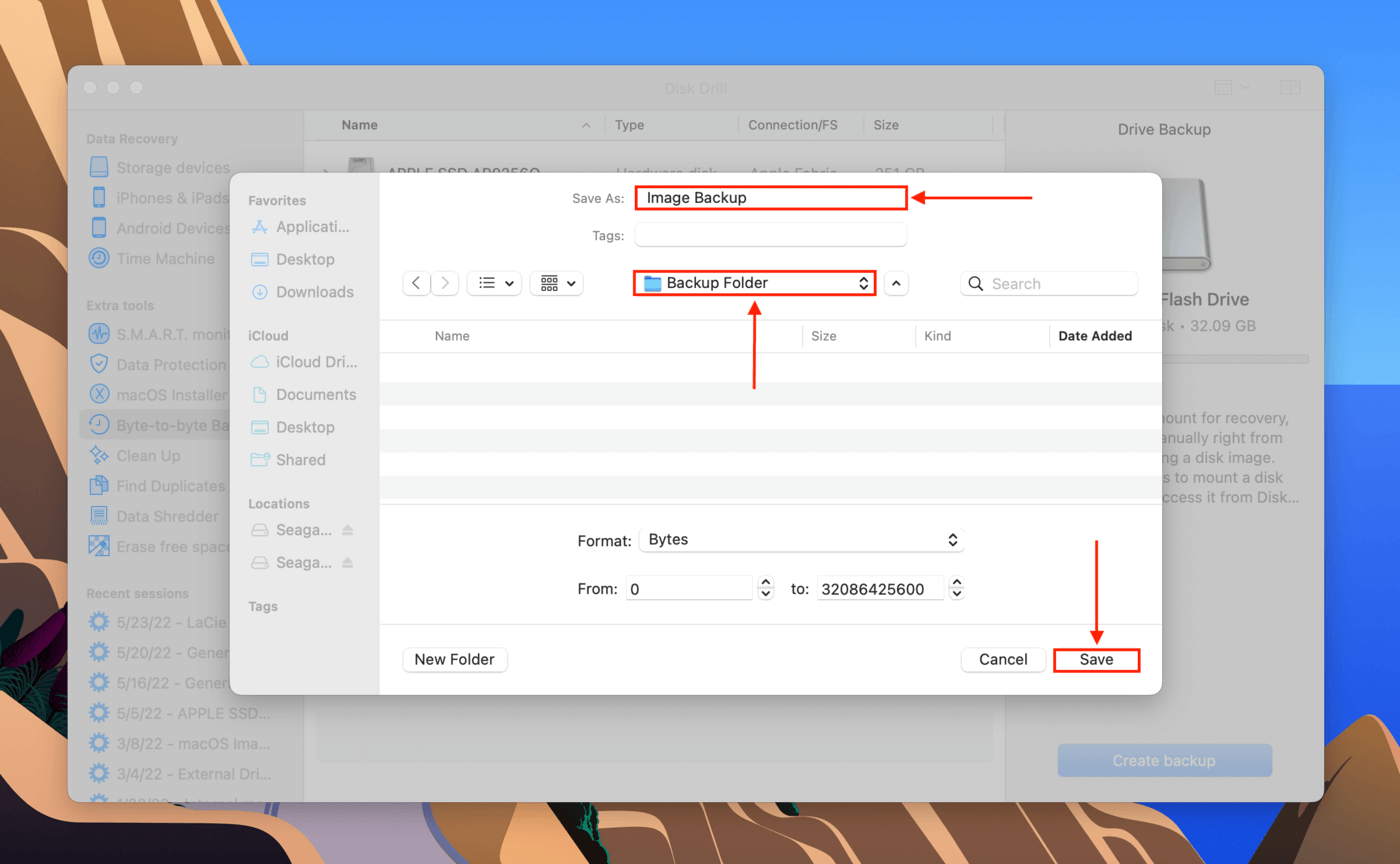
Step 4. Select a local folder where Disk Drill will save the image backup. Name it, then click “Save.”
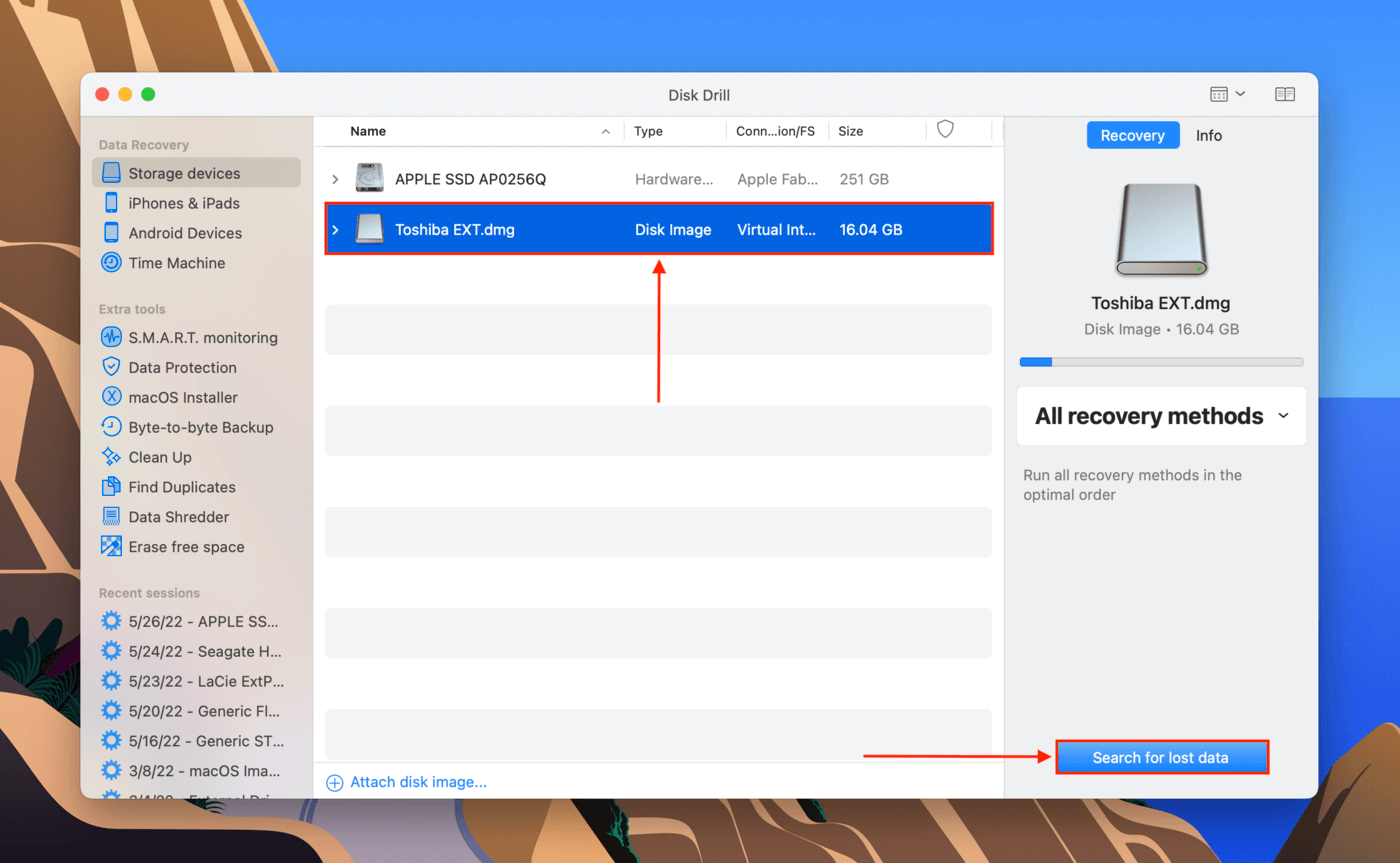
Step 5. Double-click the image backup file we just created to mount it, then return to Disk Drill’s main window and select “Storage devices in the left sidebar.” Select the backup file from the middle pane (it should have a .dmg extension and its Type should be listed as “Disk Image”), then click “Search for lost data.”
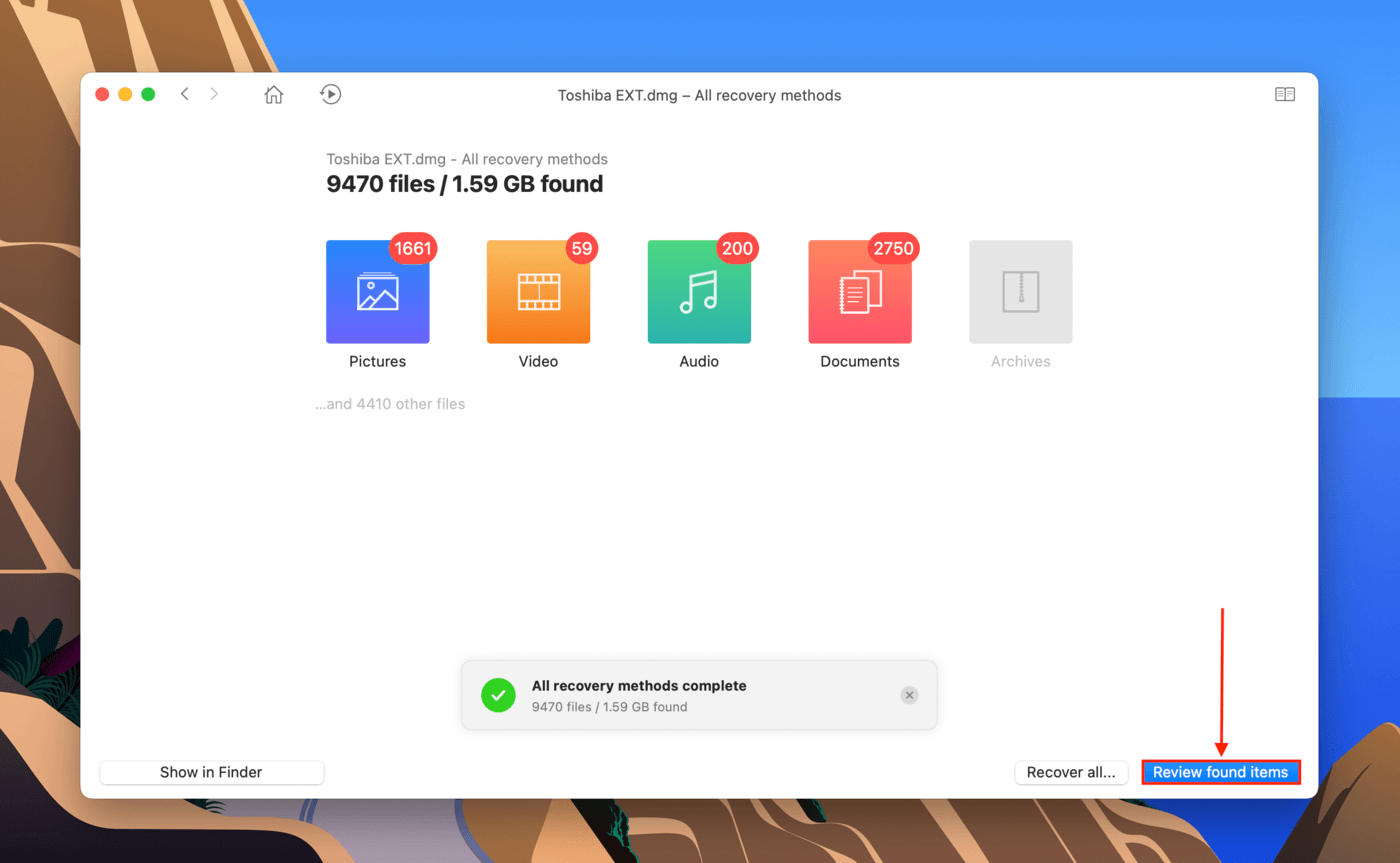
Step 6. Wait for Disk Drill’s scan to finish. Then, click “Review found items.”
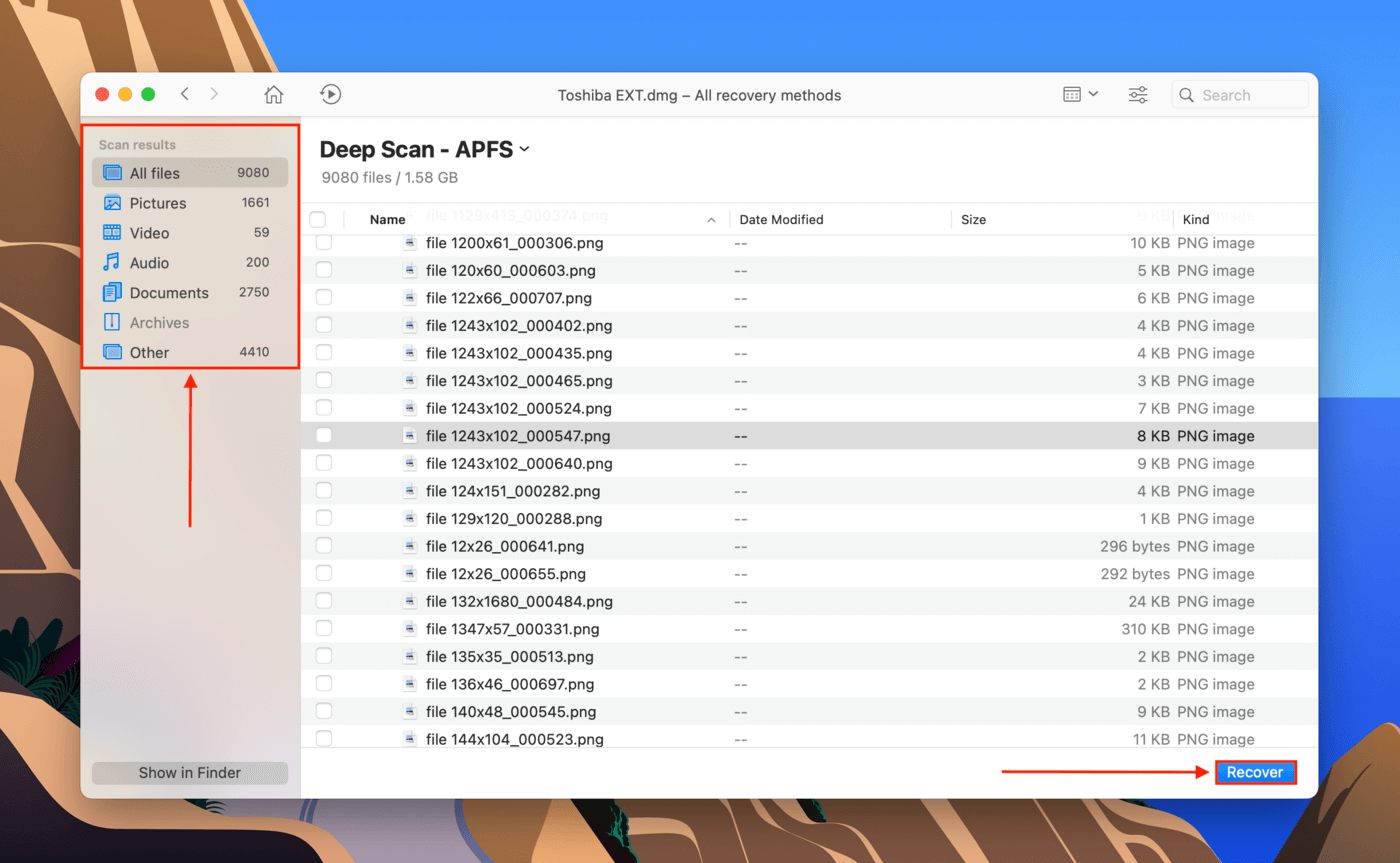
Step 7. You can use the search bar and the left sidebar to filter the results and find your files faster.
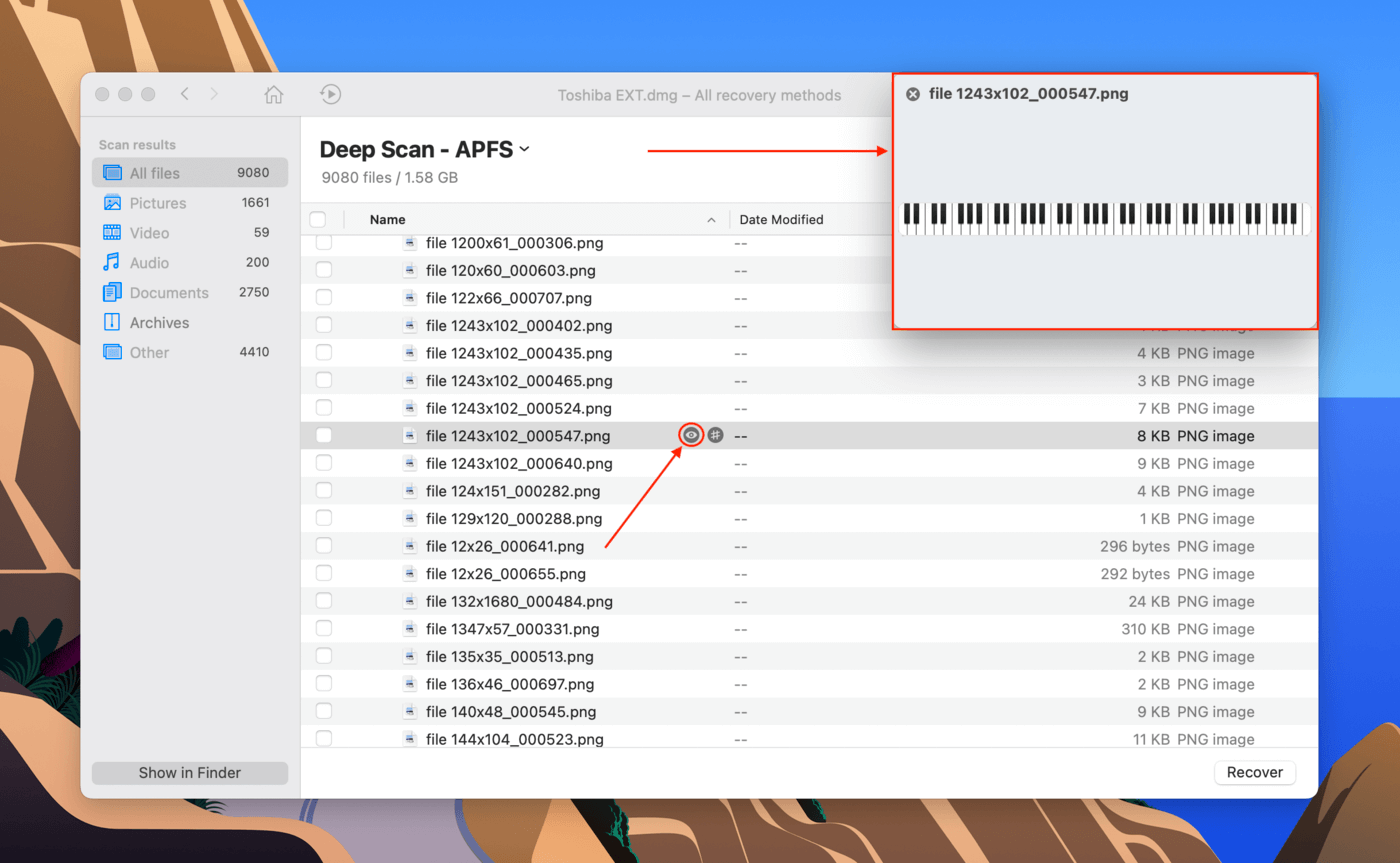
Step 8. Preview files by hovering your mouse to the right of any file name and clicking the eye button that appears.
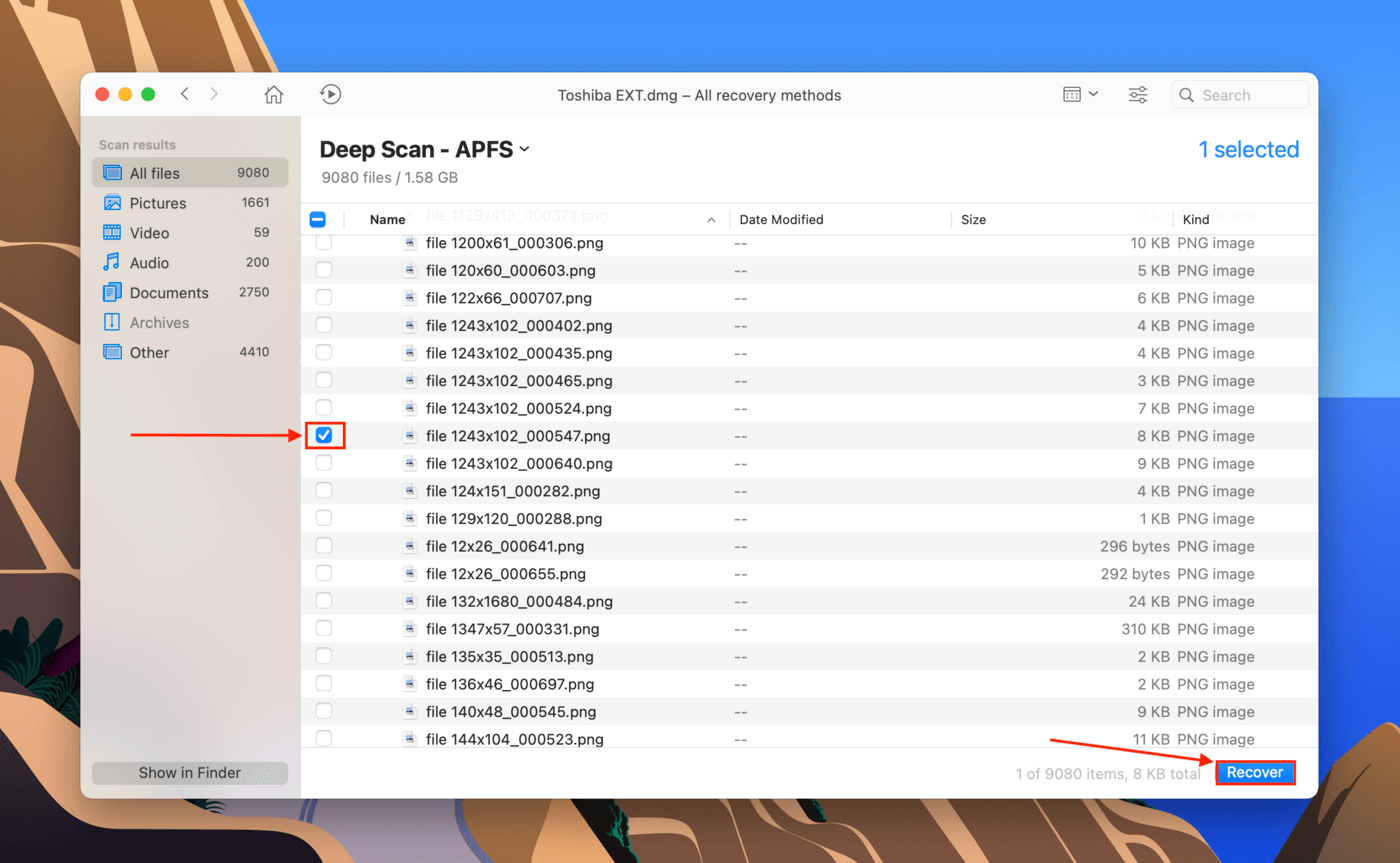
Step 9. Use the checkboxes in the left-most column to select the files you want to restore. Then, click “Recover.”
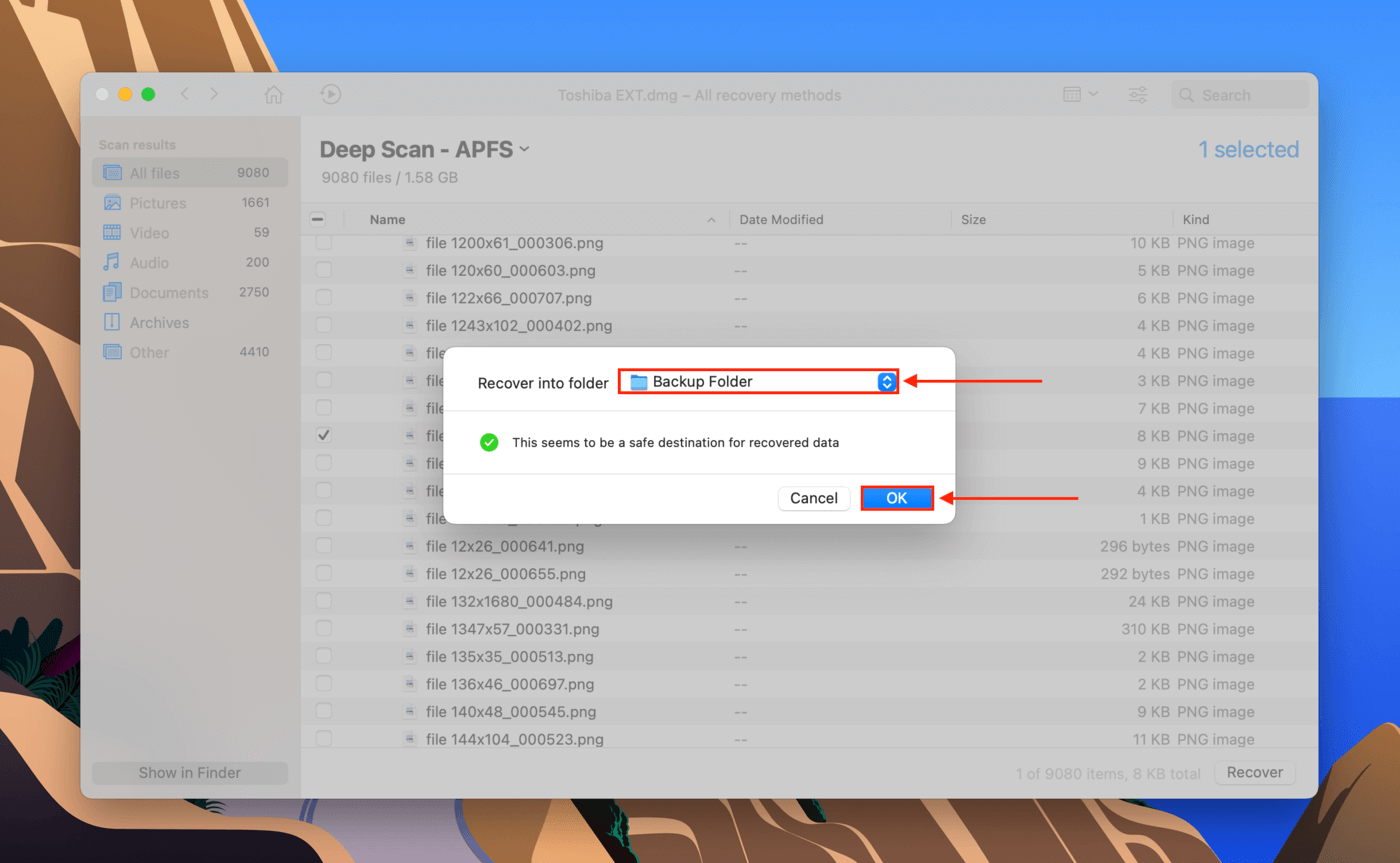
Step 10. Use the dropdown menu to select a destination folder on your computer for the recovered files. Don’t save it to your drive or you might overwrite data. Then, click “OK.”
How to Fix Toshiba Hard Drive That Isn’t Working on Mac
Depending on why your Toshiba external hard drive is not working on your Mac, there are a couple of fixes we can try. Note that using a problematic hard drive can often make things worse and cause permanent data loss. Recover any important data before proceeding (you can follow the guide in the previous section).
Fix #1: Reset your Mac.
As your Mac continues to launch and run programs, it occasionally refreshes itself to clear out the cache and temporary files. It could have gotten stuck during one of these refreshes as your Mac was about to mount your drive. Try getting it “unstuck” by rebooting.
Fix #2: Try another port or Mac.
It’s possible that dust or debris are causing blockages and preventing your drive from properly connecting to your Mac. If you can’t get it to work after wiping it with a dry microfiber cloth, try using another port or Mac.
Fix #3: Try another port or Mac.
If you want to use your Toshiba external hard drive on your Mac, it has to be properly mounted. In case something interrupted this process, try mounting it manually. Open Disk Utility (Finder > Applications > Utilities), select your drive from the left sidebar, and click “Mount.”
Fix #4: Use Disk Utility’s First Aid feature.
First Aid scans for and automatically repairs file system errors. However, make sure that you’ve recovered your data beforehand. First Aid re-allocates bad sectors, which may cause some data to become inaccessible. Open Disk Utility (Finder > Applications > Utilities), select your drive from the left sidebar, and click “First Aid.”
Fix #5: Reinstall drivers.
If you haven’t updated your Mac in a while, your drivers may be outdated as well. This can prevent your Mac from recognizing the drive. To update your Toshiba external hard drive drivers for Mac, you need to update macOS itself. Launch System Preferences > Software Update.
Fix #6: Format your Toshiba external hard drive.
In the case of virus infections and severe corruption, you’ll need to format your Toshiba external hard drive on your Mac to make it usable again. Open Disk Utility and select your drive from the left sidebar. Then, click the “Erase” button.


