
Even though lots of folks love iPhones, most people around the world use Android smartphones. Each year, these phones get improved cameras along with sharper video output – yet editing clips on a tiny display can feel inconvenient. So, plenty switch things over to their laptop or desktop, no matter if it runs Windows or macOS.
The process is not always obvious, especially on macOS, which does not support Android file transfer natively. Still, moving videos from Android to a computer is simple once you use the right method. In this article, we show how to transfer videos from a phone to a laptop or computer on macOS and Windows (these methods are not limited to videos only and can also be used for other file types when needed).
Table of Contents
How to Transfer Files from Android to Mac
We start with macOS methods on purpose, as for many users, Mac feels like the harder case when it comes to Android file transfer. Unlike Windows, on macOS, you can connect an Android phone with a USB-C cable, and Finder stays empty (no device, no folders, nothing).
Most users assume the cable is bad, or the phone didn’t connect, but that’s just how macOS behaves (it’s not an Android issue). It’s a Mac thing, and that’s the reason most first attempts fail. So check out the following methods for transferring videos from your Android phone to your Mac computer, starting with the easiest options.
Method 1: Use a Third-Party App to Transfer Files from Android to Mac
The simplest way to move files from Android to a Mac is to use a third-party transfer app. There are several options available, but in practice we regularly rely on just one – MacDroid.
When you use MacDroid, your Android phone appears in Finder like a regular storage device, similar to a USB flash drive or an external hard drive. From there, you can browse folders and copy files to your Mac without any extra steps. This works well for videos, photos, and other file types you may want to store or edit on your computer.
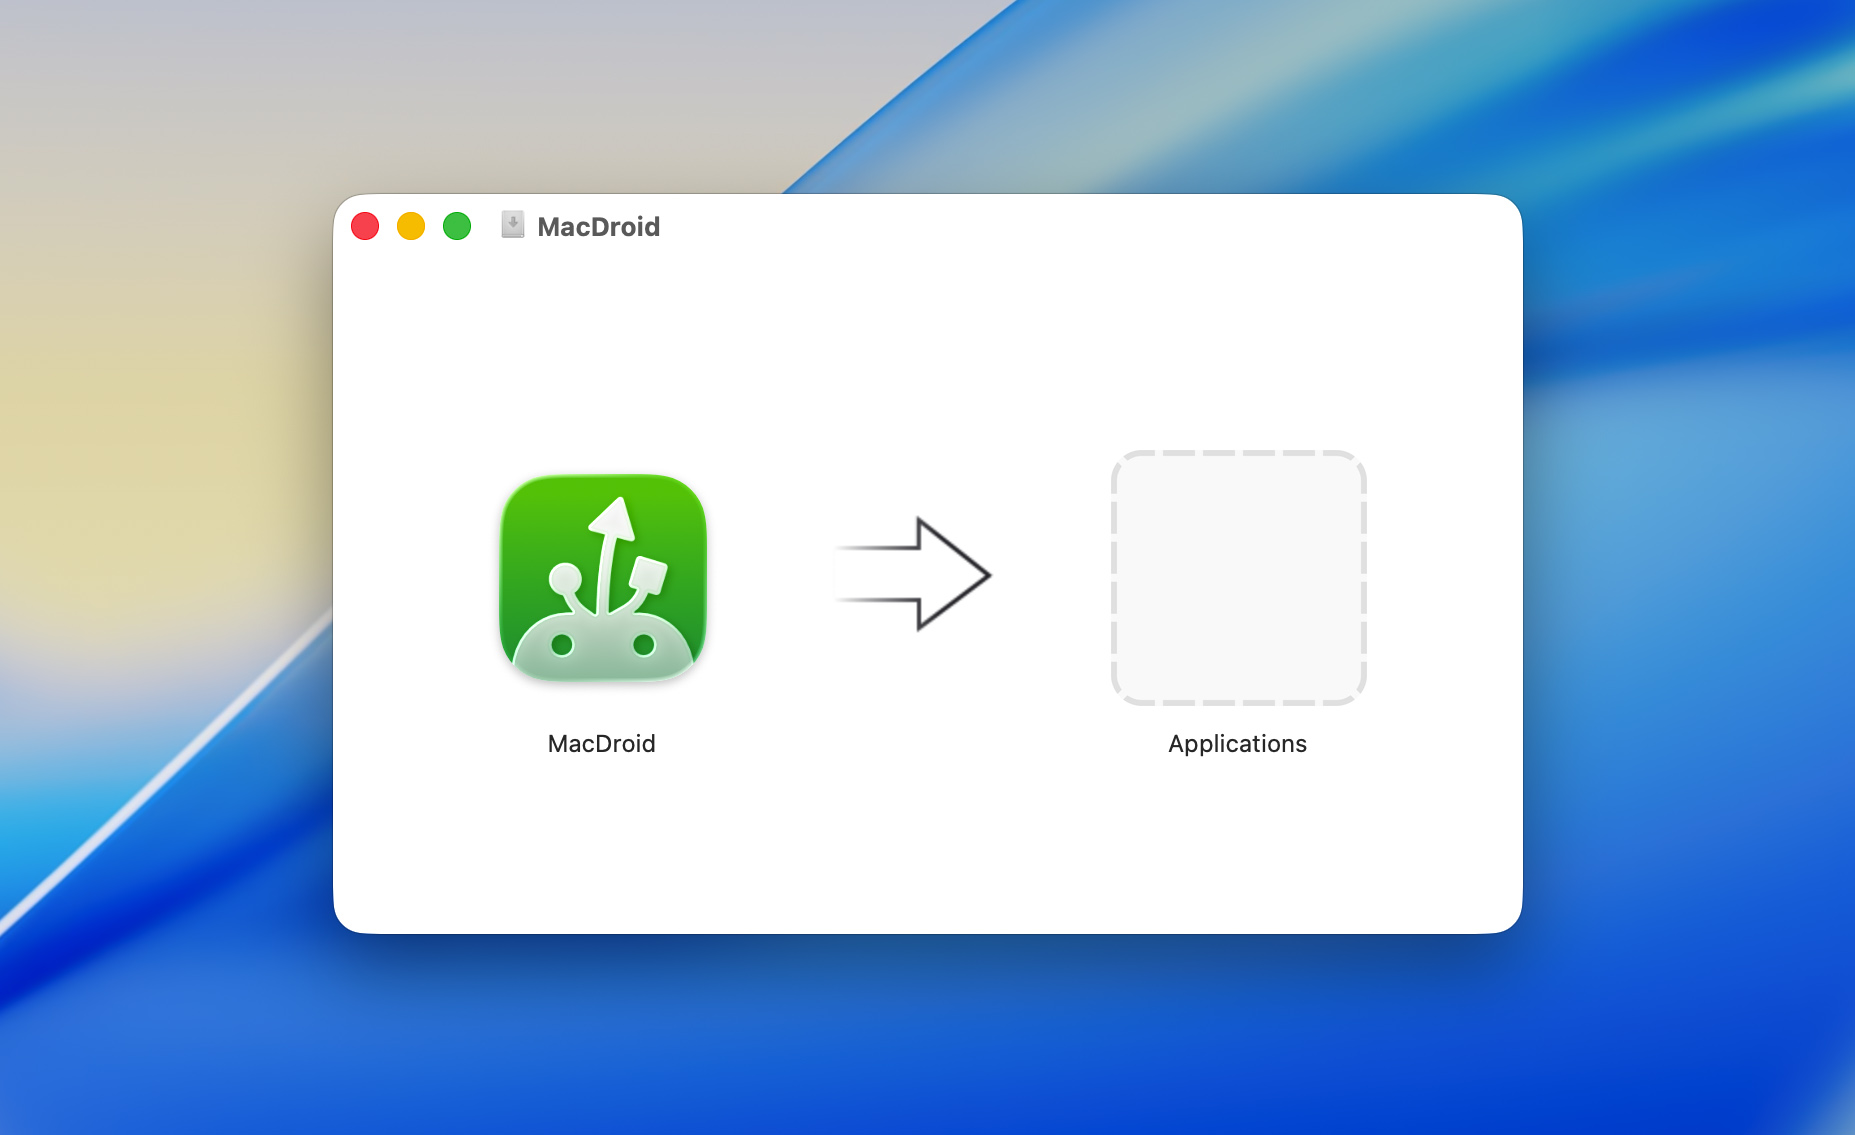
Step 1: Download MacDroid from its official website or App Store and install the app.
Step 2: Plug your phone or tablet into the Mac with a USB cable.
Step 3: Open MacDroid, select either ADB or MTP mode, and confirm access to the device when prompted.
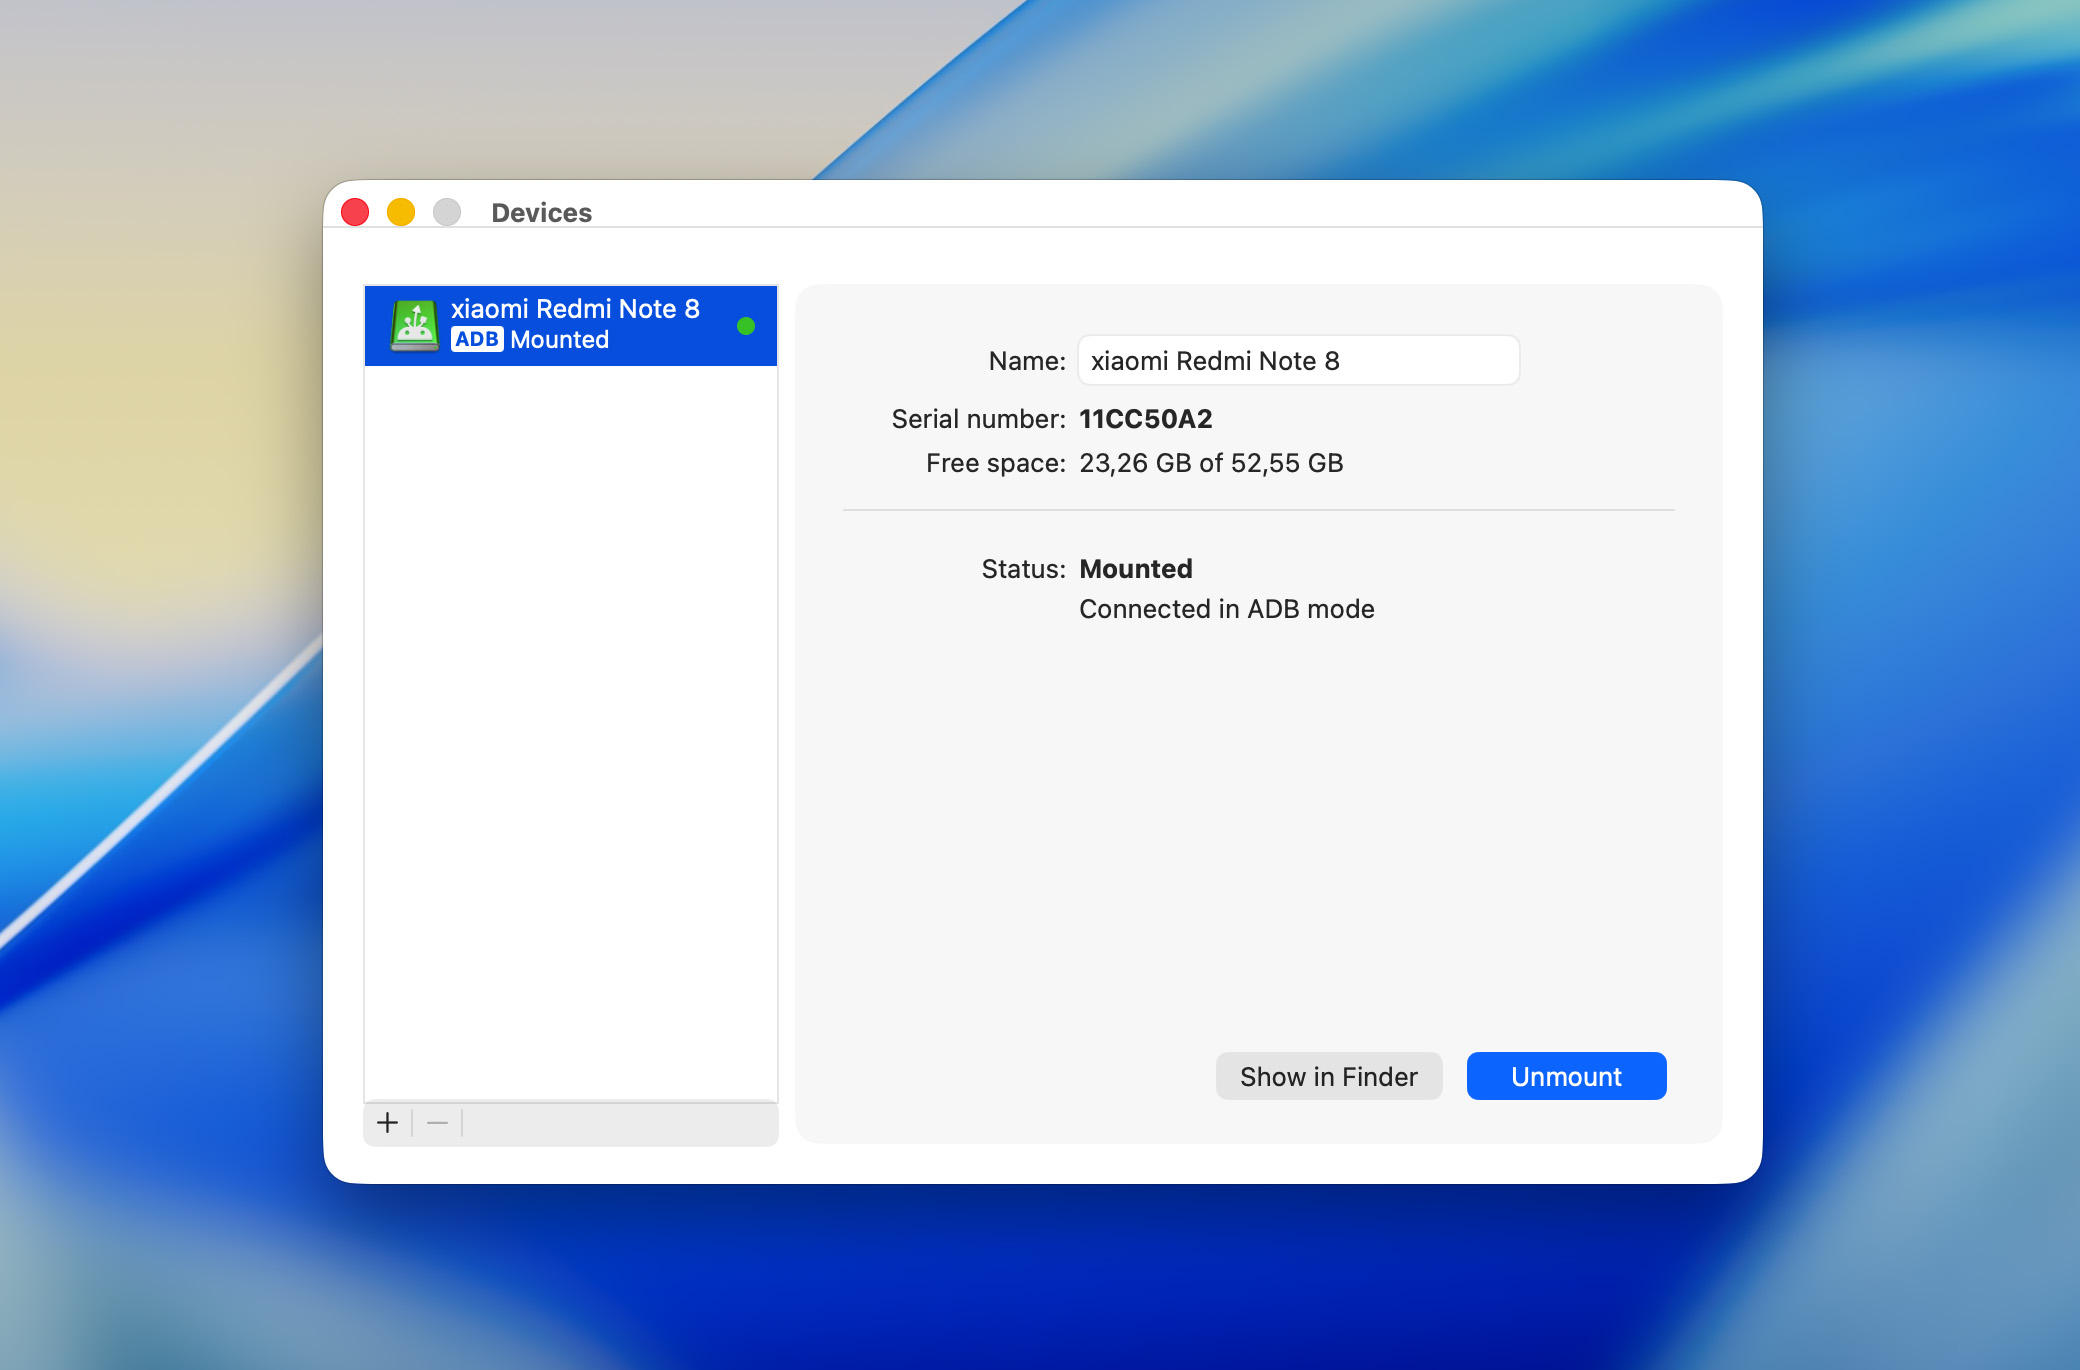
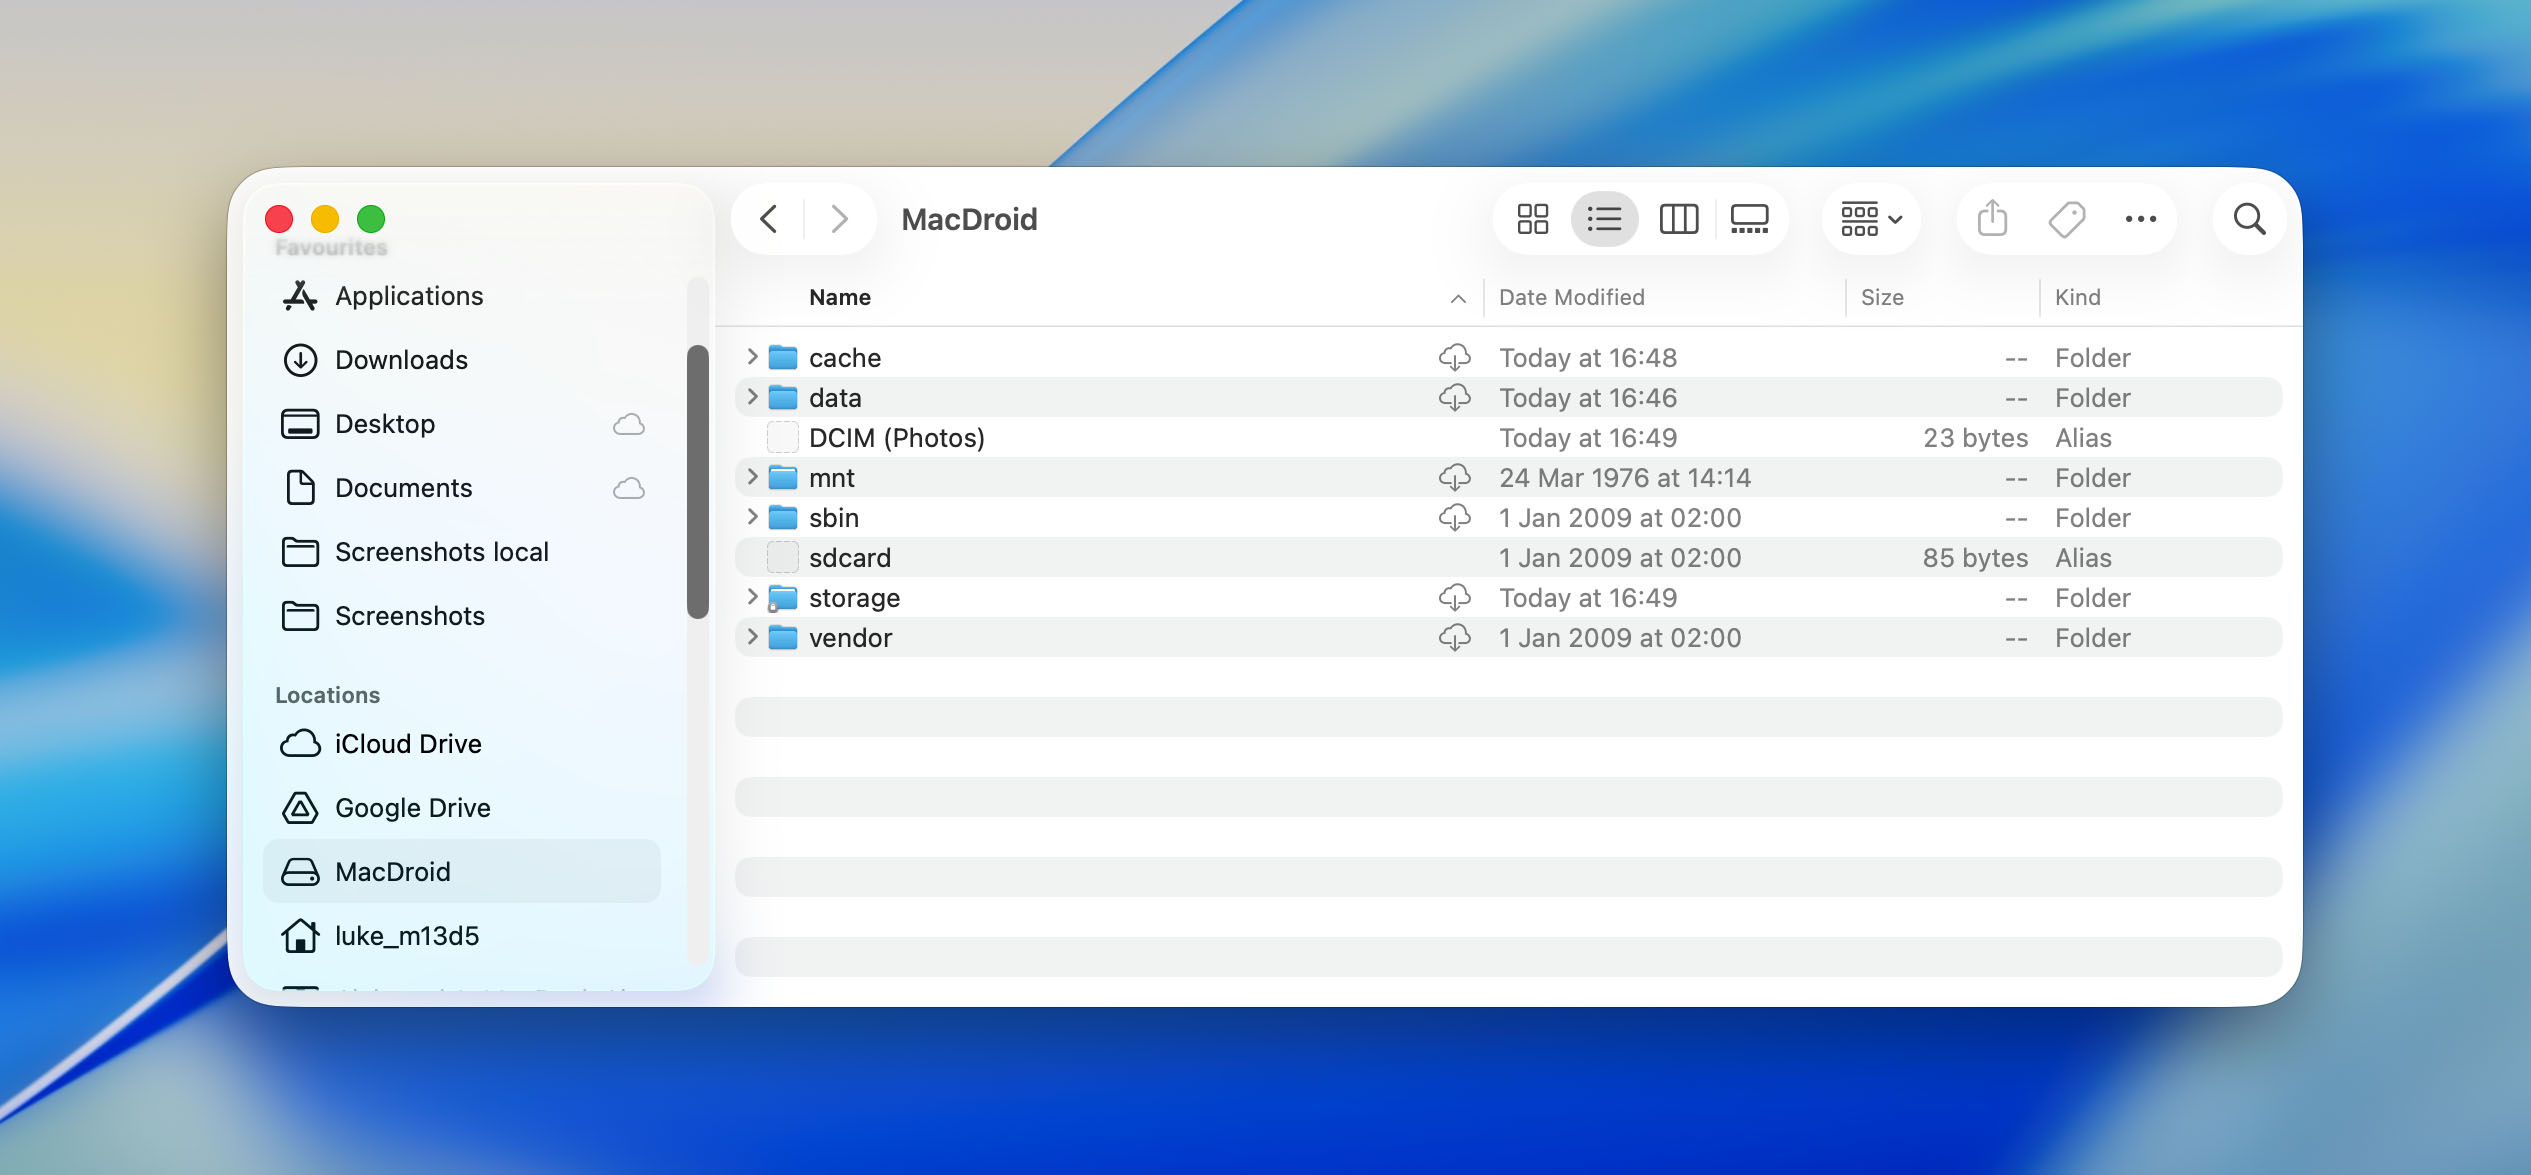
Step 4: After the connection is approved, the Android device appears in Finder, where you can copy videos, photos, and other files to your Mac.
If you want to transfer videos from your phone to your computer without a USB, MacDroid also supports wireless connection over Wi-Fi. To use this option, you need to locate the Build number on your Android device and enable USB debugging. Detailed instructions for setting up wireless transfer are available on the MacDroid website in the Android File Transfer section.
Keep in mind that MacDroid is not completely free. While you can test basic functionality, full access requires either a yearly subscription or a lifetime license.
Method 2: Move Videos From an Android Phone to a Mac Computer Using a Native App
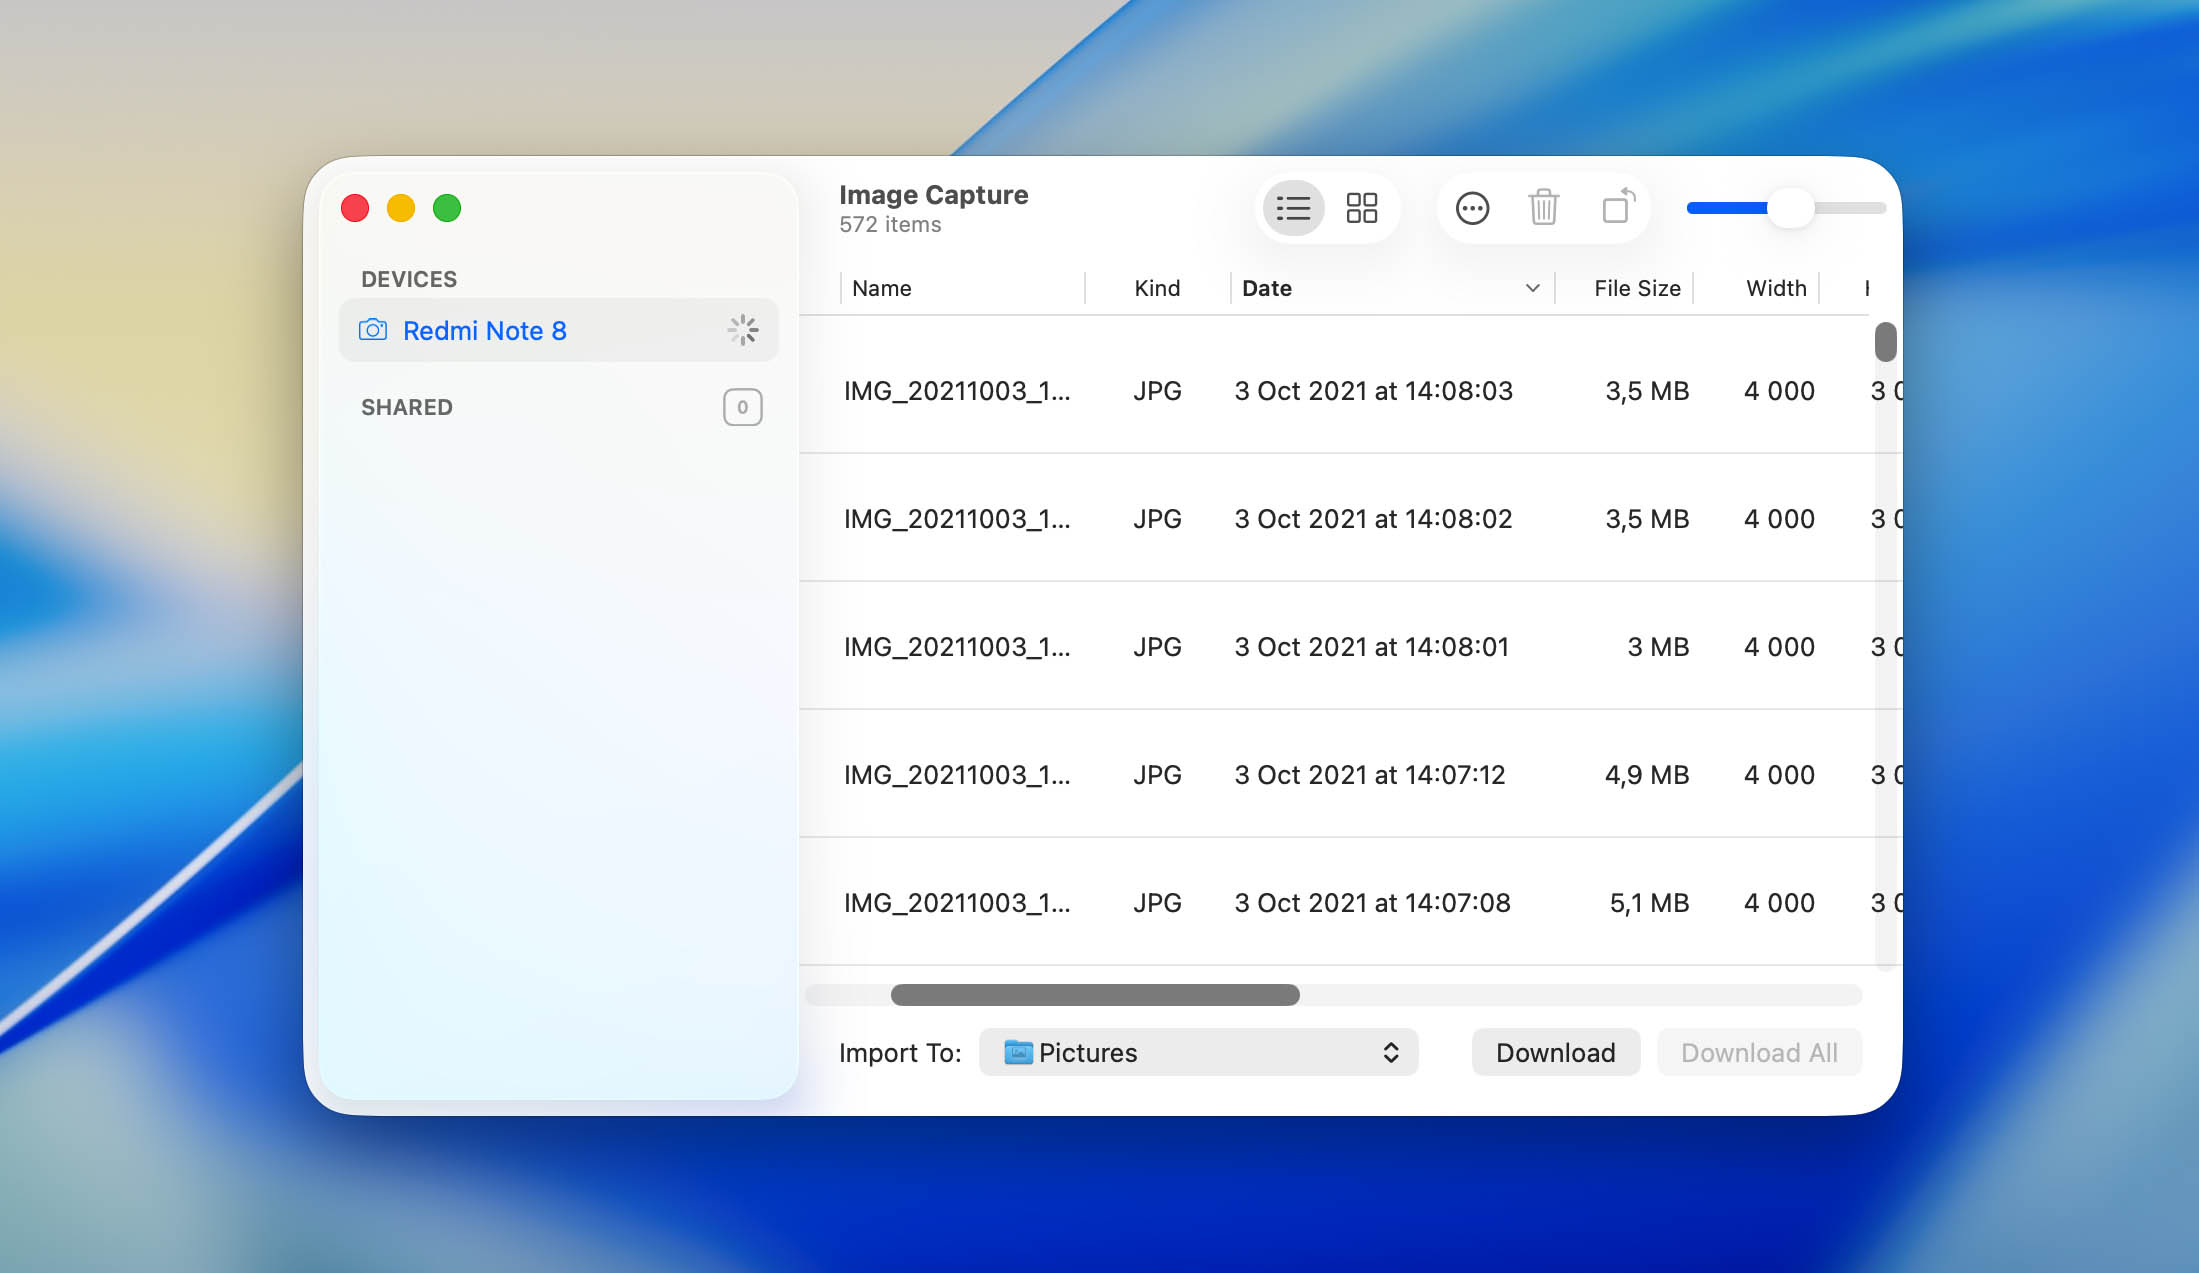
You can also move videos from your Android to a Mac using Image Capture – it’s built into macOS (no extra apps needed, just hook up with a standard USB cable).
Image Capture’s a basic tool that pulls pictures and clips from gadgets like phones or cameras. Once you plug an Android into your Mac and grant permission, the software spots it right away. It then shows off all the media living on the device. After that, grabbing videos and saving them onto the computer takes just one click.
Step 1: Use a USB cable to connect the phone to your Mac.
Step 2: On the Android device, select File transfer (MTP) when the USB connection prompt appears.
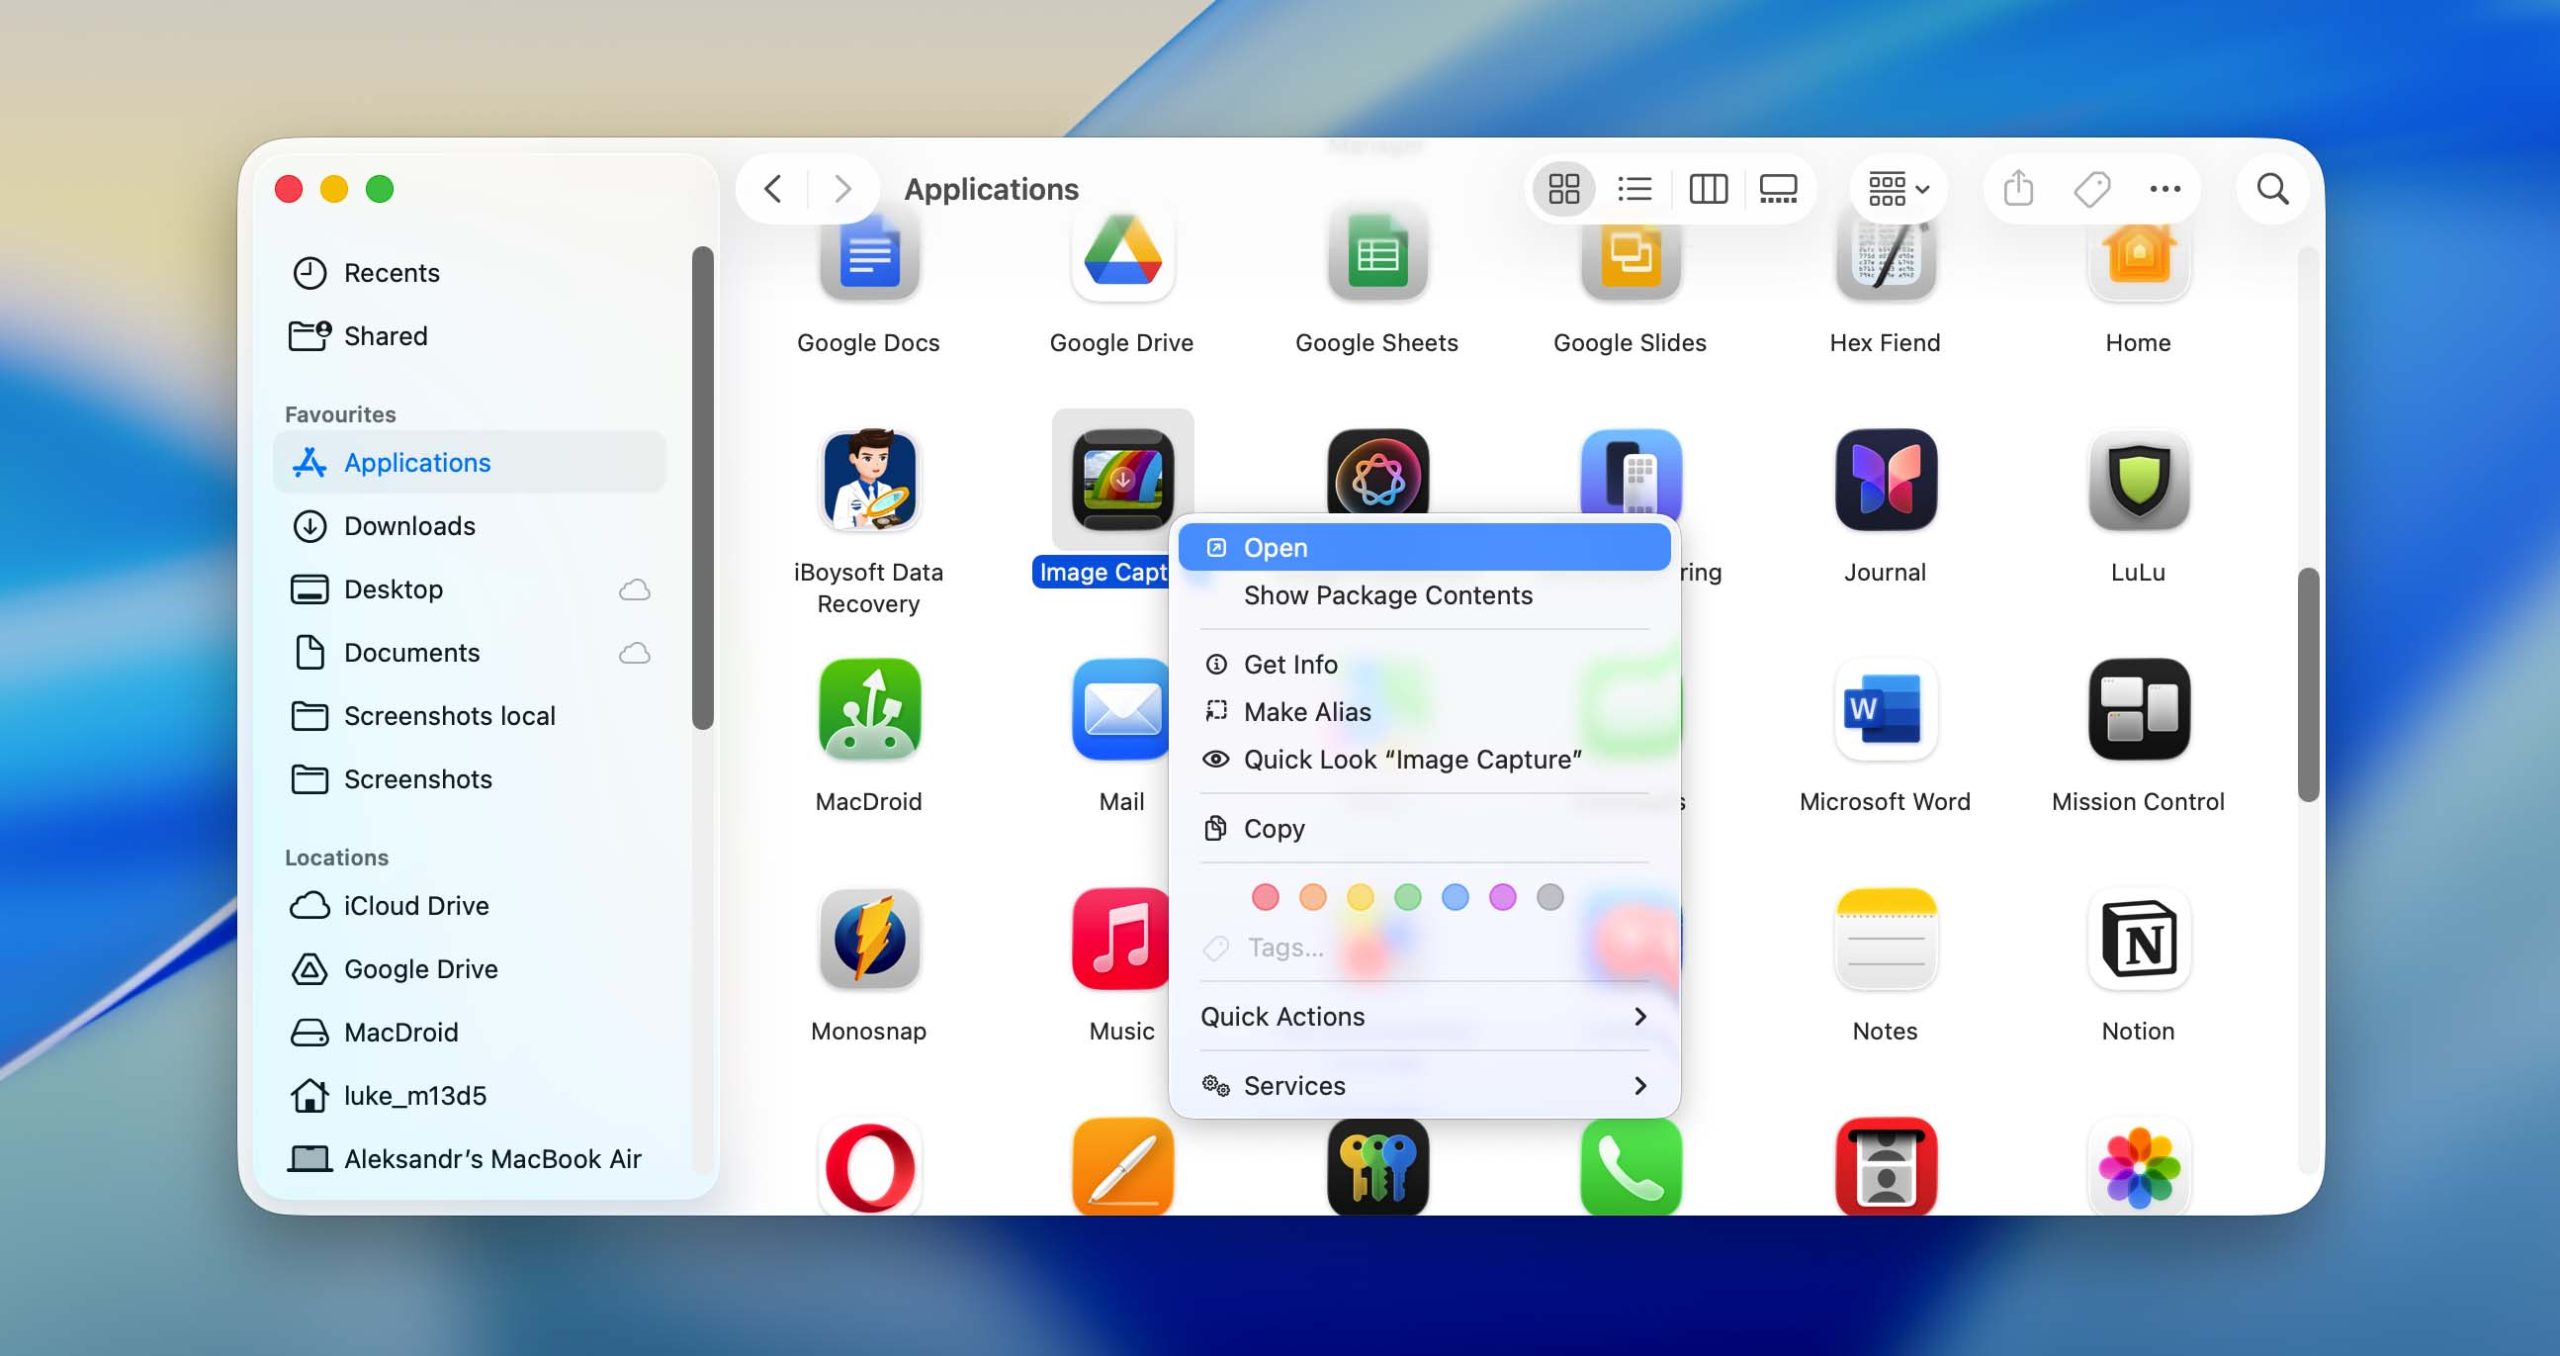
Step 3: Go to Applications, find Image Capture, and select your Android device from the list on the left.
Step 4: Select individual videos or use the import option to copy all available media files.
Step 5: Choose a destination folder and import the videos to your Mac for storage or further work.
How to Transfer Videos from Android to a Windows PC
Compared to macOS, transferring videos from Android to Windows is usually much easier thanks to better integration between the two platforms. In many cases, you can transfer videos from your phone to your computer via USB or without it, and no extra software is required.
Method 1: Get a Video from Phone to Computer Using a Direct USB Connection
On Windows, Android phones mount like regular external devices once they are connected and the required permissions are granted. After that, it appears in File Explorer, where you can browse folders and copy videos the same way you would from a USB flash drive or an external hard drive.
Step 1: Use a USB cable to connect the phone to the computer.
Step 2: When the USB connection notification appears on the Android device, select File transfer (MTP).
Step 3: On the Windows PC, open File Explorer. The phone should appear under This PC.
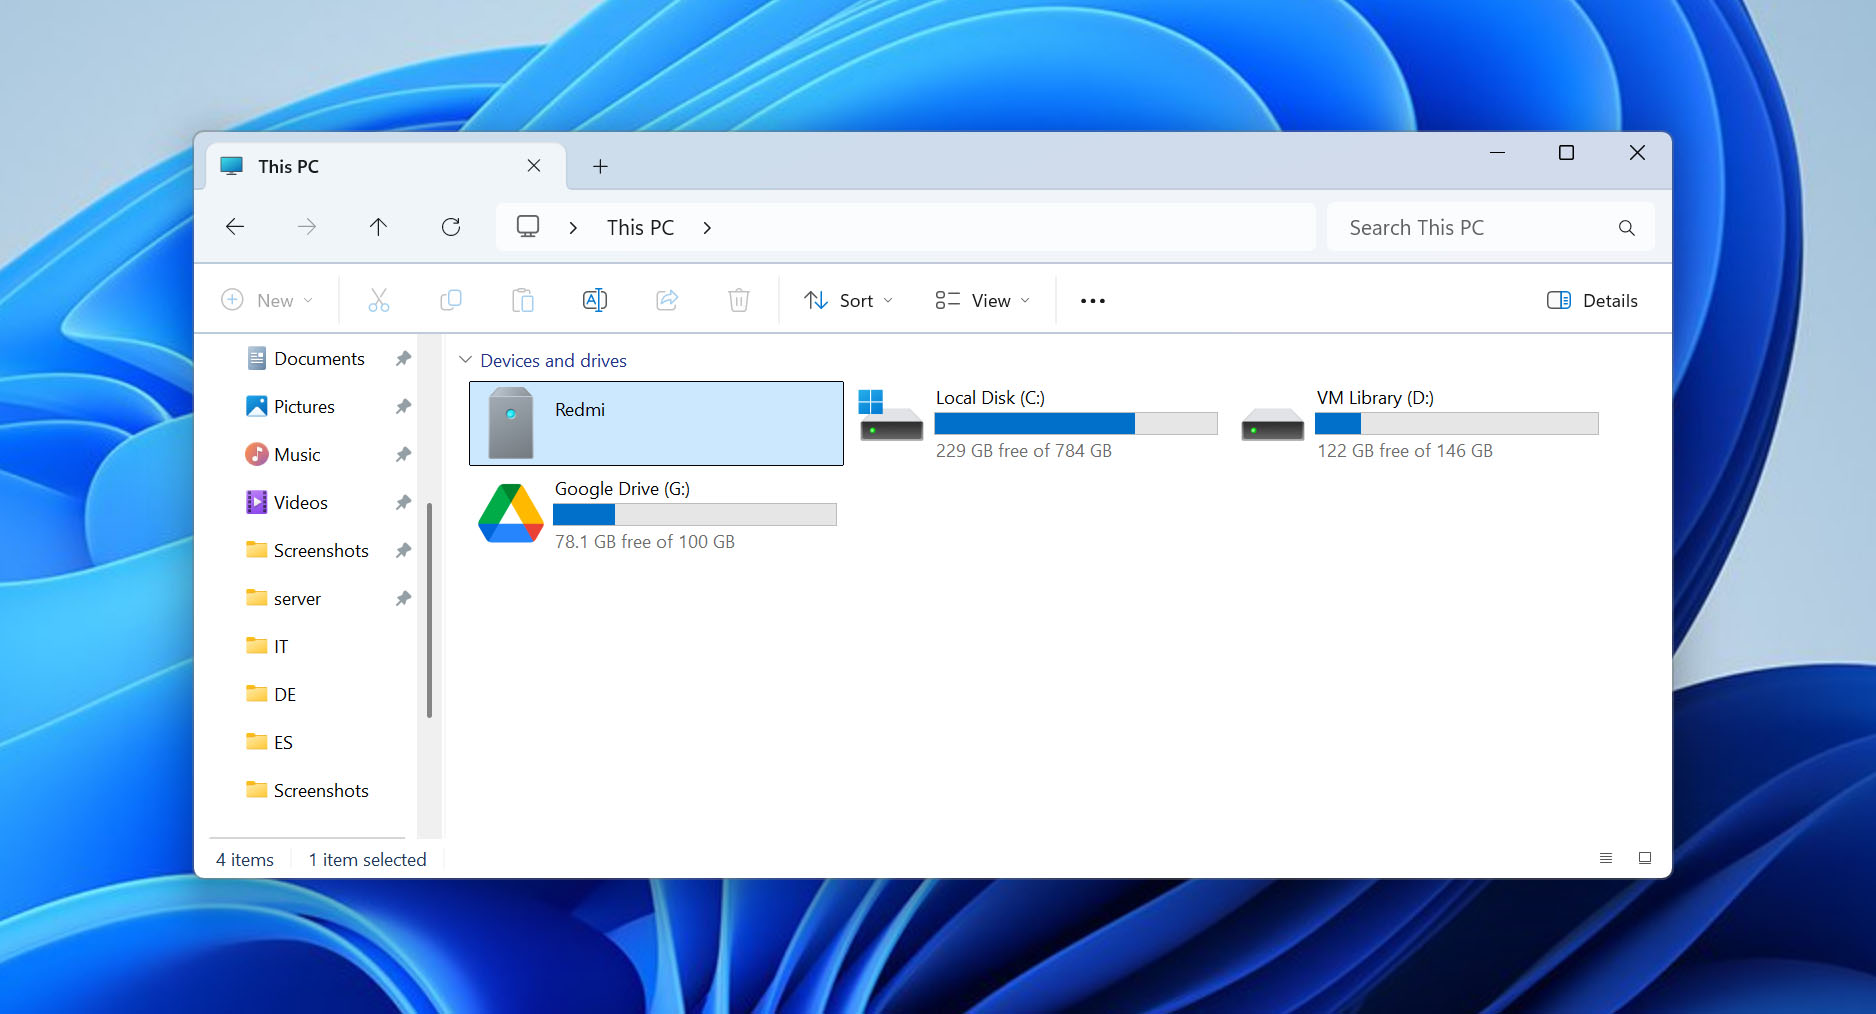
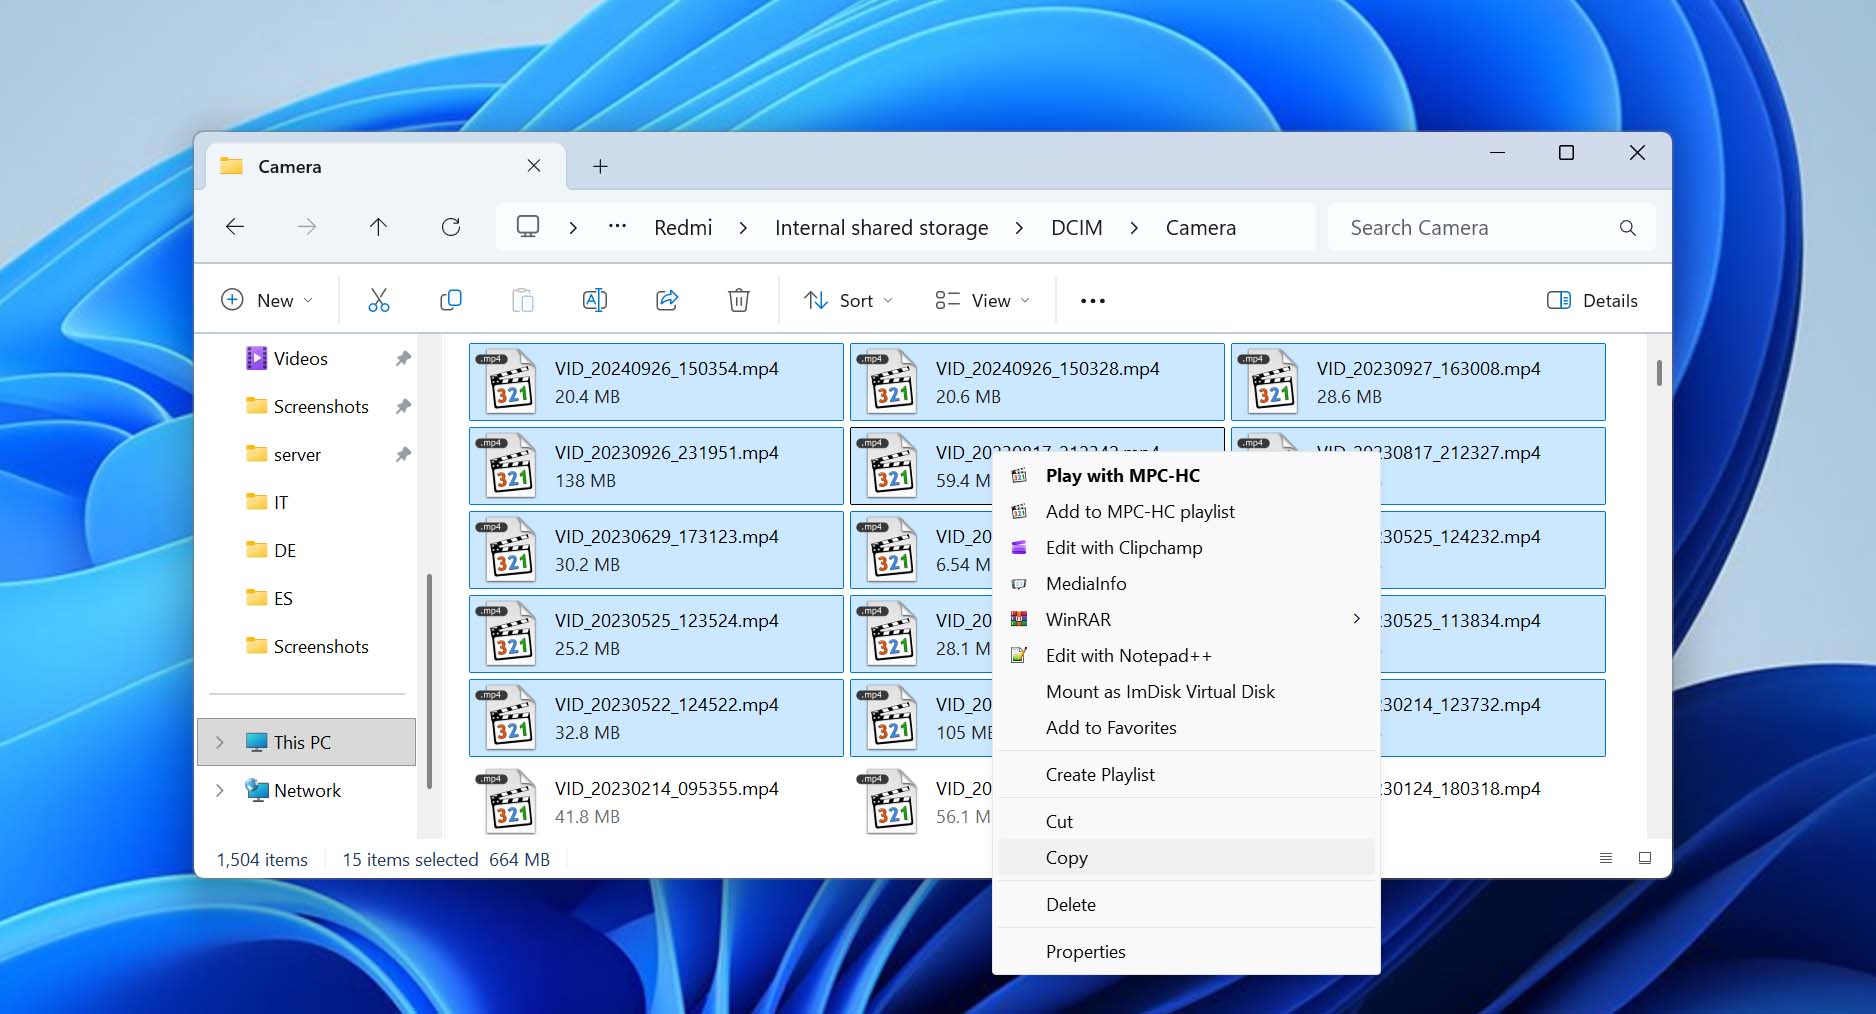
Step 4: Open the device storage, locate the videos, and copy them to any folder on your computer.
On some Android devices, the phone may connect using PTP (Picture Transfer Protocol) instead of full file transfer. This means the system exposes only photos and videos, not the entire storage or folder structure. In this case, you can use the built-in Photos app on Windows. After connecting the phone, just open Photos, select the import option, and choose the videos you want to copy.
Method 2: Transfer Videos From an Android Phone to a Windows PC Using Bluetooth
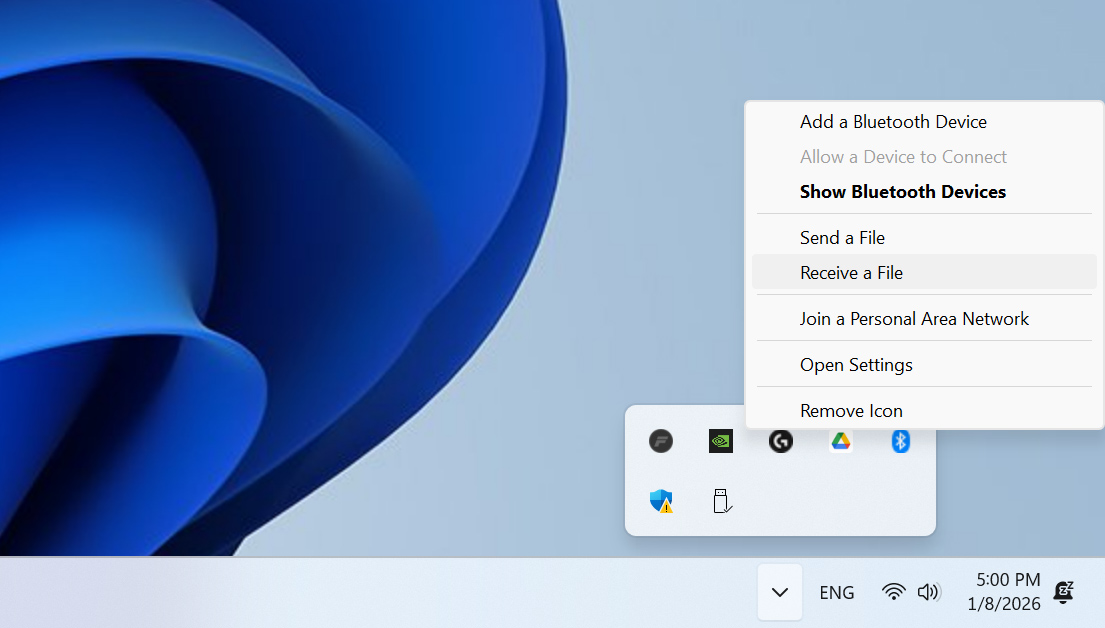
If you don’t have a USB cable but still need to move a video from your phone to a Windows PC, you can use Bluetooth. It’s an old (and often forgotten option), and it’s definitely not the fastest method, but it still works for smaller video files.
Step 1: Enable Bluetooth on your Android phone and on your Windows PC.
Step 2: On Windows, open Bluetooth & devices settings and pair the PC with your Android phone.
Step 3: Select the option to receive files via Bluetooth.
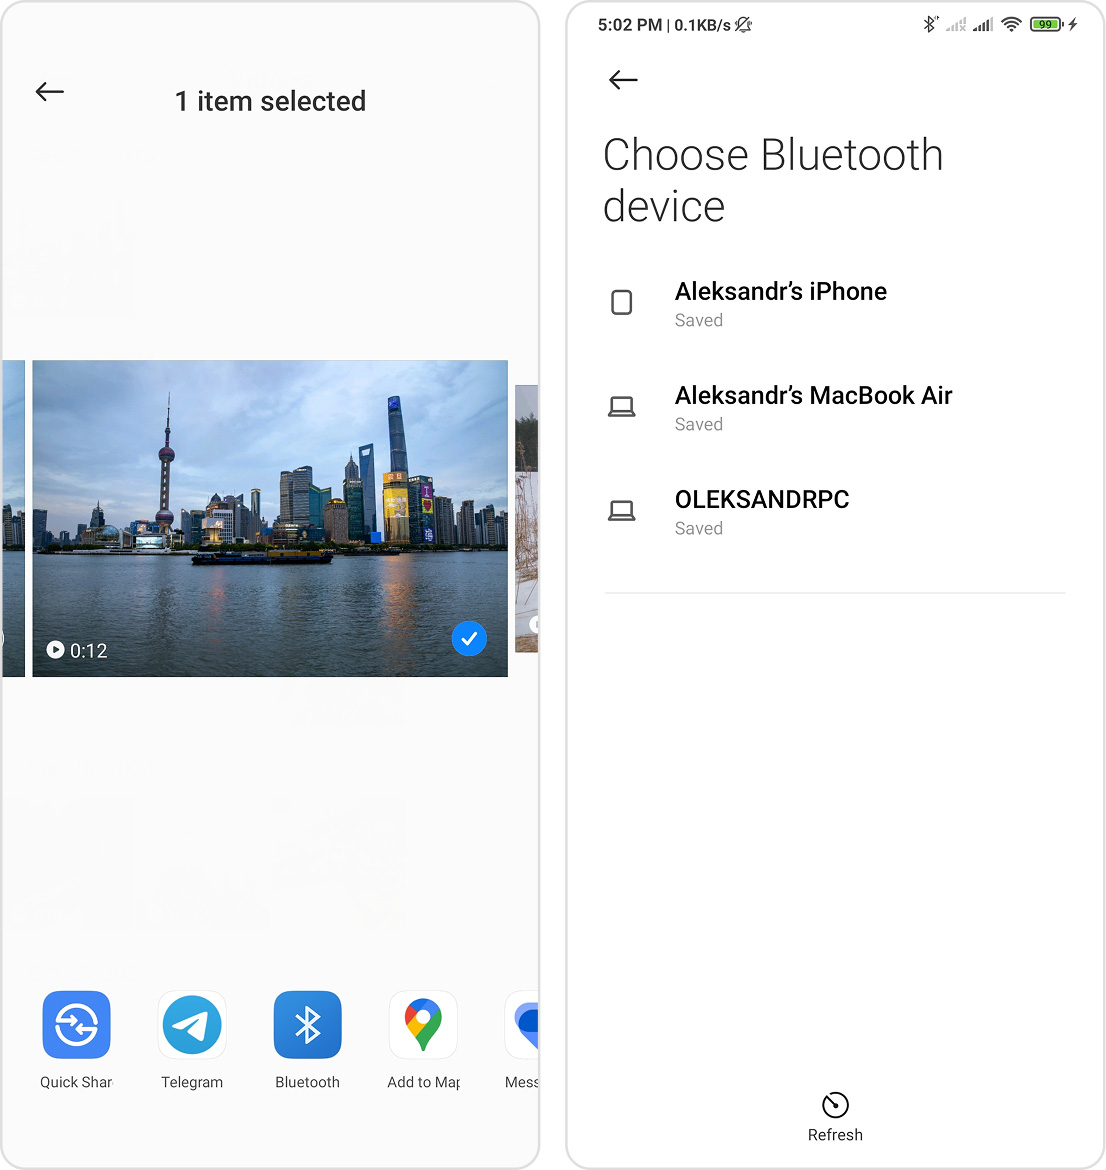
Step 4: On the phone, open the video you want to transfer, choose Share, and select Bluetooth. Pick your Windows PC from the list.
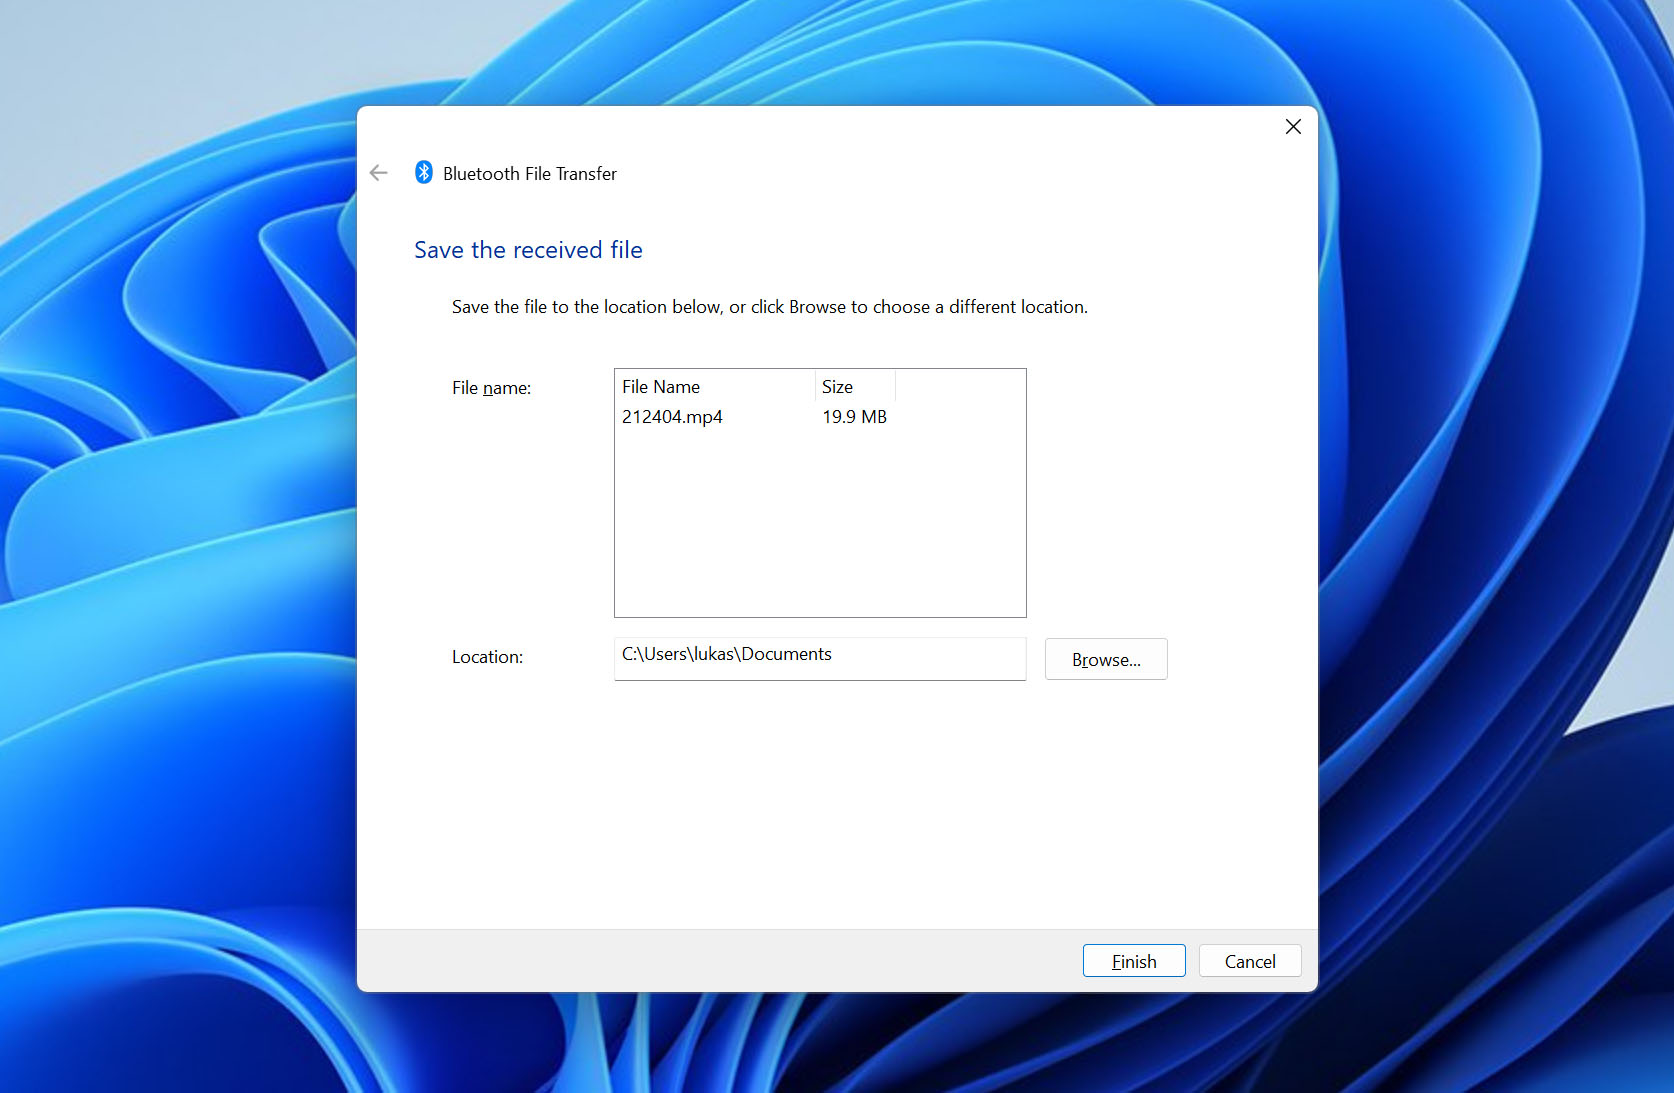
Step 5: Once the transfer finishes, choose a location on the computer to save the video file.
Universal Ways to Transfer Files from Phone to Computer
In addition to platform-specific methods for macOS and Windows, there are also universal options that work the same way on both systems. We placed them after the OS-specific methods on purpose, as while these solutions are flexible, they are usually less convenient for regular use and work best as quick, situational fixes.
Both options below are wireless, which helps when a USB cable is not available or when you need to move files fast. However, for day-to-day transfers, we still recommend checking the macOS- or Windows-specific methods first and choosing the one that fits your setup.
Method 1: Upload a Video from Phone to Computer Using Google Drive
Google Drive is one of the simplest ways to move videos from a phone to a computer without using a cable. It works the same way on macOS and Windows and requires only an internet connection. Once the video is uploaded from your phone, it can be downloaded on any computer through a web browser.
If you already have a Google account, you automatically get 15 GB of free cloud storage. This space can be used to upload videos temporarily and then clear them from Drive after downloading, which helps avoid hitting the storage limit.
The main drawback is speed. Uploading and downloading large video files through Google Drive is noticeably slower than a direct USB connection and often slower than local Wi-Fi transfer. That said, if you don’t move videos to your computer very often, the slower speed is usually acceptable.
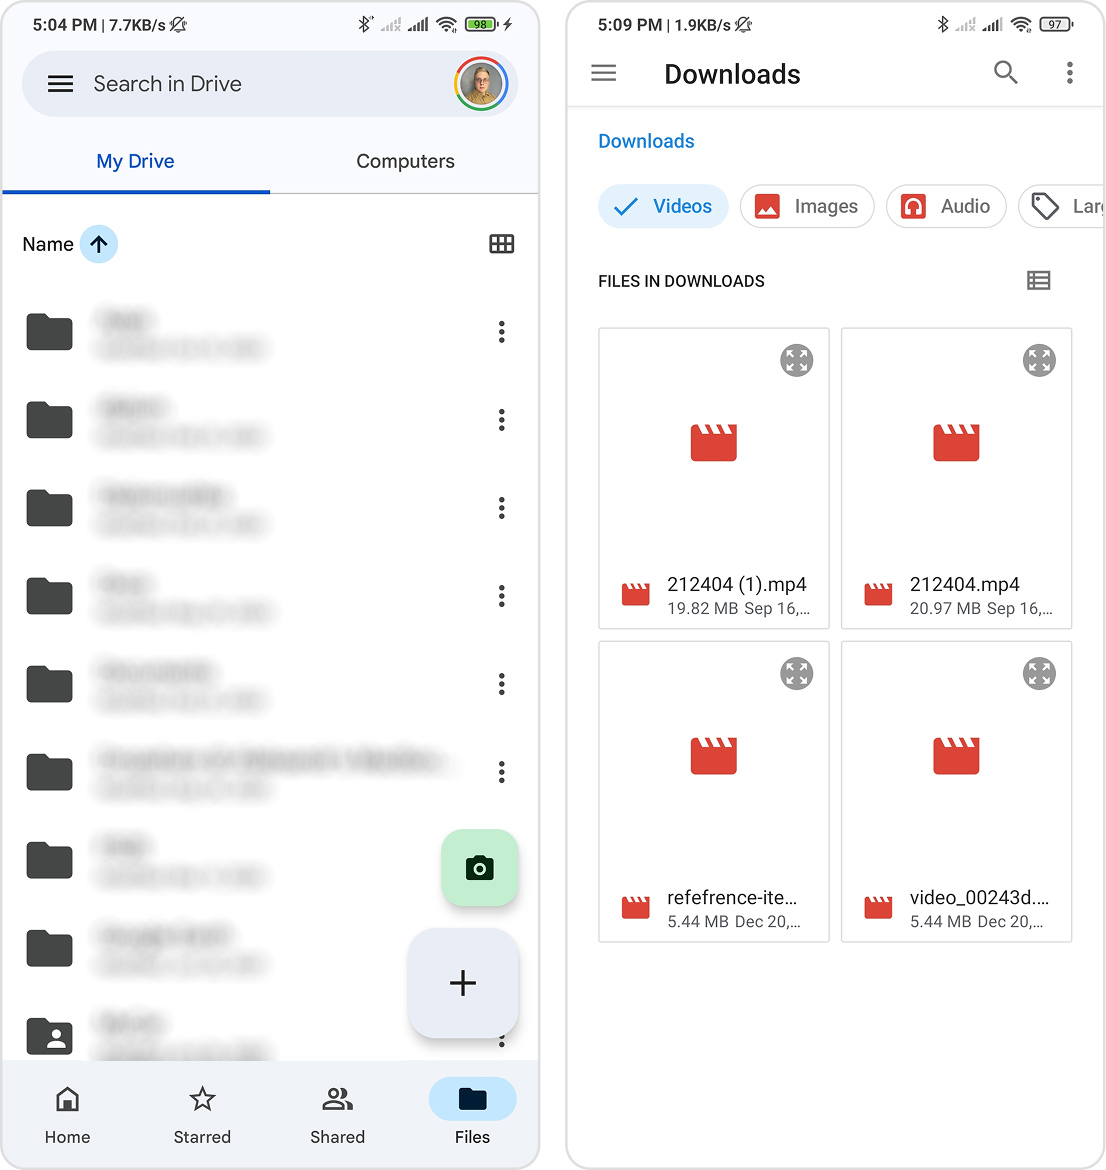
Step 1: Launch the Drive app on your Android phone.
Step 2: Tap the “+” button and choose Upload.
Step 3: Browse your phone’s storage and select the videos you want to upload.
Step 4: Keep the app open until the upload completes. Upload time depends on file size and internet speed.
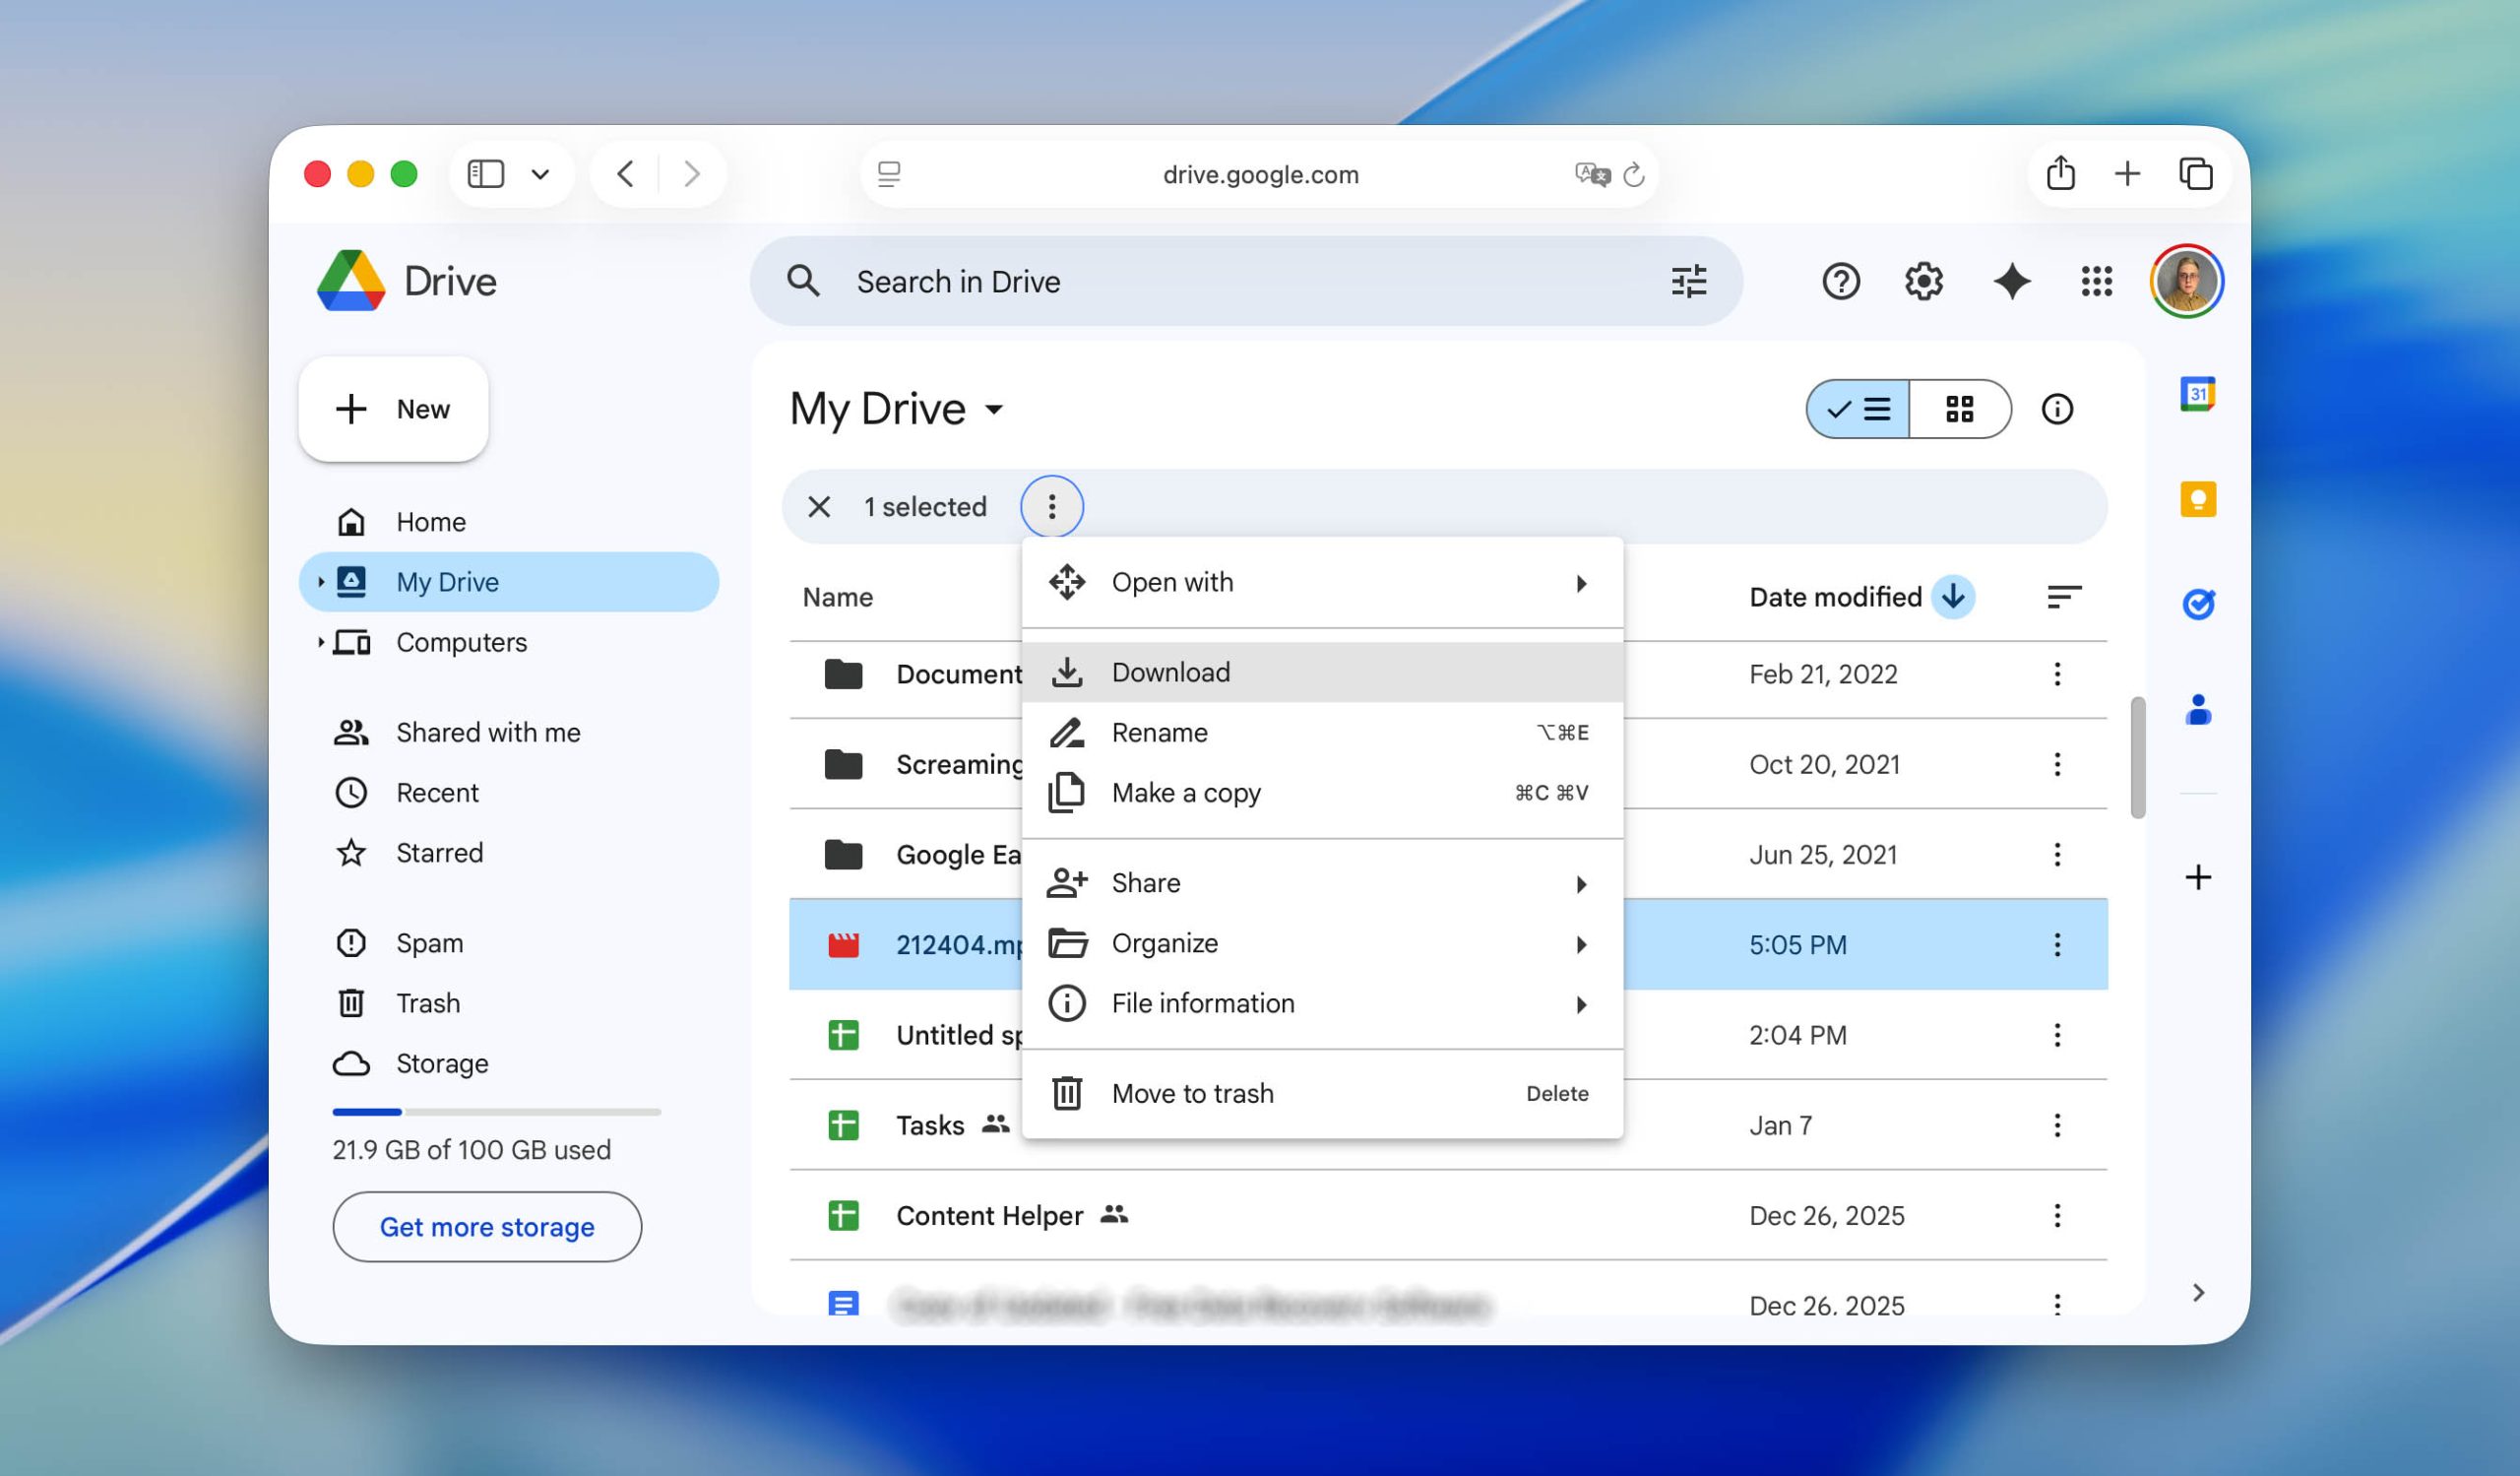
Step 5: On your Mac or Windows PC, open a web browser and go to the Google Drive website.
Step 6: Sign in to the same Google account, locate the uploaded videos, and download them to your computer.
Method 2: Use a Web Service to Transfer Videos from Phone to Computer
If none of the previous options work for you, there is still another way to transfer videos from a phone to a computer – using a web-based file transfer service. This method does not require installing apps on your computer and works the same way on macOS and Windows, as long as both devices are connected to the internet.
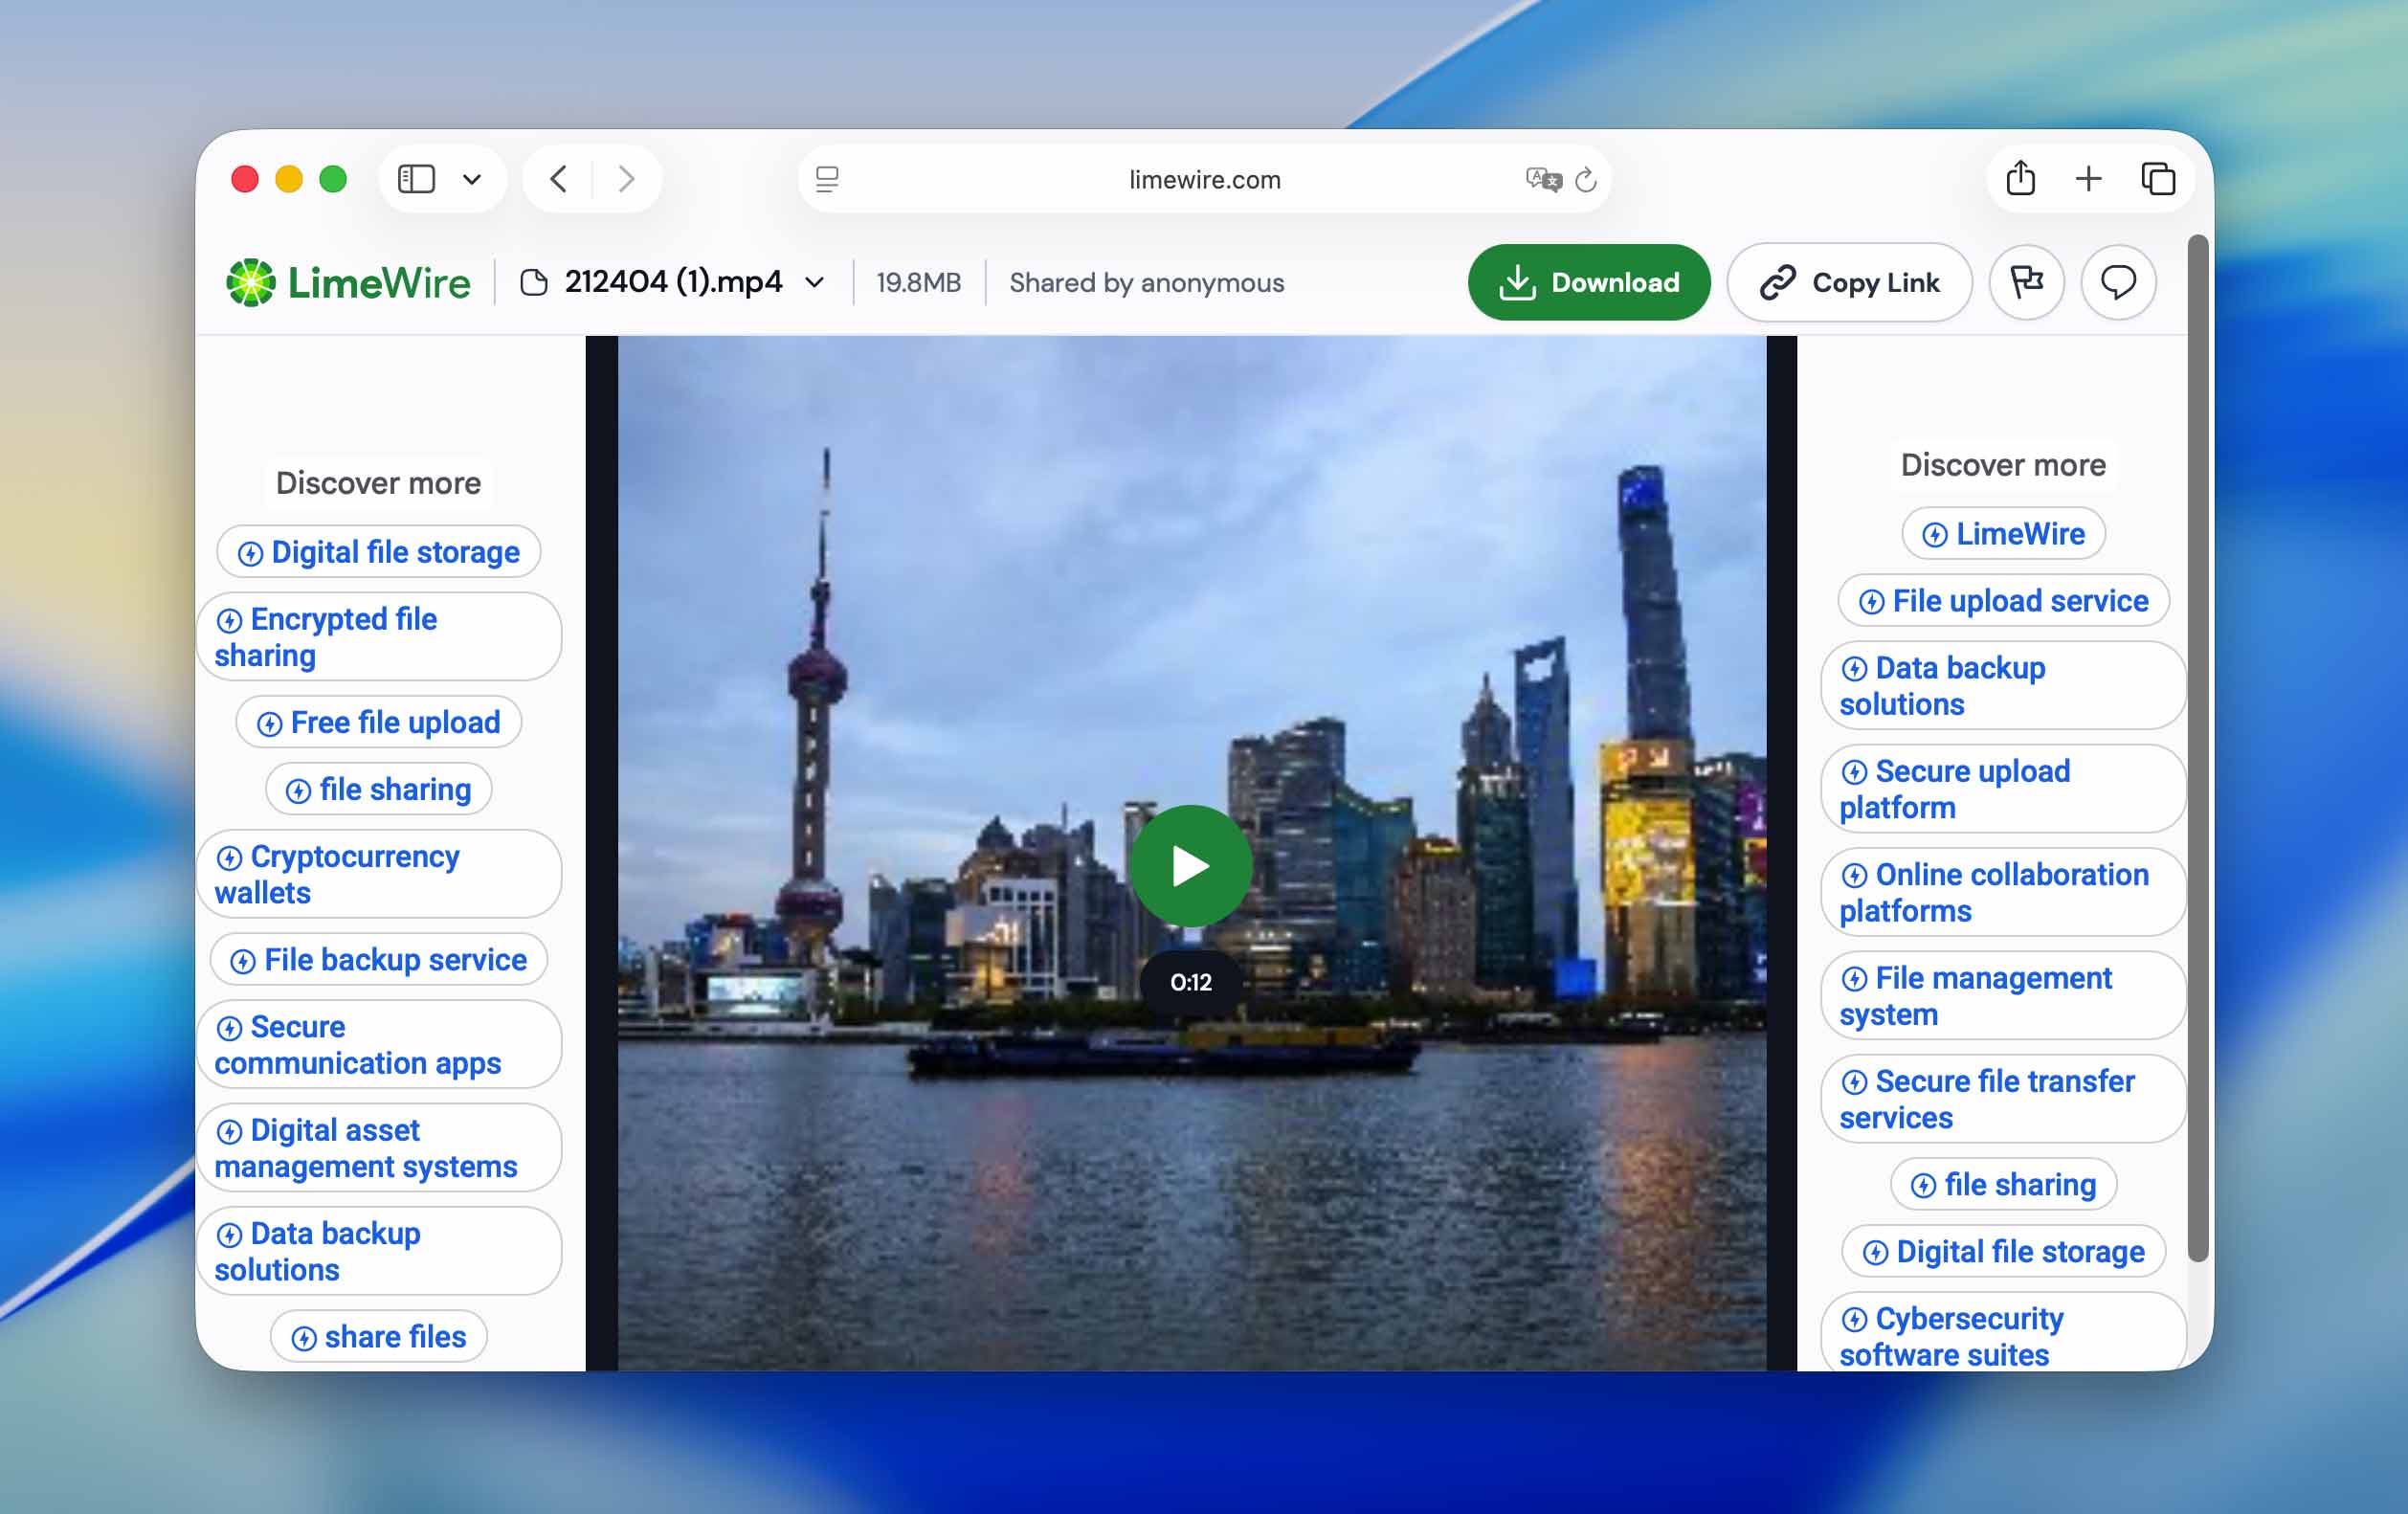
For demonstration purposes, we use Snapdrop, but the workflow is similar for most services of this type.
Step 1: On your Android phone and on your Mac or Windows PC, open a web browser and go to the Snapdrop website.
Step 2: Snapdrop works best when the phone and computer are connected to the same Wi-Fi network.
Step 3: Your computer should appear automatically on the phone’s screen. Tap it to start a transfer.
Step 4: Select the video you want to send from your phone’s storage.
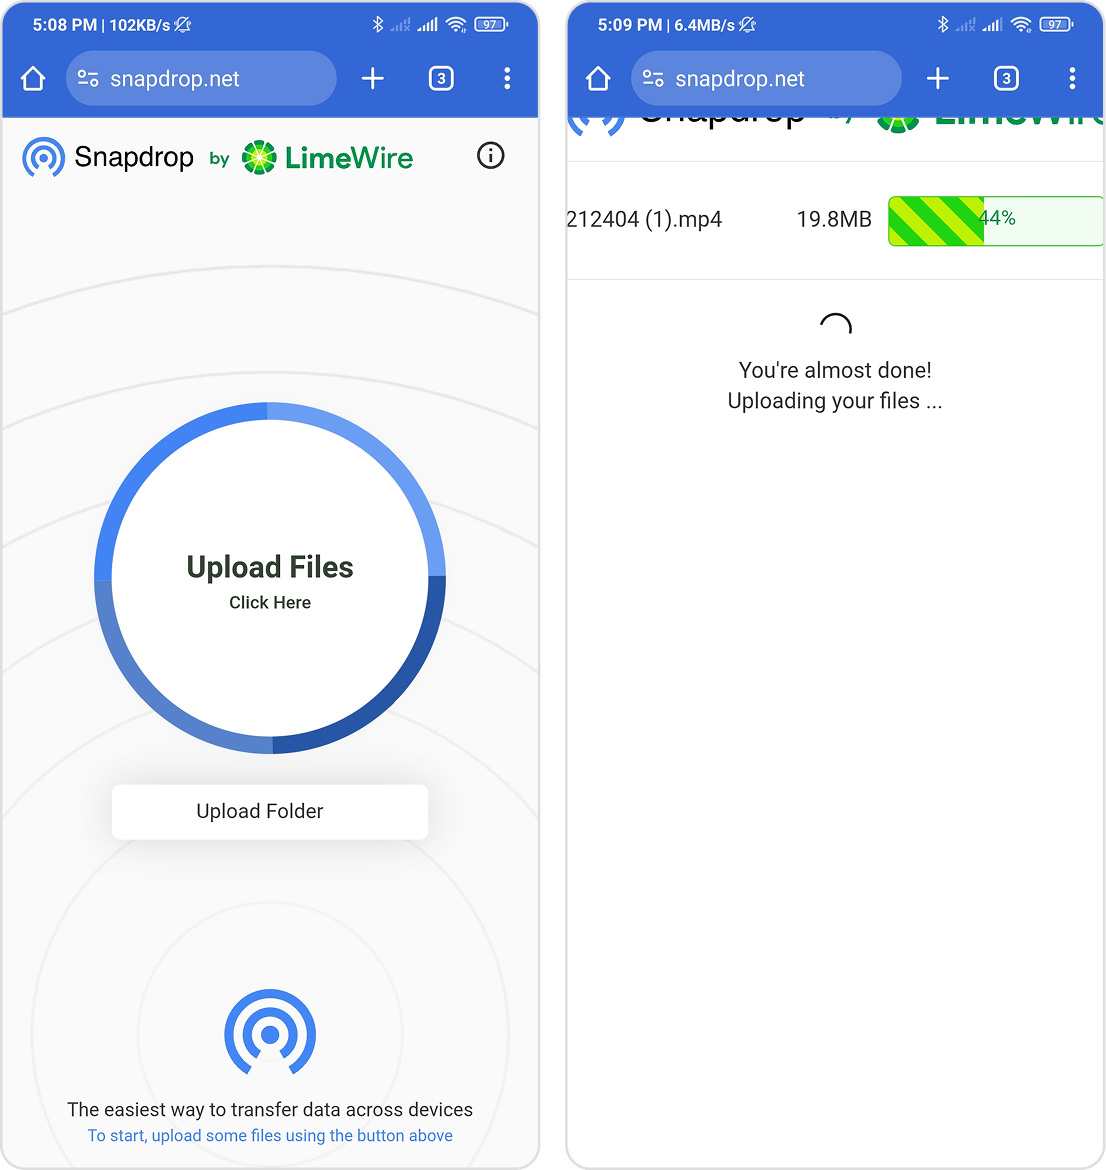
Step 5: On the computer, confirm the incoming transfer and choose where to save the video file.
Do You Have Trouble Transferring Videos from Android to Your Computer?
We aimed to cover the simplest ways to transfer videos from an Android phone to macOS or Windows. Still, real-world situations vary, and the process does not always go as planned. If you run into issues, the quick checks below usually help identify the cause and fix the problem.
- Using a USB cable, but the transfer keeps disconnecting? Check the cable for visible damage and test another USB port. If possible, try a different cable to rule out connection issues.
- Connected the phone, but it only charges? Android devices default to charging mode. Open the USB settings on the phone and switch to File transfer (MTP).
- The phone does not appear on the computer at all? On Windows, the MTP driver may be missing or outdated. Install or update it, then reconnect the device.
- Folders appear, but files fail to copy? Install pending system updates on both Android and Windows or macOS. Outdated software can interrupt file transfers.
- No file transfer option shows up on the phone? Enable USB debugging in Android Developer Options and reconnect the device.
- Nothing helps, but you need the files now? Restart both the phone and the computer, then reconnect them. A clean reboot often resets the USB connection and resolves issues that persist after other checks.


