
Cloud storage (Dropbox included) has turned into something most people rely on without even thinking about it. It’s convenient to move part of your data to the cloud, freeing up local space while keeping quick access to everything you need. Still, there are times when you want to work with your Dropbox account as if it were a regular drive on your computer. Mapping cloud storage as a network drive makes this possible, making the file management easier and reducing the need to switch between tabs and windows.
The only catch is that Dropbox doesn’t offer this option directly in its interface. Fortunately, there are easy alternative methods that let you map Dropbox as a drive in just a few clicks. In this article, we’ll go through these methods in detail and provide step-by-step instructions.
Table of Contents
Method 1: How to Map Dropbox as a Network Drive Using CloudMounter
If you’re looking for the easiest and most convenient way to map Dropbox as a network drive, try an app like CloudMounter. It’s a simple tool that lets you connect Dropbox (along with other services such as Google Drive, OneDrive, Amazon S3, and many more) directly to your computer, whether you use macOS or Windows. CloudMounter also supports FTP, SFTP, WebDAV, S3, and several other protocols, so you can manage remote servers and map network drives on a Mac or PC without switching between different apps. You can upload or download files, move folders, or access documents stored in the cloud as if they were saved locally. Another major plus is solid encryption. Only someone with the master password can decrypt and view files, to everyone else, the data looks like random code.
With CloudMounter, your computer’s storage becomes almost limitless. It’s an excellent solution if you’re running out of local space but still need quick access to your files. But since the app streams your data directly from the cloud rather than storing it locally, it requires an active internet connection to open, upload, or update files.
A) Map Dropbox as Network Drive on Mac with CloudMounter
It’s really easy to map Dropbox as a network drive on a Mac with CloudMounter. Just follow our handy step-by-step guide, below:
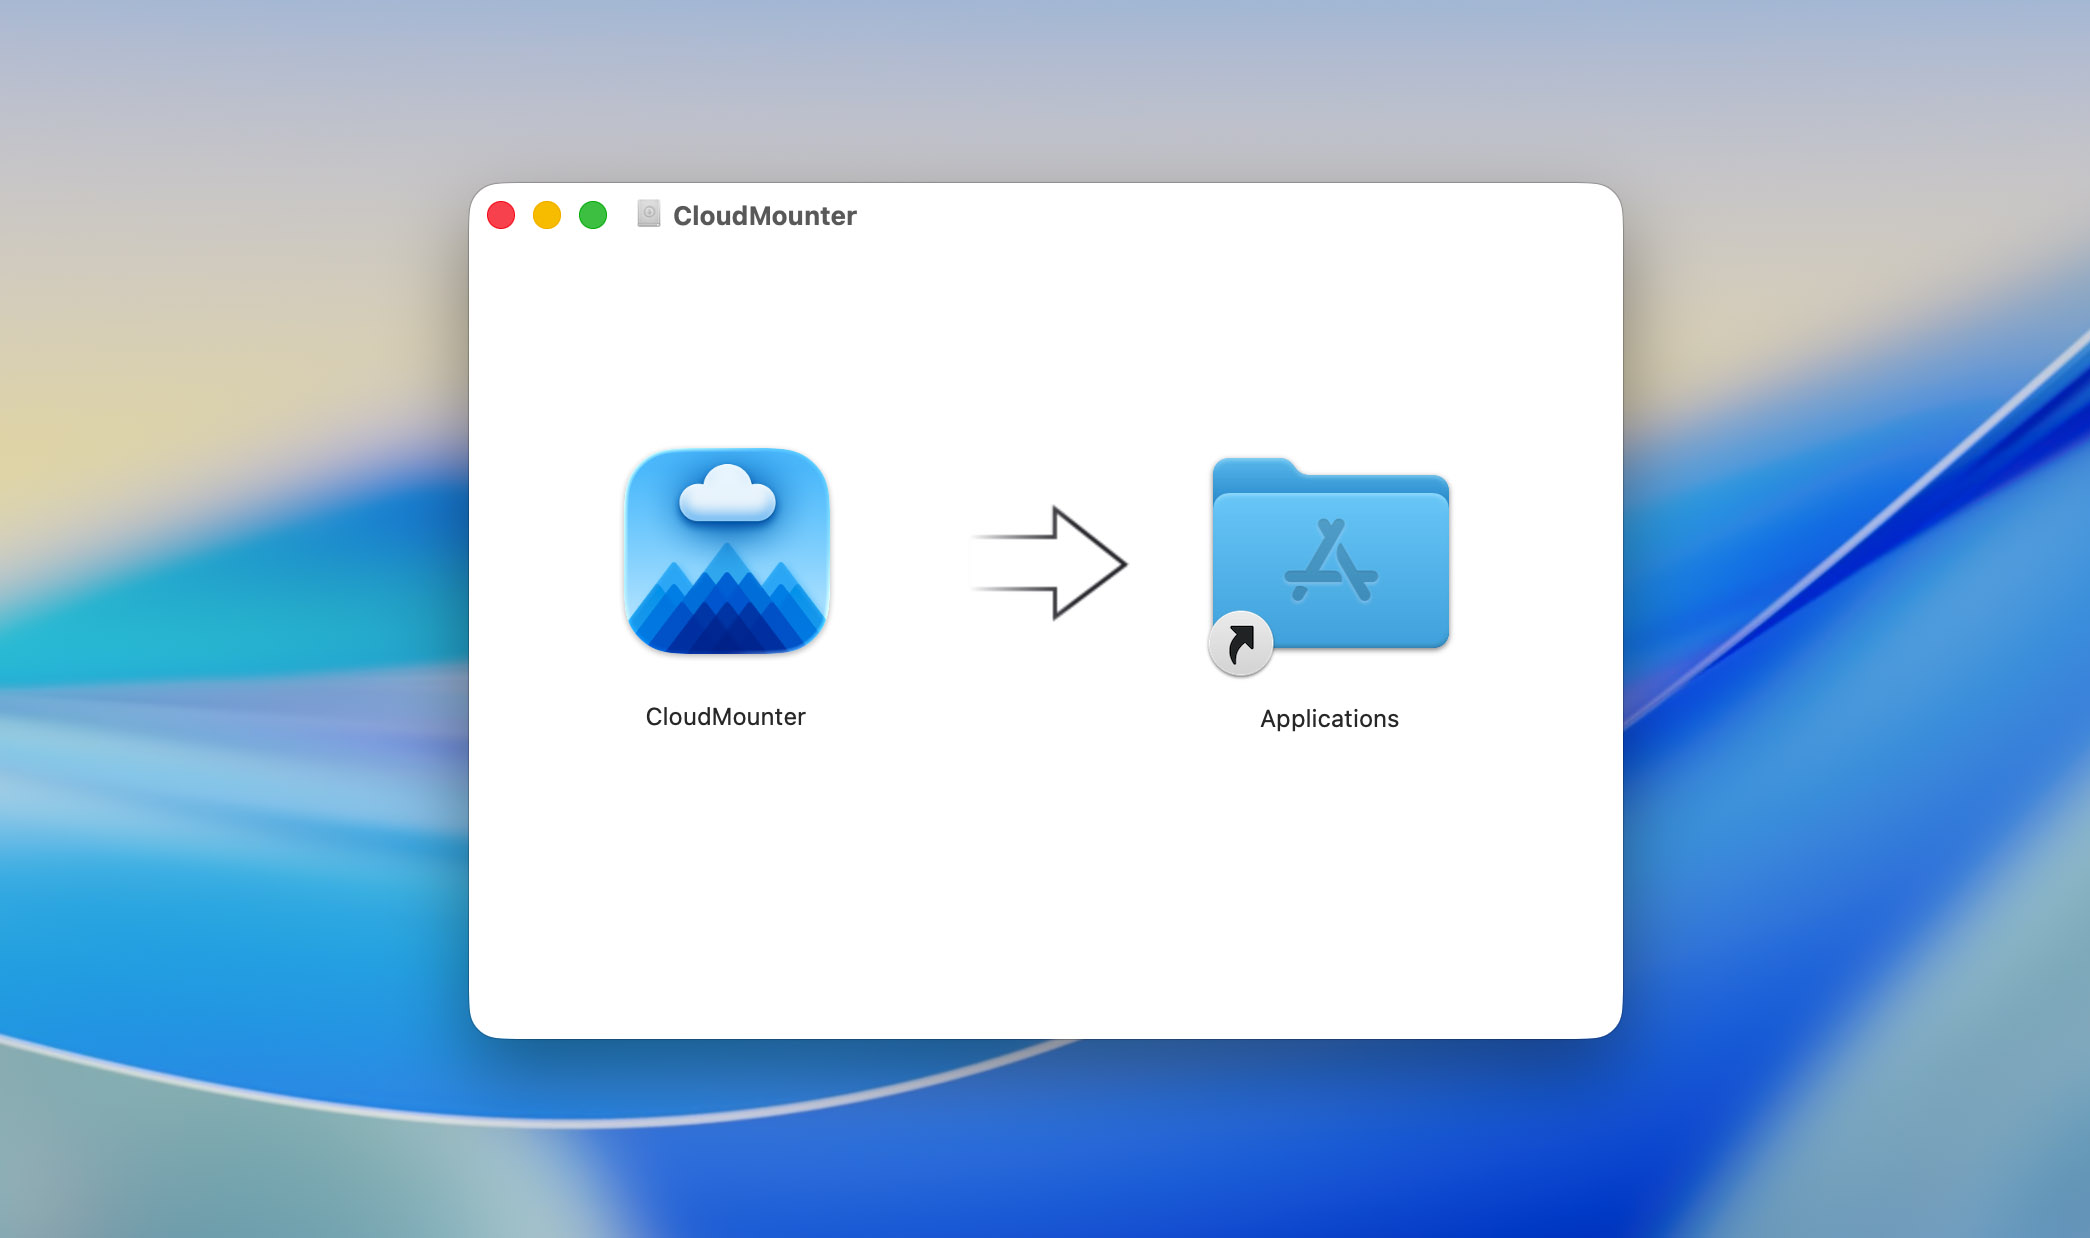
Step 1: Download CloudMounter and install the app on your Mac, as you would with any other application.
Step 2: Launch the app.
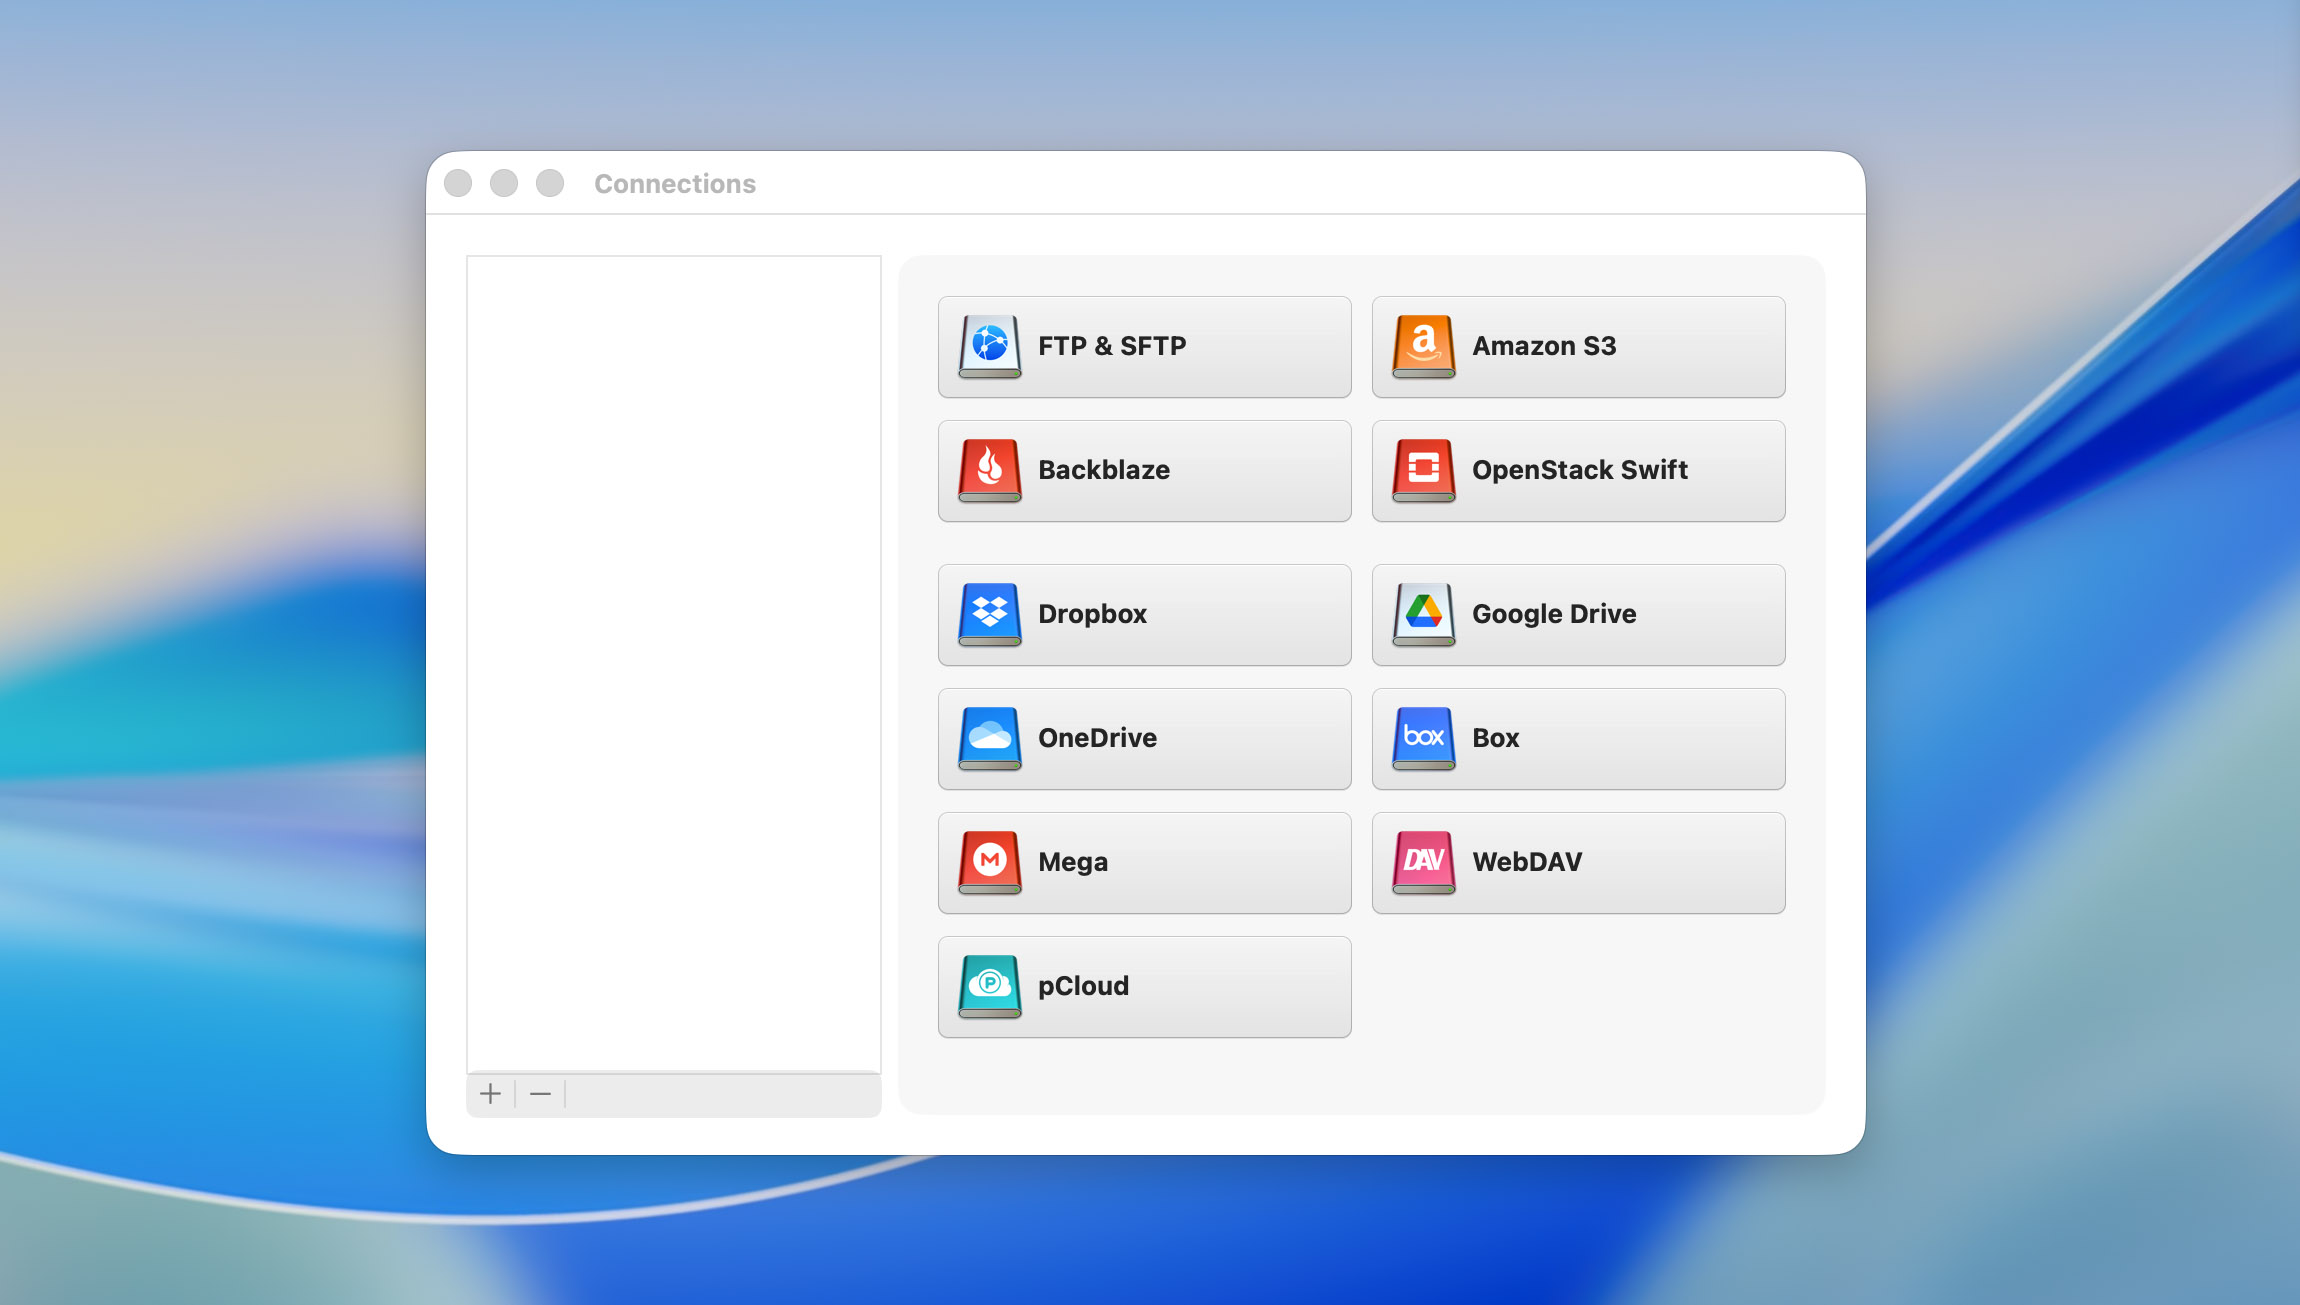
Step 3: In the main Connections window, click the Dropbox icon.
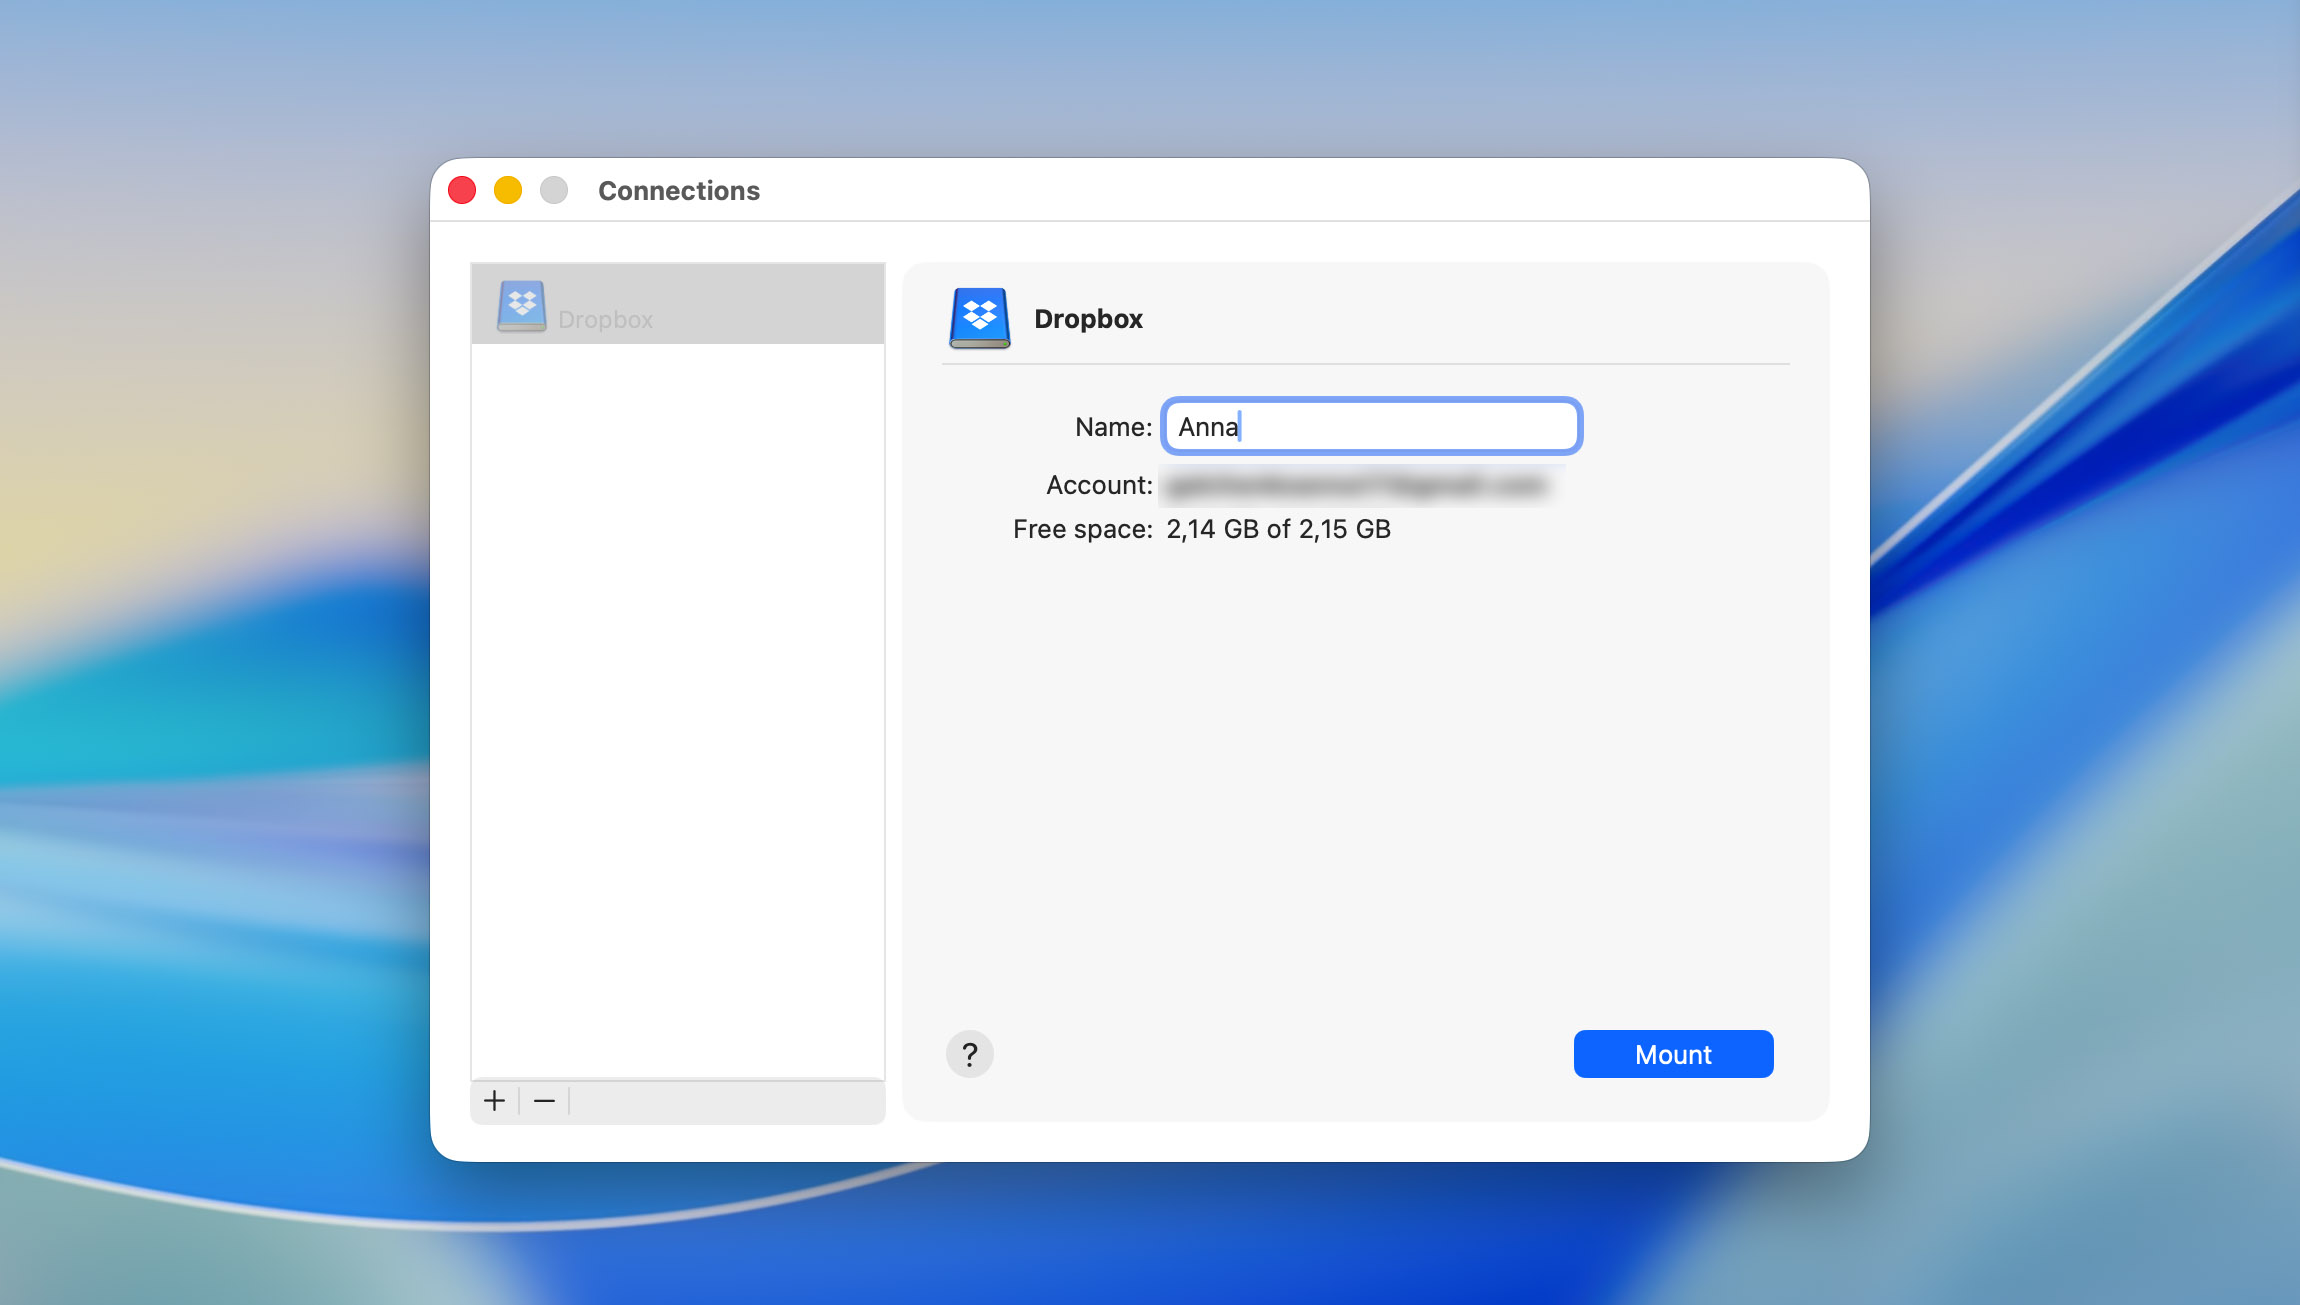
Step 4: Sign into your Dropbox account with your credentials. If you’re adding multiple Dropbox accounts, you’ll need to give each account a unique, memorable name.
Step 5: Click “Mount”.
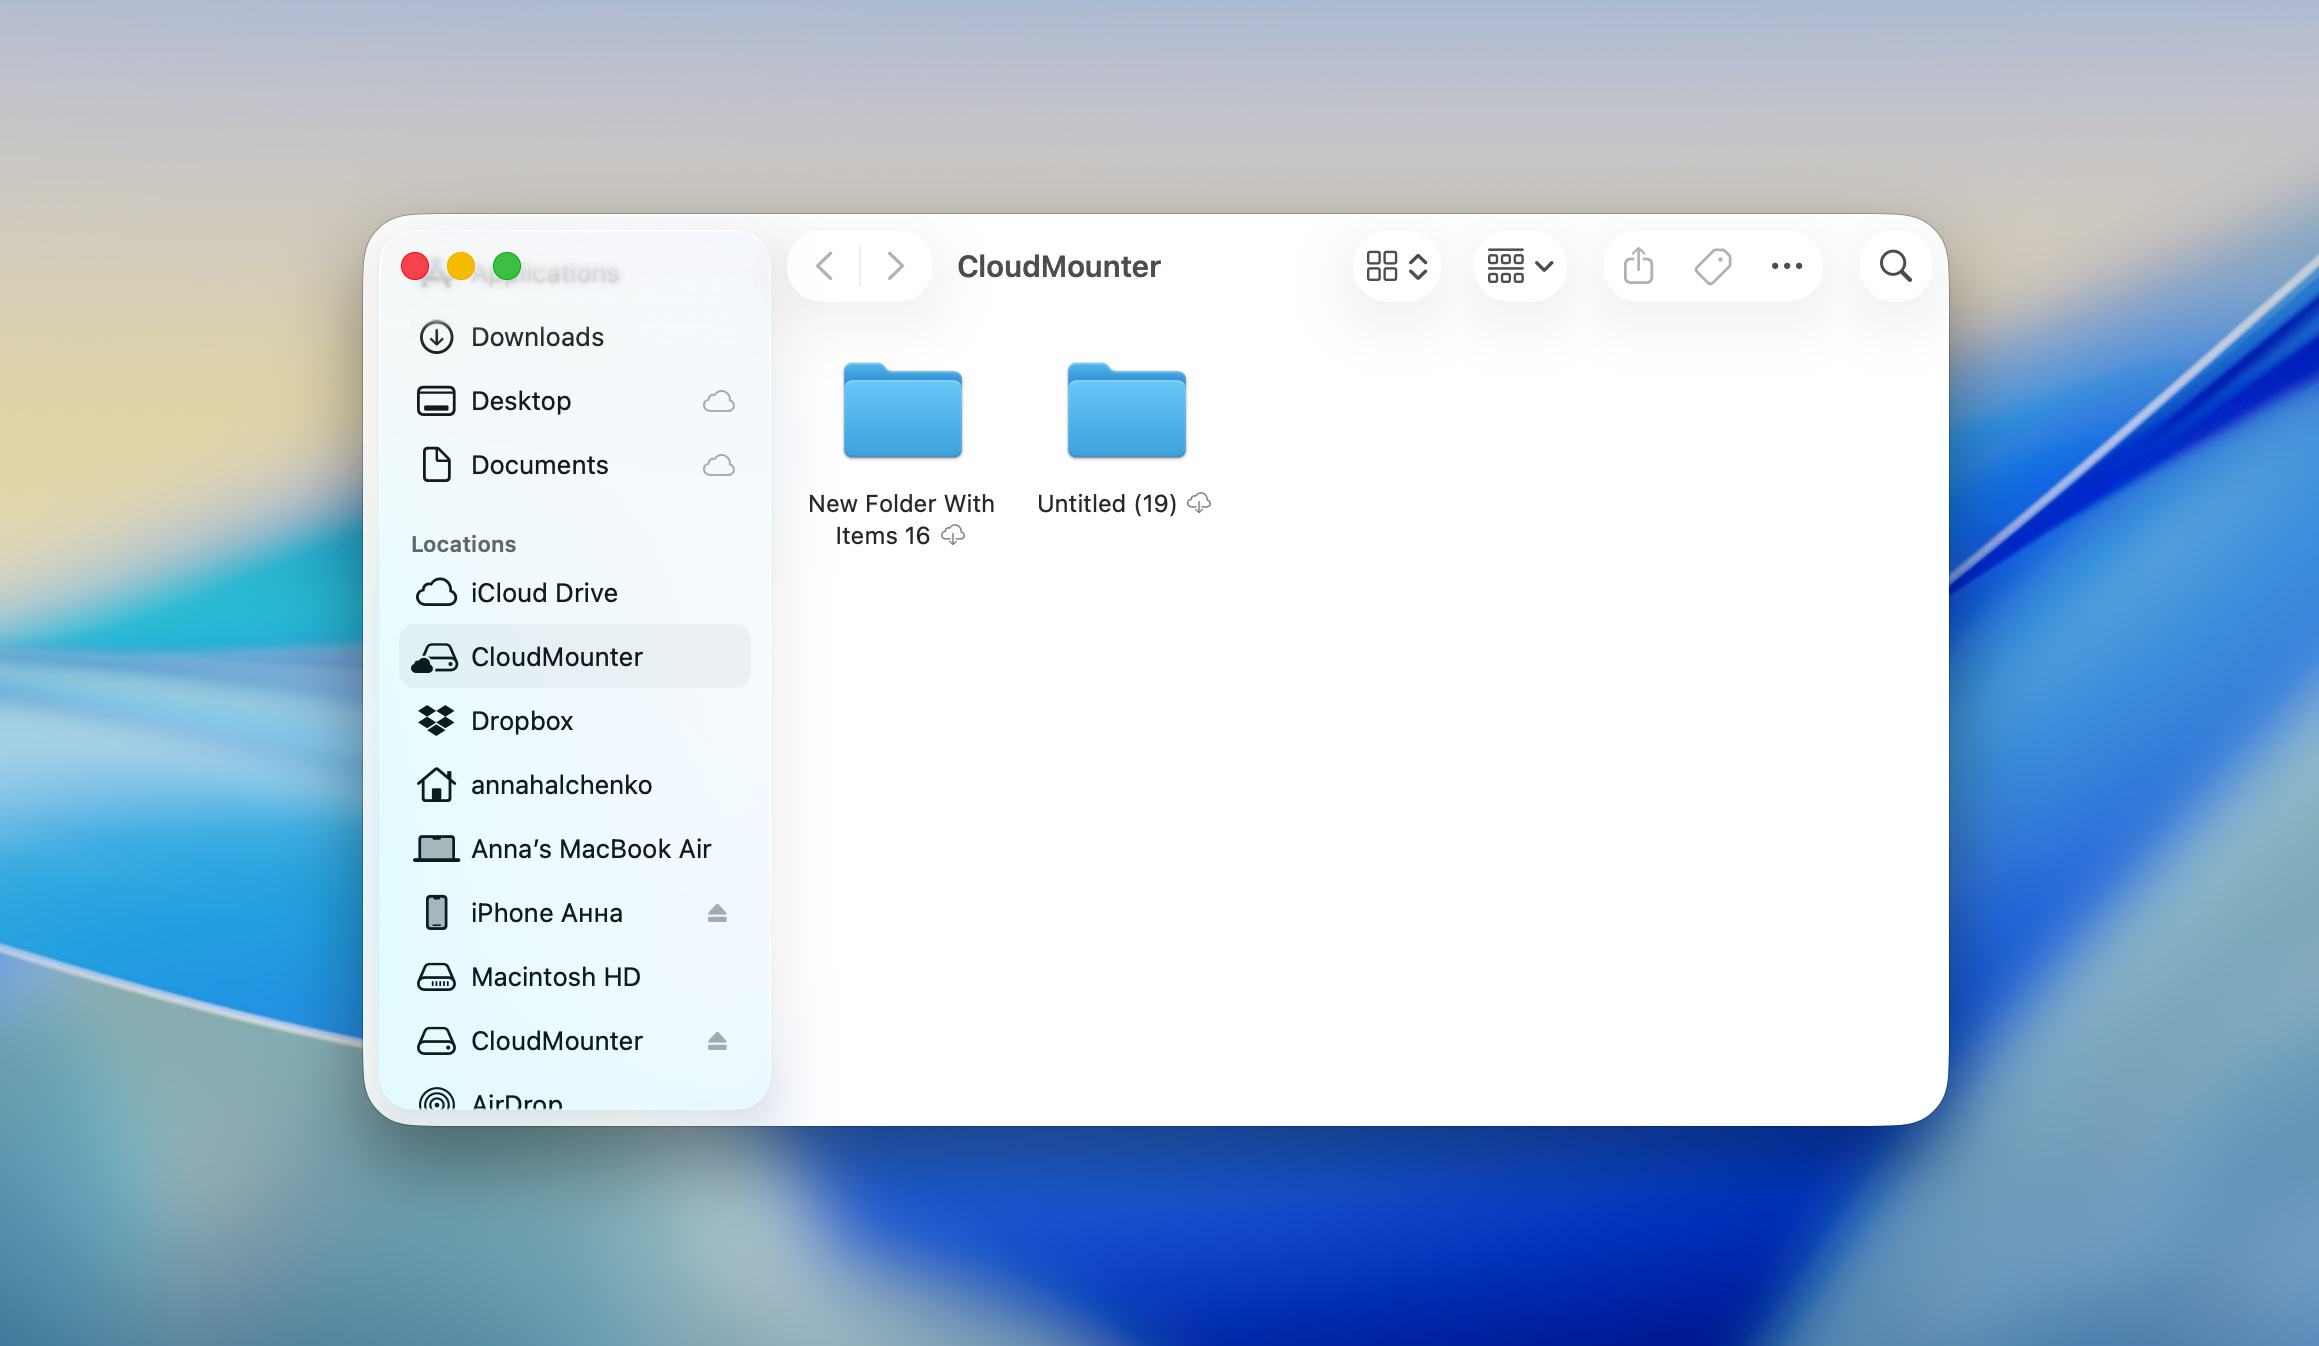
Step 6: You should now see your Dropbox account listed as a new network drive in your Mac’s native file system.
B) Map Dropbox as Network Drive on Windows with CloudMounter
To map a Dropbox folder as a network drive in Windows 10/11 using CloudMounter, just follow our step-by-step instructions below:
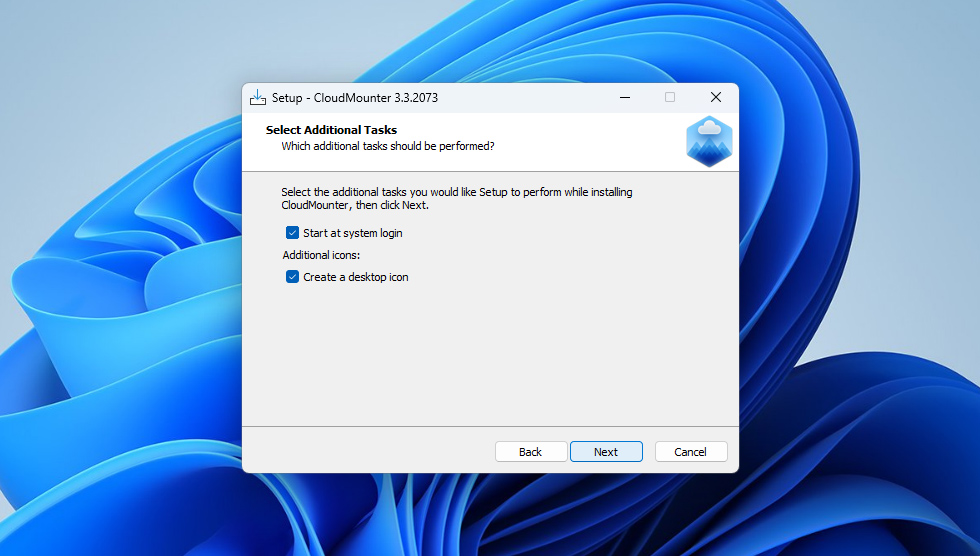
Step 1: Download and install CloudMounter on your Windows computer.
Step 2: Launch the app.
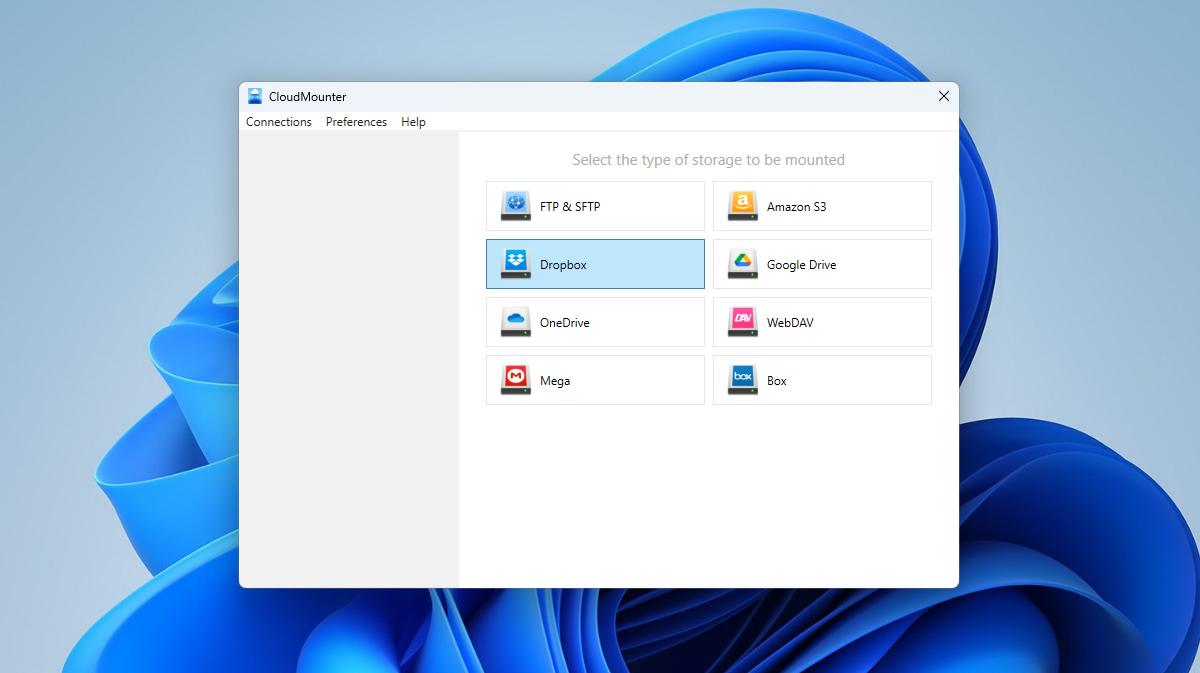
Step 3: From the main Connections window, select Dropbox.
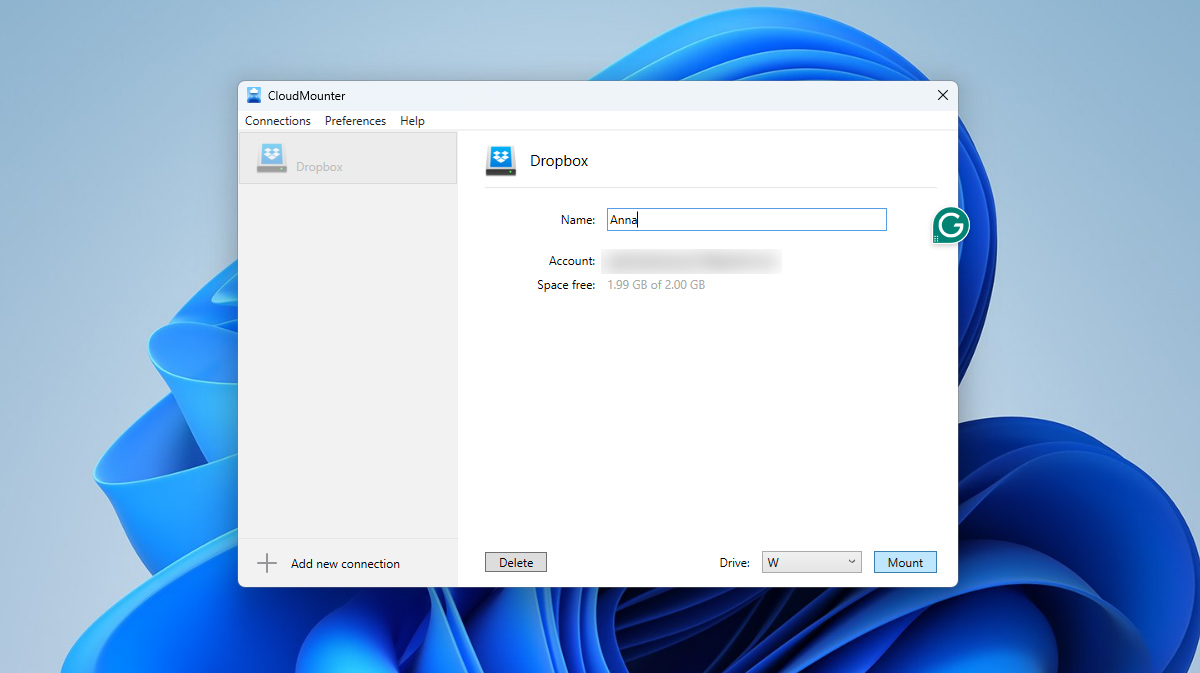
Step 4: Enter your Dropbox account credentials to sign into your account. At this point, you can give your drive a unique name, for example, “Holiday Photos” (this is especially important if you’re adding multiple Dropbox accounts).
Step 5: Click “Mount”.
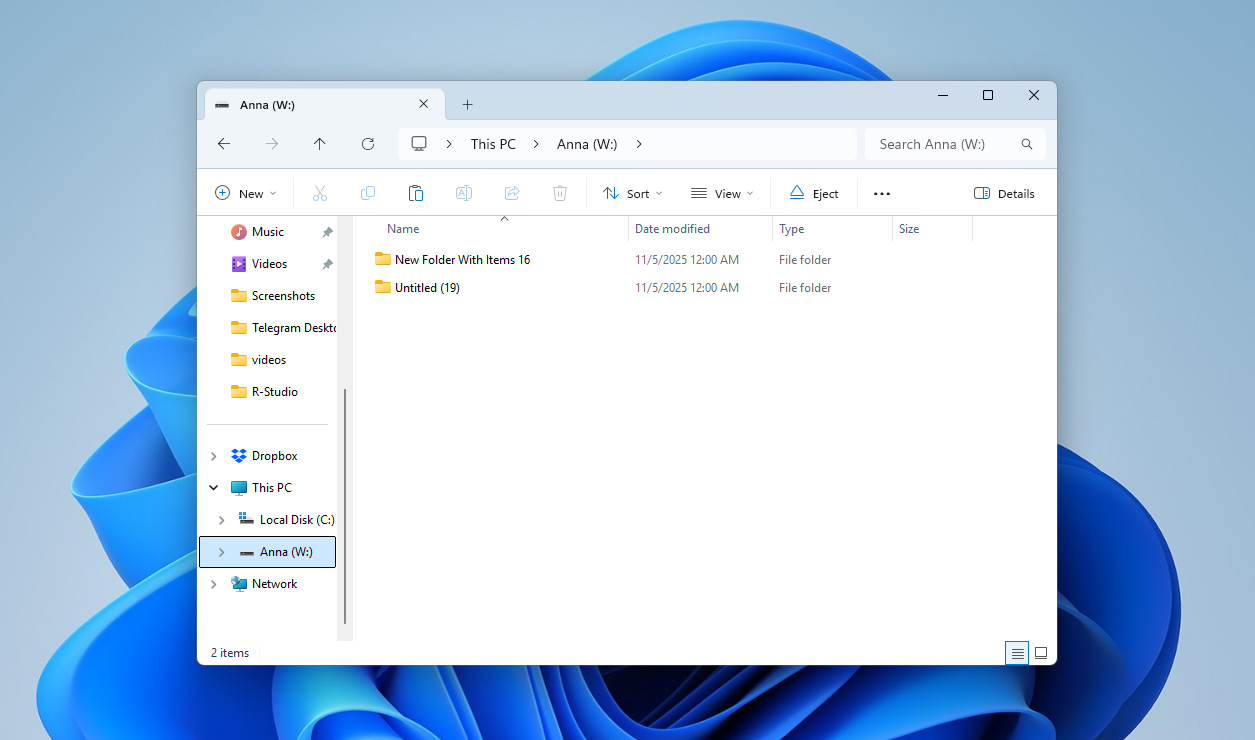
Step 6: You should now see your Dropbox account listed as a new network drive in Windows Explorer and you can add files to Dropbox upload, view, edit, or transfer files between accounts.
If at some point you decide to disconnect your Dropbox account from CloudMounter, just open CloudMounter, find your Dropbox connection in the list, right-click it, and select Disconnect or Remove. The account will be unlinked right away, and CloudMounter will no longer have access to your files.
Method 2: How to Mount Dropbox as a Network Drive Using Your Dropbox Account
If you don’t feel like installing any extra apps, there’s another way. Just use Dropbox itself. Once you download it from the official site and sign in, it’ll drop a new folder right onto your computer. On a Mac, you’ll see it in Finder, on Windows, it shows up in File Explorer, in the same place as your other drives. You can move stuff around, copy files, rename them, whatever you usually do, and Dropbox keeps everything in sync without you really noticing.
When you change something, it updates in the cloud right away. Open that same file on another device, and it’s already there waiting. The only downside is that it still takes a bit of space on your drive, even though the data itself lives online.
A) Map Dropbox as a Network Drive on Mac Using the Dropbox App
The process on Mac is simple. As soon as you download the app and sign in, a Dropbox folder will appear right inside Finder:
Step 1: Visit the Dropbox website and download the Mac version of the app.
Step 2: Open the downloaded .dmg file and drag the Dropbox icon into your Applications folder.
Step 3: Launch Dropbox from Applications and sign in with your account.
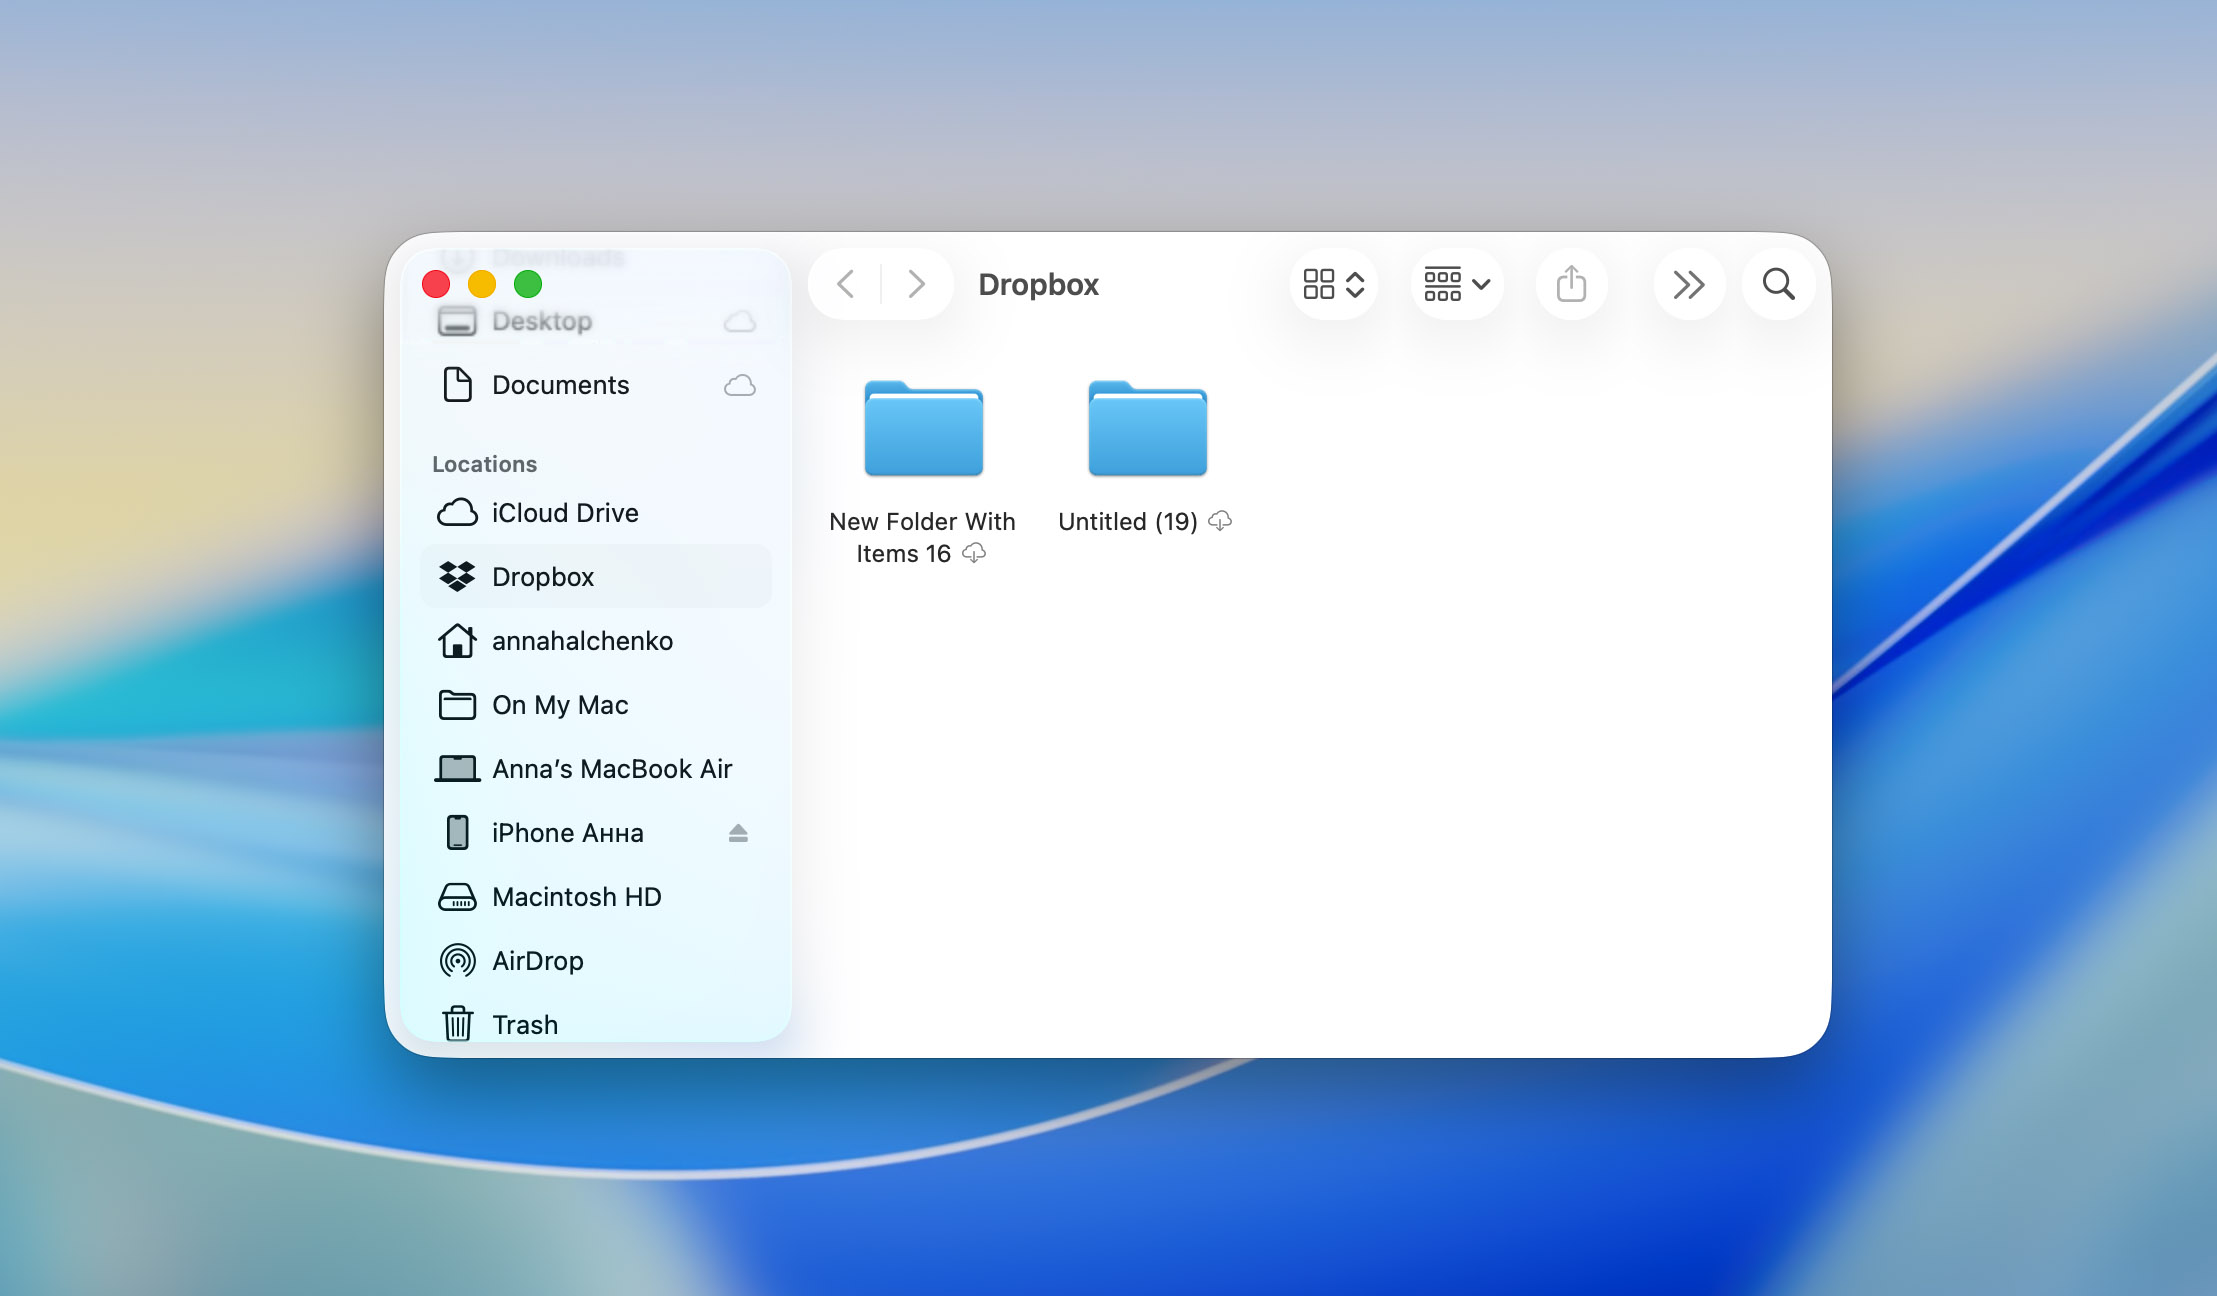
Step 4: After signing in, a new Dropbox folder will appear automatically in Finder’s sidebar under “Locations.” You can now use this folder like any local drive (move, copy, or delete files as usual).
B) Map Dropbox as a Network Drive on Windows Using the Dropbox App
You don’t need anything fancy to make Dropbox work like a drive, as the desktop app already does that. Here’s what to do:
Step 1: Go to the Dropbox site and grab the Windows installer. Run it, and wait a bit, it doesn’t take long.
Step 2: When the app opens, sign in with your account.
Step 3: You’ll see a pop-up that says Open my Dropbox folder. Hit that. It jumps straight to your Dropbox in File Explorer.
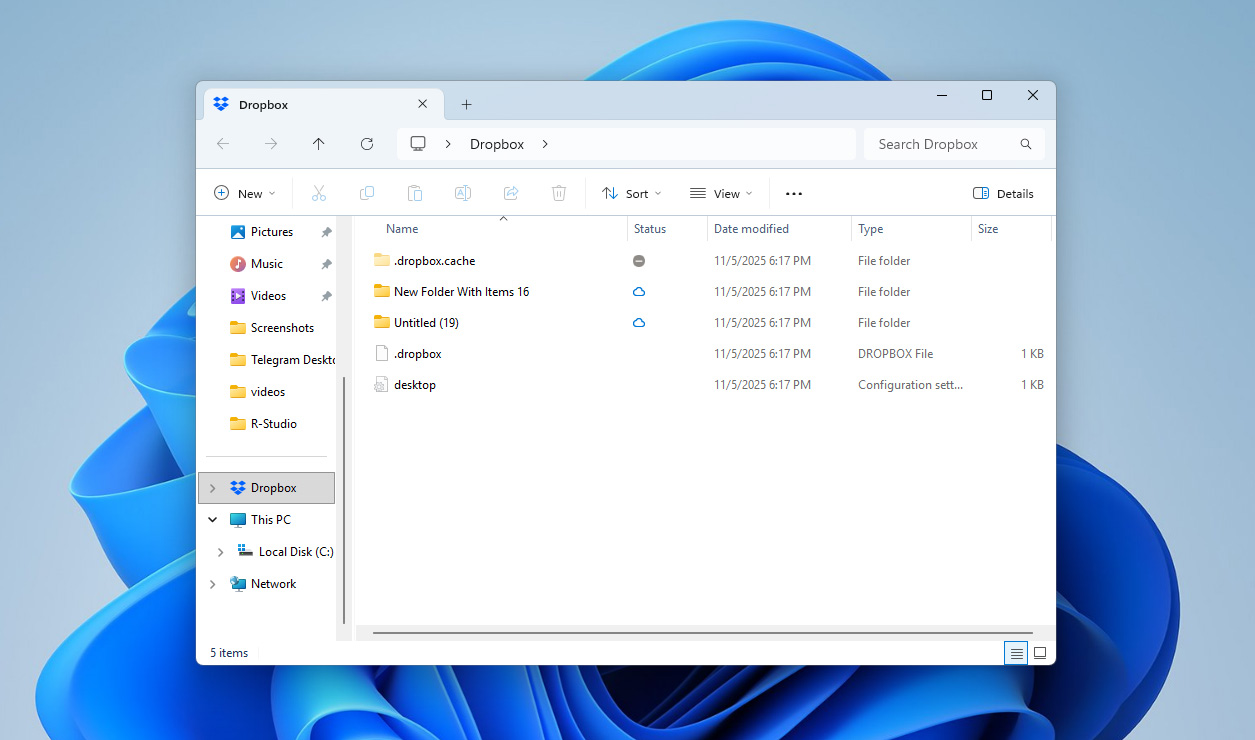
Step 4: Now, check the left panel. You’ll notice Dropbox sitting there with your other drives. From here you can drop files in, rename them, whatever, it all syncs to the cloud in the background.
Conclusion
We hope this guide helped you figure out the best ways to map Dropbox as a network drive on your Mac or Windows PC. There aren’t many methods out there, but the ones that do exist actually work, and which one fits you best really depends on your setup.
For us, CloudMounter turned out to be the most convenient option. It doesn’t take up local storage, and it makes it easy to connect several cloud services at once without any complicated steps. Still, the choice is yours. If the regular Dropbox app covers what you need, that might be more than enough.


