
Viruses, corruption, unsupported formats… A lot of things can cause data loss on a LaCie hard drive, which makes it hard to figure out the next step. The good news is that you can still restore that data (as long as you act fast). But you’ll need the right tools.
This article is an in-depth guide for 2 reliable methods of LaCie hard drive recovery, as well as all the info you need to help you figure out what caused the data loss. Read on.
Table of Contents
Common Problems with LaCie Hard Drives that May Lead to Data Loss
If you have already suffered data loss or want to know more before it happens, here’s a list of common LaCie hard drive problems that may lead to losing your data:
- LaCie external hard drive not showing up on Mac. Depending on the scenario, this could mean that the drive is not properly connected to your device or the computer is not able to recognize it.
- Beeping noises. LaCie hard drive beeping occurs when there are symptoms of eventual hard drive failure. Usually, something is wrong with the platter or the drive’s ability to draw power. This can be due to hardware age or bumps/falling while the platter is still spinning. Regardless, your drive is dying.
- Corruption. Lacie external hard drives may become corrupted due to virus attacks, software issues, or getting interrupted while it’s reading and writing data (for ex. sudden power outage or improper ejection). Corruption always eventually leads to data loss.
- Unsupported File System. If you connect your LaCie hard drive to a computer that does not support the file system it uses, you may be prompted to format the drive. Don’t! This will wipe your data.
- Data degradation. If you have a particularly old LaCie external hard drive, it’s possible that your data literally died of old age. Data gets degraded over time, no matter what. So make sure you have a regular backup routine!
- Physical damage. It’s possible for physical damage to immediately result in data loss. LaCie hard drives are prone to extreme temperatures, dust/debris inside the enclosure, water, etc.
How to Recover Lost Data From a LaCie External Hard Drive
Depending on what scenario you’re facing, there are 2 methods for LaCie hard drive data recovery– we’ve got step-by-step instructions for both of them below. Just remember this rule of thumb: if your drive has problems, they get worse the more you use it.
Method 1: Use Data Recovery Software (Disk Drill)
Data recovery software can often be enough to restore most of your data. For this article, we’ll be using Disk Drill as our LaCie data recovery software. It’s trusted, effective, and easy-to-use for users of all levels.
It works best to recover data from an erased hard drive (or formatted), but you can also use it to safely restore corrupted drives. Using the Byte-to-byte backup tool, you can create a complete clone of your drive. You can then extract data from the clone to avoid further damage and/or data loss.
Step 1. Securely connect your LaCie external hard drive to your Mac.
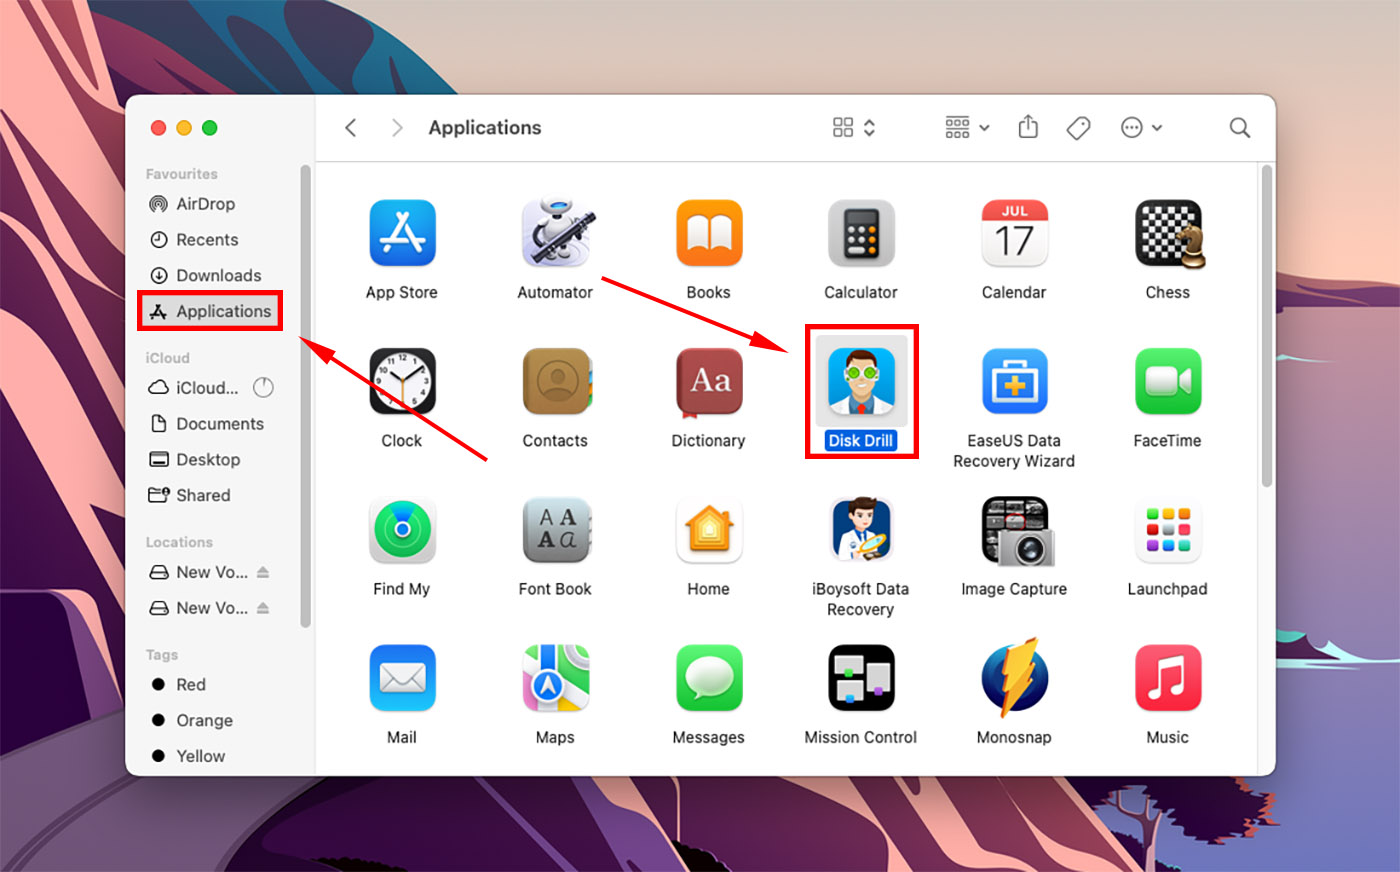
Step 2. Download and install Disk Drill for Mac Mac. Then, launch the app (Finder > Applications > Disk Drill).
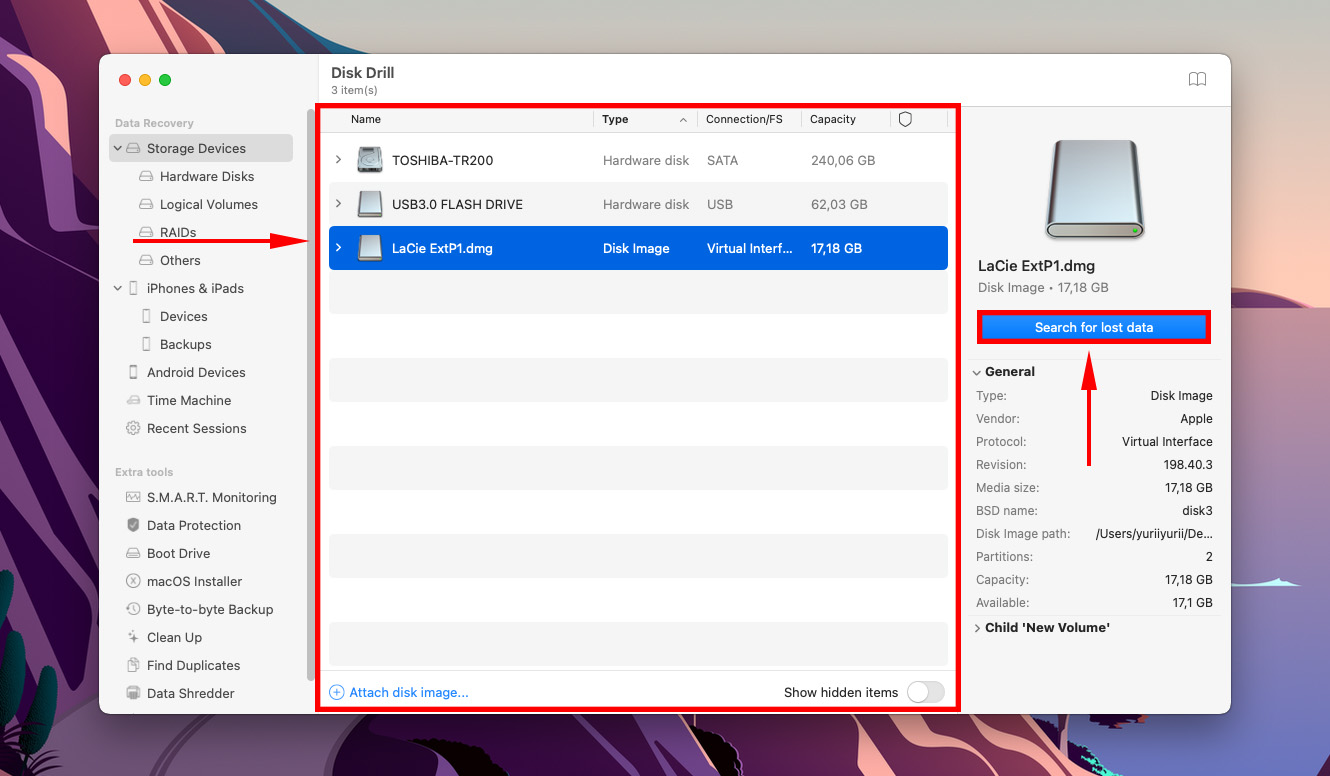
Step 3. From the list in the middle pane, select your LaCie external hard drive and click “Search for lost data.”
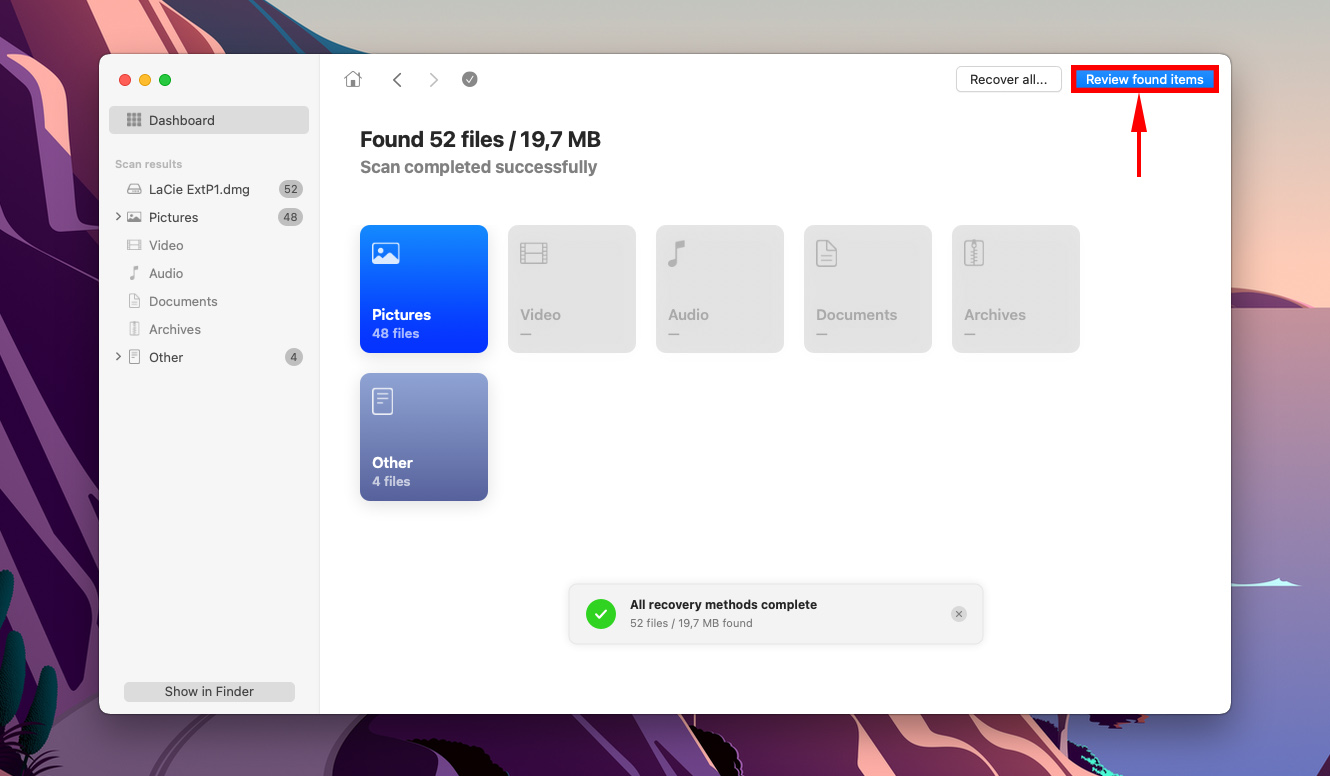
Step 4. Wait for Disk Drill to finish scanning your drive. Once it’s done, you click “Recover All…” from this screen and jump to step 8 to complete the LaCie data recovery. Or, click “Review found items.”
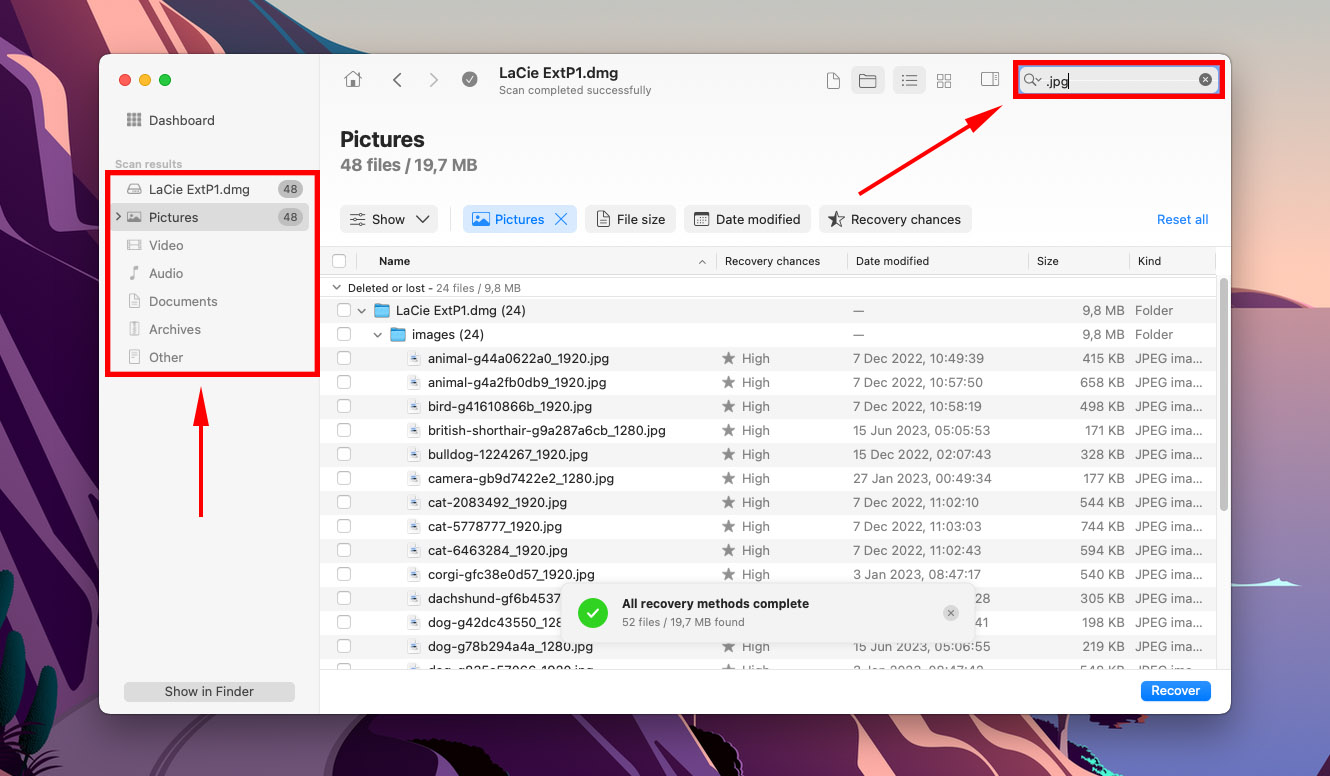
Step 5. Use the search bar in the top-right corner of the screen as well as the filters in the left sidebar to search for the files you want to restore.
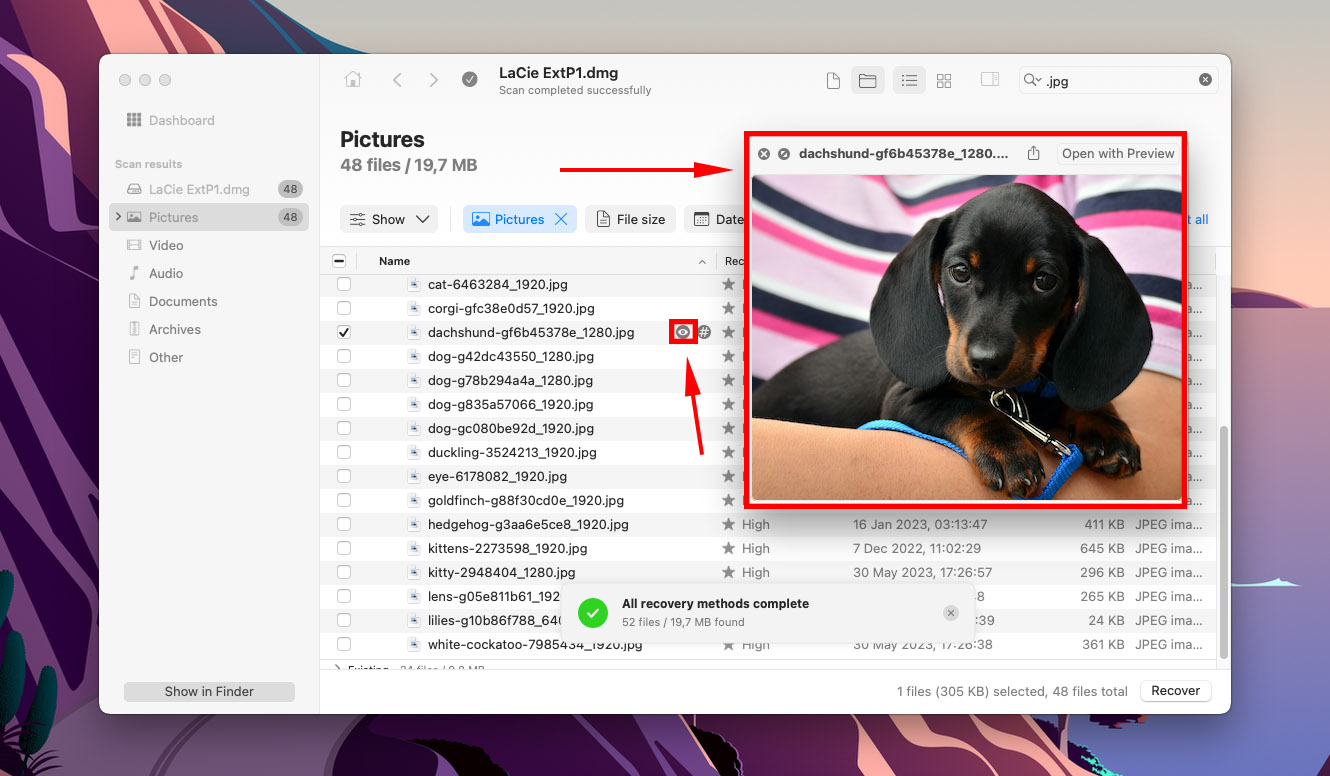
Step 6. To preview your files, hover your mouse pointer to the right of a file name and click the eye button that appears.
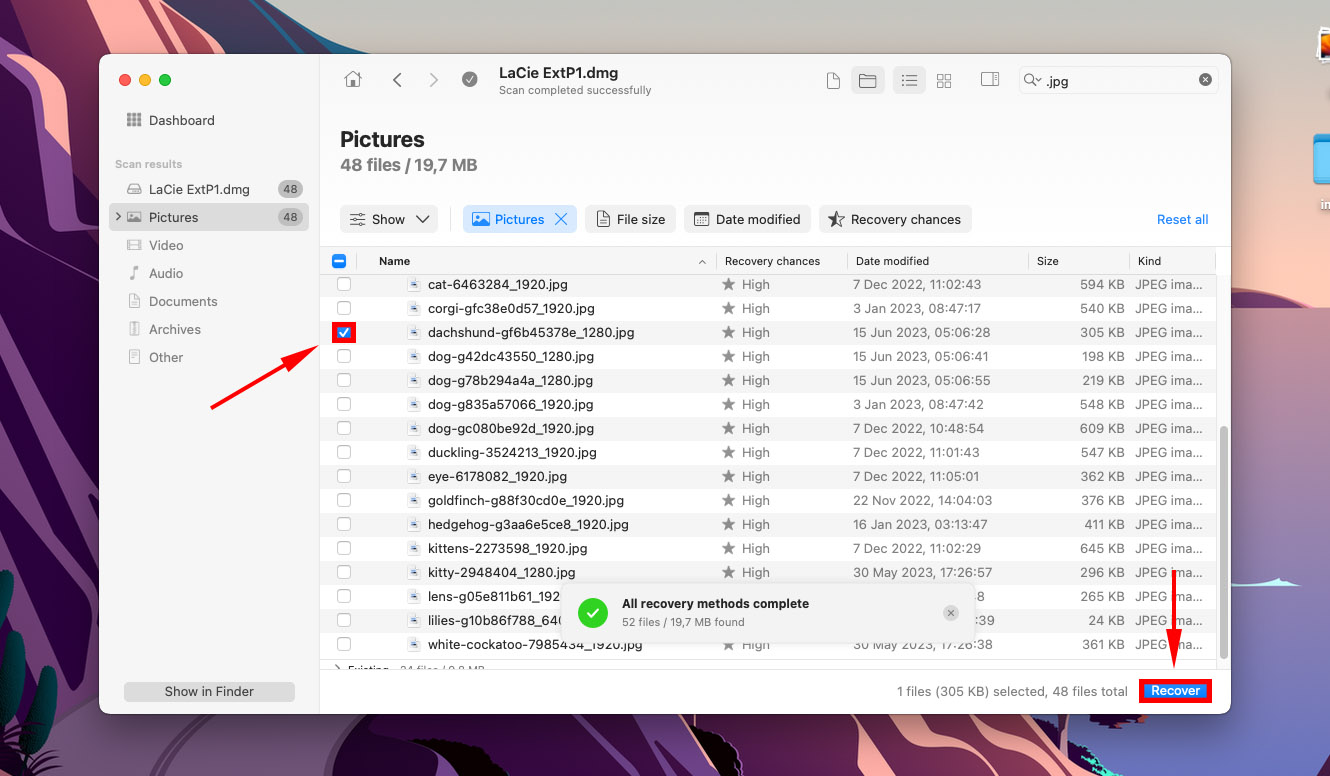
Step 7. Make your selection by ticking the boxes in the left-most column beside the files you want to recover. Then, click “Recover.”
Step 8. Select a destination on your computer for the restored files. Then, click “Next.”
Method 2: Send Your Drive to a Professional Data Recovery Service
If you are faced with one of these scenarios, you’ll need to send your drive to a professional data recovery service:
- Your drive has suffered physical damage.
- Your drive has been severely corrupted by a virus infection, software issues, and other logical damage.
- You have tried these methods (applicable to LaCie hard drive repair) and none of them worked.
- You are unable to restore your data using data recovery software.
You’ve tried all the guides from LaCie troubleshoot.
Fortunately, LaCie data recovery services come with your warranty. If your LaCie external hard drive’s product warranty is still valid and intact, you’ll also be for the Rescue Plan. You can request for one in-lab data recovery attempt on your LaCie drive and get your data back on a different drive or download it from a cloud-based account within a 60-day time period.
LaCie Data Recovery Services have a global coverage and a 95% success rate, as well as status updates as your drive gets repaired.
Common Fixes for LaCie External Drives
Now that we’ve recovered data and understand some of the common problems with LaCie hard drives that may cause data loss, let’s talk about how to fix them.
We describe common situations that users face (that are actually the symptoms of the problems we discussed earlier) and provide the appropriate fixes.
- LaCie external drive is missing from my desktop and from Finder. External drives may be set to hidden in Finder. To change this setting, open Finder and click Finder (menu bar) > Settings (or Preferences on older versions of macOS). Then, make sure External disks is marked in both the General menu and the Sidebar menu.
- My drive doesn’t show up at all, even in Disk Utility. It’s possible that your drive isn’t connected properly. Try using other cables and ports – wear, tear, and debris may have been causing connection issues with your original gear. You should also try connecting your drive to another Mac to confirm that your drive is the problem.
- I can’t do anything on my LaCie drive, such as read or write data. Your LaCie drive is likely not mounted on your Mac. Mac usually mounts drives automatically, but certain situations can interrupt the process, such as a lack of resources. Try to manually mount your drive: Open Disk Utility > select your drive > click Mount.
- I hear beeping noises from my LaCie drive. Beeping noises indicate that your drive doesn’t have enough power to operate properly. Try to close unnecessary applications to free up more resources. Better yet, reboot your Mac and don’t open any applications (or only open a few) while working on your LaCie drive. If you’re using a USB hub, it may not be delivering enough power to your drive (or there’s some other issue with the hub itself). Try connecting your drive to your Mac’s ports directly.
- I get mounting errors when connecting my LaCie drive to my Mac. If your Mac does try to mount your LaCie drive but fails, you may be using an incompatible file system (such as NTFS without 3rd party software). The file systems that Mac natively support are: HFS+, APFS, ExFAT, FAT32. In this case to fix this issue you need to format your LaCie Hard Drive using Disk Utility or use a 3rd party app.
- I’m experiencing software-related issues with my LaCie drive. In case of logical damage, try using the First Aid tool: Open Disk Utility > select your drive > click First Aid. It will automatically diagnose and fix any file system errors it finds. If symptoms persist, you may have to format your drive (Disk Utility > select drive > Erase).
- My LaCie drive is physically damaged. If your drive is physically damaged, send it to a professional data recovery service ASAP. They have the tools, facilities, and specialists to recover your data safely. DIY efforts on a physically damaged drive will only cause permanent data loss.
FAQ:
There are three ways you can backup a LaCie hard drive:
- Use LaCie’s backup software “Click Backup”, which is included in all LaCie products. It’s a file-based backup so you can use it to bulk-copy files and folders.
- Use an image-based backup utility. Disk Drill’s Byte-to-byte backup tool is 100% free and will clone the entire drive instead of just specific files and folders.
- (If you have a Mac) Use Time Machine to create a backup of your drive.
To format a LaCie hard drive on a MacBook:
- Connect your drive to your Mac.
- Launch Disk Utility (Finder > Applications > Utilities).
- Select your LaCie hard drive on the left sidebar, then click the “Format” button at the top of the screen.
- Name the volume, select your desired file system, and proceed with the formatting. Please note that this process will wipe all data on the drive.
Note that formatting a LaCie hard drive for Mac wipes all data on the drive.
To setup LaCie external hard drive, do the following:
- Securely connect it to your computer.
- Open your LaCie external drive’s folder in File explorer or Finder and double-click the setup app.
- Select your language, read the license agreement, then click “Next.”
- Use the slider to adjust partition sizes, and slide it all the way to the left if you only want a single partition.
- LaCie will prompt you to begin the formatting process. Note that this will wipe any existing data on the drive. Then, click “Yes.”
- Allow LaCie to finish the formatting process and install other default utilities. You may also be prompted to select utilities you want to install.
- Once everyone is done, click “Finish.”
Your LaCie external hard drive is now ready for use for both Windows and Mac operating systems. You can run the setup assistant again anytime.


