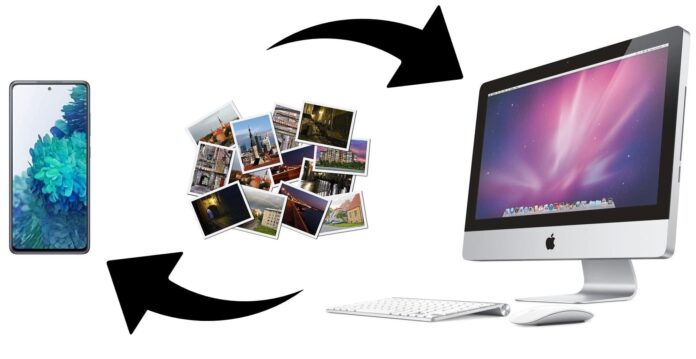
The incompatibility between Android and iOS or macOS is not a novelty. Users that tried simple operations such as the one to transfer photos from Android to Mac have a much better understanding of the underlying issue. Doing it the other way around is not at all easier as well.
In this article, we have focused on third-party apps as they offer benefits such as convenience, speed, and reliability. Additionally, they are constantly updated and improving, so the problem of incompatibility between Android and Mac is fading away. Read on to learn how to transfer photos from Android to Mac using the best solutions available!
Table of Contents
How to Transfer Photos from Android to Mac
If you connect your Android phone to Macbook via USB cable, you will see that nothing happens. Macbook, unlike Windows PC won’t recognize your connected device. Of course, this can be a workaround, for example by using Bluetooth, but this method will not provide you with a fast and smooth transfer unlike third-party apps. Let’s take a look at the most popular ones.
Decision 1. MacDroid
We’re getting right to it on how to transfer photos from Android to Mac by presenting you the best solution out there – MacDroid. Using this lightweight but very efficient app, you will be able to handle all your data transfers between an Android device and a Mac computer.
Besides photos, MacDroid supports transferring videos, music, and entire folders between the two devices and you will only need a USB cable besides the app installed on your Mac.
MacDroid allows Mac users to mount the Android device as a disk on Mac, thus ensuring a fast and efficient transfer for any type of data. You can transfer your photos using the ADB or MTP modes offered by MacDroid and you will be able to use Finder to rapidly navigate the device once it’s connected.
- Fast and secure photo transfer between Android to Mac and vice versa
- Can move photos in bulk and even entire folders
- 7-days of free trial with all features activated
- You can edit files directly on the Android phone
- The MTP mode does not support bulk transfers
How to import photos from Android to MacBook with MacDroid:
Step 1. Download and install MacDroid from official website.
Step 2. Use the USB cable that came with the Android phone to connect it to your Mac computer.
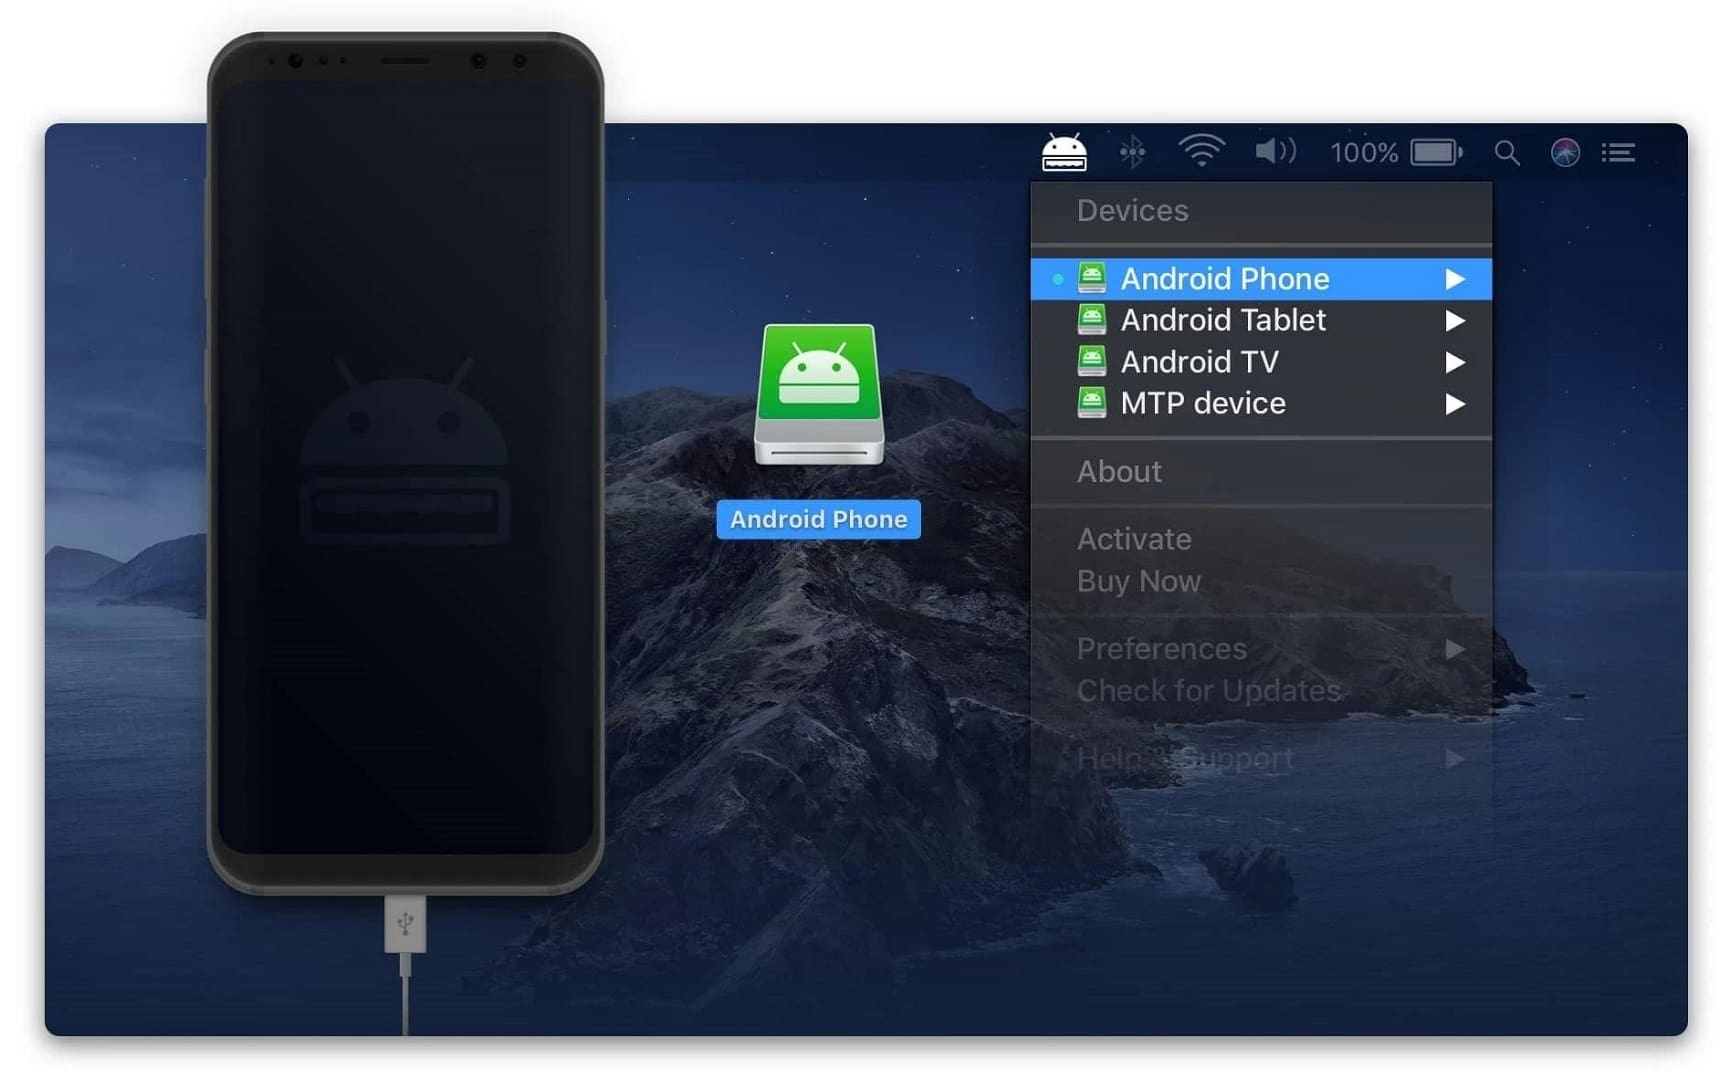
Step 3. Go to “Devices” and you will see the phone already connected.
Step 4. Give Mac access to your Android device – choose ADB when prompted on the smartphone and allow the Mac to access your data.
Step 5. You will see the Android device as a physical disk on Mac and you can start transferring images or any other files you want.
Download: MacDroid on the Mac App Store
Decision 2. Android File Transfer
If you’re not a big fan of using third-party apps developed by other companies than Apple or Android, you can turn to Android’s native file transfer tool. Called Android File Transfer, this tool also requires a working USB cable to get the job done, and, compared to MacDroid, it has a series of disadvantages that we will explain below.
- Developed by Android
- Supports macOS 10.7 or higher
- Excellent transfer speed
- The app disconnects for no reason
- Unintuitive user interface
- Limited list of Android devices
- Errors during connection or transfer
How to transfer photos with Android File Transfer:
Step 1. Download Android File Transfer.
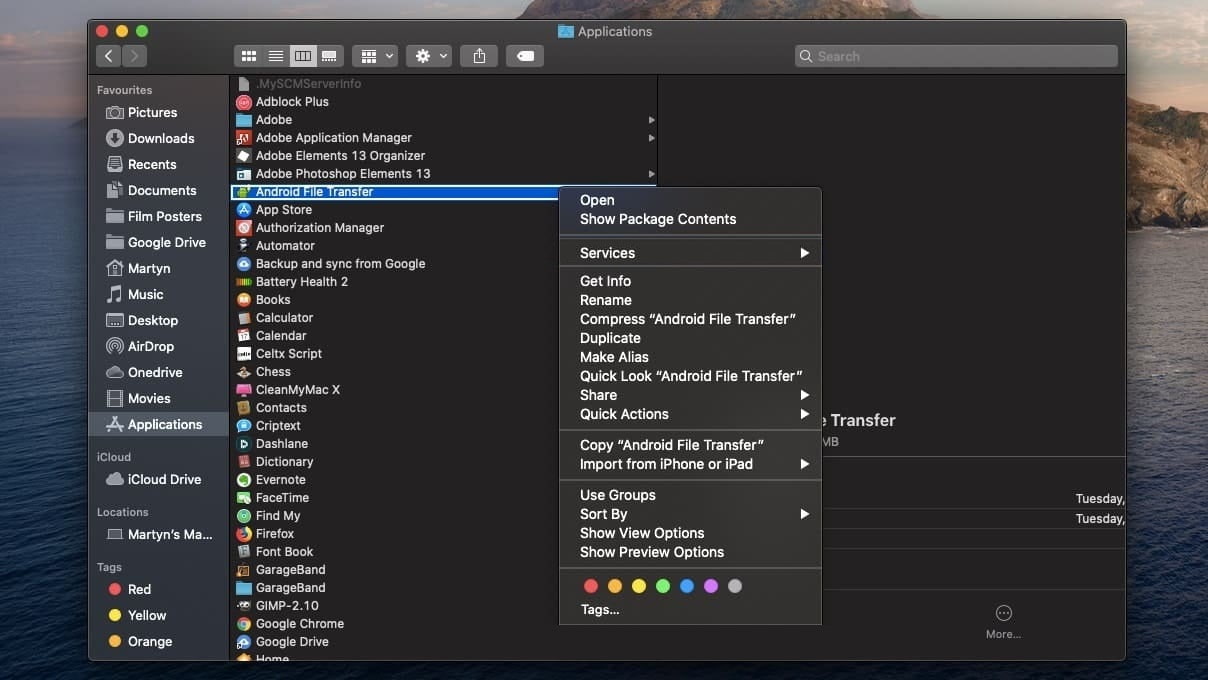
Step 2. Open the AndroidFileTransfer.dmg file to run the installation process.
Step 3. Drag Android File Transfer to “Applications”.
Step 4. Connect your Android phone using the USB cable that came with it.
Step 5. Run Android File Transfer.
Step 6. Browse the folders and copy the photos you need.
Download: Android File Transfer
Decision 3. SyncMate
So far we’ve presented you option on how to transfer photos from Android to Mac using USB cables. However, if you don’t want to use any cables and take care of the operation using your Wi-Fi connection only, SyncMate is the app you’re looking for. Not only does that it will allow you to import pictures from your phone to your computer wirelessly, but it also doubles as a sync tool to make sure you have all the files on both devices at all times.
Furthermore, SyncMate helps you sync Android and Macbook but also does a great job and syncing MTP devices mounted disks and other Macs as well. In other words, you’re looking at all-in-one sync and transfer tool that can even handle cloud storage accounts and various Microsoft services. You can even use it to transfer music from Mac to Android.
- Doubles as a sync tool to have the same data on Android and Mac
- Allows you to make changes in Android files while being connected
- Syncs calendars, address books, and contacts except photos
- It can’t only perform the photo transfer functionality without also syncing the two devices
Transfer photos from Android on Mac with SyncMate:
Step 1. Start by uploading and installing SyncMate on your Mac.
Step 2. Run the app and make sure that both the Android device and your Mac are connected to the same Wi-Fi network.
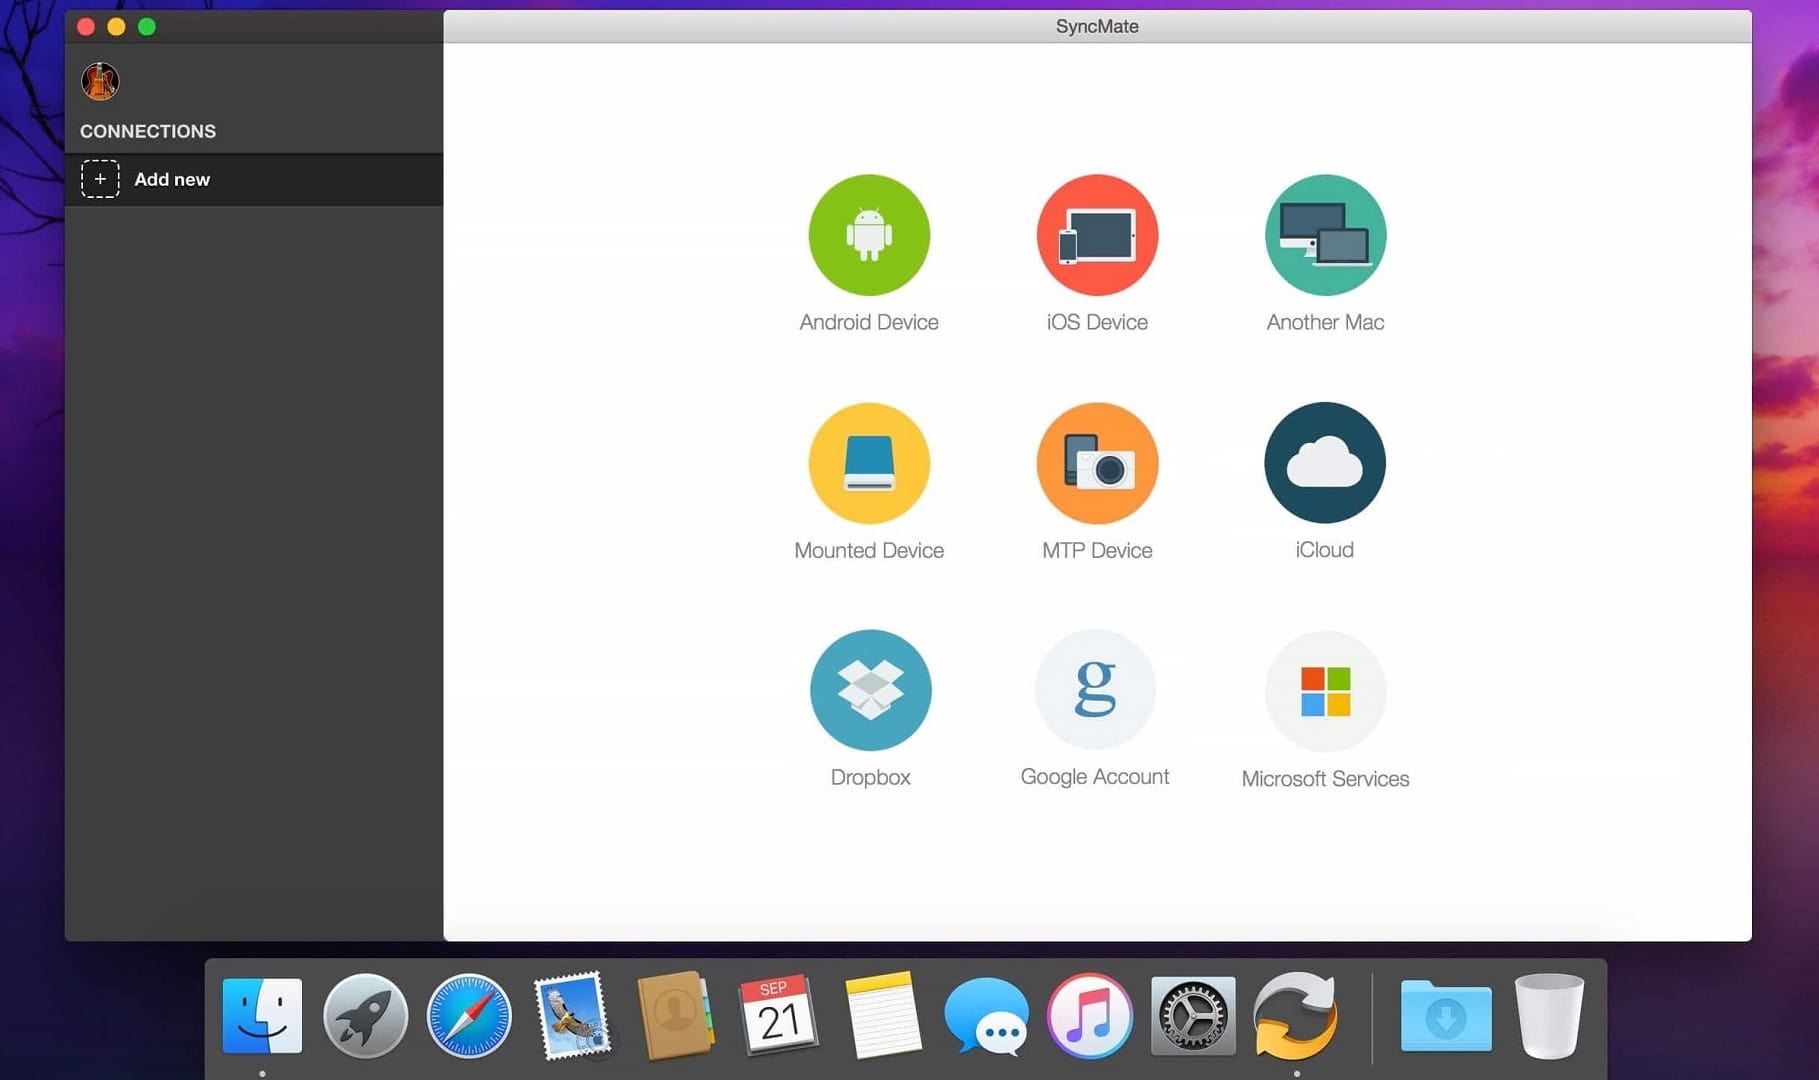
Step 3. On the left side of SyncMate, under “Connections” click on “Add new”.
Step 4. Choose Android device from the list of available options.
Step 5. Once the connection is established, choose what data you want to be synced (pictures, in this case).
Step 6. Once you’re done with all the prefered settings for photo syncing, press “Sync” to get start the process.
Download: SyncMate
Decision 4. AirDroid
We’ve already given you some top answers to how to move photos from Android to Mac. However, we want to make sure that our readers get exhaustive information and that’s why we’re listing a couple more alternatives. They will help you with other tasks – to transfer videos from Android to computer, for example.
AirDroid is a free Android app that helps you manage the data on your smartphone or tablet from any web browser. You guessed it, even from Safari on the Mac you want to transfer your photos to. You won’t need a USB cable for this one, and impressively, you won’t even need to have the two devices connected to the same Wi-Fi.
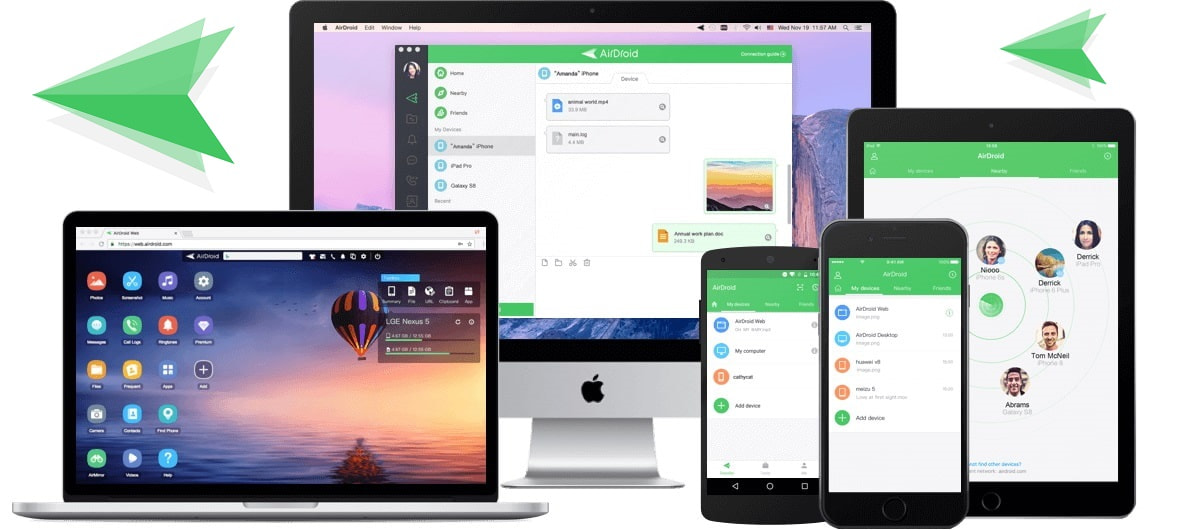
- Can transfer images from Android to Mac without cables
- Handles other files as well
- Can be used to fin the Android phone in case it gets lost
- It’s not the safest method as many issues were reported by users about phone hijacking
How do I transfer photos via AirDroid:
Step 1. Visit web.airdroid.com and scan the QR code on screen from your Android device.
Step 2. Once the connection is established, you will be able to navigate your Android phone content in browser from Mac.
Step 3. Copy and paste (or drag and drop) the photos and other files you want to move from your phone to Mac or vice versa.
Step 4. For larger files (over 100MB), you will have to upgrade to AirDroid Premium.
Download: AirDroid
Decision 5. AnyDroid
AnyDroid (formerly AnyTrans for Android) is an Android file manager designed for easy and convenient data management. It does not require any cables and allows you to manage your phone’s content on your computer via Wi-Fi.
Transferring photos from Android to Mac and vice versa is extremely easy with AnyDroid: scan the QR code, select the items you want to transfer, and you’re done! You can export messages, images, videos, contacts and any other data.
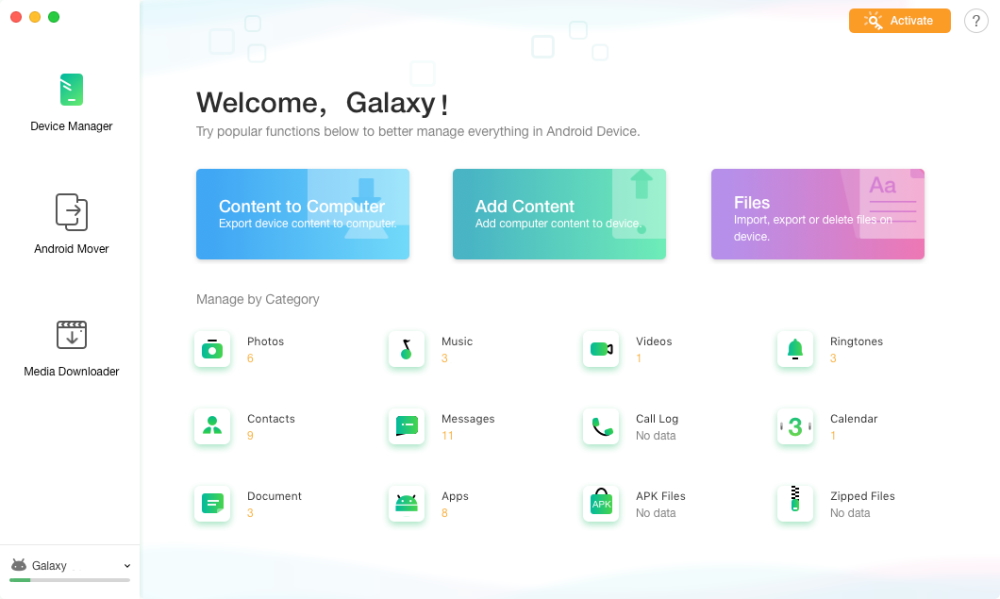
- Easy to use
- No USB cables required
- Batch export in one click.
- Free trial has limited transfers.
How to import photos with AnyDroid:
Step 1. Install and launch AnyDroid on your Mac.
Step 2. Connect your devices via Wi-Fi by scanning the QR code with the AnyDroid app. Make sure your phone and Mac are connected to the same Wi-Fi.
Step 3. Click on the “Photos” category and select the ones you want to transfer.
Step 4. Once selected, click on “To Computer” icon. Wait for the transfer process to complete.
Download: AnyDroid
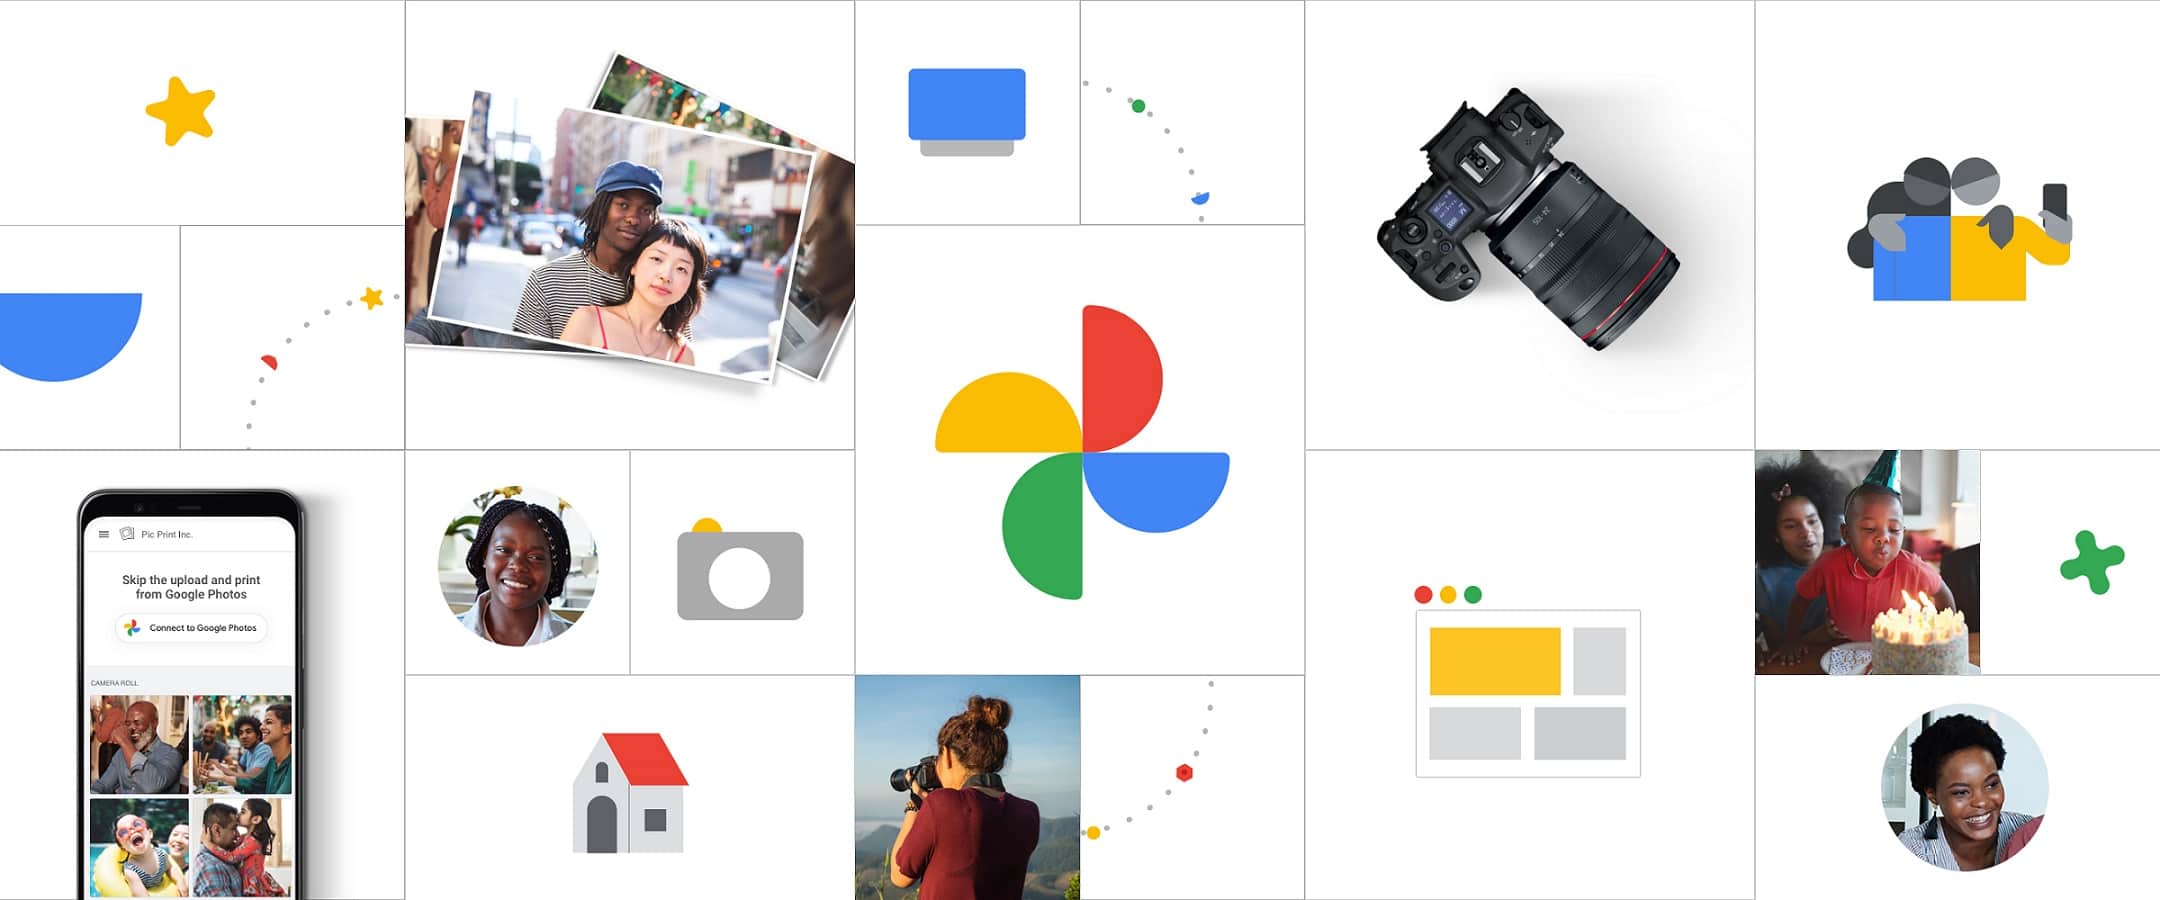
Decision 6. Google Photos
The final solution we’re presenting you on how to transfer data from Android to Mac, photos, images, videos, documents, and more involves Google Photos. To be able to use this method you will need a Google account.
However, most of us are using Gmail already so if you’re doing this too, you already have a Google account. Using Google Photos is a great way to sync pictures between your Android phone and other devices.
- No USB cable needed, just one Google account
- You’re not restricted by Wi-Fi access as long as your photos are already synced with Google Photos
- You can move videos and entire albums at once
- If you don’t use Google Photos as your main back-up cloud service, you will have to sync the photos on the Android phone with the Google service first
Here’s how it goes:
Step 1. On your Android phone, open the Google Photos app.
Step 2. If you want to move a specific album, go to the “Albums” tab on the bottom of the app. Otherwise, just select the pictures you want to move to get the process started.
Step 3. Once you’re done selecting, tap “Share”.
Step 4. Insert the email address where you want to send those photos and you’re done.
A simpler way of using Google Photos to move files between Android and Mac is activating the sync feature. So, when you open Google Photos in your browser on Mac, you can just select the photos you want and download them.
Conclusion
Now that you’ve seen all the relevant ways to transfer photos from Android to Mac, it’s up to you to decide on which one is the best fit for your needs. Usually, backing up photos from your phone is a recurrent task so you’ll benefit from installing a third-party app to get the job done.
Choose according to your tasks and habits: wired, wireless connection. Perhaps you want to use the usual Google Photos service, or maybe try MacDroid, appreciating the convenience and intuitive design.
FAQ
To transfer photos from a Samsung smartphone or tablet you can either use the app that Samsung developed or use MacDroid. The advantages for using the latter are that you can mount the Android device as an external disk and easily transfer any data from your Mac and vice versa.
Google Photos service is a great option for syncing photos between your phone and computer.
You can use MacDroid. This fast and reliable app allows you to transfer photos and other files between Android and Mac connected via USB.


