Google Drive is one of the leading cloud storage services, allowing users to store, edit, and share files in the cloud. Each user has access to 15 GB of free, easily accessible cloud storage per account, which is shared between Google Drive, Google Photos, and Gmail.
Users often face situations when they need to transfer files from one Google Drive to another, for example, if you run out of free space and would prefer not to pay for additional storage. There could also be various other reasons to transfer data, such as:
- problems with the current account
- the need to merge accounts
- transferring personal or work files to a separate account (if they are stored on the same Google Drive)
- the need to change your email to avoid losing the necessary data from the old account.
In this article, we will cover ways you can use to transfer Google Drive files to another account, including Google’s native methods and third-party app that can automate this process.
Table of Contents
How to move files from one Google Drive to another
These methods require transferring files manually, so let’s look at 4 ways: using the “Share” option, creating a “Transfer Folder”, using Google Takeout, downloading and re-uploading the files, and using Google Admin console.
Option 1 Use the “Share” Feature with Google Drive
A simple way to transfer a few documents is to share them with your other account. However, while this works well for one-off transfers, it can become tedious with large batches of documents.
Step 1: Sign in to your Google Drive account and locate the files you want to migrate to your second account. If there are multiple files, move them into a single folder to save time.
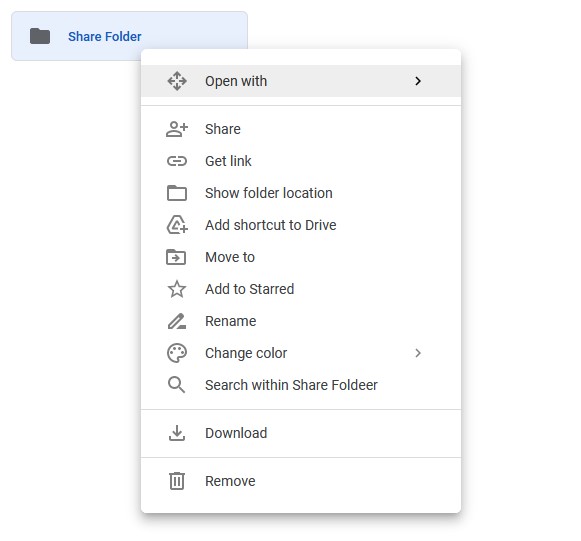
Step 2: Right-click the file or folder and click Share.
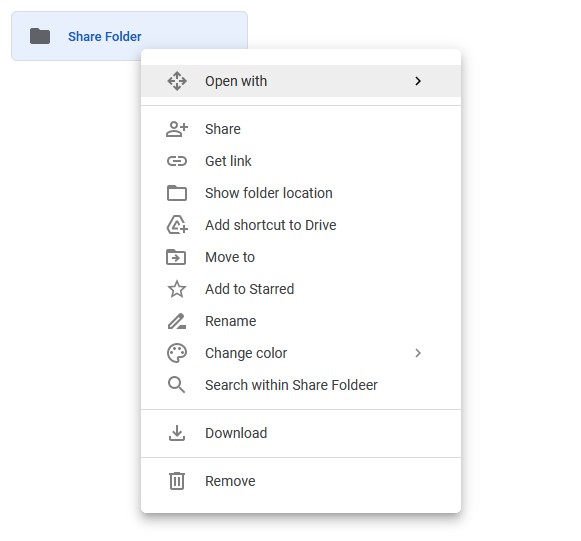
Step 3: Type in the name of your second account and select it from the list.
Step 4:Click the drop-down menu to the right of the account name and select Editor.
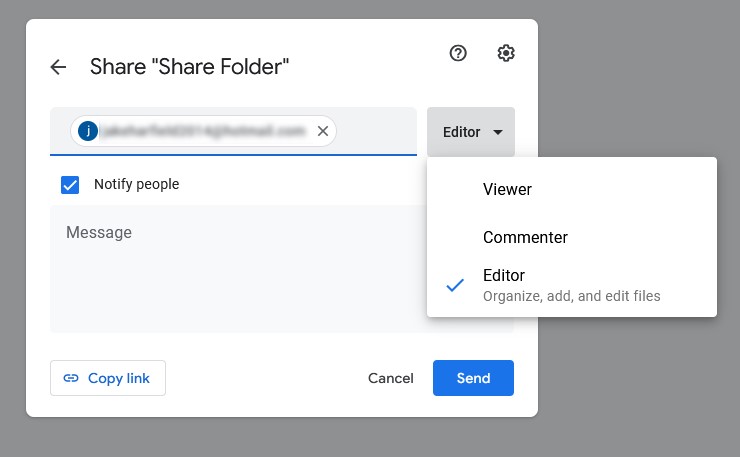
Step 5: Click Send.
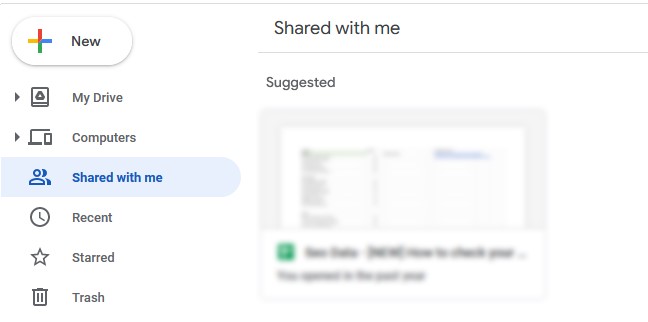
Step 6: Log in to the second Google Drive account and select Shared with me from the left-hand menu. You can now create copies of all the files within the folder and organize them as you desire.
Option 2 Make a “Transfer Folder” in Google Drive
If you have multiple files to transfer, or you need to transfer more files in the future, the above method can become time-consuming. Instead, you can create a folder that will automatically share any files that are placed inside it.
To create a “transfer folder”:
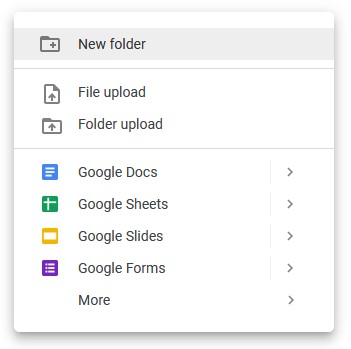
Step 1: Sign in to your Google Drive account and make a new folder. To do so, right-click anywhere in your Drive and select New Folder.
Step 2: Right-click the folder and select Share. Type in the name of the account you want to share it with and select it from the list.
Step 3: TWhenever you want to share a file with that account, drag it into the folder. Google Drive will prompt you with a message asking whether you want to change who has access. Click Move to confirm.

Option 3 Use Google Takeout to Transfer Files
You can also use Google Takeout to transfer files between Google Drive accounts. Google Takeout, also known as Download Your Data, is a service offered by Google that allows users to download their data as an archive file. With this archive file, you can then upload Google Drive to another account.
To transfer files using Google Takeout:
Step 1: Open the Google Takeout website and sign in to your Google account.
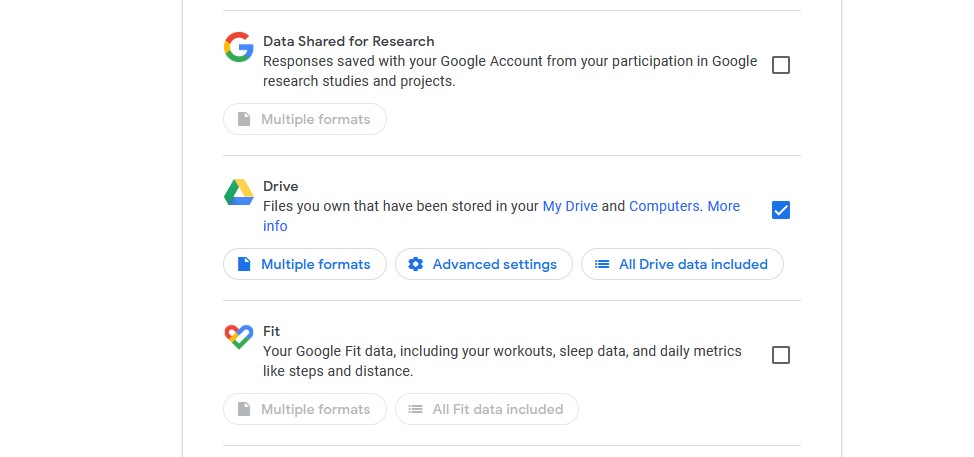
Step 2: Select the data you would like to include in the archive file. Make sure that Google Drive is ticked.
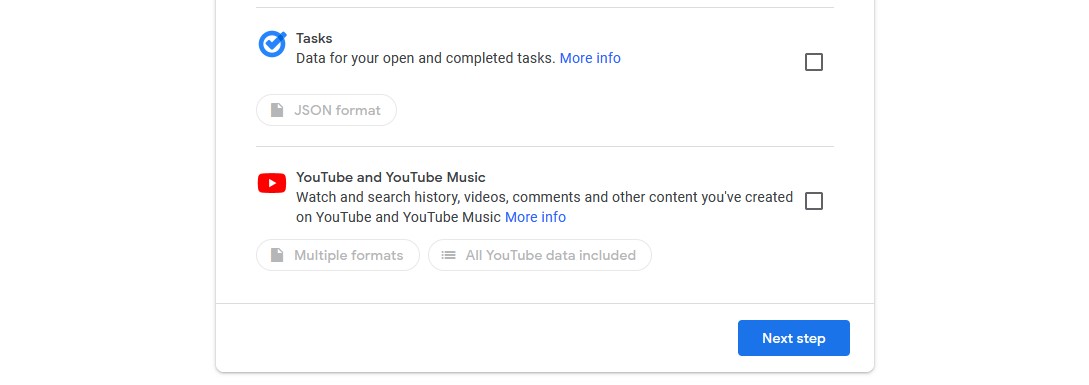
Step 3: Scroll to the bottom and select Next step.
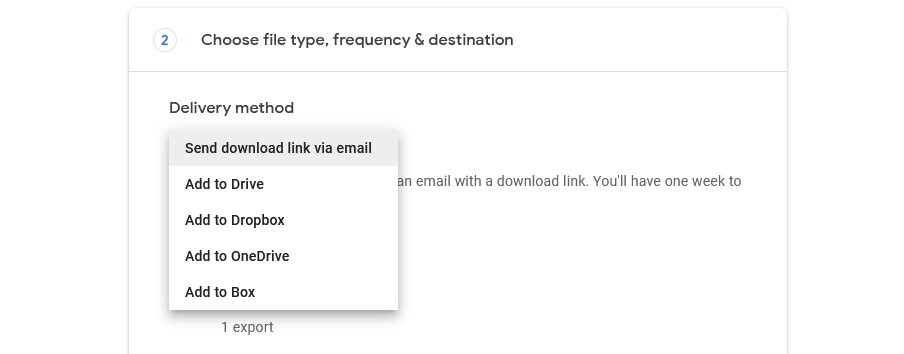
Step 4: Click the drop-down menu under Delivery method to choose how you will receive the file, by email, Google Drive, Dropbox, OneDrive, or Box.
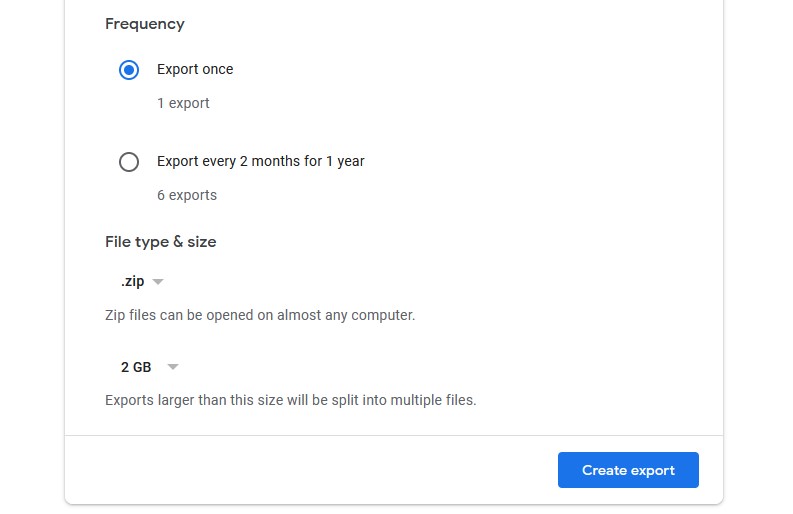
Step 5: Check that the file type and size settings are appropriate for your files.
Step 6: Click Create export.
Step 7: Once the export is complete, download the archive onto your local storage device and unzip the files.
Step 8: Finally, upload the files to the desired Google Drive account.
Note:
- Google Takeout uploads files that you have created. You will not be able to export files from other users that have been shared with you.
- If the contents of your disk exceed 10 GB, Google Takeout will split your files into parts during the export process. If some of them are not generated properly, you will have to re-request the archive.
Option 4 Downloading and Uploading
Another way to transfer files to another Google Drive account is by manually downloading and re-uploading your files. To do so:
Step 1: Log in to your Google Drive account.
Step 2: Create a folder that will contain all of your Google Drive files (if you don’t have one already) and move all of your files to this folder.
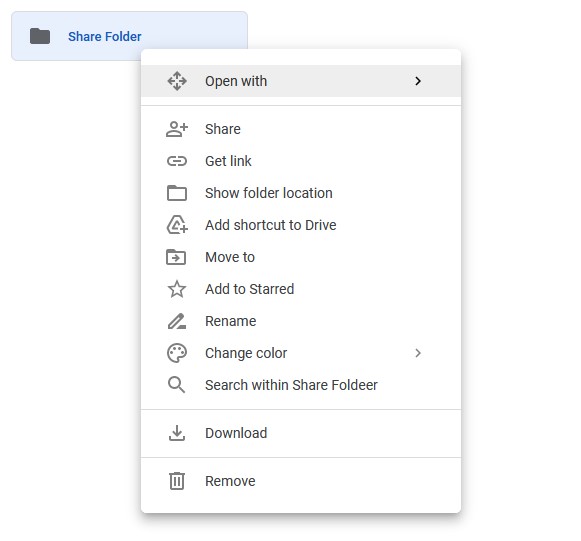
Step 3: Right-click the folder and select Download. Google Drive will place these files in an archive. Keep in mind that depending on the number and size of your files, this download could take several hours or days.
Step 4: Once downloaded, unzip the files on your local storage, then upload them to your second Google Drive account.
Option 5 Transfer files to a new owner as an admin via Google Admin Console
If you are a Google Workspace Administrator, you can partition ownership of your Drive to another account. Here’s how to do it:
Step 1: Go to the Admin console and log in or create an account.
Step 2: Navigate to Apps → Google Workspace → Drive and Docs → Transfer ownership.
Step 3: In the “From user”, enter the current owner’s email.
Step 4: In the “To user” enter the email address of the new owner and select the account from the results.
Step 5: Select “Transfer Files”.
The best way to transfer files from Google Drive to another account
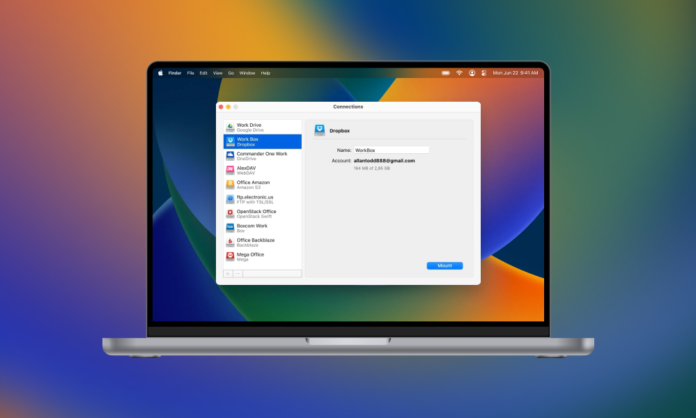
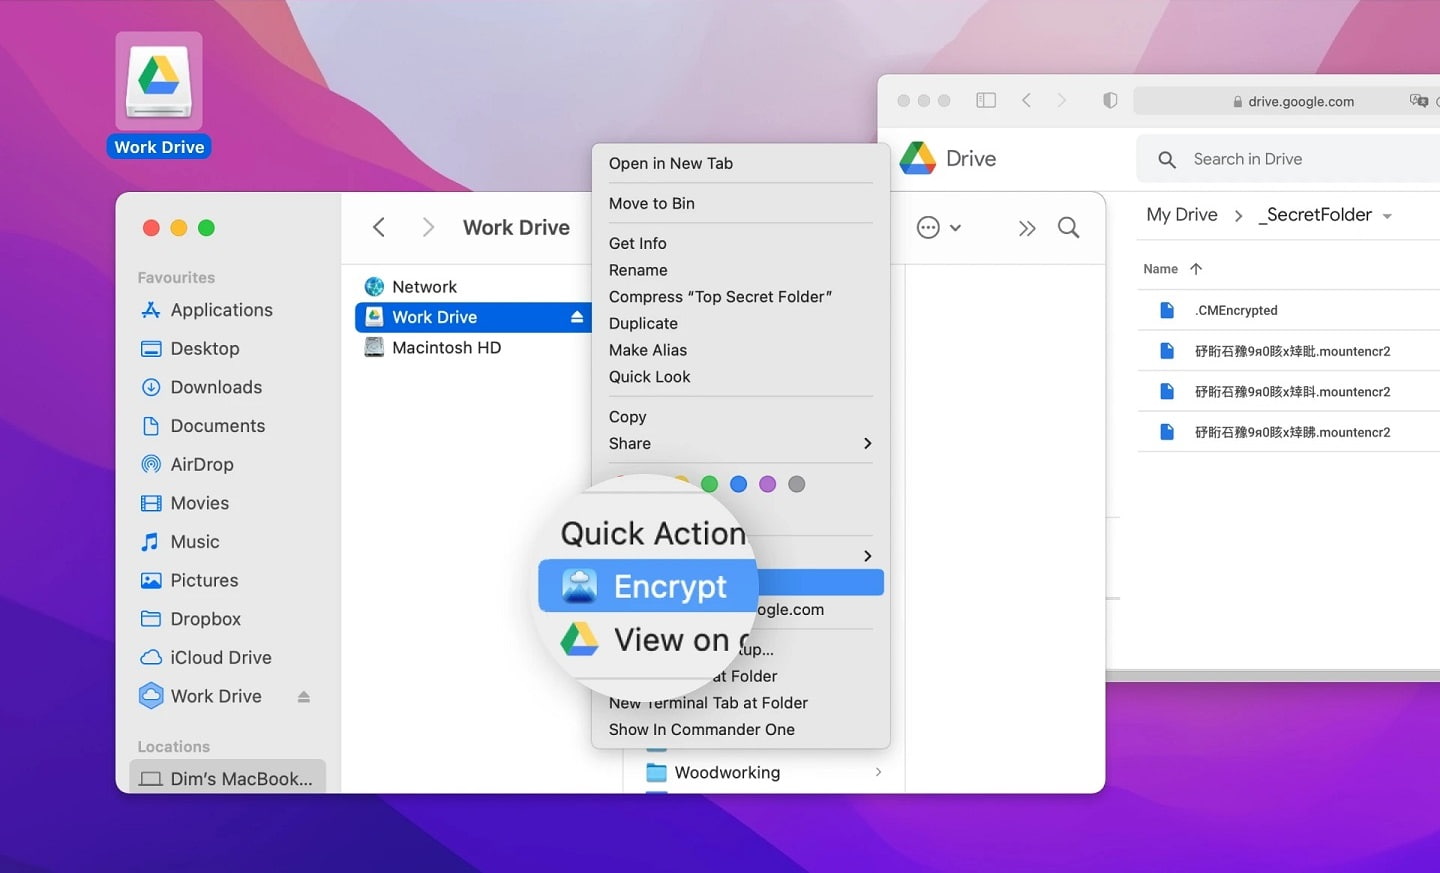
CloudMounter is a reliable cloud storage manager that enables users to connect multiple cloud accounts, enabling seamless file transfers with a simple drag-and-drop interface. With CloudMounter, you can not only transfer files between Google Drive accounts, but also transfer them to other cloud storage services like Amazon S3, OneDrive, Dropbox, and more.
The CloudMounter app integrates with Finder (for Mac users) and File Explorer (on Windows) to allow users to seamlessly manage multiple cloud storage accounts and create an efficient workflow. CloudMounter also provides advanced cloud encryption to minimize the risk of storing your data online.
How to transfer files from Google Drive to another account with CloudMounter
CloudMounter works by letting you mount cloud storage as a local drive. Once mounted, you can then easily drag and drop files between the drives. This provides a simple way to migrate the files from one Google Drive account to another without needing to download and re-upload them manually.
Here’s how you can use CloudMounter to transfer files from one Google Drive account to another:
Step 1: Download and install CloudMounter.
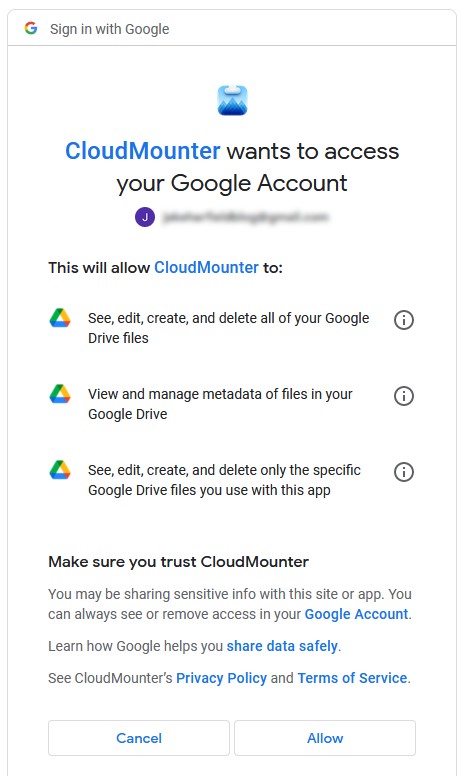
Step 2: Open CloudMounter and select Google Drive. This will take you to the Google Drive website where you will be asked to sign in.
Step 3: On signing in, Google Drive will ask whether you want to give the required permissions to CloudMounter. Confirm these permissions to continue.
Step 4:In the CloudMounter application, confirm your name and account and press Mount to mount Google Drive as a local drive.
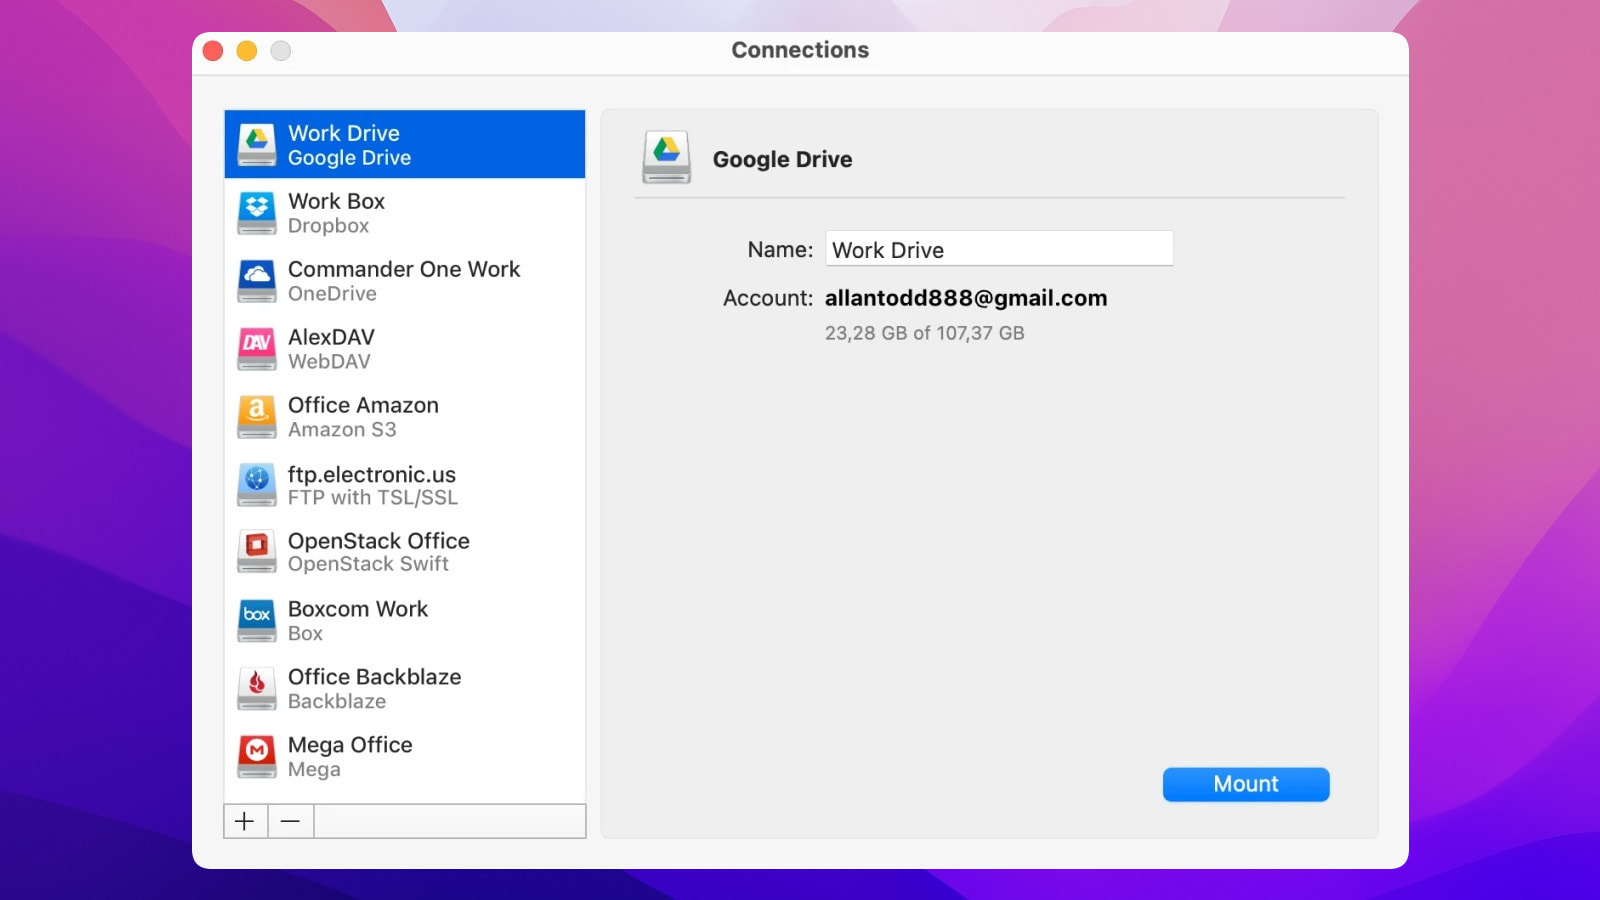
Step 5: Click Add new connection and repeat the steps above with your second Google Drive account.
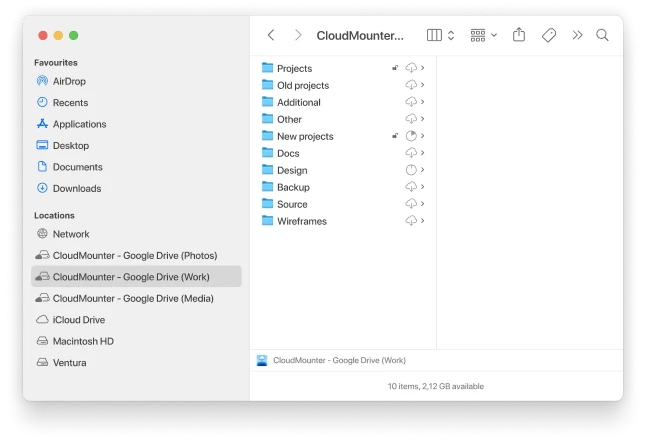
Step 6: Both of your Google Drive accounts will now be visible as local drives. To access these from CloudMounter on Windows, double-click the desired drive to open them in File Explorer. Then, simply drag and drop the desired files between the two drives. On Mac, the drives will open in Finder.
Conclusion
Using the methods above, you will be able to transfer any number of files from one Google Drive account to another. However, manual methods can be complicated and time-consuming. If you’re looking to simplify and automate Google Drive data migration, try CloudMounter. This cloud storage manager will give you the option to connect multiple cloud accounts at the same time and move your data from one to another by simple drag and dropping them.
FAQ
Yes. Using CloudMounter, you can easily transfer your entire Google Drive to another account.
Yes. However, depending on the size and number of files, the transfer may take some time.
Using CloudMounter, you can mount both of your Google accounts as local drives. Then, you can easily move any Google Drive folder to a different account.
The easiest way to share everything in your Google Drive with another account is by using either the CloudMounter or Google Takeout methods described above.
You can easily share a Google Drive folder with anyone outside of your organization if they have a Google Account. Users who do not have Google Accounts can be invited to collaborate on a shared Google Drive folder as visitors.


