
Running out of disk space or need to transfer large files? Compressing files on a Mac makes it easy to transfer and receive large files and saves space on your computer’s hard drive. Moreover, archives let you store multiple files or folders in a single file. This allows you to send batches of files by email in a simple and convenient way, without exceeding the file size limit as well.
When it comes to how to compress files Mac users know there is a built-in utility to help get the job done. Besides, there are dozens of third-party programs available. Let’s take a look at some solutions and how to compress files via Finder.
Table of Contents
How to Compress Files on Mac via Finder
Users situation:
Before talking about third-party apps, it’s worth mentioning the built-in macOS utility that lets you compress files and entire folders. This is a good option when you need to quickly zip or unzip files Mac. Here’s how it works:

Step 1: Go to Finder and find the file or folder you’d like to compress. If you want to select more than one file, hold down the Command key and click on each file you need to select.
Step 2: Once you’ve selected the files, right-click on them to bring up the context menu. Next, choose “Compress”.
Step 3: The Mac will start compressing files you’ve selected. This may take a couple of minutes depending on the size of the files or folders.
Step 4: After the compression is complete, you’ll find new compressed files in the same directory as the original file.
If you’ve compressed a single file/folder, the archive will be named the same but with a “.zip” extension. As for compressing multiple files or folders, newly created items will be saved in the archive named “Archive.zip”. You can rename your .zip file, but ensure you keep the .zip extension.
Compress File on Mac Using Third-Party Apps
Although Mac OS has a built-in archiver, its capabilities are very limited – it only works with three archive formats: Zip, CPIO and CPGZ. For advanced features, you should look for another solution.
To compress files Mac users can also rely on third-party apps. Today, there are many tools that work with a wide range of formats, offer flexible settings and advanced functionality, including encryption, cloud services integration, built-in search functions, and more.
Commander One
Well, let’s start a list of compression files Mac software with Commander One. This archiver comes with a plethora of functions and supports the most popular archive formats like ZIP, TBZ, TGZ, 7z. It allows you to open the archive as a regular folder, and even copy files from an archive without extracting.
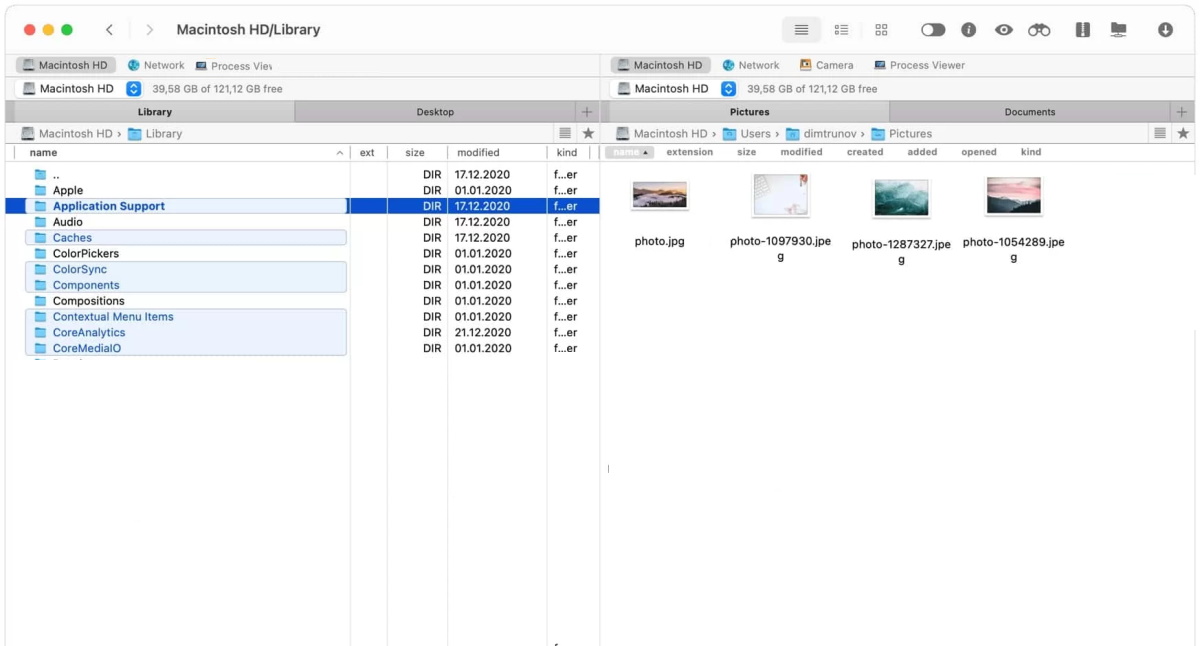
More than just a compression software for Mac, Commander One is also a great dual-pane file manager so that you can easily deal with your files and organize all your data with its help. Furthermore, there are three view modes for convenient work and the ability to integrate remote drivers.
- Allows setting up custom hotkeys
- Dual-pane for easy browsing
- Offers file operation queue
- Handles lots of archive file formats
- To access more advanced functions you need to upgrade to the PRO version
How to compress files with Commander One
Step 1: Select the files you want to compress and right-click on them.
Step 2: Choose the “Compress selected file(s)”.
Step 3: The archive will appear in the same pane.
You can also use the hotkeys, to do this, press:
- Ctrl + F5 to compress files
- Ctrl + Alt + F5 to compress files with options
Platform: macOS, Windows
Price: free, Pro pack is $29.99
Download: Commander One
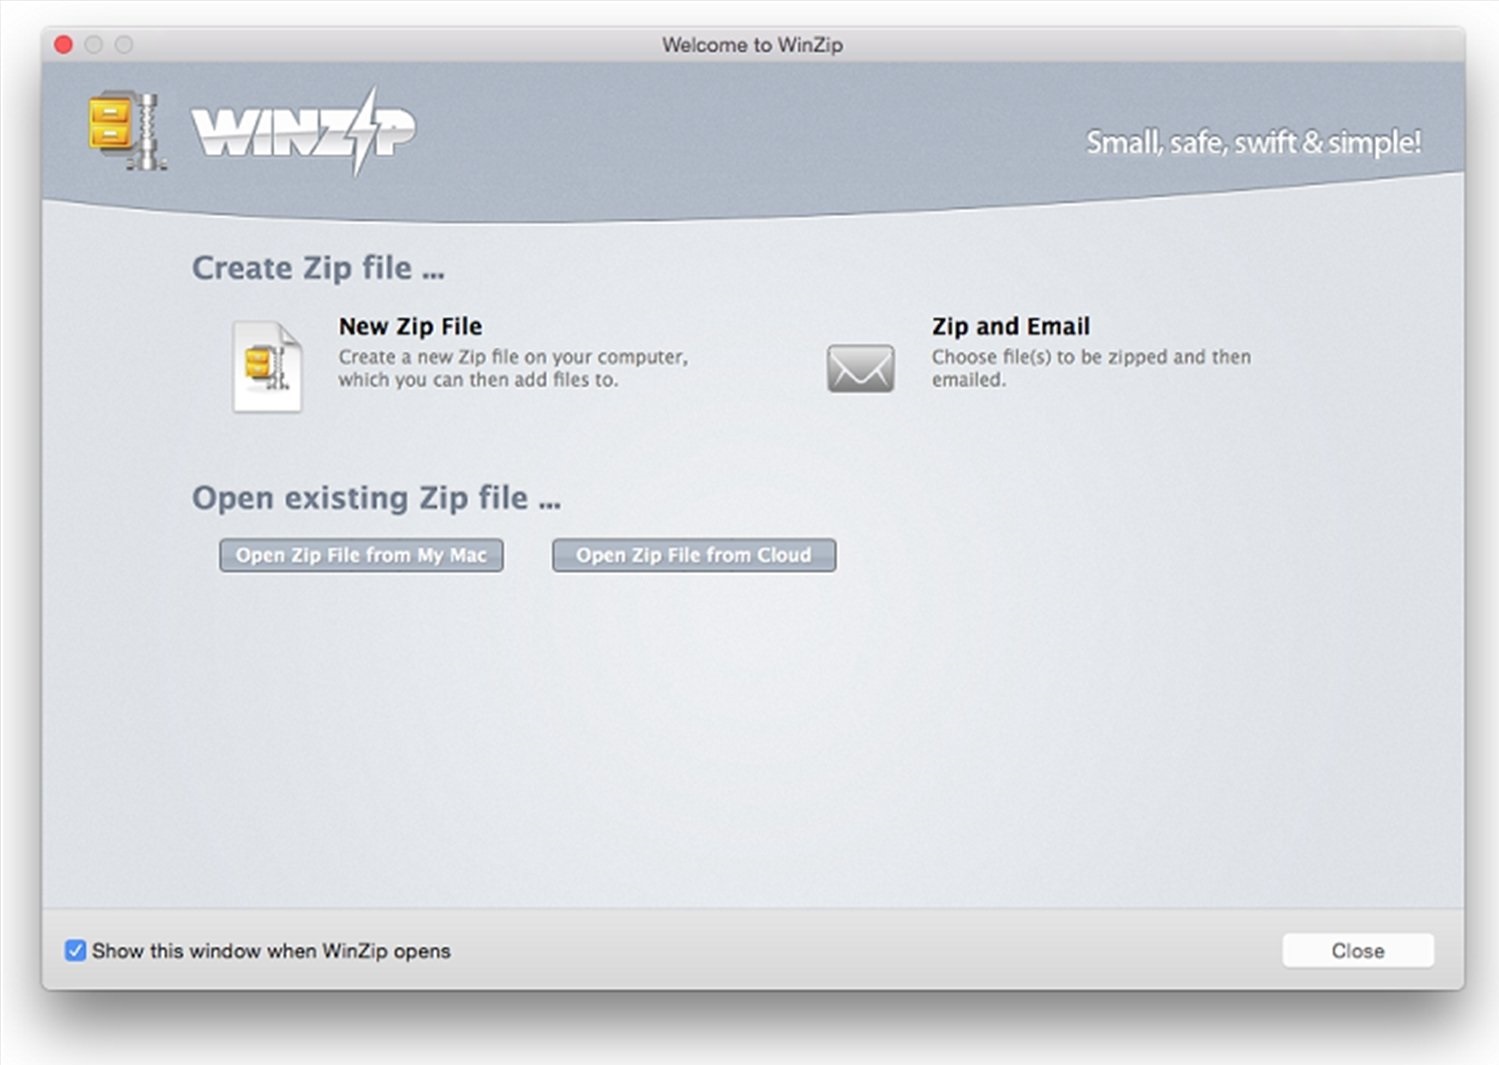
WinZip
WinZip is a versatile utility for compressing different types of files. Despite its name, this app is supported not only on Windows but also on macOS, iOS, and Android. WinZip integrates with cloud services such as Dropbox, Google Drive and OneDrive, enabling you upload files to the cloud.
In addition, WinZip provides strong encryption capabilities, allowing users to protect their archives. This feature is especially useful for those who work with highly confidential information.
- Support for popular archive formats
- Ability to compress and decompress files
- Integration with cloud storage
- High encryption
- No free version, only trial with limited functionality
How to archive files with WinZip
Step 1: Install and open WinZip.
Step 2: Use the WinZip file panel to select the files you want to archive.
Step 3: Click “Add to Zip” and Save the zip file.
Platform: macOS, Windows, iOS, Android
Price: free trial, then $29.95
Download: WinZip
Keka
Keka is another great Mac compress files app that many users might like. Designed for macOS, it fulfills all the functions expected of an archiver and features a number of convenient options, including the ability to split too large archives into parts. This can be useful if you frequently send archives via email.
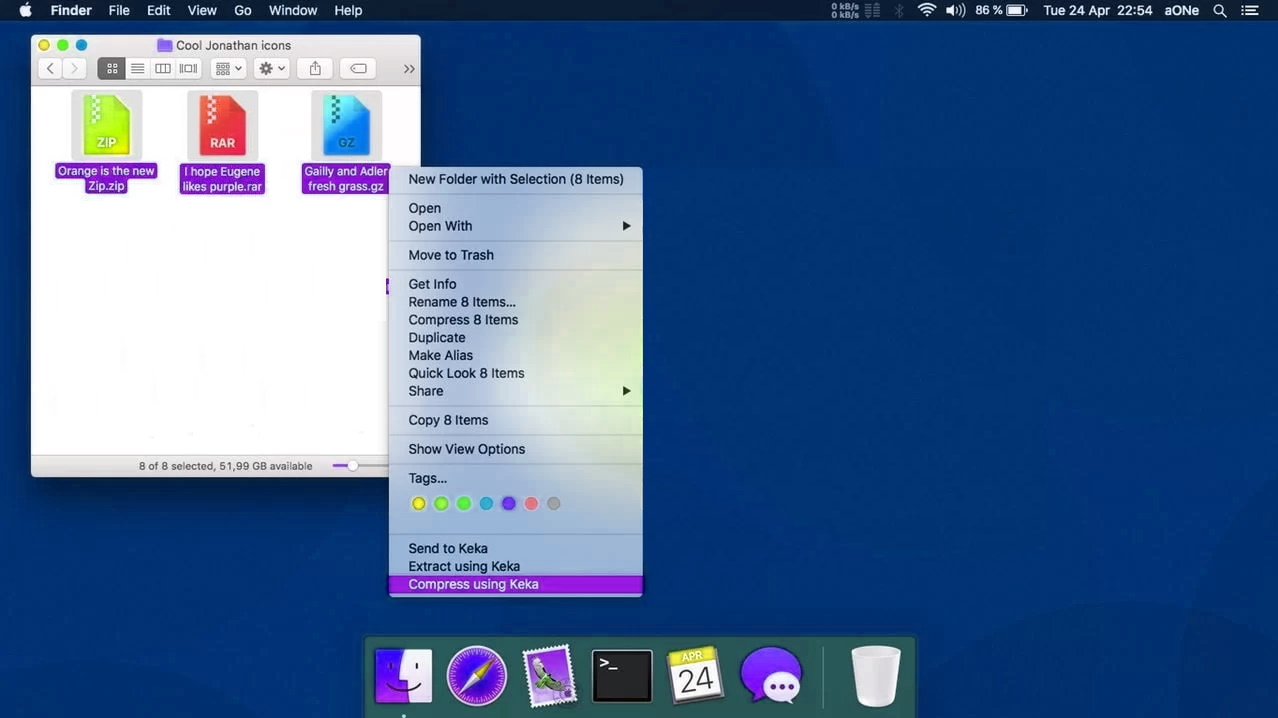
With support for numerous formats, Keka can seamlessly create files in 7z, Zip, Tar, and extract files from RAR, 7z, Zip, Tar, Gzip, etc. After installing the app, you can compress files by simply dragging them onto the Keka icon in the dock – the app will do the rest for you.
- Uses AES-256 encryption to ensure full security
- Lightweight and easy-to-use
- Allows dividing the archive into parts
- Handles many formats
- The newest version is still a beta version which means there may be bugs and issues
How to use Keka for file compression
Step 1: Open the app.
Step 2: Select your files and drag drag over them to the Keka window.
Step 3: Then file compression will start.
To compress via hotkeys, press Ctrl + Shift + C
Platform: macOS
Price: $4.99
Download: Keka
How to Make the File Size Smaller on Mac
Reducing the size of a file, whether it’s a video, song, or an image, on Mac can help you with sending it to someone more easily. Some methods allow you to convert the format of your files into one that’s smaller in size, and other solutions let you make a file smaller by archiving them.
Here, we are going to look at several methods you can use to reduce the size of your files.
How to Make a Picture Smaller on Your Mac
Using the Preview app on your Mac, you can quickly reduce the size of any picture. Follow the steps below:
Step 1: Open any image in Preview.
Step 2: Click on the Show Markup Toolbar icon.
Step 3: Click on the Adjust Size button in the toolbar. Alternatively, go to Tools → Adjust Size in the menu bar.
Step 4: Now change the values in the “Width” and “Height” boxes according to your preferences. You’ll be able to see the final size of the image in the “Resulting Size” section.
Step 5: Click on OK once you’re done.
How to Compress a PDF File on Mac
The Preview app also allows you to compress PDF files on your Mac. Here’s how:
Step 1: Open a PDF file using Preview.
Step 2: In the menu bar, click on File → Export.
Step 3: Click on Quartz Filter and choose Reduce File Size in the dropdown menu.
Step 4: Hit the Save button to reduce the size of the PDF file.
How to Make a Video File Smaller on Mac
Mac’s built-in video player, QuickTime, can help you make a video file smaller. Follow the step-by-step instructions below:
Step 1: Open any video in QuickTime.
Step 2: Click on File → Export As and choose a resolution for your video. The lower the resolution, the smaller its size will be.
Step 3: Choose the output file’s location and then click on Save.
How to Reduce a Document’s File Size in Pages on your Macbook
Mac has a built-in app called Pages, which you can use to reduce the size of any document. Here’s how it works:
Step 1: Open a document in Pages.
Step 2: In the menu bar, click on File → Reduce File Size.
Step 3: Check both Scale down large images and Remove trimmed parts of movies and audio.
Step 4: Click on either Reduce This File if you want the new settings to apply to the original document or Reduce a Copy to create a copy of the document with the new changes.
Conclusion
File compression is a great solution to free up space on your computer and make files more compact and faster to send. There are multiple ways when it comes to how to zip files on a Mac and you can quickly put your files and folders into one archive. Shrinking file size is easy with a built-in Mac archive utility, but the functionality is somewhat limited. However, for more features, you can try third-party apps.
Now that you are familiar with the relevant options and third-party tools, you have seen that compressing a file on Mac is no big deal. Just choose the solution that suits your needs the best and get started.
FAQ
To compress large files Mac users can opt for the archive software. Choose the one according to your needs, install it on Mac and locate files you want to zip. Next, add files/folders to start compressing.
When it comes to how to zip two files together on Mac, it’s best to add those files to one folder and then compress it. If you want to zip files without first placing them in the folder, select specific items and right-click one of them, then choose “Compress X items”.
If you can’t find the compress option on Mac, make sure the permissions settings for items are correct. Select the item and then go to File > Get Info.
Open Finder, select a file you want to zip and right-click on it. Select “Compress” from the pop-up menu. Alternatively, you can use third-party apps.
You can compress the file in Finder. Just control-click on the file and select “Compress”. Once the compression is complete, you will see a file with .zip extension.
Commander One is the easiest way to work with archives. To compress files with Commander One, right-click on the files you want to archive and choose “Compress selected file(s)”. The archive will appear in the same panel.


