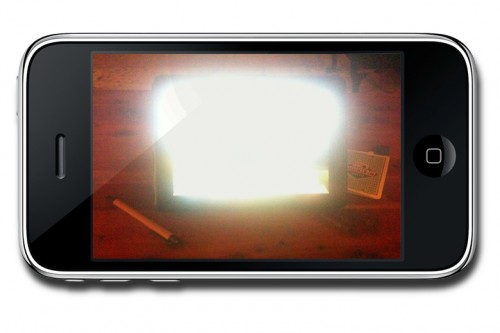
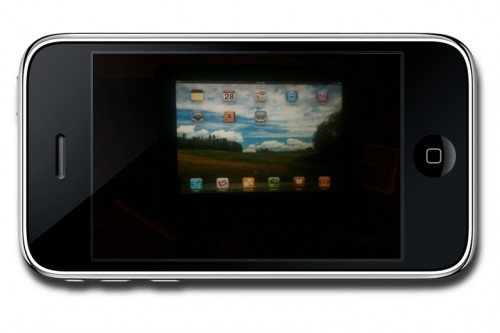
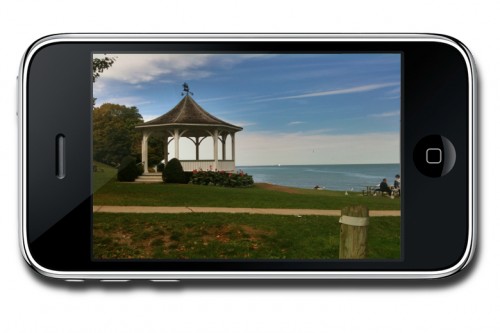
![]() How familiar does this scenario sound? It’s a bright sunny day, you’re strolling around your neighborhood and you come across a scene that inspires you to take a photo. You left your camera at home, but luckily you do have your iPhone. You point the camera at the scene and try to adjust for your best shot. But, there’s a problem. Too much light coming from the sky is blurring the rest of the picture. You have the iPhone 3GS, so you tap your screen to focus on the sky and instantly the brightness is gone and the sky looks crystal clear. But your problems have just begun. The rest of the scene is now almost completely black. Your iPhone is making you choose between bright and dark, and neither choice is giving you a picture you can be proud of.
How familiar does this scenario sound? It’s a bright sunny day, you’re strolling around your neighborhood and you come across a scene that inspires you to take a photo. You left your camera at home, but luckily you do have your iPhone. You point the camera at the scene and try to adjust for your best shot. But, there’s a problem. Too much light coming from the sky is blurring the rest of the picture. You have the iPhone 3GS, so you tap your screen to focus on the sky and instantly the brightness is gone and the sky looks crystal clear. But your problems have just begun. The rest of the scene is now almost completely black. Your iPhone is making you choose between bright and dark, and neither choice is giving you a picture you can be proud of.
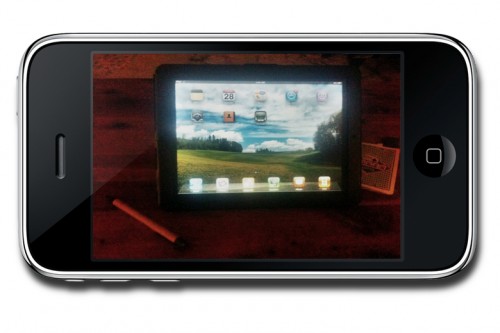
Enter a technology called HDR, short for high dynamic range. Included in the new iPhone 4, HDR helps deal with exposure problems, such as the one in the previous scenario, by taking multiple exposures of the same scene and stitching them together to generate a photo with the proper exposure for both the bright and dark areas. Now if you have an iPhone 4, you can stop reading. The feature is built right into your pictures and works as advertised. If you’re using an iPhone 3GS, then you may want to check out Pro HDR.
What’s MacGasmic
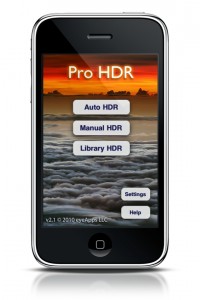
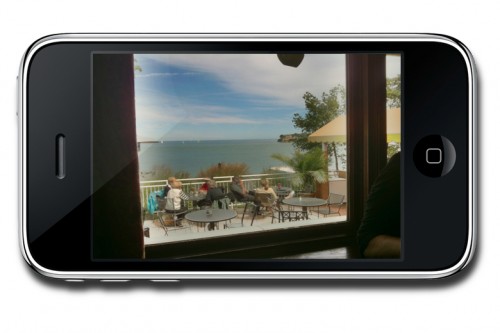
Pro HDR is a $1.99 camera app for the iPhone 3GS and 4 that allows you to take multiple snapshots of the same scene and automatically merge them together into a final picture. Simply launch the app, select “Auto HDR,” tap the screen and hold steady while the app analyses the lighting conditions, takes two pictures, and combines them together. The whole process takes about 10-15 seconds and produces some outstanding results (see gallery at the end of this review).
Pro HDR has a few other useful features including a manual mode for fine tuning each HDR output, and a library mode that allows you to combine previously taken pictures into a new HDR images.
What’s Not
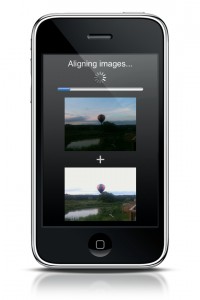 First, while the Pro HDR apps does exactly what it claims to do, it’s still a little rough around the edges. For most iPhone photographers, some pictures require a fair bit of urgency and not being able to quickly open an app and capture the moment can be frustrating. While the standard iPhone photo app opens one click away from capturing a photo, Pro HDR requires you to launch the app, then select Auto HDR before being ready to capture a picture. Combine this with the extra delay required to analyze lighting and snap two pictures and it can be difficult to capture any time-sensitive scenes.
Second, because Pro HDR is actually snapping two separate pictures instead of two exposures in the same image, there is a 1-2 second delay between each image. While Pro HDR does a great job of adjusting the picture if you happen to move the camera a few millimeters in between shots, it can’t compensate for movement within the scene. This makes it impossible to capture any scenes with movement, and very difficult to shoot portraits unless your subject can ensure there’s no movement in between shots.
Final Thoughts
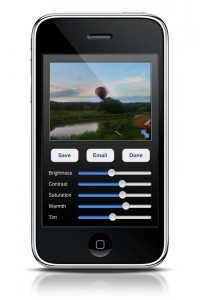 While the extra settings in Pro HDR have a few advantages over the native iPhone 4 HDR, the disadvantage of requiring two separate pictures to be taken far outweighs them. For the iPhone 3GS, however, Pro HDR is a must have app. The app leverages HDR perfectly to produce stunning improvements on any scene with a high exposure range. Despite a few shortcoming that are inherent in this type of HDR technology, there is very little criticism that can be thrown at Pro HDR. A great concept, simple execution, and brilliant results. What more can you ask for from an app? Pro HDR is available for the iPhone 3GS and iPhone 4 and is highly recommended.
