
Adobe boasts some of the most powerful graphic design programs on the market. Programs like Photoshop, Illustrator, and InDesign are used by both professionals and hobbyists alike.
But like all other data on your Mac, your InDesign files are not immune to disaster. Accidental deletion or replacement can strike at the worst times. Unless you know how to restore your files, you may find yourself losing hours (or even weeks) of hard work.
This guide shows you how to recover InDesign files, whether they’ve been altered, deleted, or overwritten entirely.
Table of Contents
Does InDesign Have an Autosave Feature?
Does InDesign autosave? Thankfully, the answer here is yes.
Similar to other Adobe programs like Photoshop, InDesign automatically saves your document once every minute. This allows the InDesign autosave feature to recover changes you made to a file if the program quit unexpectedly before saving. These saves are located in an InDesign recovery folder, similar to Photoshop’s recovery folder.
To recover an unsaved file using the InDesign autosave feature:
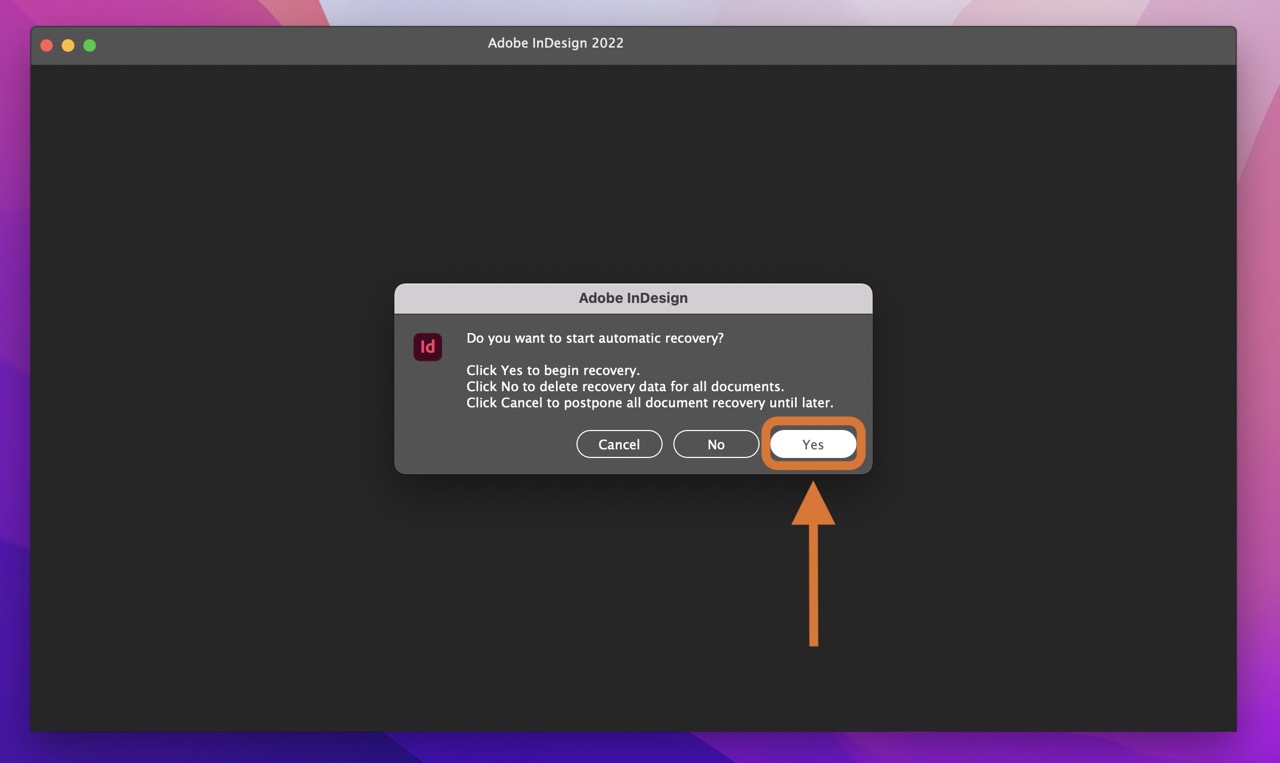
- Open InDesign after the program unexpectedly closed. If InDesign saved a version of your file, you’ll see an automatic recovery screen like this one.
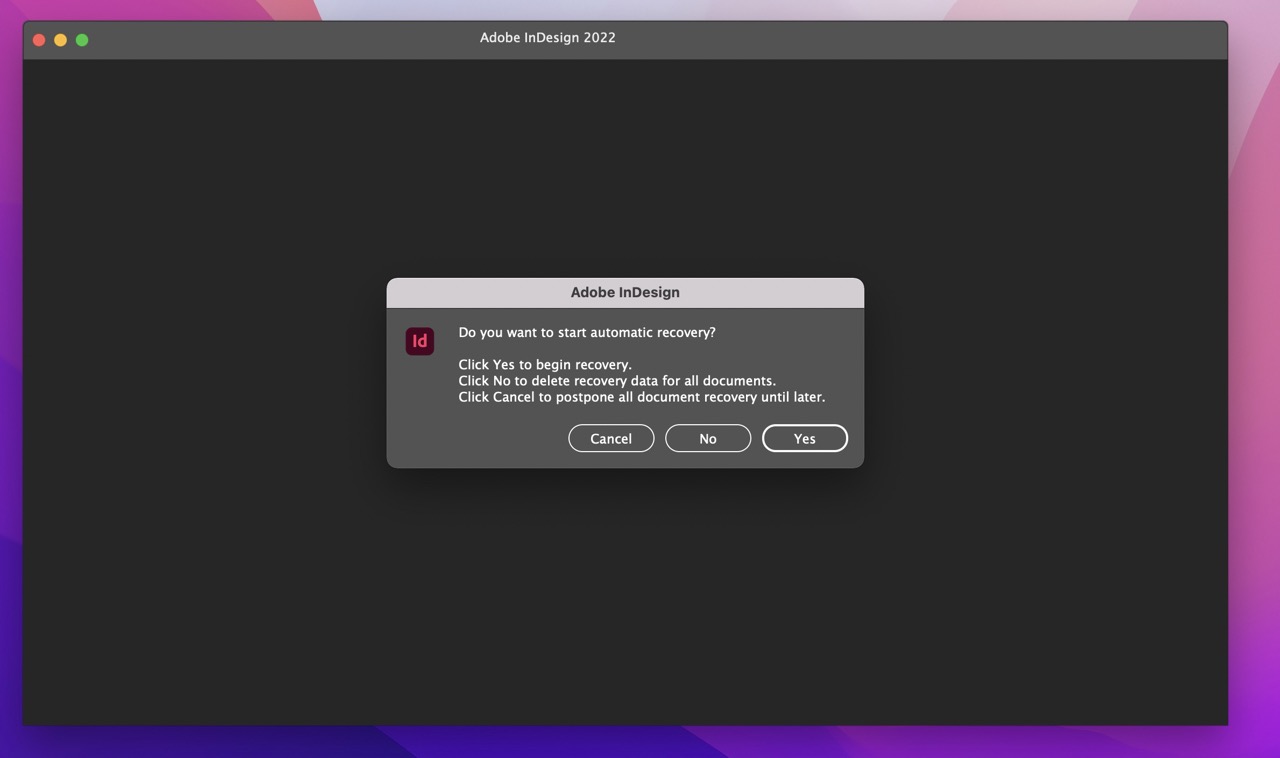
- Choose Yes to begin recovery of the file.
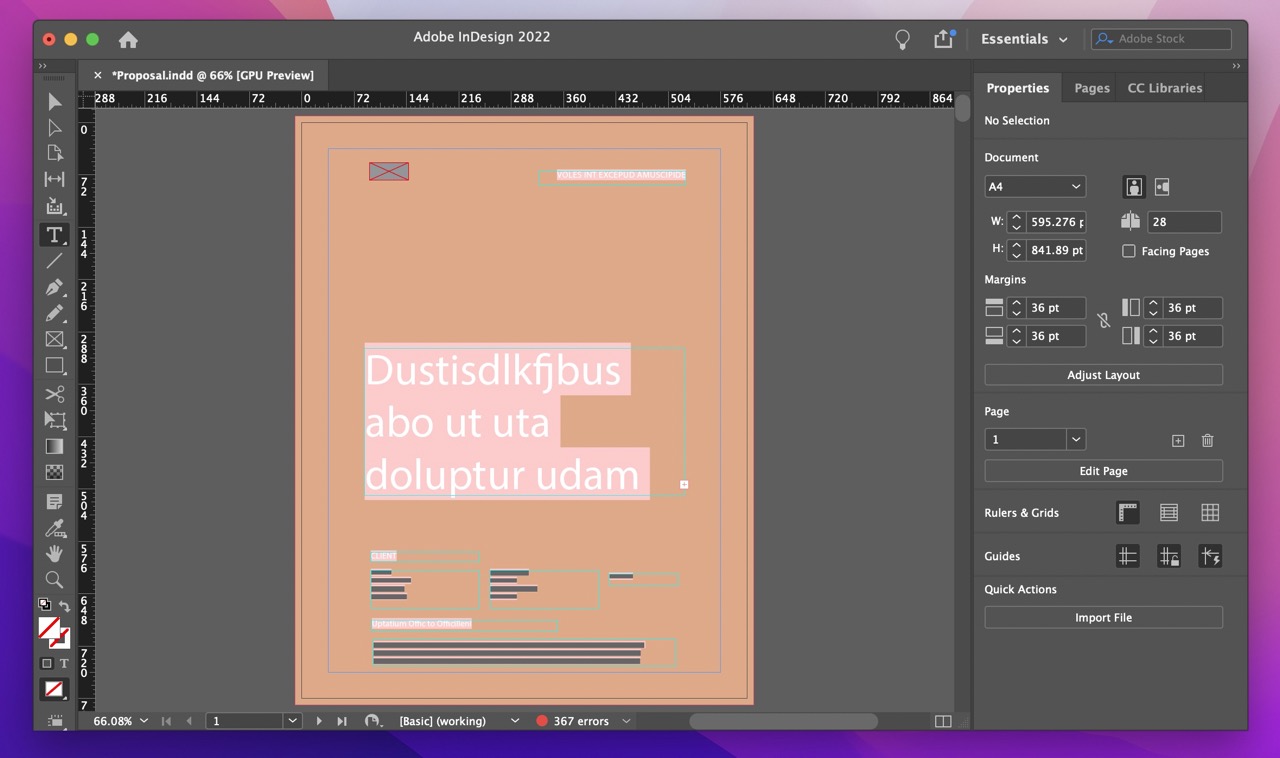
- InDesign will then open your recovered file. Be sure to save the file to replace it as the current version.
How to Recover Deleted InDesign Files
InDesign’s autosave feature is great for recovering unsaved changes. But what about when you’ve accidentally deleted your file entirely?
Luckily, there are a few strategies you can use to recover an InDesign file after deletion.
Solution #1: Trash Bin
The simplest method for recovering deleted InDesign files is by restoring them from your Trash Bin. As long as you haven’t actively emptied your Trash Bin, you can find any manually deleted files here.
To recover an InDesign file from the trash bin:
- Open the Trash Bin in your dock or use Spotlight (Command + Space).
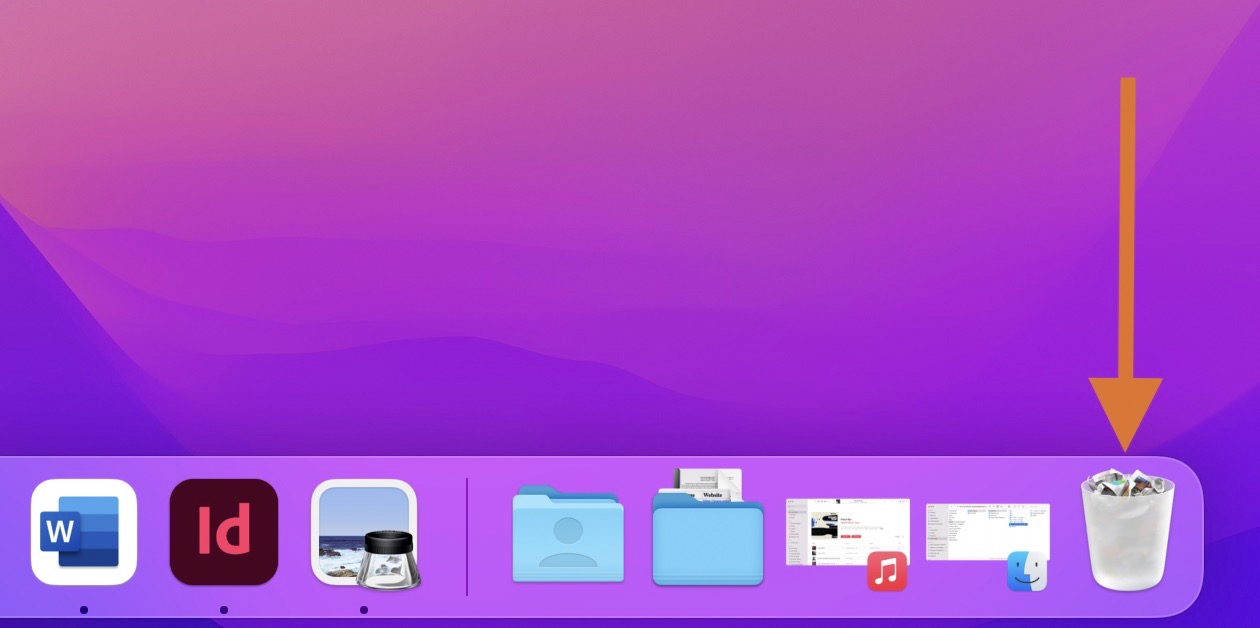
- Find your file.
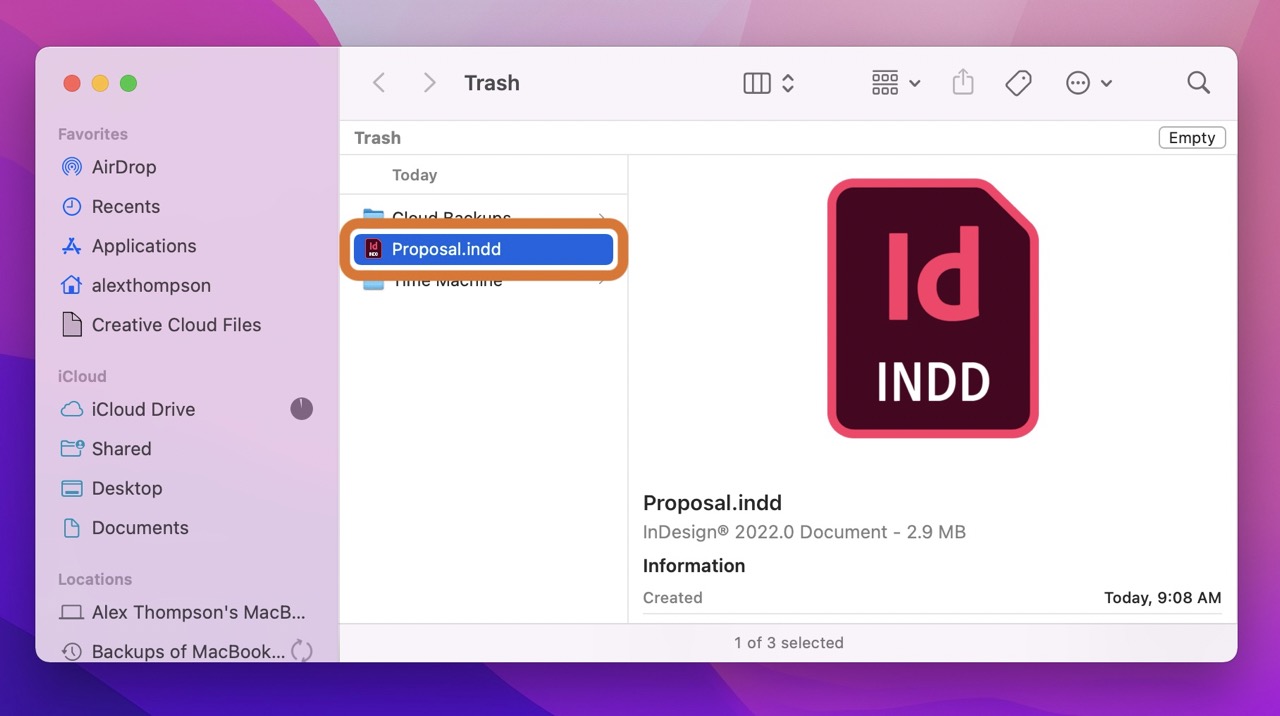
- Right-click the file and select Put Back. You can also drag and drop the file out of the Trash Bin and into a new destination.
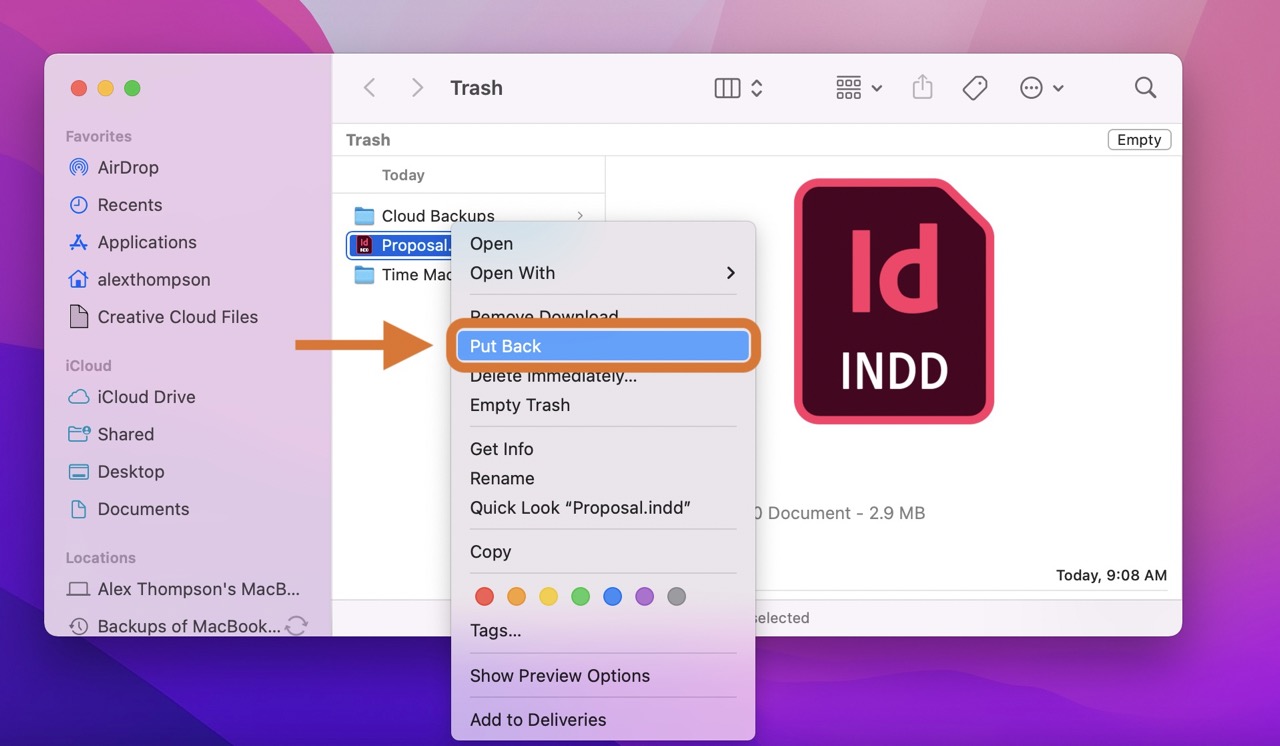
- You can then interact with your restored file like normal.

Solution #2: Data Recovery Software
If you can’t find your file in the Trash Bin, don’t worry—you still have options.
When you delete a file, your Mac doesn’t fully remove the file from your hard drive. Instead, it just marks it as okay to be overwritten. Data recovery software lets you find such files on your hard drive and restore them, even if you’ve already emptied your Trash Bin.
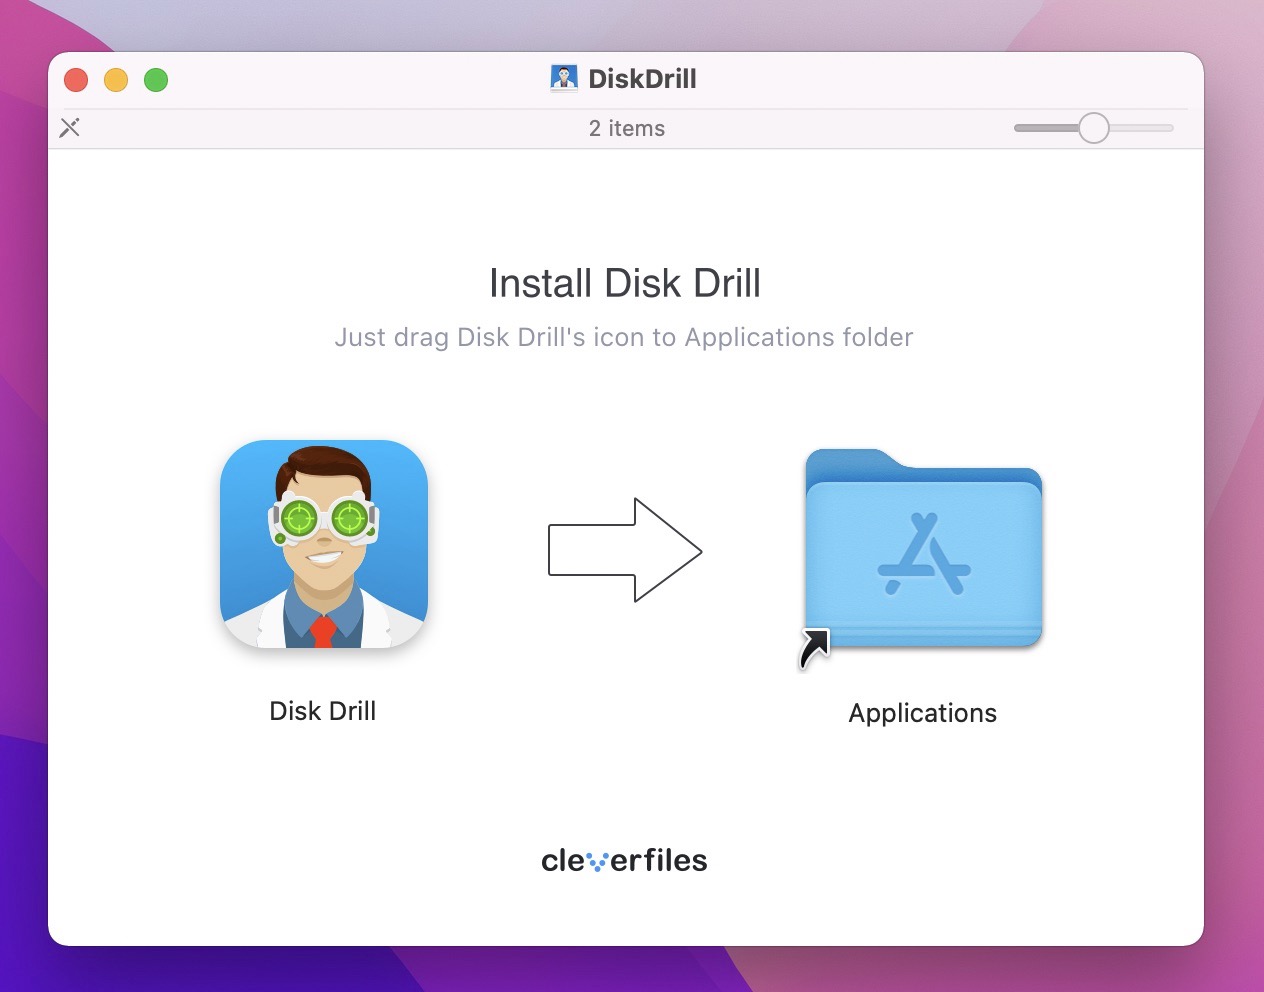
Disk Drill is a solid data recovery software option. It’s powerful, user-friendly, and intuitively designed.
To recover an InDesign file using Disk Drill:
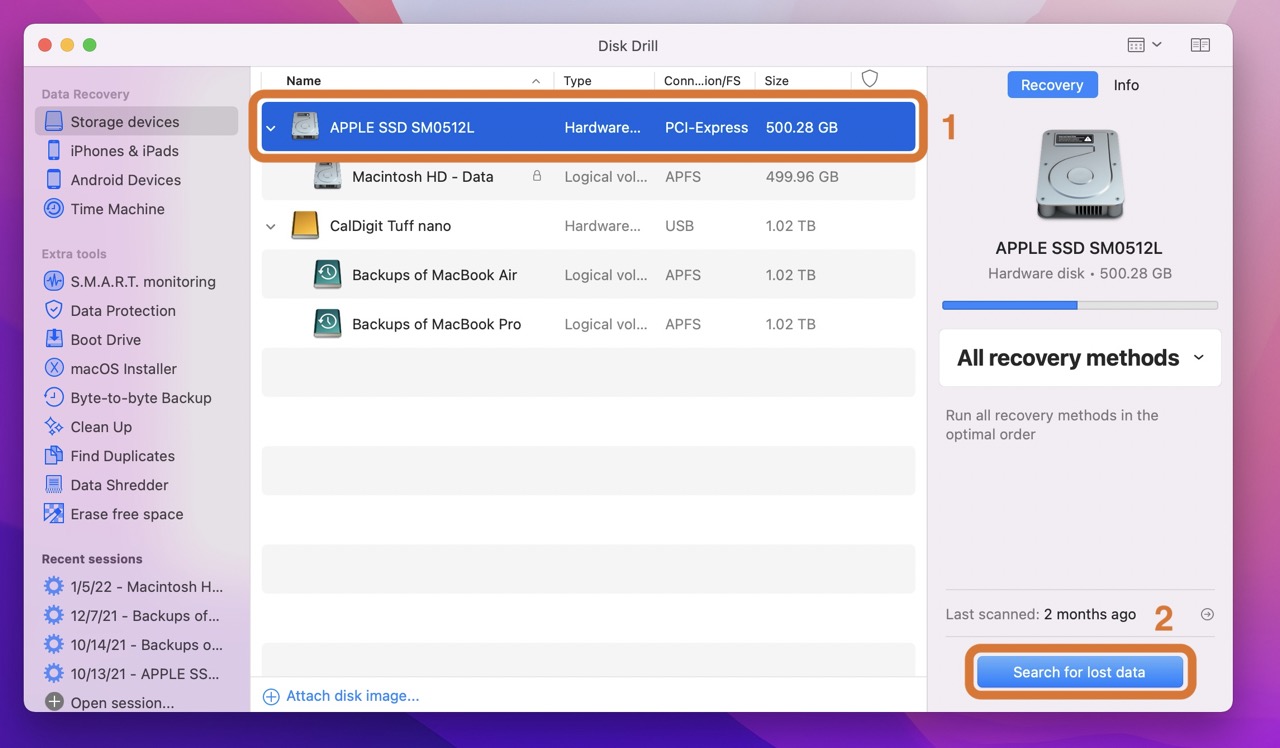
- Download and install Disk Drill.
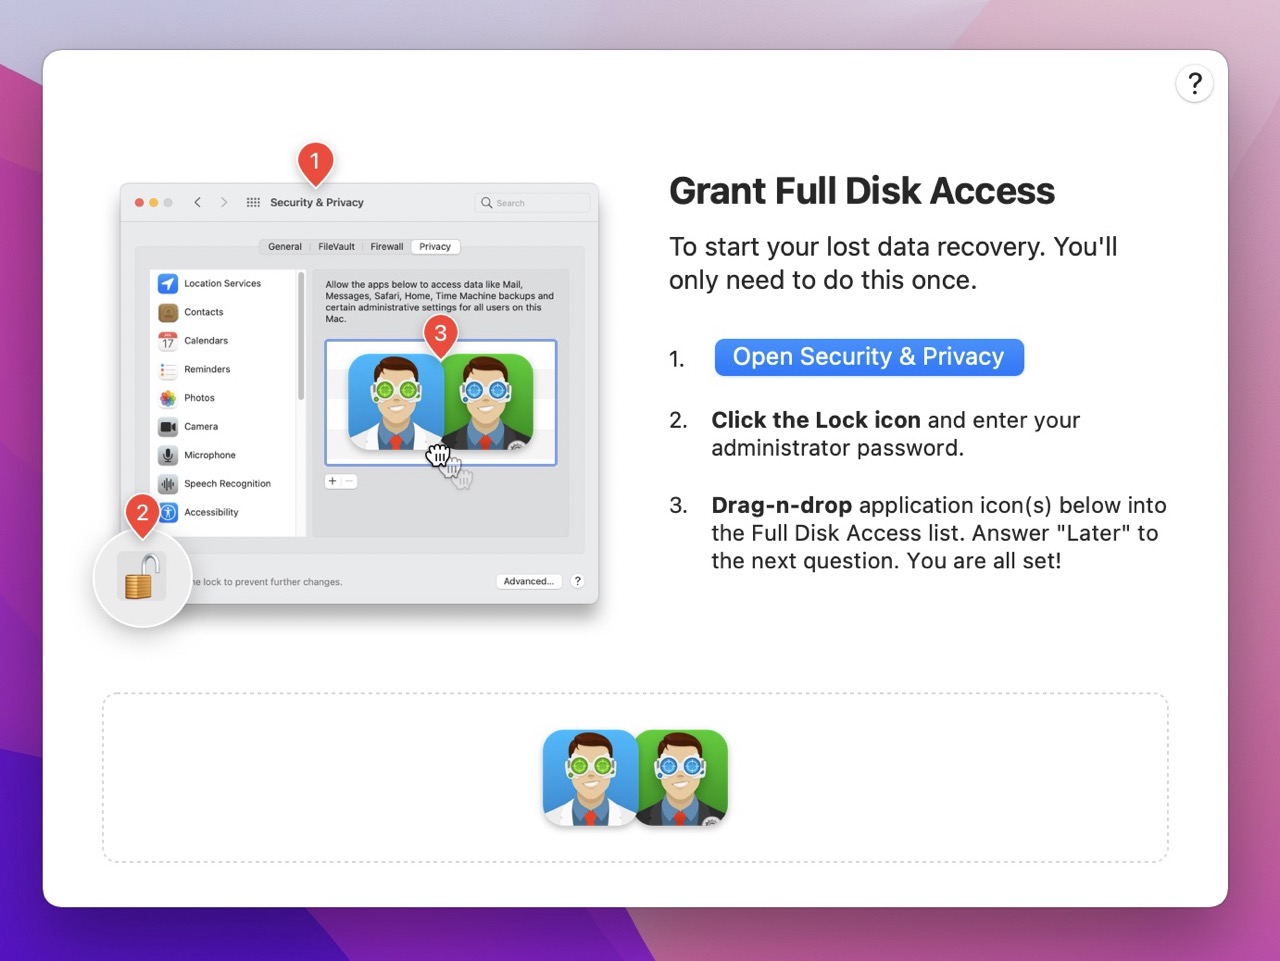
- Grant Disk Drill the appropriate permissions (required for Disk Drill to recover your files).
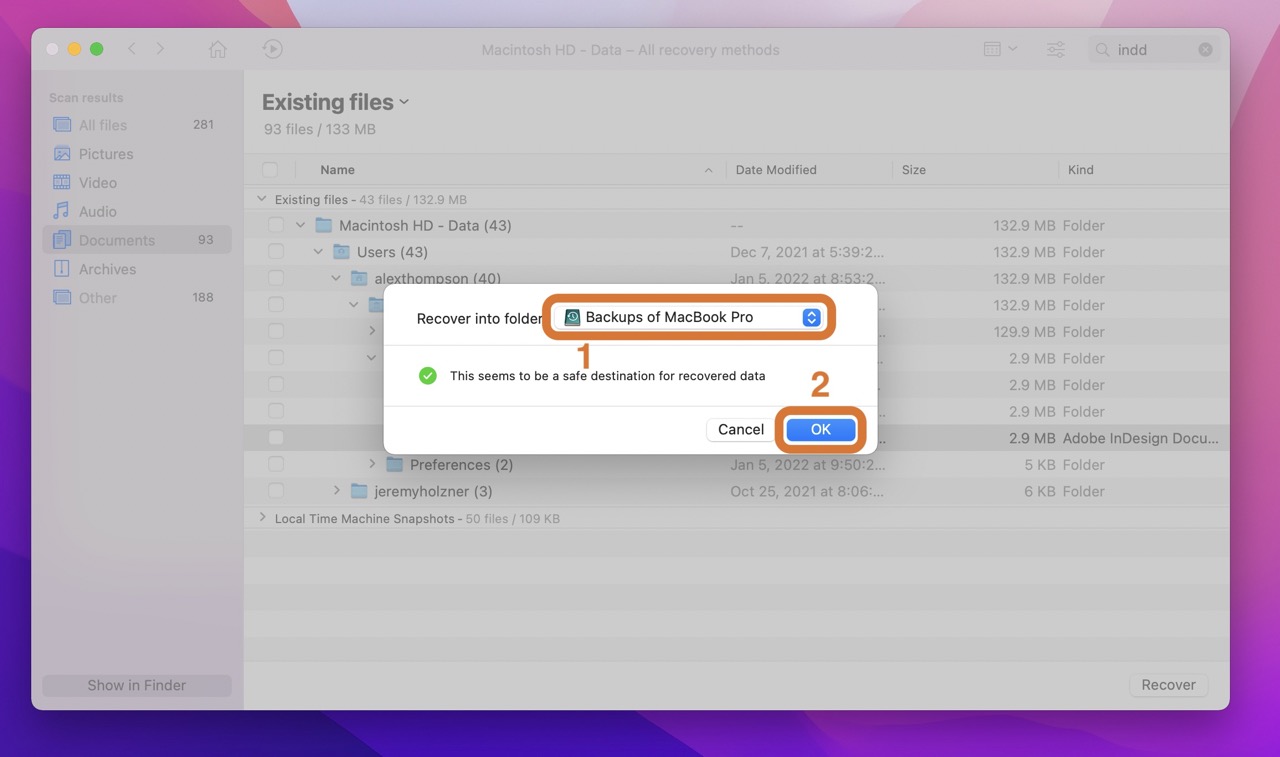
- Select the drive that held your InDesign file before it was deleted. Then click Search for lost data.
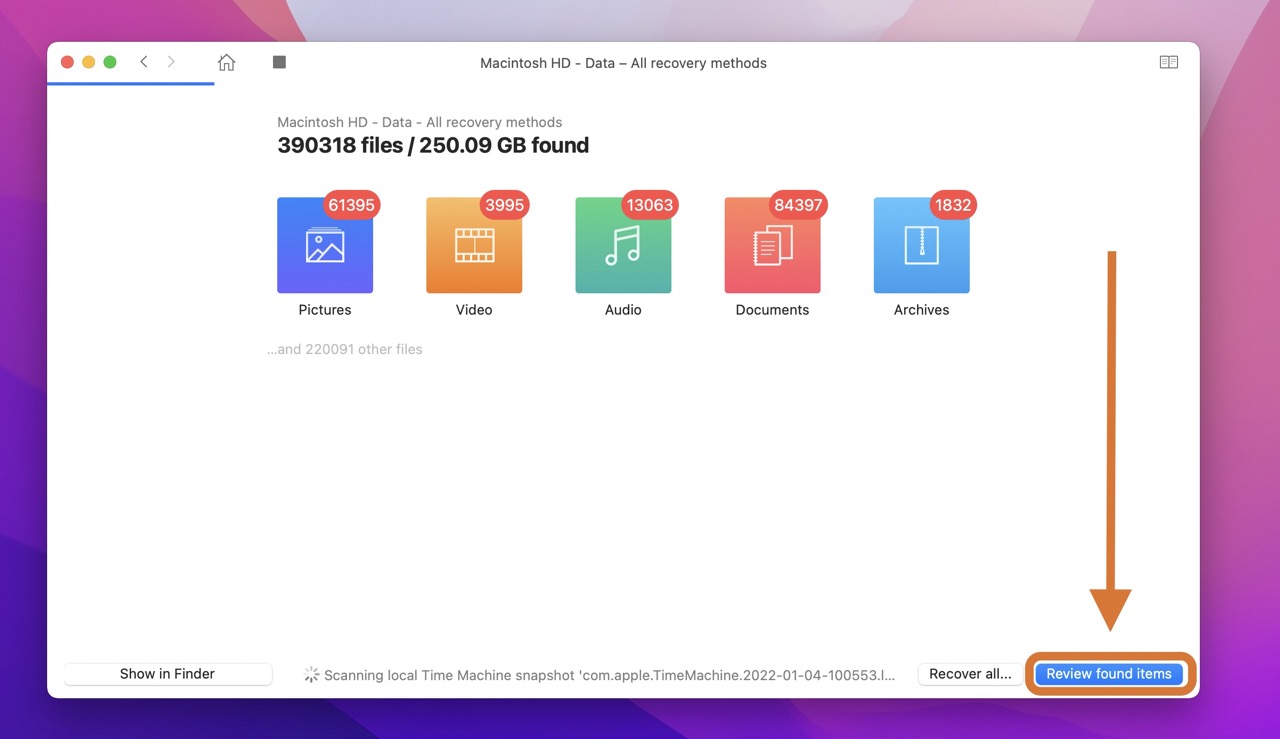
- Wait for the scan to finish and click Review found items.
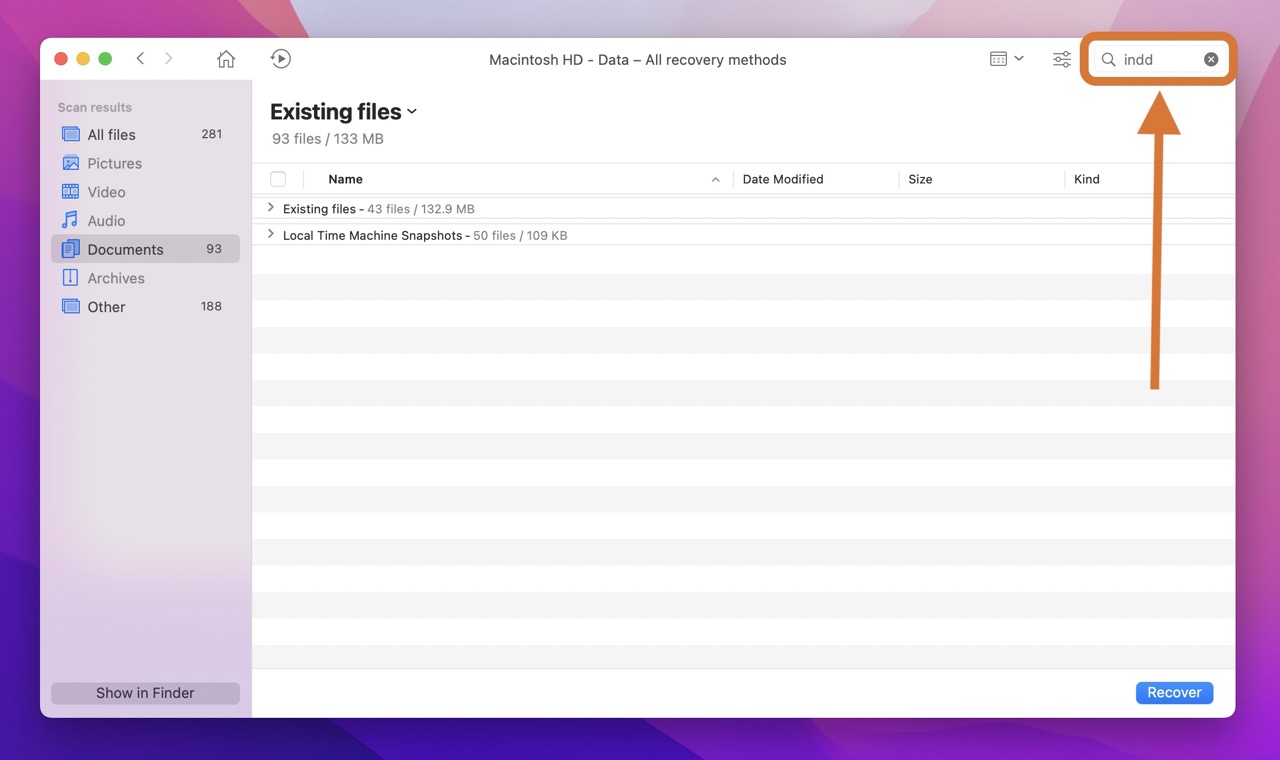
- Once the scan is completed, you can search through the recoverable files manually, or you can use the search box to look for “indd” and zero in on InDesign files only (suggested).
- Find your file and select Recover.
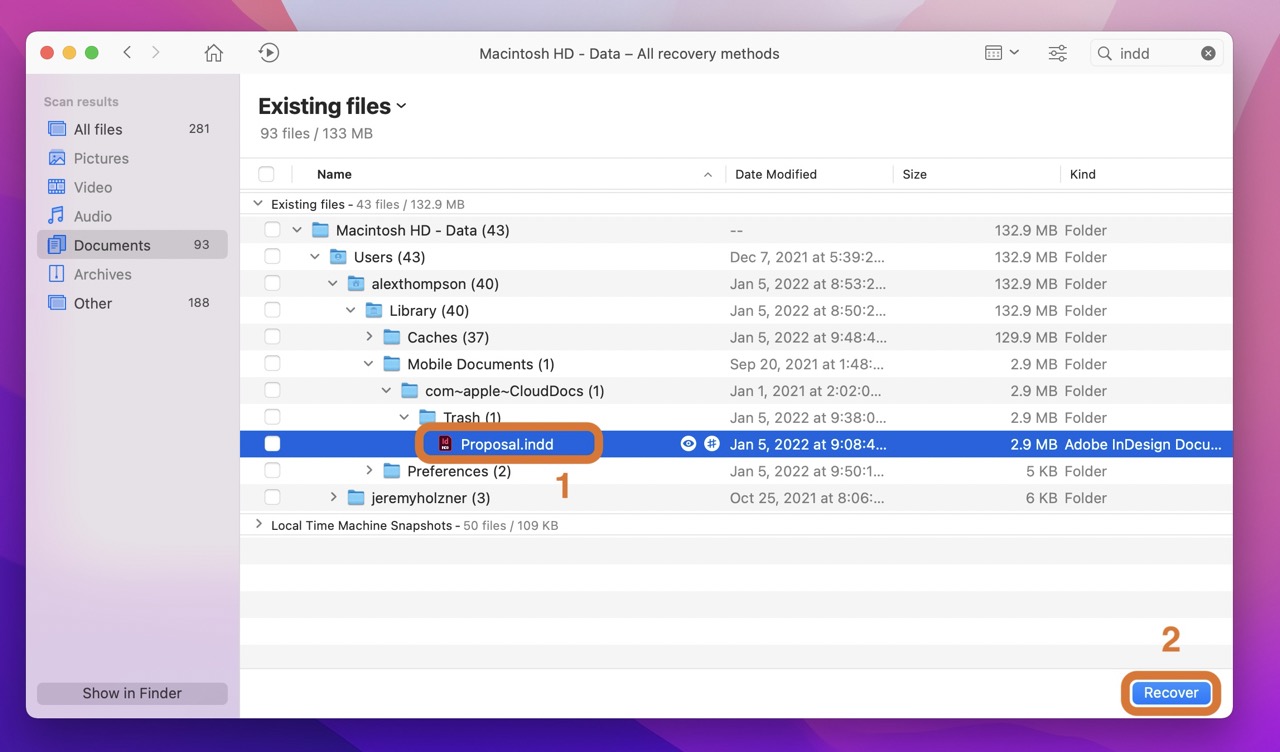
- Choose your desired recovery location and click Ok.
Solution #3: Time Machine Backup
Apple’s Time Machine is another great solution for InDesign recovery. This built-in backup feature automatically backs up your data regularly. It’s also a reliable way to restore previous versions of files (especially helpful with a corrupt InDesign file).
To recover an InDesign file using Time Machine:
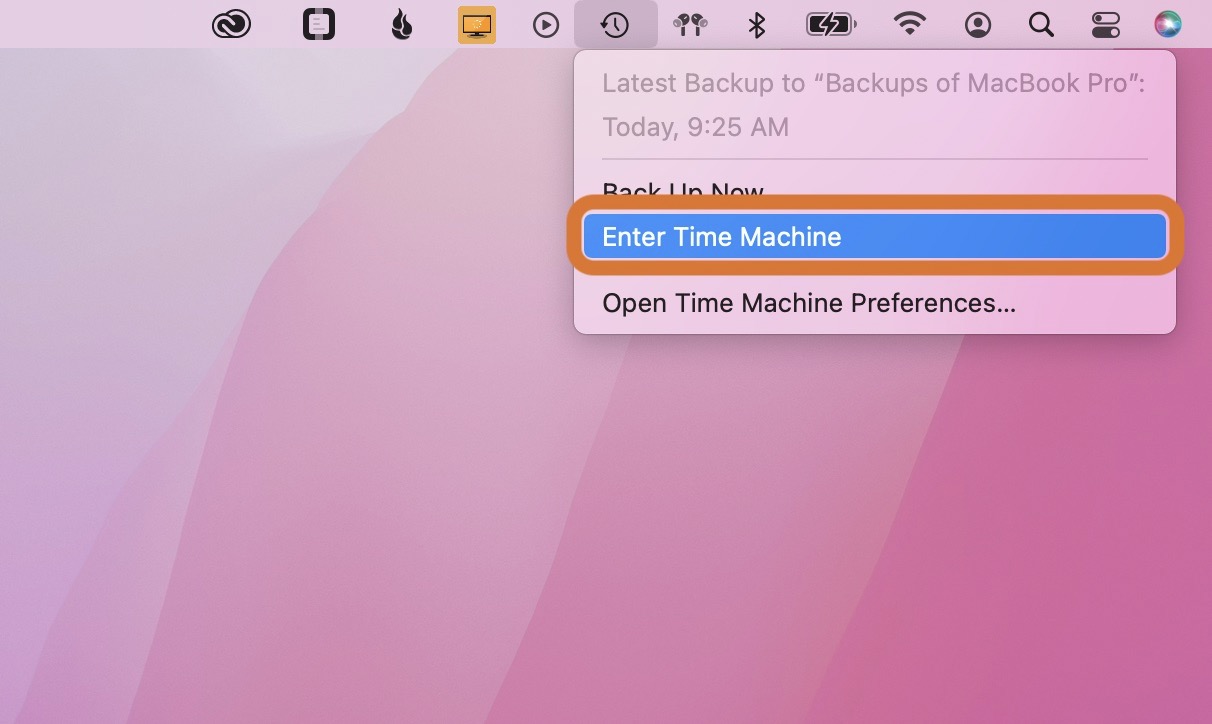
- Make sure to connect your backup drive. Then open Time Machine from the icon in the menu bar at the top of the screen. Then click Enter Time Machine.

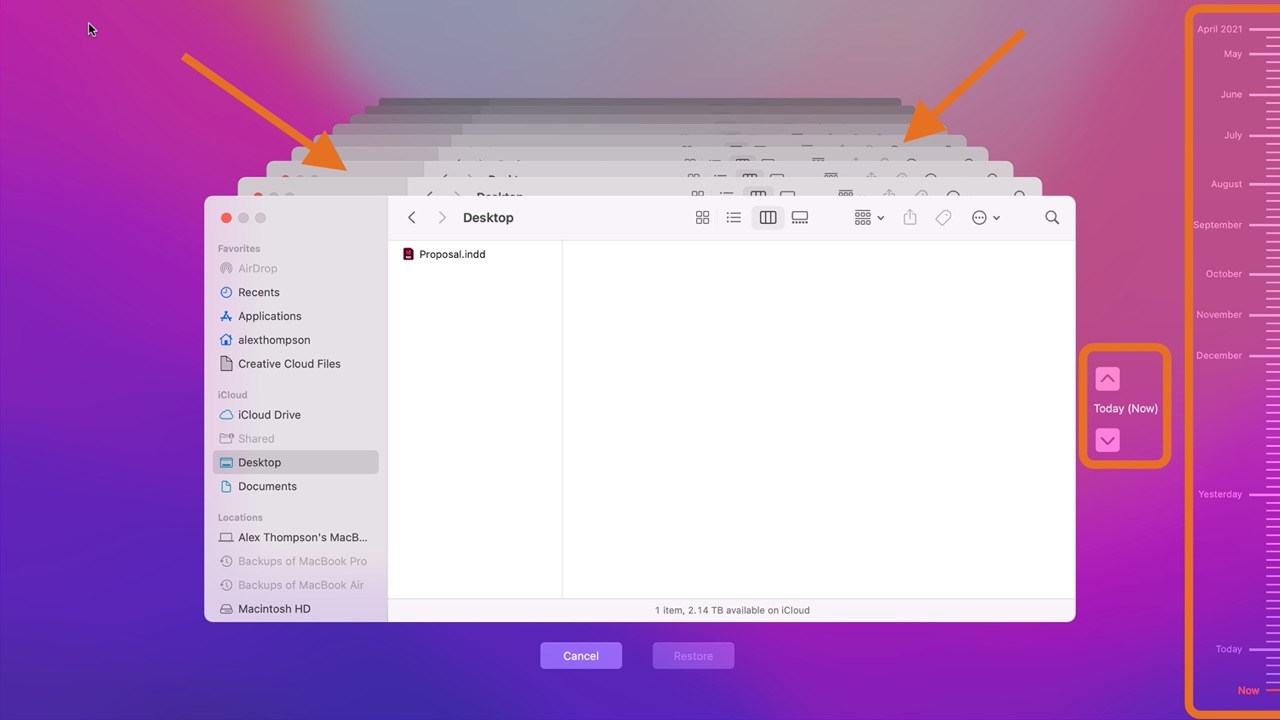
- Navigate through your available backups using the arrows, the timeline, or the background windows. Be sure you’re in the system location where your InDesign file used to be.
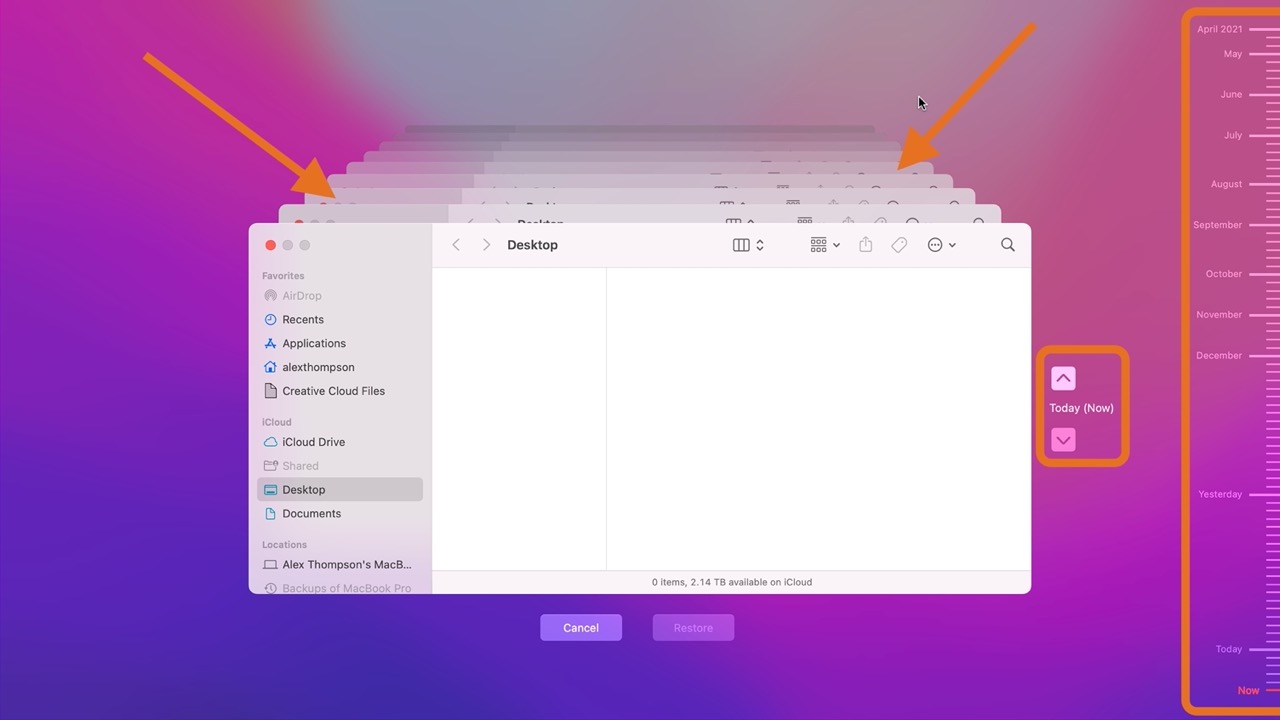
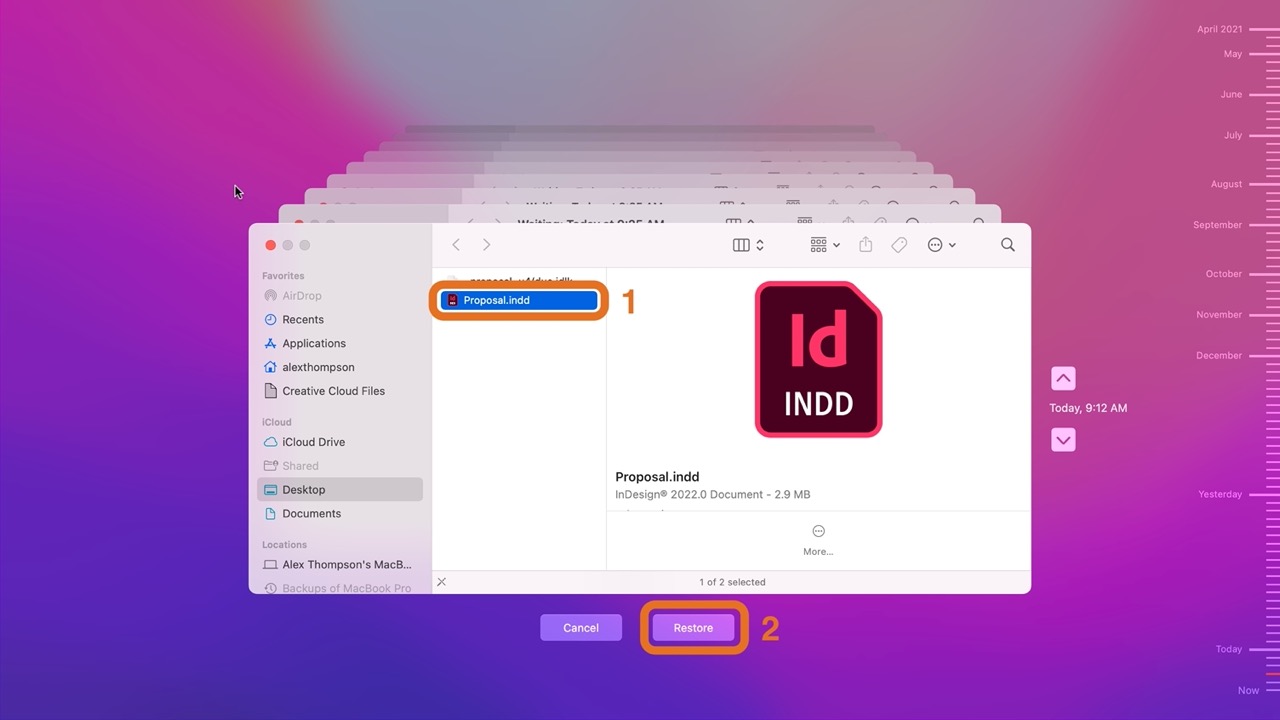
- Locate the backup with the version of your InDesign file that you’d like to restore.
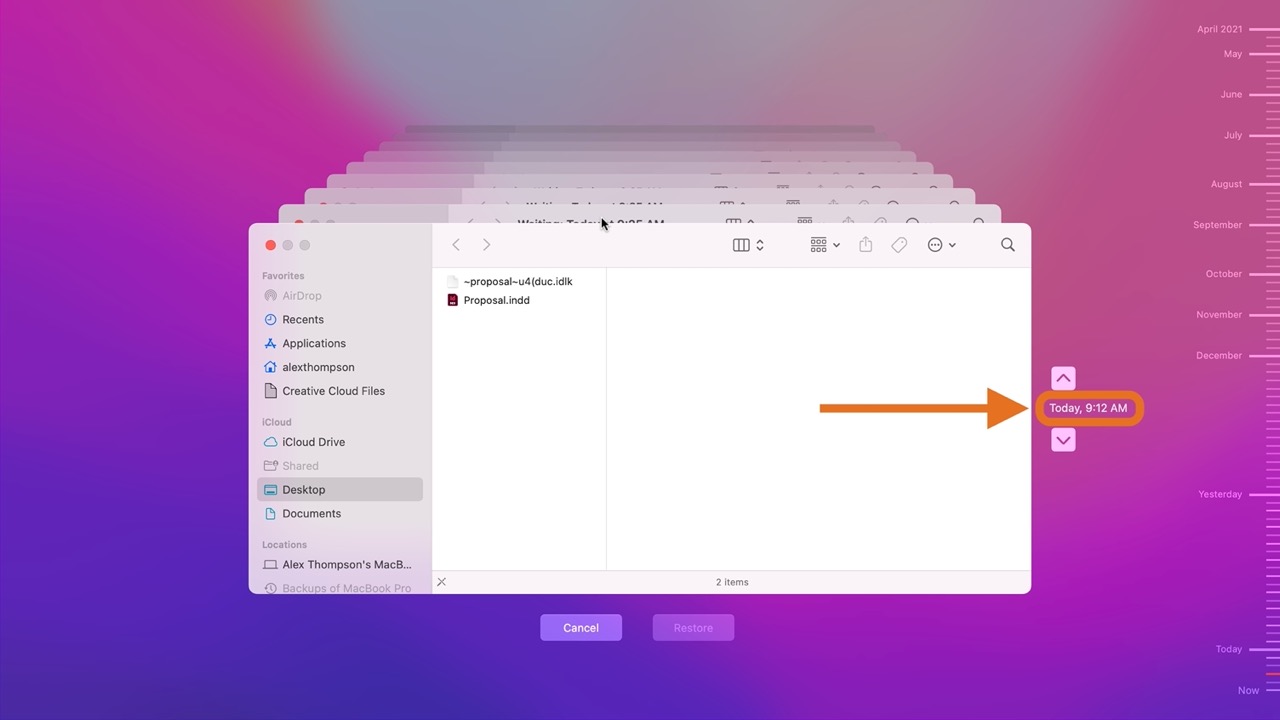
- Find your file and click Restore.
How to Recover a Previous Version of an InDesign File
If you haven’t deleted your work but instead want to recover a previous version of an InDesign file, you have options here too.
These options don’t necessarily repair InDesign files. Instead, they let you restore a corrupt InDesign file to a former working state.
There are two main methods here.
To recover a previous version of an InDesign file within InDesign:
- Open your file. Then select Revert from File in the menu bar.
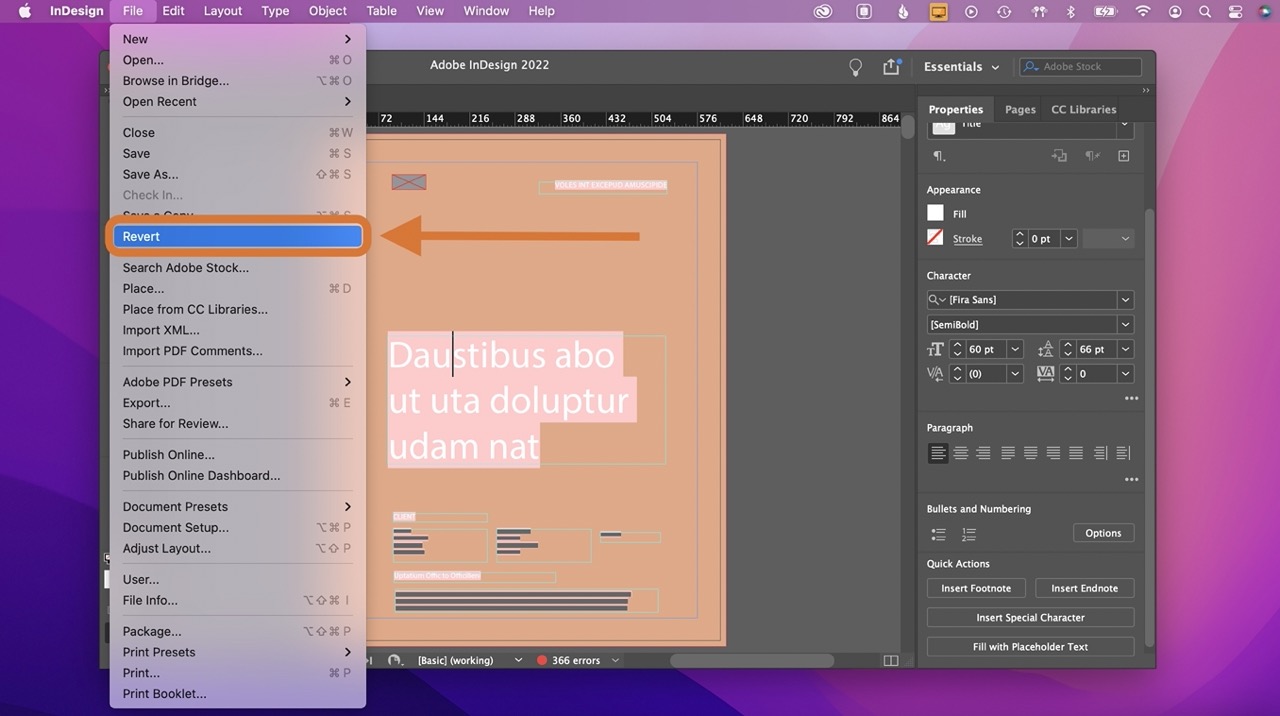
- InDesign will ask if you are sure you want to revert to the most previous version of the file. Select Revert to continue.
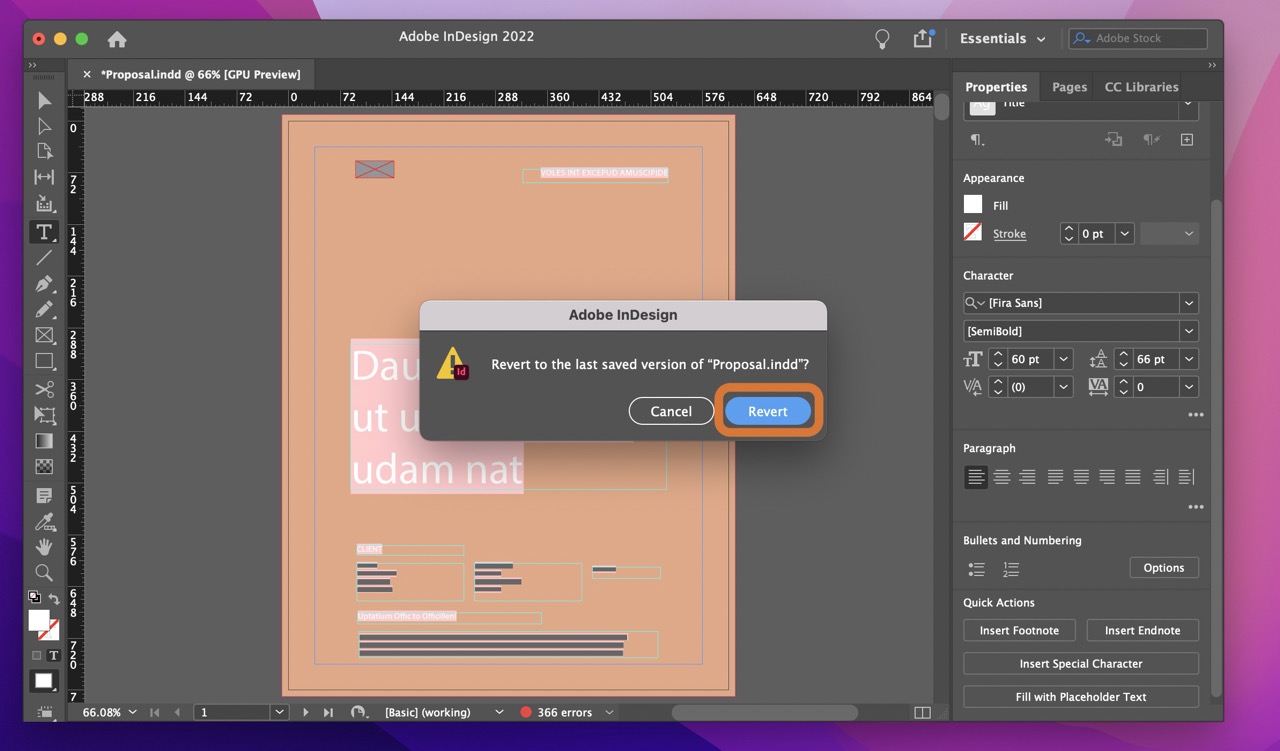
- InDesign will then revert your file to the previous version, and you can continue to work on it through the app.

To recover a previous version of an InDesign file using Time Machine:
- Be sure your backup drive is connected. Then open and enter Time Machine from the icon in the menu bar.
- Navigate through your backups using the arrows, timeline, or background windows.
- Locate the backup you’d like to restore from.

- Find your desired version and click Restore.

Frequently Asked Questions
The .indd file extension is the file type for Adobe’s InDesign software. It includes a wide variety of information like formatting, content, styles, swatches, and linked files.
You need Adobe’s InDesign to open an INDD file on Mac as it’s the file type used by this graphic design software. You can also convert an INDD file to a PDF file. But doing so will limit your editing capabilities.
If InDesign keeps crashing on your Mac, it may be happening for a variety of reasons, including:
- Corrupted preferences
- Corrupted software download
- Problematic third-party plug-ins
- Corrupted recovery files
To fix InDesign crashing problems, try:
- Reinstalling the application
- Resetting all your InDesign preferences
- Removing new plug-ins
- Deleting InDesign recovery files
For more information, browse through the Adobe Support Community or contact Adobe Customer Care.
To force quit InDesign on Mac, just:
- Select the Apple Logo from the upper left corner of your menu bar.
- Click Force Quit…
- Select InDesign.
- Click Force Quit.
Alternatively, you can use the Command + Option + Esc shortcut to bring up the Force Quit window.
Conclusion
InDesign’s powerful editing capabilities make this Adobe software a go-to for professionals and hobbyists alike. However, accidentally deleting or overwriting an InDesign file can have devastating consequences if you don’t have a recovery plan.
Thankfully, the methods in this guide will help you recover your InDesign files in most situations. And that means you can get back to creating beautiful designs worry-free.


