
Losing important files on your Mac can be exhausting, especially for professionals. Fortunately, data recovery from these storage devices is possible. However, with the mass adoption of SSDs comes the issue of TRIM command, which we will touch on in more detail in the article.
Table of Contents
When is It Possible to Recover Data from SSD on Mac?
Generally speaking, the only time it’s possible to recover deleted files from an SSD on a Mac is if the SSD has not yet been through TRIM.
TRIM is a built-in command that prepares your SSD for writing new files every time you delete a file. Instead of the SSD checking the index to see if the data in a specific area has already been deleted, the TRIM method immediately marks deleted data as “empty”. This increases the lifespan of your SSD and makes it much faster overall.
Thankfully, your SSD doesn’t always immediately go through the TRIM process. Some SSDs use a queued TRIM feature that only trims your storage when the Mac is idle. So as long as the file has only been deleted recently, there’s a chance you can still recover those files back.
How to Disable TRIM
If your files were only recently deleted, you can still disable the TRIM feature on your SSD to make sure your files don’t get wiped. Here’s a quick guide to disabling TRIM on your Mac.
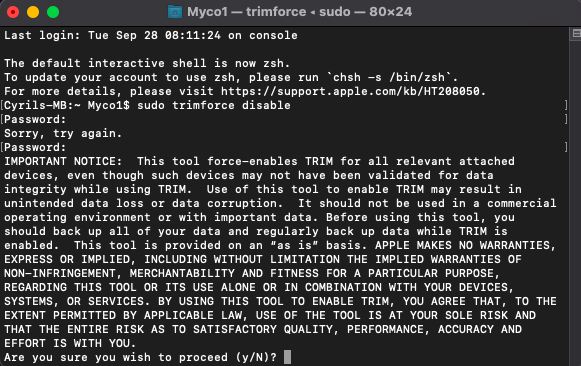
Step 1. Open up the Terminal app.
Step 2. Copy and paste the command “sudo trimforce disable” and press Enter.
Step 3. A bunch of important notices and warnings will pop up. You can either read through it or just skip the formalities and press type Y and hit Enter to proceed.
Having TRIM disabled might make recovering deleted files easier, but it will eventually slow down your SSD and even shorten its lifespan. To enable TRIM again, just repeat the steps above but use “sudo trimforce enable” instead.
How to Recover Data from SSD on Mac
There are many ways to recover data from SSD on Mac, including using a data recovery softwares and maintaining backups of your important data. We’ll guide you through each of the methods below.
Method 1: Use Data Recovery Software
To recover your data on your Mac, we highly recommend using a data recovery software such as Disk Drill for its ability to backup a drive before scanning. This remarkable software also stands out for its extensive support of various file types and file systems, ensuring compatibility with a wide range of data.
Step 1. Let’s start by downloading Disk Drill onto your Mac.
Step 2. Once it’s downloaded, just double-click on Disk Drill to begin installing the program. It should take between a couple of seconds up to several minutes to install Disk Drill to your device, depending on the speed of your Mac.
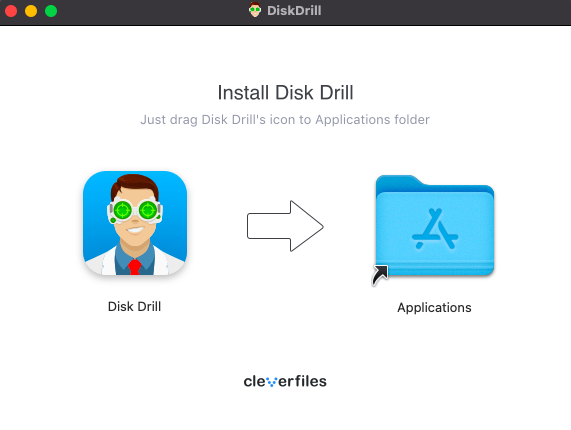
Step 3. When it’s done installing, you’ll be asked to move Disk Drill into your Application folder via a pop-up interface. Drag the Disk Drill icon to the folder to complete the entire process.
Step 4. After that, you can now launch Disk Drill through the Applications folder, your Dock, or Spotlight.
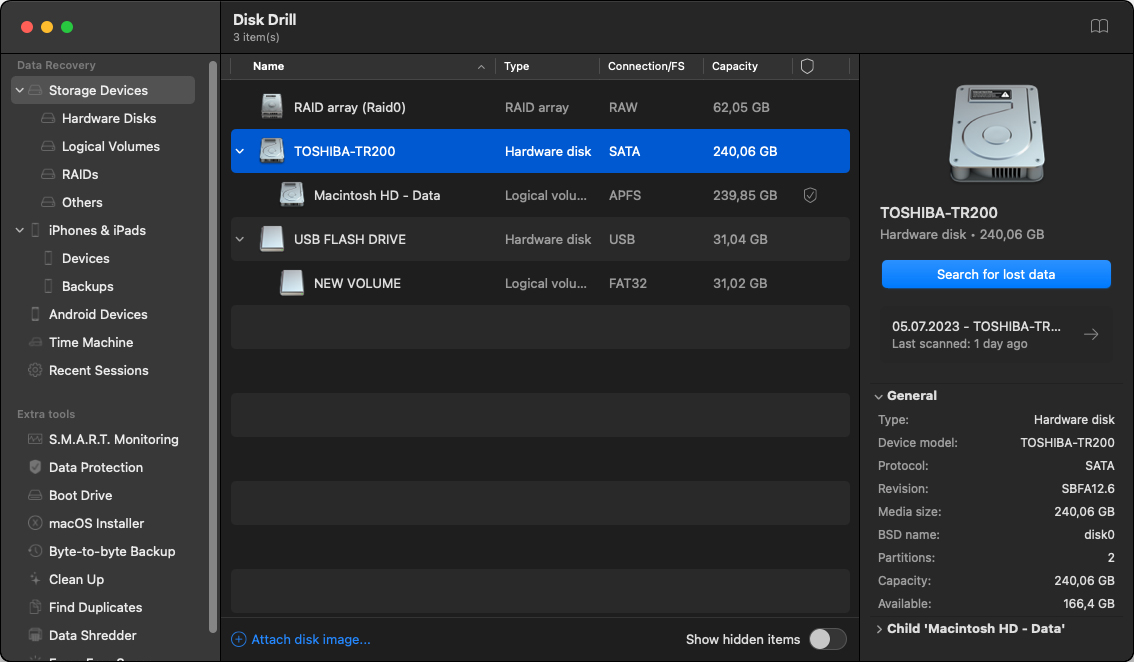
Step 5. With Disk Drill open, click on the SSD you want to scan and recover data from.
Step 6. Click on Search for lost data to begin the recovery process. This will take several minutes to maybe half an hour, depending on the size of your SSD and the speed of your Mac.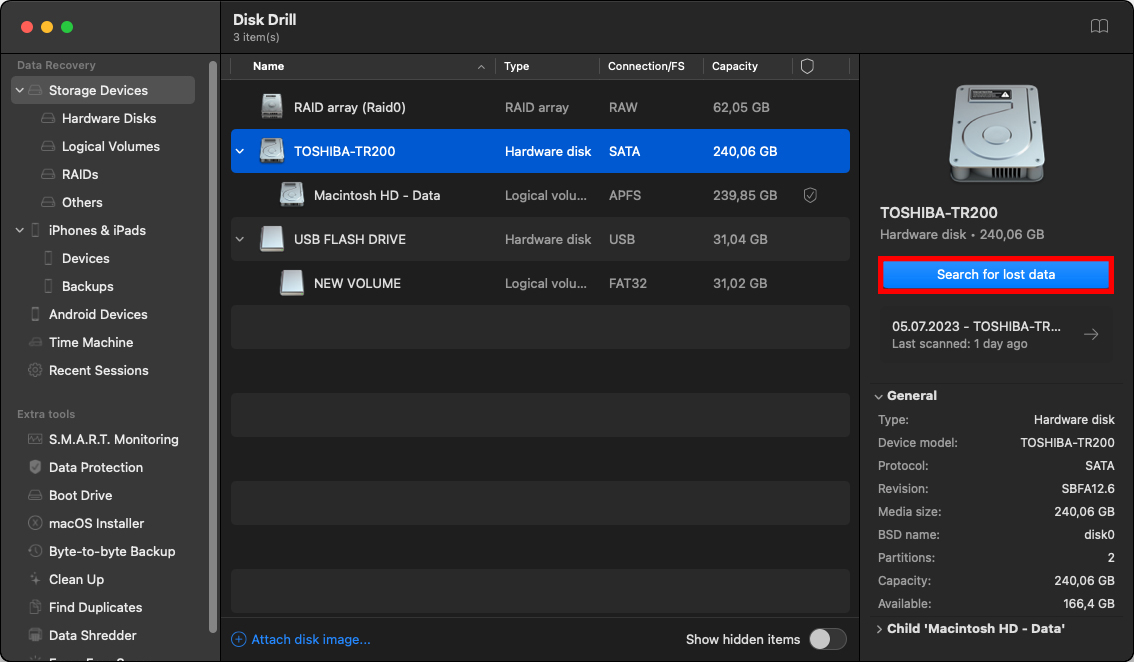
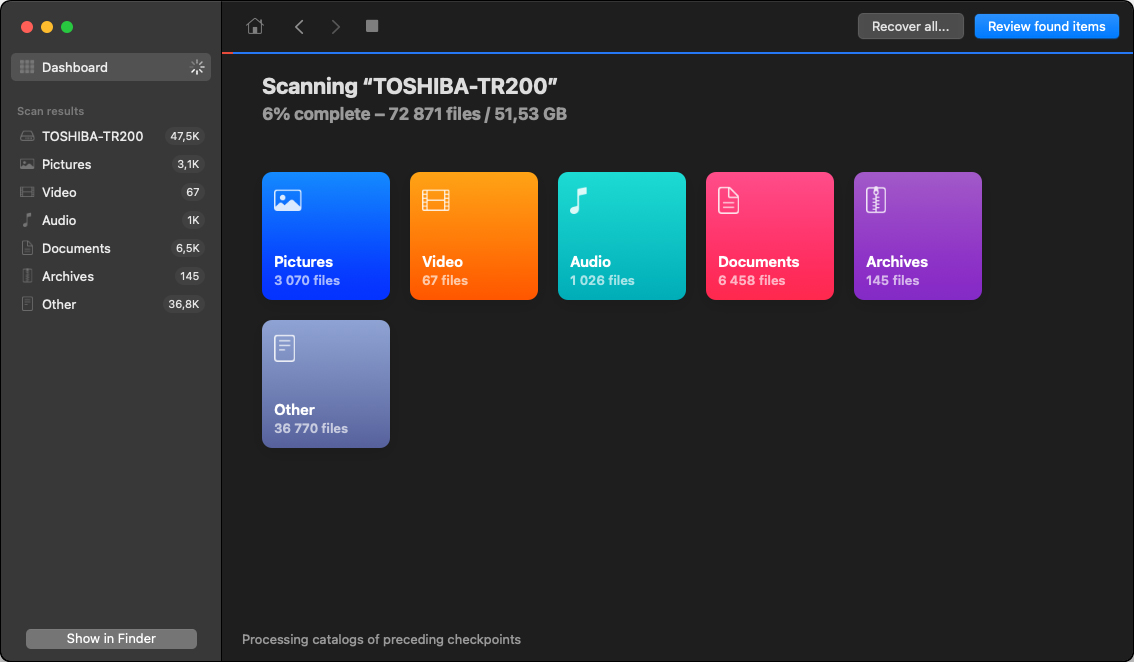
Step 7. After completing the scan, you’ll be shown a data recovery report with all the files that were recovered from your SSD. You should be able to review all the deleted and even corrupted files that were found on your SSD from there. Just click on Review found items at the bottom-right corner of your window.
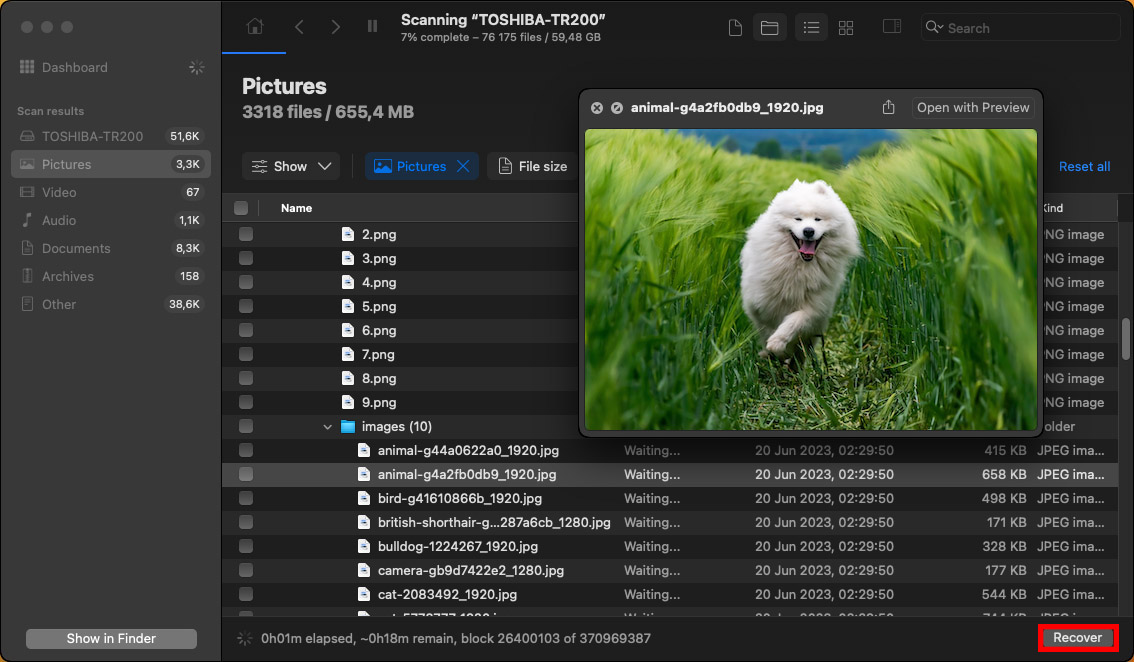
Step 8. On the new window look for the data you want to recover. Once you’ve located the files you want to save, click and highlight them, then click on Recover at the top-right corner of your screen.
You’ll be asked for a destination folder, which is where your recovered files will go.
Congratulations on successfully recovering your data using Disk Drill! With Disk Drill’s extensive support for various file types and file systems, Disk Drill has proven to be an invaluable tool in the data recovery process.
In the case of a corrupted SSD, perform a clean reset and reformat to maintain its health. While Disk Drill can assist in recovering data from corrupted SSDs, if the software indicates an impending disk failure, seeking assistance from a certified Apple repair shop can be the best thing to do. If your Mac is still under warranty, use it for a replacement or discounted repair service.
Method 2: Restore Files from Backup
Another way to keep data on your Mac safe is by using backups. Backups provide a duplicate copy of your data in times when you accidentally deleted them. If you are a Mac user, you can access different backup options including iCloud, and Time Machine.
iCloud Backup
iCloud is a backup solution for Apple users, allowing you to store your files and other data securely in the cloud. When your device is backed up in iCloud, you can easily set up a new device or restore information on one you already have. Here are the steps on how to backup your data using iCloud:
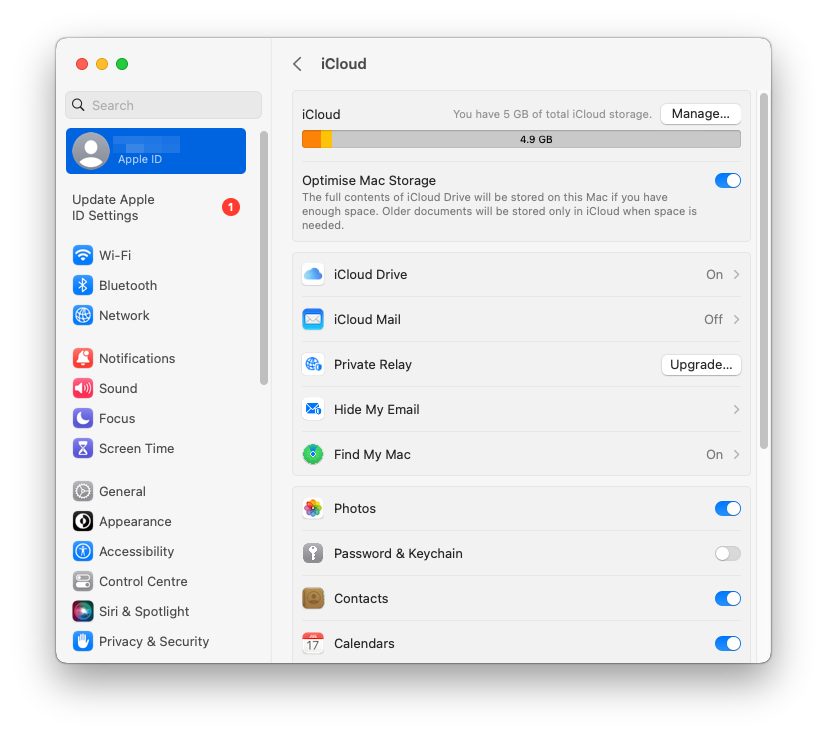
- Go to System Preferences, then select Apple ID
- Click iCloud and select the relevant apps and files to back up.
Time Machine Backup
Time Machine is Mac’s built-in backup feature that can be used to regularly back up all of your personal files, including apps, music, photos, emails, and documents. If you ever delete your files or are unable to access them, having a backup enables you to restore your Mac from a Time Machine backup. Here’s how you can create a backup using Time Machine:
- Select System Preferences
- Chose the Time Machine icon
- Select the Backup Disk.
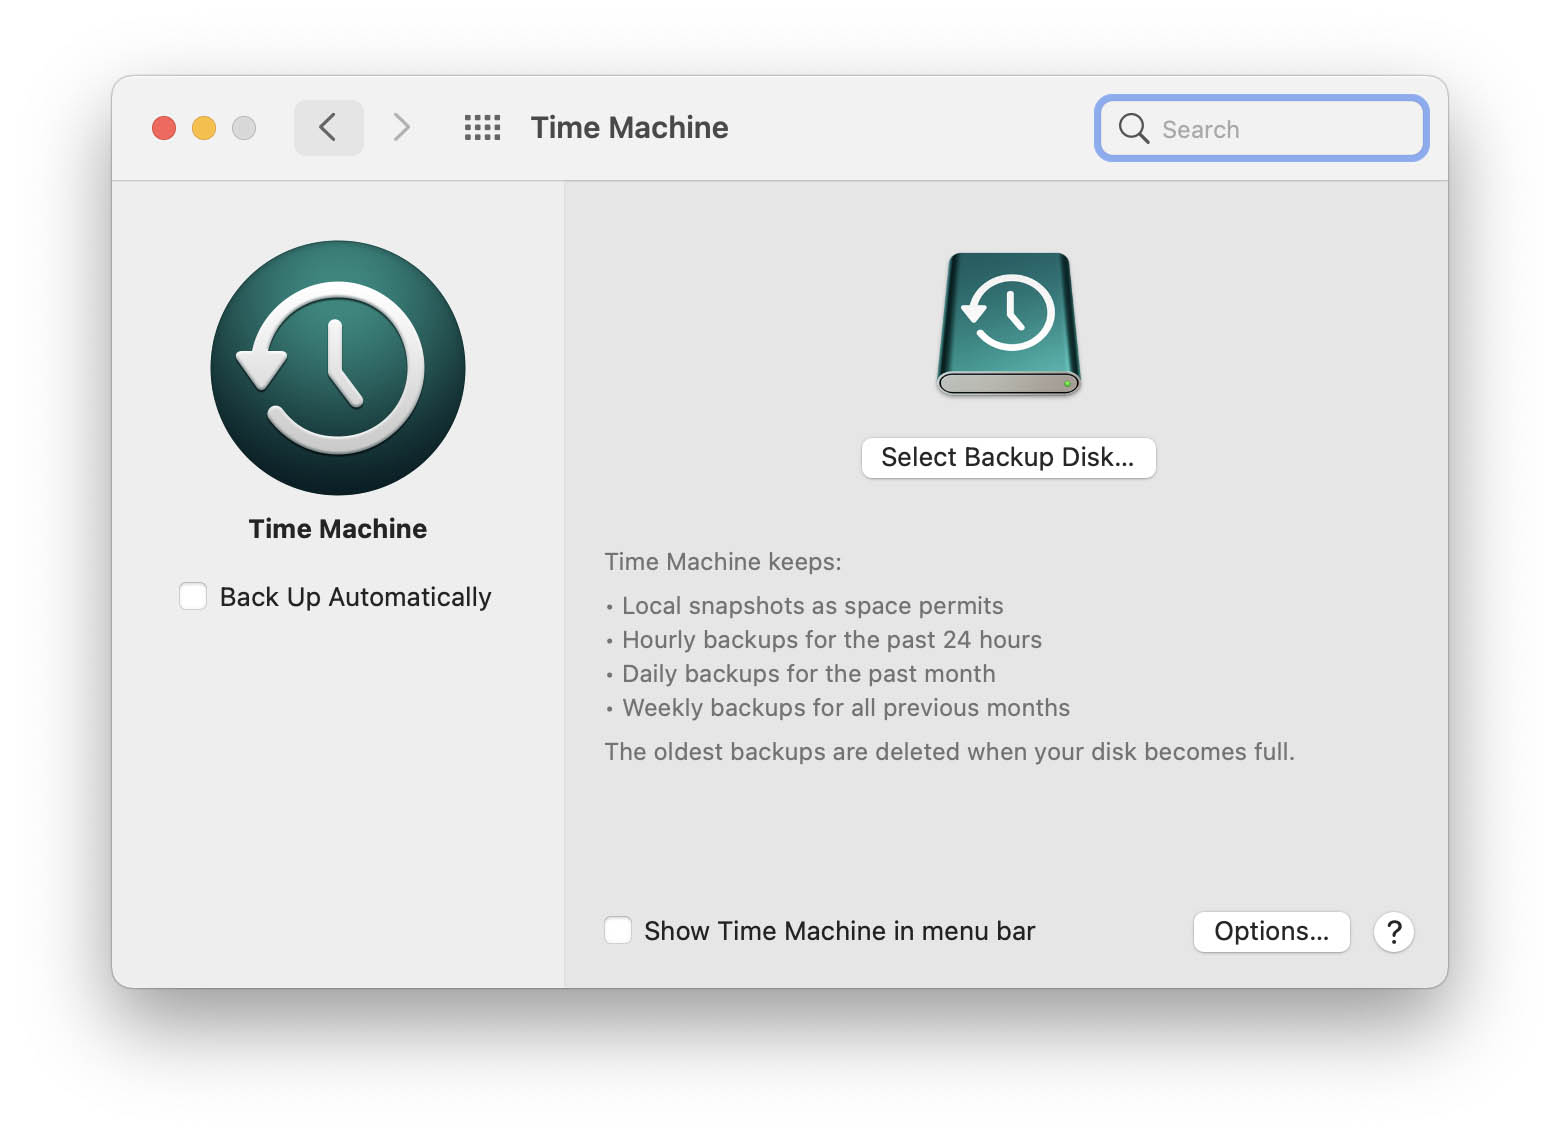
- Select which disk you would like to use as Time Machine backup.
- Select Back Up Automatically.
The importance of creating backups should not be taken for granted. There are really unfortunate circumstances that these backups can be helpful. Make sure to regularly back up all of your important iles on your Mac to ensure data protection.
Method 3: Apply Data Recovery Services
Aside from that, you can also try your hand at data recovery services as an alternative method.
You can either apply for help through local data recovery centers. Granted, the online option will take much longer since your Mac still has to be shipped over to the servicing office.

Here are some key considerations to take when browsing for a data recovery service:
- Make sure the data recovery center is partnered with Apple.
- Make sure the data recovery process does not void your warranty.
- Look for a center that doesn’t charge you if they can’t recover your data.
- They’ll offer to evaluate your SSD for free.
What are the Signs of SSD Failure
There are several signs that your SSD is failing.
SSDs have a limited lifespan and will need to be replaced, generally after five years or so. However, if you’re the type to constantly delete and add hundreds of gigabytes of data every day, then your SSD’s lifespan might be cut short.
Here are some clear-cut symptoms that you should be looking out for:
- You can’t read and write new files into your drive.
- Your Mac runs much slower.
- Apps frequently freeze and crash.
- Kernel panic happens all the time.
Now, these signs are also similar to a corrupted SSD, so you’ll have to confirm that it’s failing by checking your SSDs health. We already have a detailed article about how you can do just that, so here are 3 ways to check your SSD’s health.
Cloning Your Failing SSD to Increase Chances of Data Recovery
If your SSD is indeed failing, then you should create a byte-by-byte copy of your hard drive to preserve your data as much as possible until you get your SSD replaced. This will help in recovering your files later on.
To start, you’ll need an external hard drive or SSD that’s clean and empty. We’ll be completely erasing the contents of that hard drive, so make sure it doesn’t have any important data before you start.
Here’s how you can erase and prepare your external drive for the byte-by-byte backup:
Step 1. Plug your hard drive into your Mac.
Step 2. Open up the Disk Utility app.
Step 3. Look for your external hard drive and click on the Erase tab from the top tabs. The format will automatically be set to Mac OS Extended and the scheme to GUID. You can leave those as is.
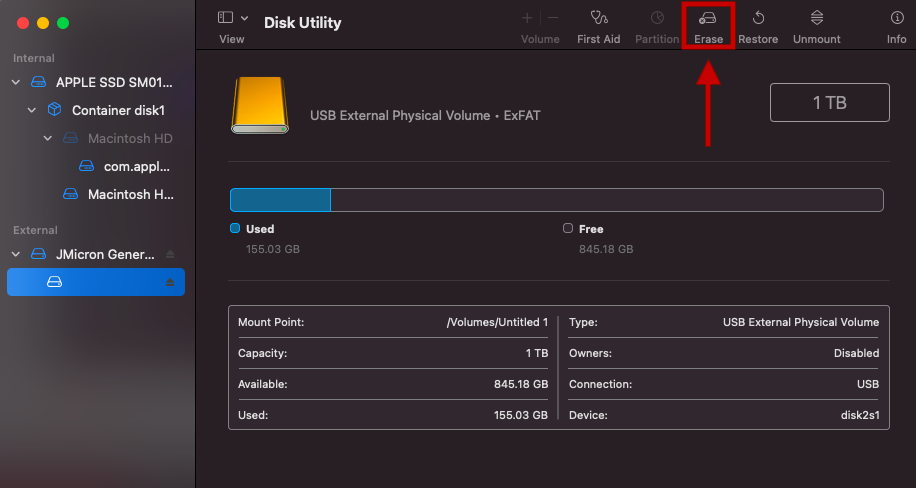
Step 4. Name the backup drive something distinct, like “Backup Clone”.
Step 5. Finally, click on Erase.
This process will take only a few minutes, maybe even less, depending on the speed of your Mac and the external hard drive and its size. In the meantime, you can download Disk Drill as this is the app that will create the byte-by-byte copy of your hard drive.
Once your external hard drive is ready, let’s start cloning your drive.
Step 1. Install Disk Drill by opening the installation app and dragging Disk Drill’s icon to the Applications folder.
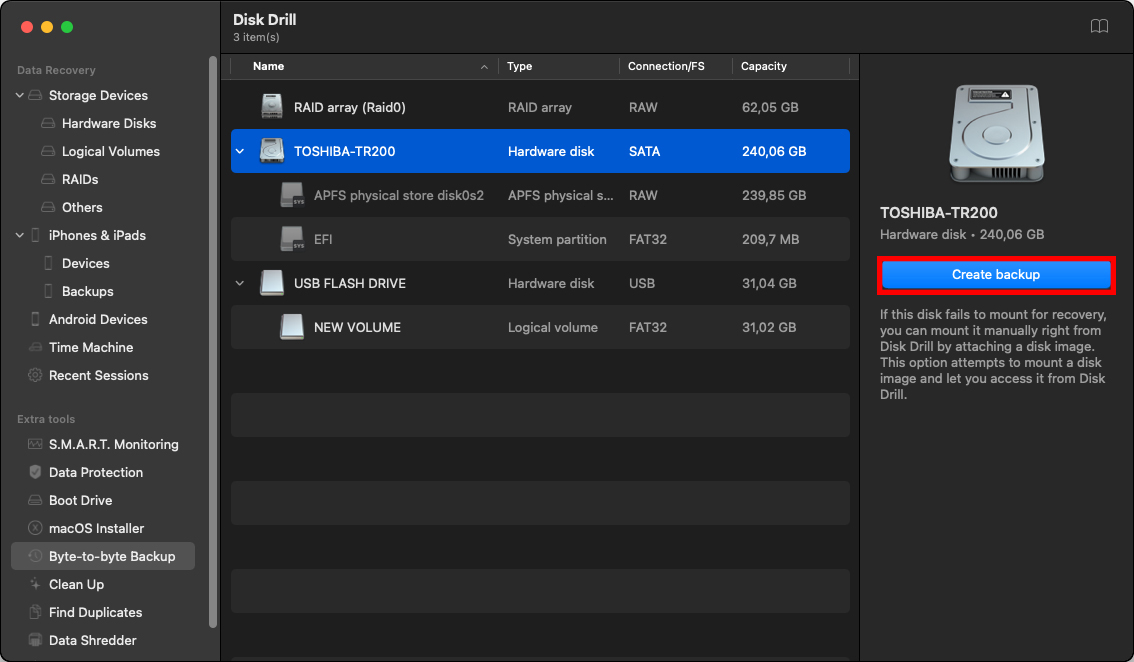
Step 2. Launch the Disk Drill app and look for the Byte-to-byte Backup option at the left-hand side of your screen.
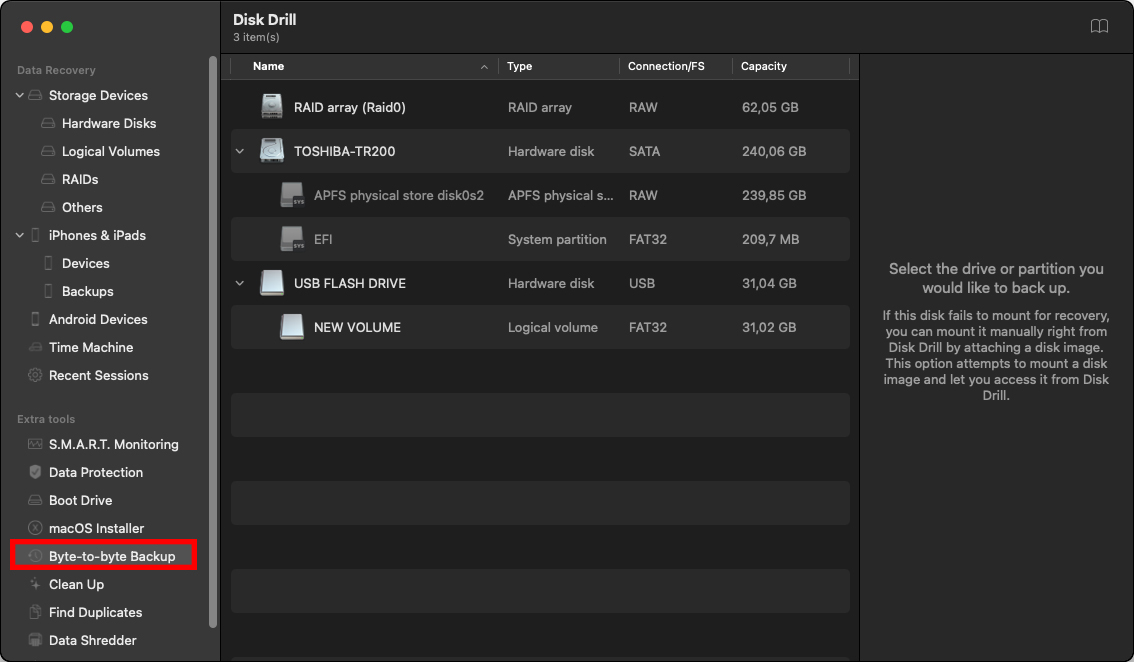
Step 3. From there, look for the SSD in your Mac and click on Create backup.
Step 4. Choose the name and location of where you want to store your backup. In this case, you’ll be using the external hard drive we just cleaned.
Step 5. Lastly, click on Save and just wait for the backup process to finish.
When that’s all done, you should get your failing SSD replaced as soon as possible to avoid future problems. You can always restore your files back into your Mac with the backup you just made later on.
Conclusion
Recovering files from an SSD is unfortunately much more difficult than their HDD counterparts. However, there are a ton of SSD data recovery programs out there, so try as many of them as you can to recover your data. If you don’t have any luck with that, you can always try professional data recovery services.
Don’t forget to check your SSD’s health, so you can make sure you won’t have any problems with corrupted files and a failing SSD later on.
FAQ
You can use Disk Utility to repair damaged SSD on Mac. Follow the steps below:
- Launch Terminal on your Mac.
- Type diskutil repairVolume /Volumes/X, replacing X with the damaged drive’s name.
- Press Enter.
- Disk Utility will attempt to repair your disk.
- Check the results. Disk Utility will inform you if the operation was successful.
- If the repair is successful, try accessing the disk again


