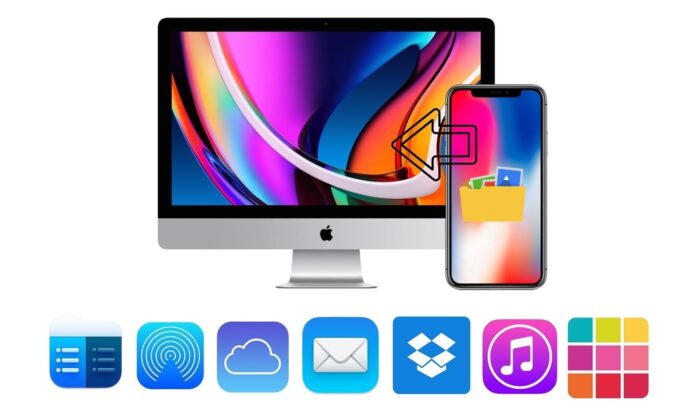
Most users are aware that they can’t access the iPhone’s file system via Macbook directly via USB, unlike on Android or Windows devices. Luckily, Apple offers its own technologies that make transferring files between iOS and macOS easy.
In this article, we provide you not only the most popular built-in options like AirDrop and iCloud Drive but also third-party apps that make sharing between Apple devices more convenient and offer way more options for working with files. Read on to find out more details.
Table of Contents
Transfer Files Between iPhone and Mac Using Various Technologies
Method 1. iPhone to Mac transfer using AirDrop
AirDrop is the built-in feature on iOS and macOS devices. It lets you send files wirelessly as long as your Mac and iOS device are physically close to each other. To copy files from iPhone to Mac using AirDrop, follow the steps below:
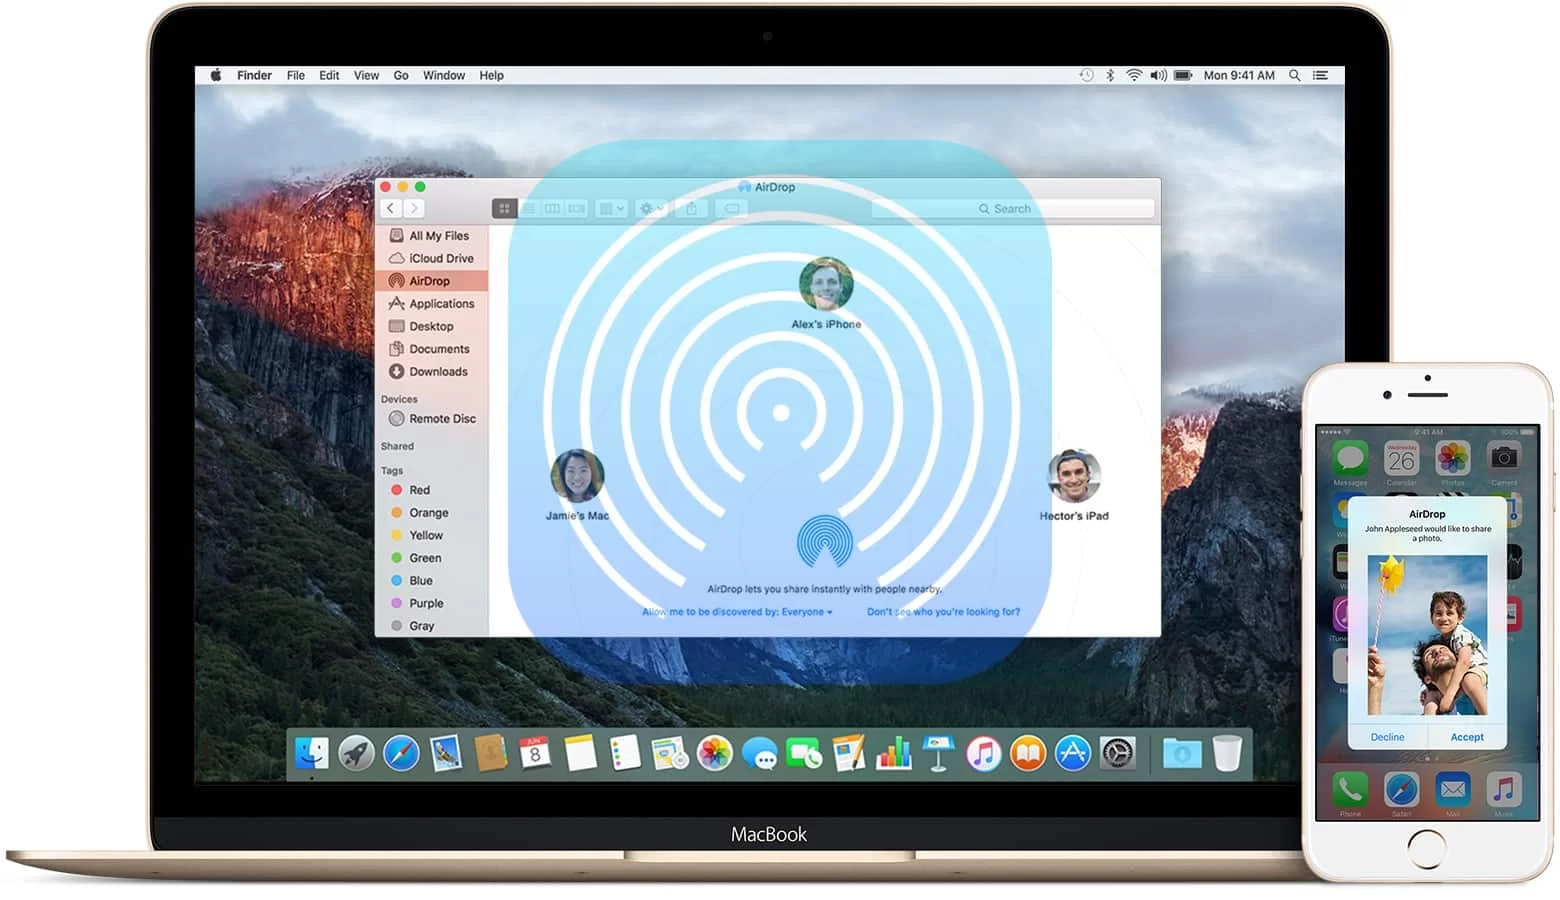
Step 1: Enable AirDrop on your Mac by heading to Finder > Go > AirDrop from the menu bar.
Step 2: Turn on Bluetooth and Wi-Fi to activate AirDrop on Mac.
Step 3: Set the option “Allow to be discovered for all” or “Contacts only”.
Step 4: Switch on AirDrop on your iPhone. Navigate Control Center and make sure Wi-Fi and Bluetooth are enabled, tap on AirDrop and set your iPhone to be discoverable by everyone or just contacts.
Step 5: Now you can transfer files from your iPhone to Mac. Open the file you want to send, tap the “Share” icon and select the “AirDrop” icon. Wait until other available devices will appear and choose the device to which you want to AirDrop the file.
- Doesn’t require an internet connection
- Easy and quick solution when it comes to copying files to iPhone from Mac and vice versa
- Transferring almost any type of file
- Works across all Apple devices ( transfers from Mac to Mac, iPhone to iPhone/iPad, etc.)
- Does not reduce file quality
- AirDrop is not supported on MacBook models released before 2012
- While Apple claims there’s no file size limit for AirDrop, some users have reported a higher risk of failure when transferring large files
Method 2. How to transfer files from iPhone to Mac via iCloud Drive
Another way you can use to send files from Mac to iPhone and back is iCloud Drive – an Apple’s service that stores all your stuff in the cloud and keeps it up to date across multiple devices. The only point is that you need to have a strong Wi-Fi connection to transfer files smoothly, as well as ensure both iPhone and Mac are running the latest OS. Here’s how to transfer files:
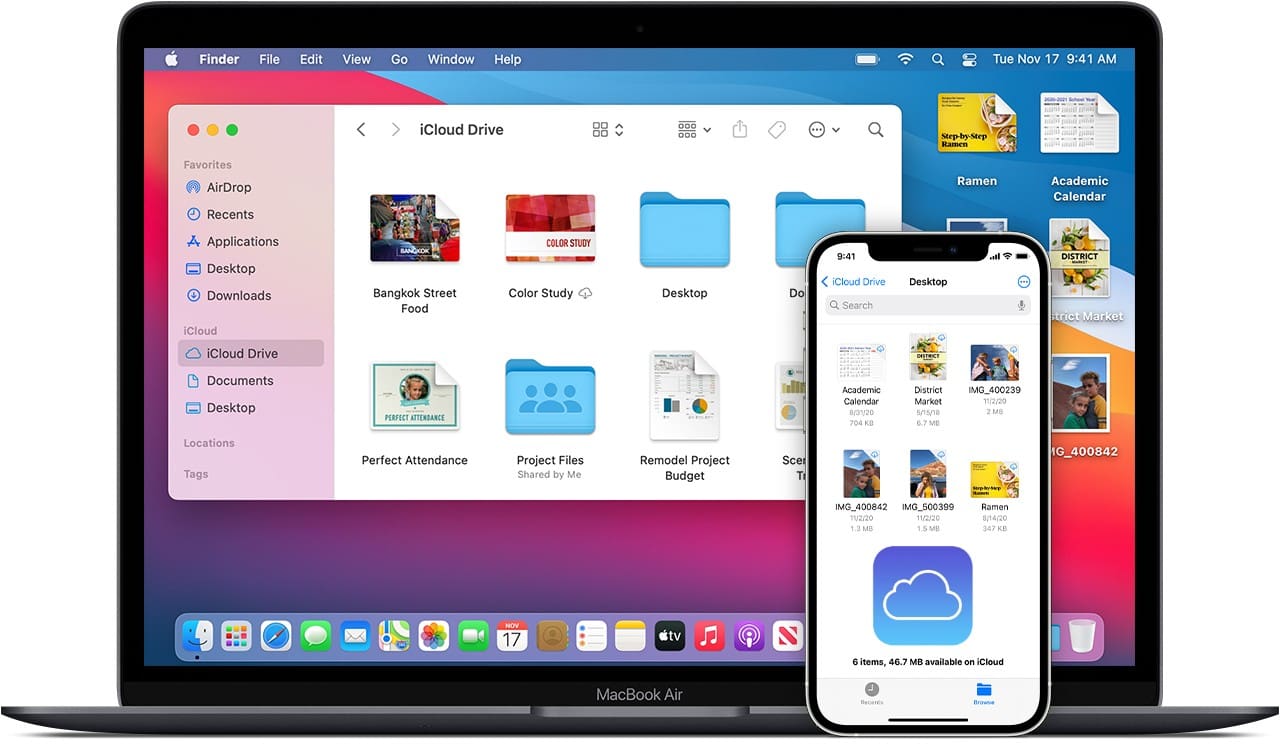
Step 1: Go to iCloud and sign in with your Apple ID on your iPhone and Mac.
Step 2: On your phone, navigate Settings and select your name > iCloud. Tap the iCloud Drive switch so it turns green.
Step 3: Then, on Mac, click the Apple icon in the upper left corner of the screen and select System Preferences.
Step 4: Select Apple ID and then click iCloud in the left sidebar.
Step 5: Tick the box next to iCloud Drive.
From now on, you’ll be able to access iPhone files on Mac at iCloud.com.
- iCloud data is encrypted
- Easily access and manage files on iPhone, iPad, and Mac devices
- Automatically sync files stored in iCloud Drive across all connected devices
- Access iCloud Drive files in a web browser on a phone, tablet, or compute
- iCloud Drivу provides only 5 GB of free storage, which may not be sufficient for users with large amounts of data
- File transfers require a stable internet connection, which may not always be available
- Cloud Drive’s max file size limit of 50GB per file
Method 3. Using Preview App to transfer files from iPhone to Mac
You might not know, but you can also use the Preview app and import your iOS files on Mac. However, this method works only with photos.
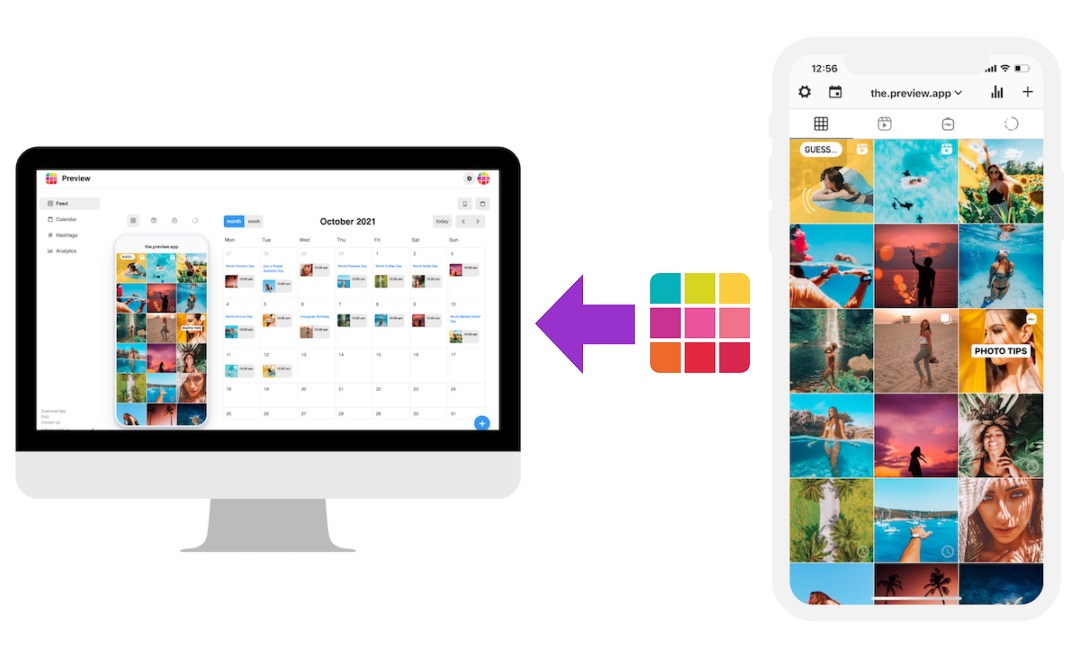
Step 1: Connect iPhone and Mac via a USB cable.
Step 2: Open the Preview App on Mac using Applications.
Step 3: Once the Preview app is launched, head into the File tab in the menu bar and click the “Import from [your iPhone name]”.
Step 4: A window with thumbnail images will open. Select the desired photos and click “Import”. If you want to transfer all the photos, choose “Import All”.
Step 5: On the next screen, choose the destination for imported photos and wait until your photos are transferred from iPhone to Mac.
- Simple and intuitive interface for viewing and managing photos
- Allows you to edit photos, adjust colors, crop and resize
- Supports a wide range of image formats, including JPEG, PNG, TIFF and many others
- As we mentioned above, Mac previews cannot transfer file types other than images
- Some users report that there are occasional bugs
- Transferring photos from iPhone to Mac requires only a wired connection
Method 4. Copy files from iPhone to Mac with iTunes File Sharing
iTunes is considered as one of the commonly used ways to share files. Developed by Apple, iTunes is capable of syncing music files, videos, photos between iPhone and other devices. Below is how to use iTunes File Sharing to get files from an iPhone.
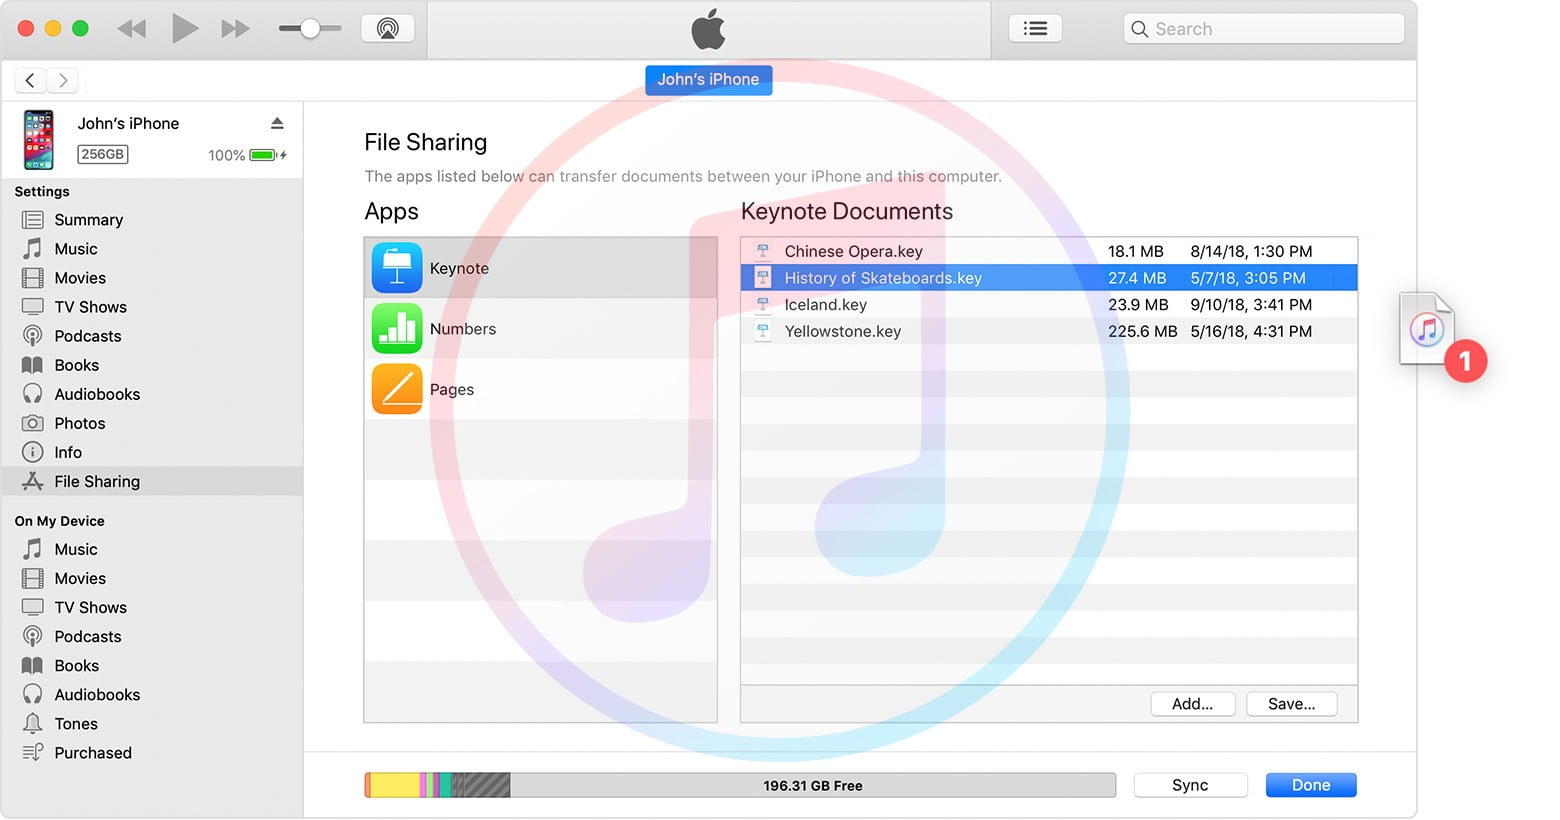
Step 1: Сonnect your iPhone to your Mac with a USB cable.
Step 2: Open iTunes on Mac and click on the iPhone icon to open the Summary screen. Here you’ll see a brief info about your iPhone, as well as “Backups” and “Options” sections.
Step 3: Head into the “Backups” tab and click “Back up now”.
Step 4: iTunes will start transferring all data from iPhone to Mac.
- Allows to transfer files between Apple devices directly and easily
- Allows to transfer various types of files, including documents, videos, music, and more
- Works both via USB and wirelessly
- Transfers files without loss of quality
- There are limitations of the file size that can be transferred
- While iTunes File Sharing allows basic file transfer, it lacks advanced file management features
- You can import single or multiple files, but you cannot import folders
How to Share files between Mac and iPhone via Third-party Apps
Method 1. Share files between Mac and iPhone using Commander One
If you are looking for a reliable and easy-to-use iOS file transfer solution, Commander One is worth considering. This file manager lets you seamlessly transfer files from Mac to iPhone/iPad and the other way round. It also allows you to manage cloud services including popular ones such as Dropbox, Google Drive, and OneDrive. Therefore, you can work with your files directly or via cloud services using just Commander One.
Just connect your devices with a USB cable to mount your iOS device as a flash drive and you’ll get access to its content right from the Mac. Not only iOS devices, Commander One is also compatible with Android and MTP devices.
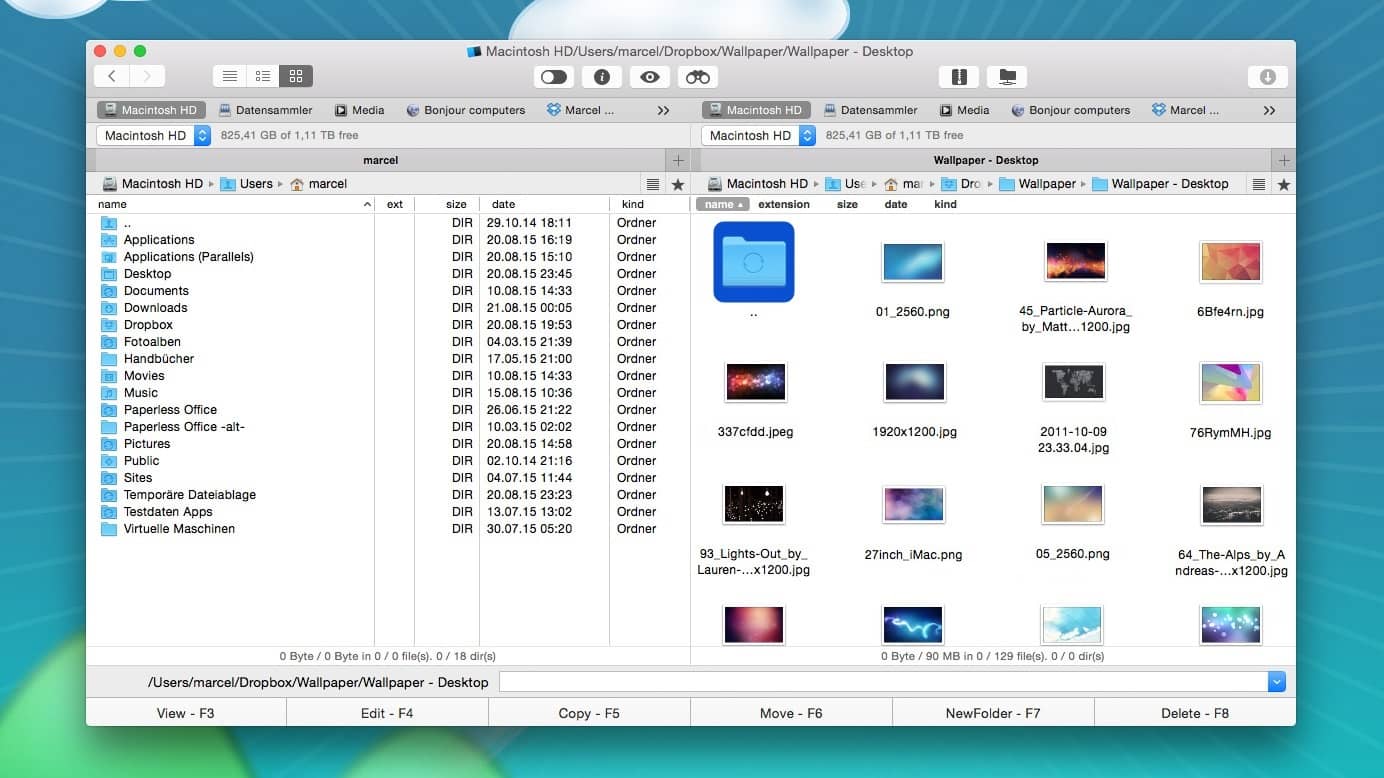
How to access iPhone files on Mac via Commander One?
Step 1: First, download and install Commander One on Mac.
Step 2: Connect your iPhone to Mac using a USB cable.
Step 3: Locate your iPhone in the Finder’s sidebar, select it and click “Trust” within Finder.
Step 4: Once done, tap “Trust” on your iPhone.
Step 5: Reconnect your phone via a USB cable.
Step 6: Go to Commander One. Your iPhone will be mounted as a local drive so that you can access the User/Media folder of your device.
- Dual pane view makes it easy to copy and move files and folders
- Fast access and management of all files in one place
- There is a free version for basic tasks
- Your iOS device can easily be connected as a flash drive
- Allows to transfer large files
- Requires USB connection only
- Pro features are only available in the paid version
Method 2. Move files from iPhone to Mac using Dropbox
Dropbox is one more way to transfer files between iPhone and Mac. It handles a wide range of files, including photos, videos, Excel Files, Word Documents, Text Files, Zip Files and more. To get the job done, you’ll need a stable Internet connection.

Step 1: Go to the Dropbox website and create an account in case you don’t have any. Then authorize using your Dropbox account.
Step 2: Navigate the App Store and download Dropbox. Once downloaded, open the app on your iPhone and log in with your credentials.
Step 3: Tap the “Create” icon and select “Create or Upload file”.
Step 4: Select files you want to upload and tap Next.
Step 5: Choose which you want to save them to and tap “Upload”.
Step 6: Wait for the download to complete and go to Dropbox on your Mac. You will see your downloaded files here.
- User friendly interface
- Gives the freedom to access various data files anywhere and anytime
- File sharing and transfer of large files
- Has a desktop and a mobile version
- Limited free storage space
- Using Dropbox for file transfers requires a stable internet connection on both the iPhone and Mac
- Ability to make files available offline is only for paid subscription customers
- It’s a bit pricey
Conclusion
Sharing files between devices is a common process, and you can do it in a variety of ways, whether through cloud services like Dropbox or the built-in AirDrop feature, via email, or using third-party apps.
All are good ways to transfer files from iPhone to Mac. Some methods require a wired USB connection, others allow you to transfer files wirelessly but require a stable Internet connection. Decide which one meets your tasks and habits, and that’s how you’ll know which solution to choose.
FAQ
The easiest way to transfer files from iPhone to Mac is AirDrop, a built-in feature in iOS, iPadOS, and macOS. Once you have enabled AirDrop on your devices, you can transfer files with a few clicks. Alternatively, you can use Dropbox, iCloud Drive, or send files via email.
With Commander One, you can easily transfer files from iPhone to Mac using a USB cable.


