
To access any drive through a computer, it needs to be properly mounted. By default, this process should happen in the background. If you are unable to mount an external hard drive on your Mac automatically (and you didn’t change any settings), something’s up.
Things like corruption and faulty connectors could be preventing your Mac from properly recognizing the drive. Depending on the culprit, your data may be in danger. This article will help you secure your data and teach you how to fix a hard drive that’s not mounting on a Mac.
Table of Contents
Why is External Hard Drive Not Mounting on Mac
There are a few possible culprits why your external hard drive won’t mount on Mac. Some of them are easy enough to resolve, while others need immediate action to secure your data.
We divided these factors into two categories: Software-Based Causes and Hardware-Based Causes. This distinction is important not only for diagnosing your drive or your Mac, but also critically affects the next step of recovery.
Software-Based Causes
Software-based causes are considered “logical damage.” The physical components of your drive are unharmed but the settings and processes of either the storage device or your Mac malfunctioned in a way that prevents your drive from being mounted. In this scenario, users can usually restore and even fix their drives themselves.
- You disabled the display settings – macOS allows users to show or hide external drives on the desktop and in finder. Check Disk Utility if your drive has an “Unmount” button – this means that your hard drive has been successfully mounted and is just hidden. We’ll show you how to enable the display settings later in the article.
- Your drive is corrupted – Virus attacks and faulty software can cause corruption, as well as interrupting a drive while it’s reading or writing data (for example: yanking out your drive in the middle of transferring files).
- macOS ran out of resources – Your Mac could have run out of resources while mounting your hard drive. It also could have lagged while refreshing itself, preventing your hard drive from properly getting mounted.
- Your drive uses the wrong format – macOS only supports ExFAT, FAT32, HFS+ and APFS formats. If your drive uses other formats like NTFS or HFS+, you need to reformat it for macOS to recognize and mount it.
Hardware-Based Causes
Hardware-based causes refer to mechanical malfunction or physical damage to your drive’s components. Simple mechanical issues can sometimes be resolved by the user.
- Connectors are damaged -Dust and debris may be blocking your ports and connectors, preventing your Mac from properly recognizing your hard drive. Use a dry microfiber cloth to clean your equipment. Otherwise, try connecting your hard drive to another port or computer.
- Your drive is physically damaged – Hard drives are vulnerable to extreme temperatures, waterlogging, and scratches – especially on its spinning disk. If you can’t mount your external hard drive on Mac after dropping your drive or leaving it on a very hot surface, it’s possibly physically damaged.
How to Recover Data From Drive That Isn’t Mounting
To recover data from a hard drive that is not mounting on a Mac, we can use data recovery software to extract files directly from the file system. As long as your external hard drive shows up in Disk Utility but won’t mount, this method will work – just make sure Disk Utility displays the correct size.
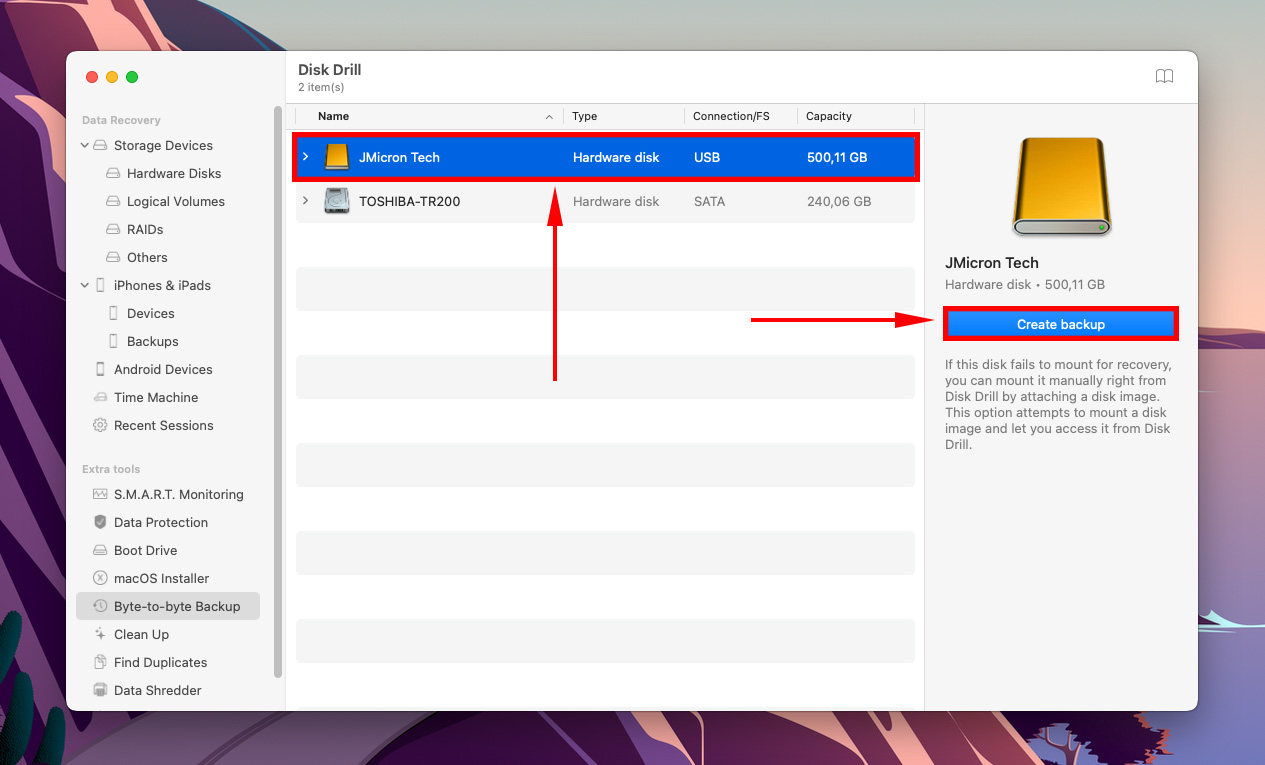
For this article, we’ll be using Disk Drill. It’s a well-known tool that’s super easy-to-use, which is why we often feature it in our articles to demonstrate data recovery. Here’s how to do it:
Step 1. Download and install Disk Drill.
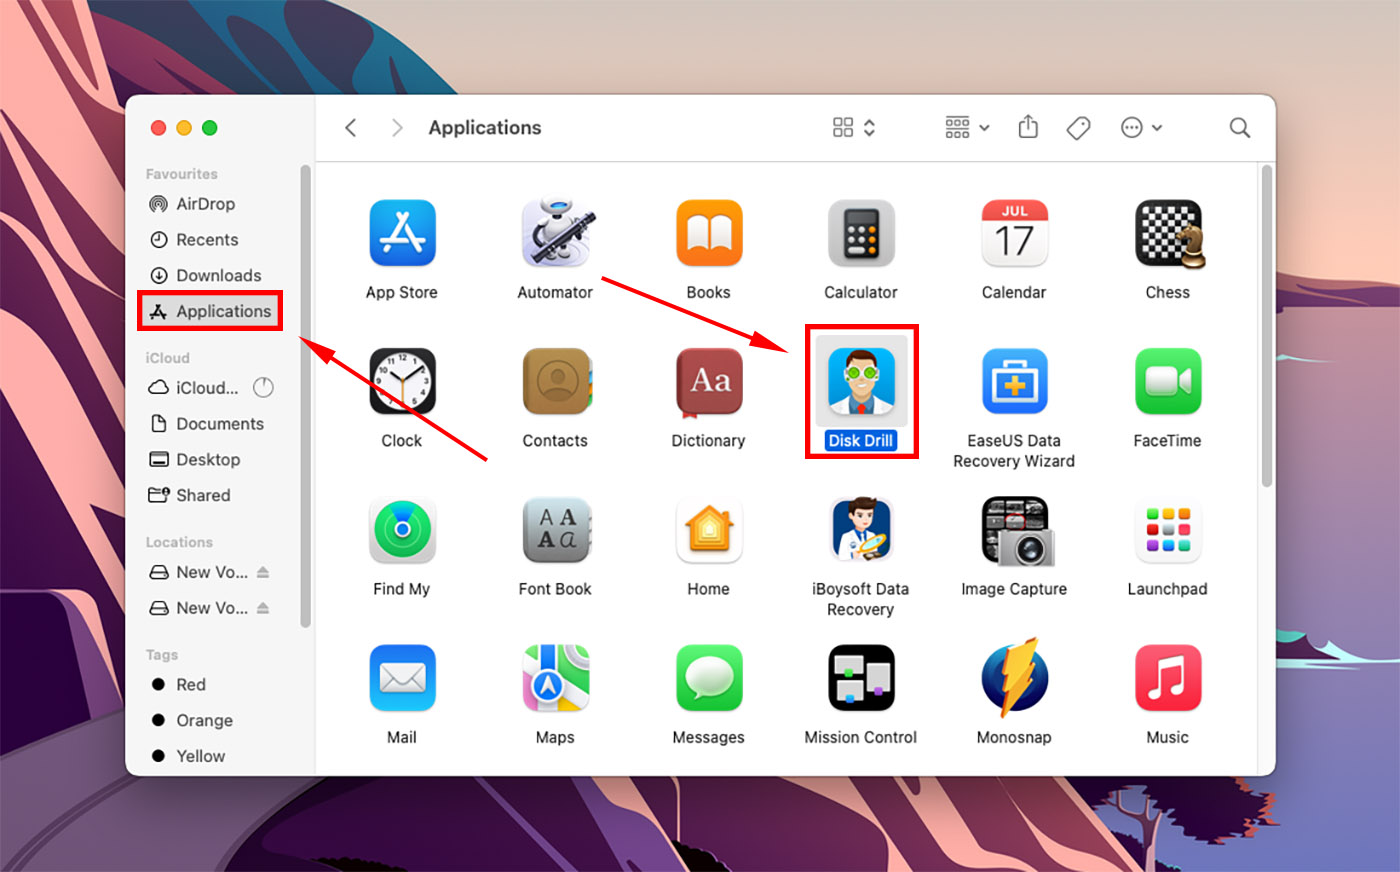
Step 2. Launch Disk Drill (Finder > Applications > Disk Drill).
Step 3. Select your hard drive from the middle pane, then click “Search for lost data.”

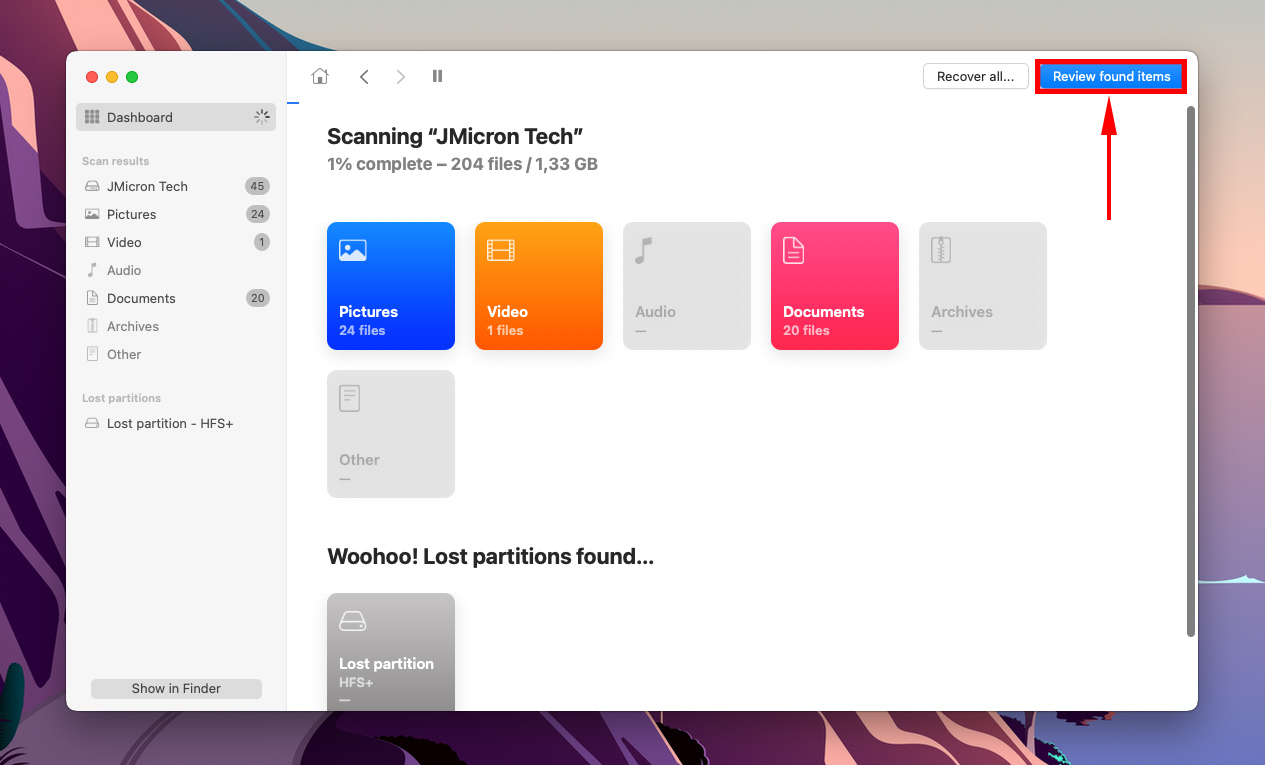
Step 4. Wait for Disk Drill to complete its scan. Once it’s done, click “Review found items.”
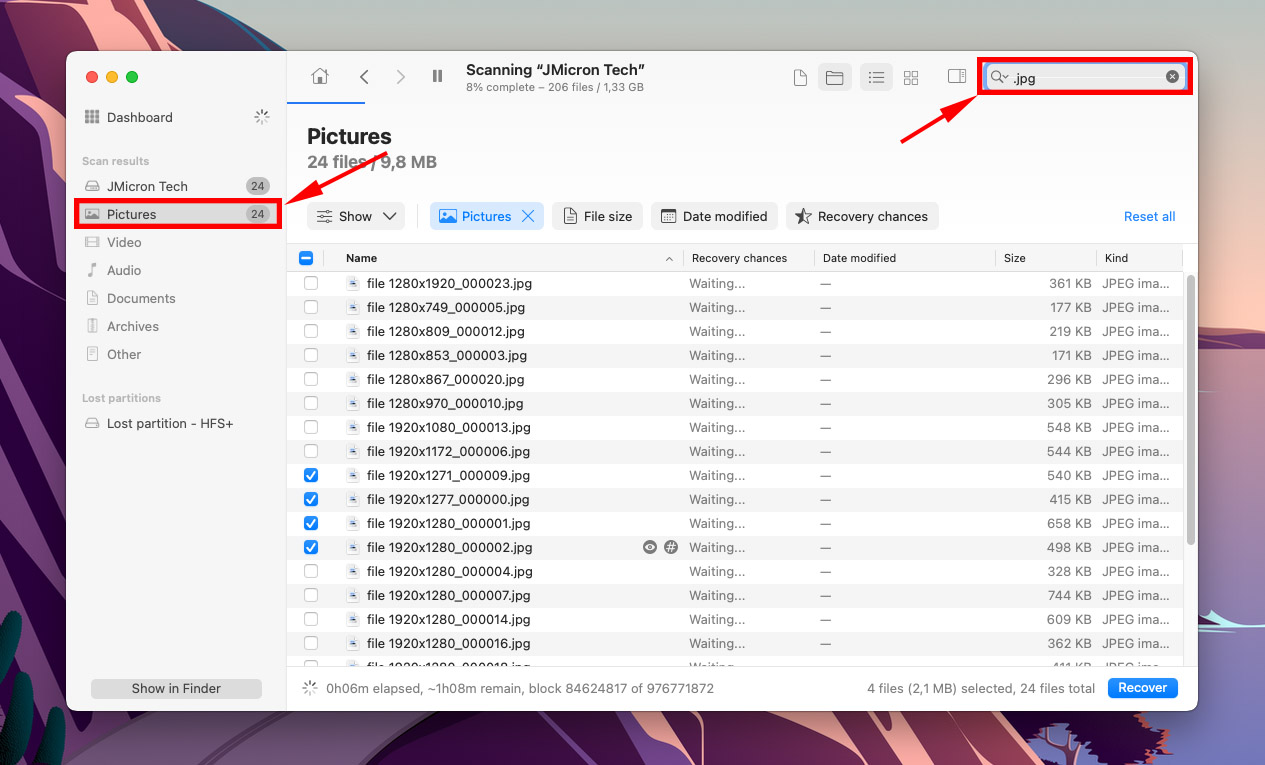
Step 5. In this screen, you can use the search bar to quickly find the files you need. Or, you can use the left sidebar to filter the results.
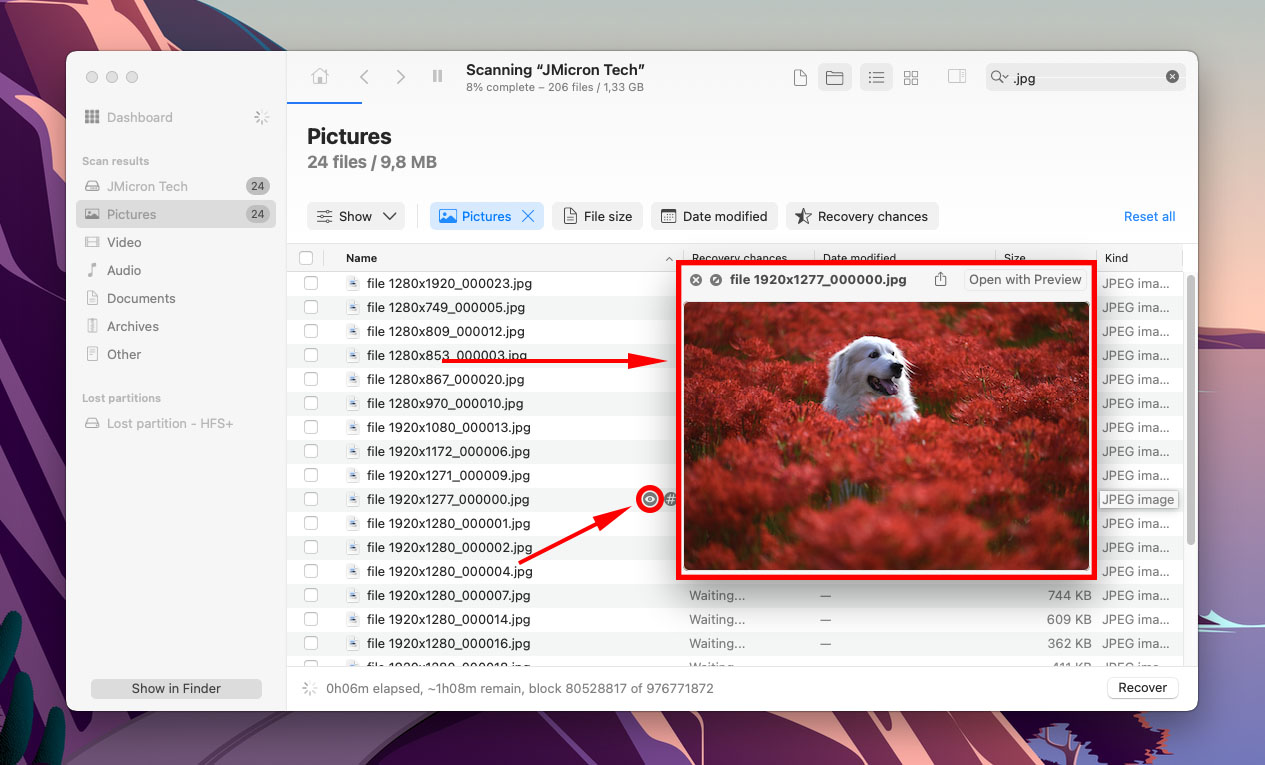
Step 6. To preview a file, hover your mouse beside its file name. An eye button should appear – click it.
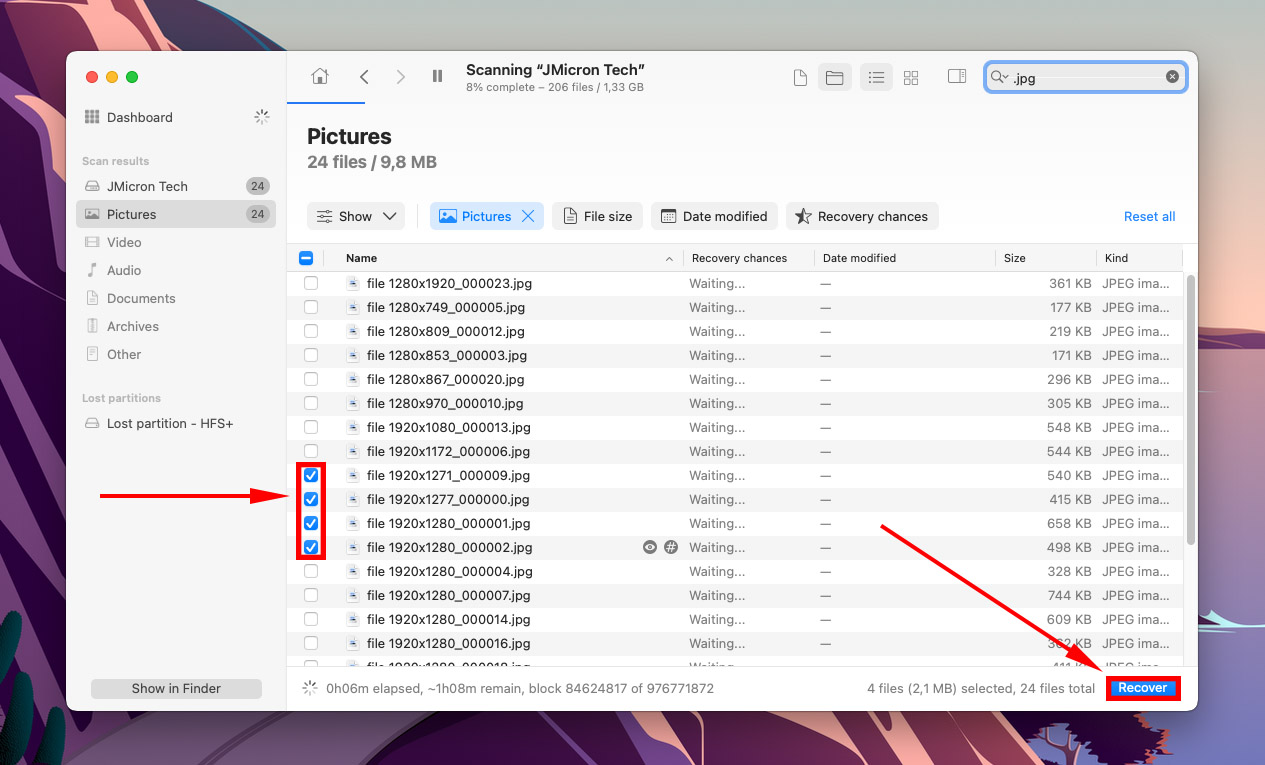
Step 7. Tick the boxes beside the files you want to restore, then click “Recover.”
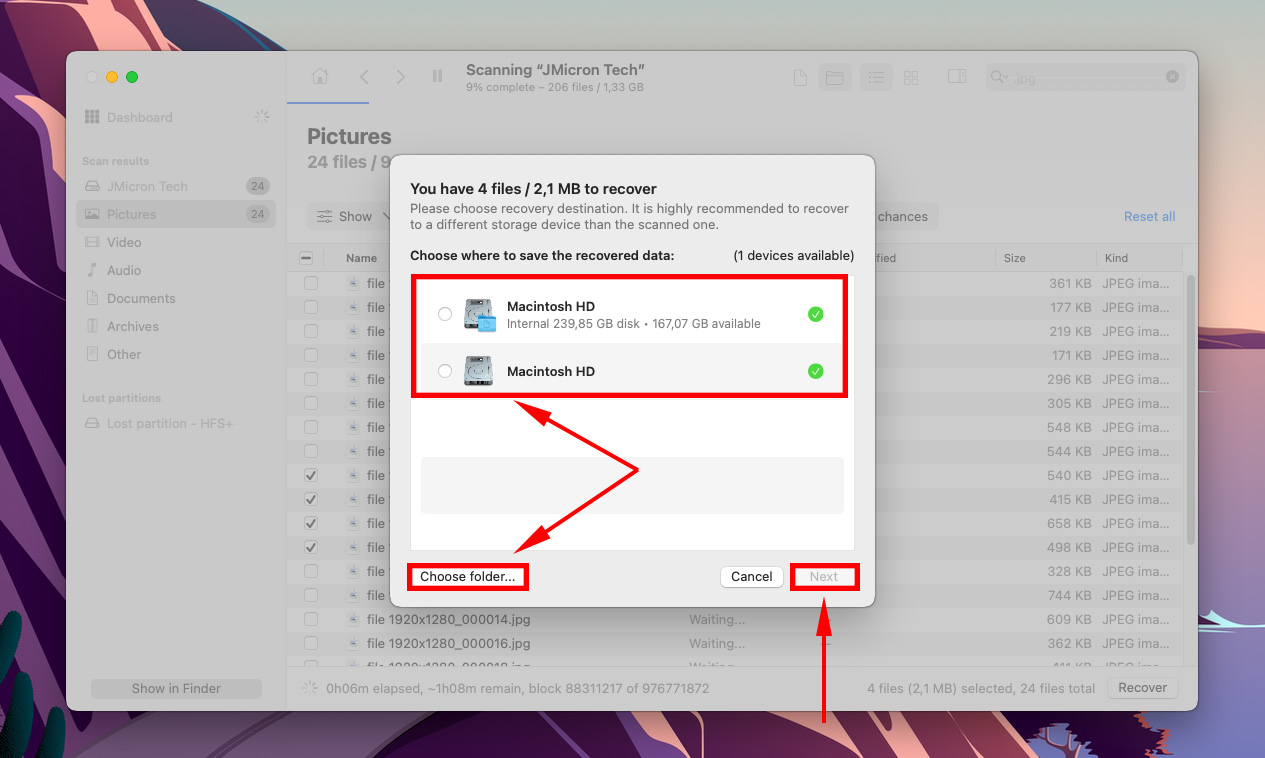
Step 8. Use menu or click “Choose folder…” to select a location on your computer where Disk Drill will save the recovered files. Then, click “Next”.
How to Mount an External Hard Drive on Mac
Depending on what is preventing your external hard drive from being mounted on your Mac, there are different methods we can try to fix it.
Method 1: Change macOS Drive Display Settings
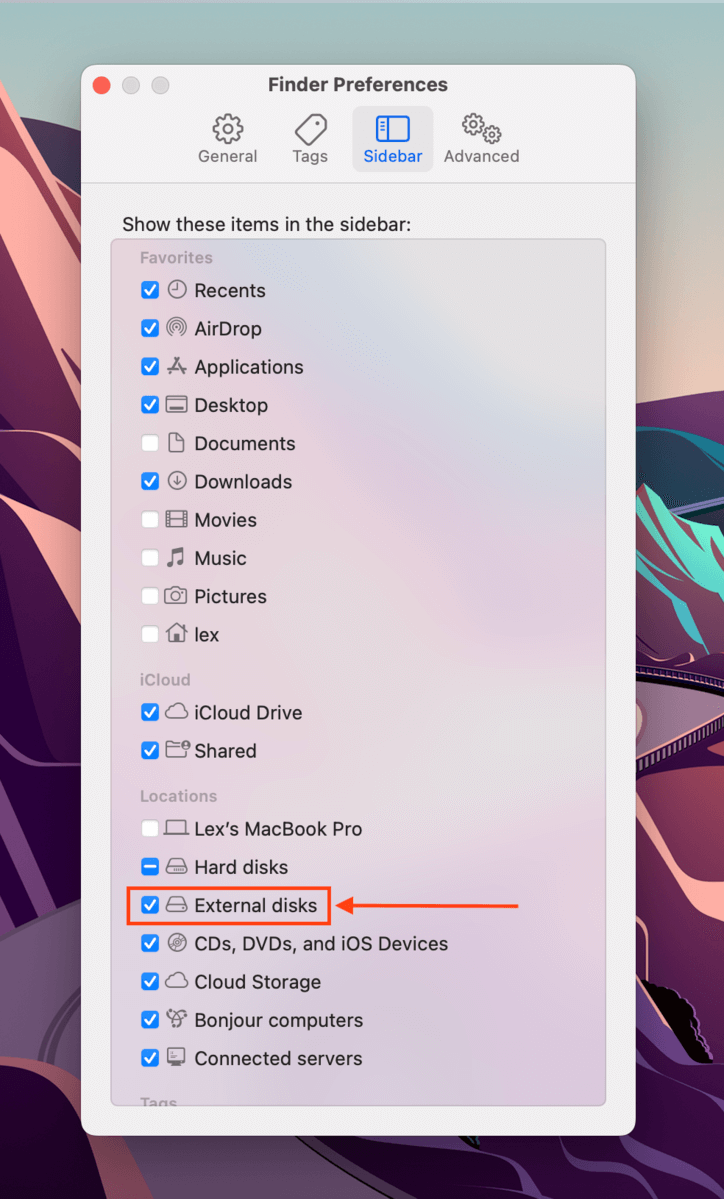
macOS allows its users to hide or display external devices in the Finder sidebar and on the desktop. If Disk Utility shows that your drive is actually mounted, this may be the culprit. Here’s how to access these settings:
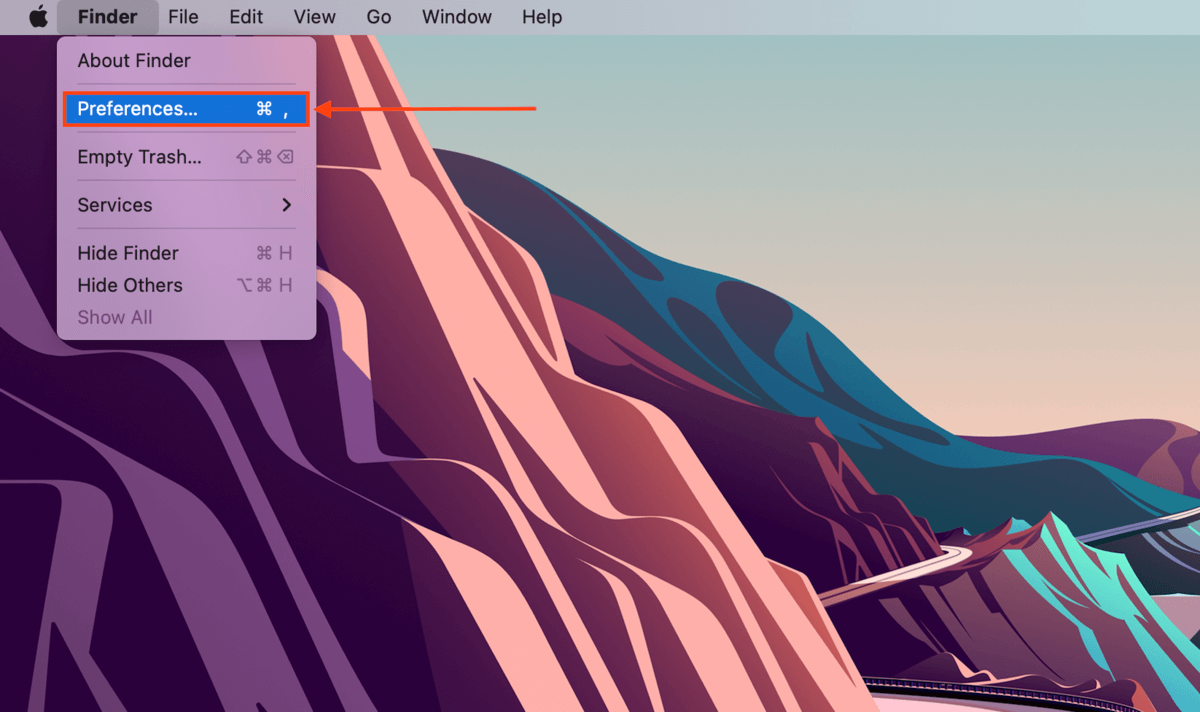
Step 1. Open Finder. On the Apple menu bar, click Finder > Preferences.
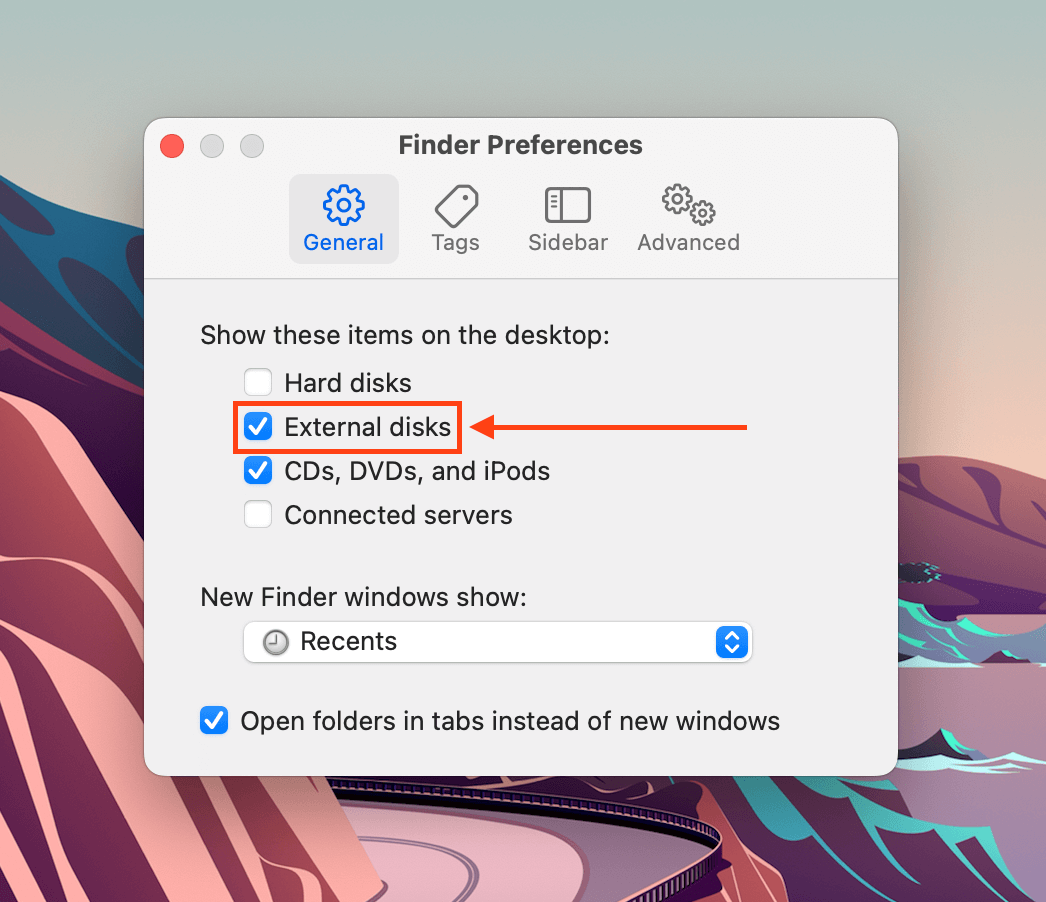
Step 2. In the “General” tab, tick the box beside “External disks.”
Step 3. In the “Sidebar” tab under the “Locations” section, tick the box beside “External disks.”
Method 2: Reconnect Your Drive
Maybe the connection just didn’t bite. Try reconnecting your drive… And while you’re at it, try different ports and cables too.
Method 3: Restart Your Mac
If you have a lot of apps running as you connect your drive, macOS might have run out of the resources needed to mount and read it. macOS could also have gotten stuck while refreshing itself in the middle of mounting your drive.
Restart your Mac to “unstuck” it, and avoid opening too many apps while you use your hard drive.
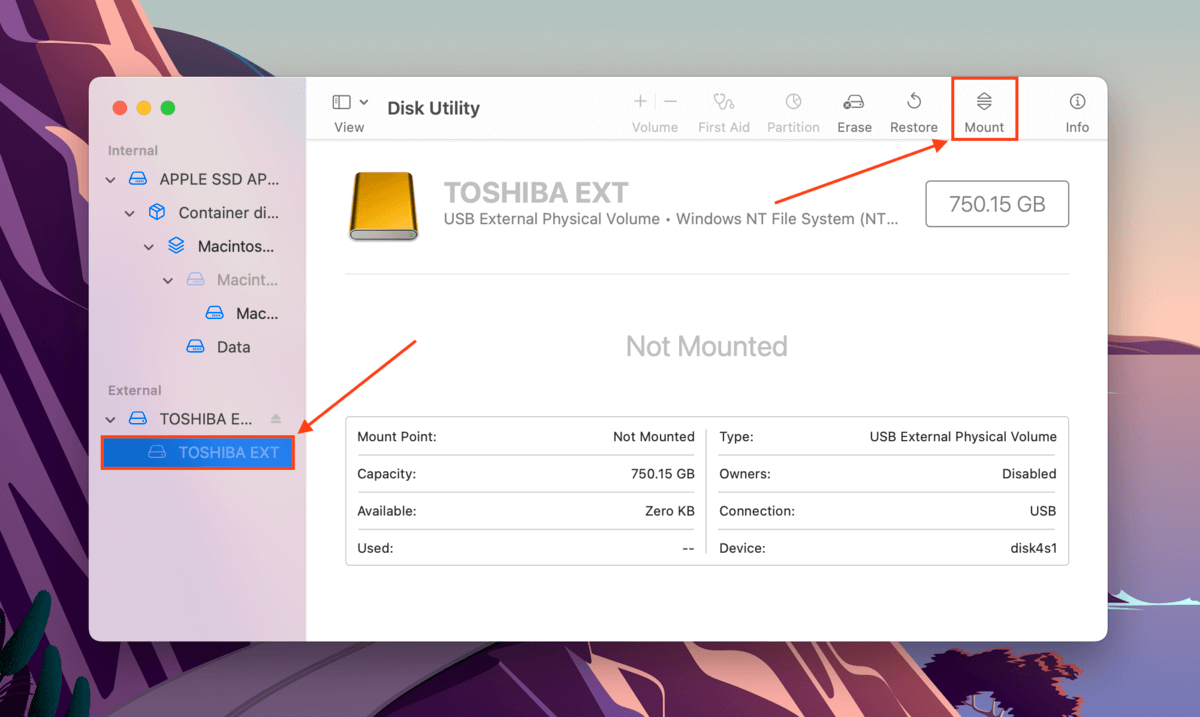
Method 4: Force Mount Your Drive With Disk Utility
Through Disk Utility, you can manually force mount an external hard drive on your Mac. Launch Disk Utility (Finder > Applications > Utilities), select your drive or drive volume, and click “Mount.”
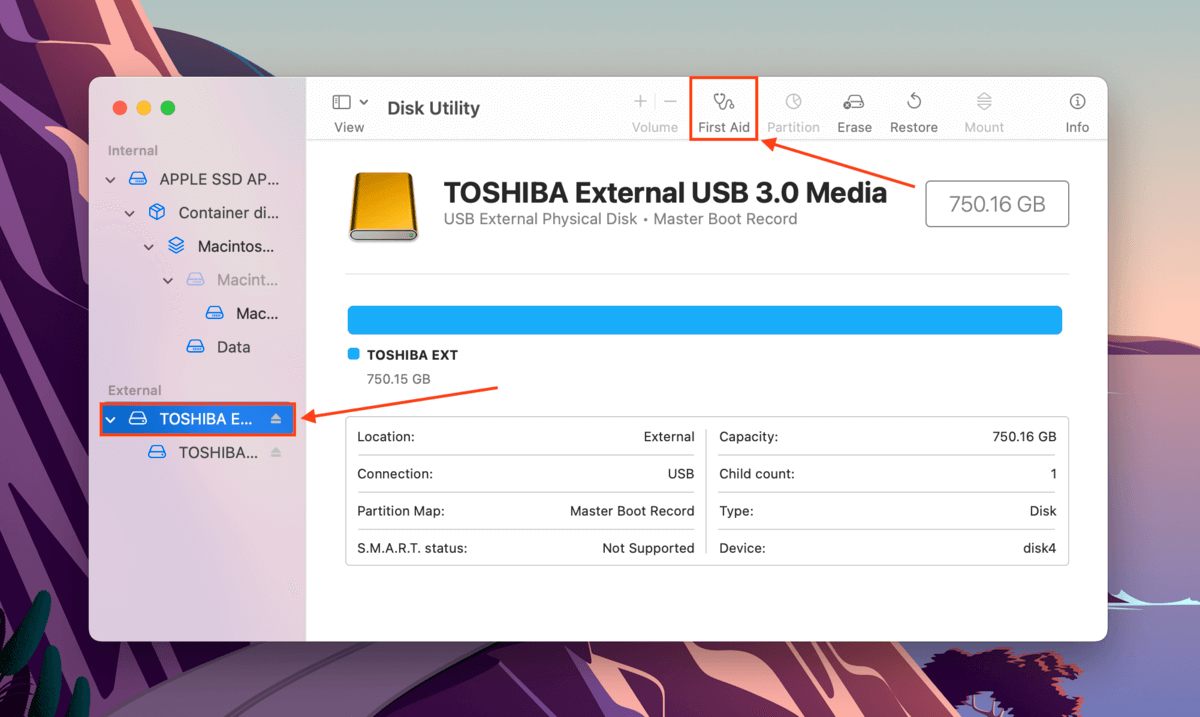
Method 5: Use Disk Utility’s First Aid Tool
The First Aid tool is also a Disk Utility function. It can find and automatically repair disk errors depending on the severity. Launch Disk Utility (Finder > Applications > Utilities), select your drive, and click “First Aid.”
Method 6: Reformat Your Drive
In most cases, reformatting your drive can be the most effective solution for resolving software-based mounting issues. This process wipes everything on your drive, including its file system settings, viruses, and any corruption that prevents the drive from communicating with your computer.
We’ll show you how to format your drive using Disk Utility on your Mac.
- Connect your hard drive to your Mac and launch Disk Utility.
- Select your drive from the left sidebar and click Erase.
- Select New Name, Format and other options for your Drive
 Click Erase when prompted to confirm the action.
If your drive doesn’t show up in Disk Utility, it’s possibly using a file system format that macOS doesn’t recognize. For reference, supported formats are ExFAT, FAT32, HFS+, and APFS. In this case, reformatting is still the answer – but you need to do it on a computer that recognizes its existing file system.
Conclusion
All storage devices are prone to software malfunctions that prevent mounting. Fortunately, they’re often easy to solve on their own and you can use backups or data recovery software to retrieve your data. However, successfully fixing your drive depends on solving the root cause – so inspect your settings for any changes before using drastic methods like reformatting.
On the other hand, external hard drives are extra prone to mechanical and physical issues due to their moving parts. Make sure to carefully inspect your device before attempting recovery as these cases are better left to professionals.
FAQ
- Reconnect your drive.
- Restart your Mac.
- Force Mount your drive using Disk Utility’s Mount tool.
- Repair your drive using Disk Utility’s First Aid tool.
- Reformat your drive.
Warning: Reformatting your drive will wipe the data on it. We suggest cloning your drive and using that clone as the target for data recovery tools. Disk Drill has both backup and recovery functions built in, so we recommend using it for this task.


