
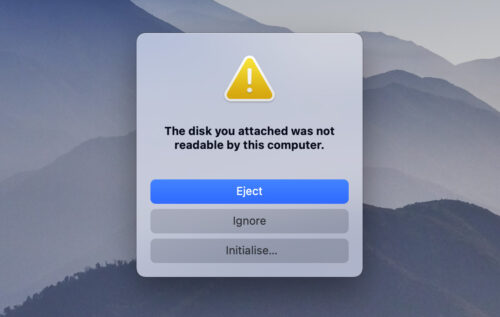
Your Mac may display the message “the disk you inserted was not readable by this computer”. This means the external device you’re plugging in and trying to use has run into an issue. It doesn’t always mean that it was a disk specifically that has caused an issue.
Do not worry though, there are ways to troubleshoot this issue. In this article, we’re going to talk about what you can do if your Mac displays this error to you.
First, let’s talk about what devices could be displaying ths message.
Table of Contents
Why My Drive is Unreadable?
There are various issues that can directly, or indirectly, cause your drive to become unreadable. It’s important to determine the reason because it’ll help you choose the correct plan of action when you proceed to fix the error.
Some common reasons behind the “the disk you attached was not readable” error are:
- 💿 Disk Failure: It’s quite possible that the disk you connected has already failed. Your Mac can detect it, but that’s all. This can happen because of severe logical, or physical damage.
- 🔗 Hardware and Connection Issues: The storage drive may not be connected properly–the connection could be loose, the ports/cables may be damaged, or the disk isn’t receiving enough power. It’s also possible the storage device itself is damaged, in which case it’s best to contact an expert, instead of opting for DIY solutions.
- 🗃️ File System Issues: If your drive’s file system is corrupt, macOS won’t be able to read it and will display the “disk is not readable” error. MacOS will also prompt you to initialize the drive if it doesn’t have a partition table.
- 🗄️ Uninitialized Disk: Any storage drive needs to be initialized before it can be used to store data. Usually, this affects brand-new drives and not ones that have been used before. An old disk that shows up as uninitialized could have had its partition table deleted, or suffered logical corruption.
Fortunately, your drive can almost always be fixed as long as it’s detected by your Mac, i.e., the “disk is not readable” message appears in the first place. The only exceptions to this are drives that are physically damaged.
How to Recover Data from a Disk that Isn’t Readable
The only DIY way to recover data from an unreadable disk, is to use a third-party data recovery program.
In our tutorial, we opted to use Disk Drill. It’s easy to use interface, support for all major file systems and storage drives makes it a versatile choice for most data loss scenarios. Additionally, it can recover data from your disk, even if it doesn’t have a file system at all, i.e., the disk is RAW–a common reason for drives becoming unreadable.
Step 1.Download and install Disk Drill onto your Mac.
Step 2.Plug in the external storage device that your Mac isn’t able to read.
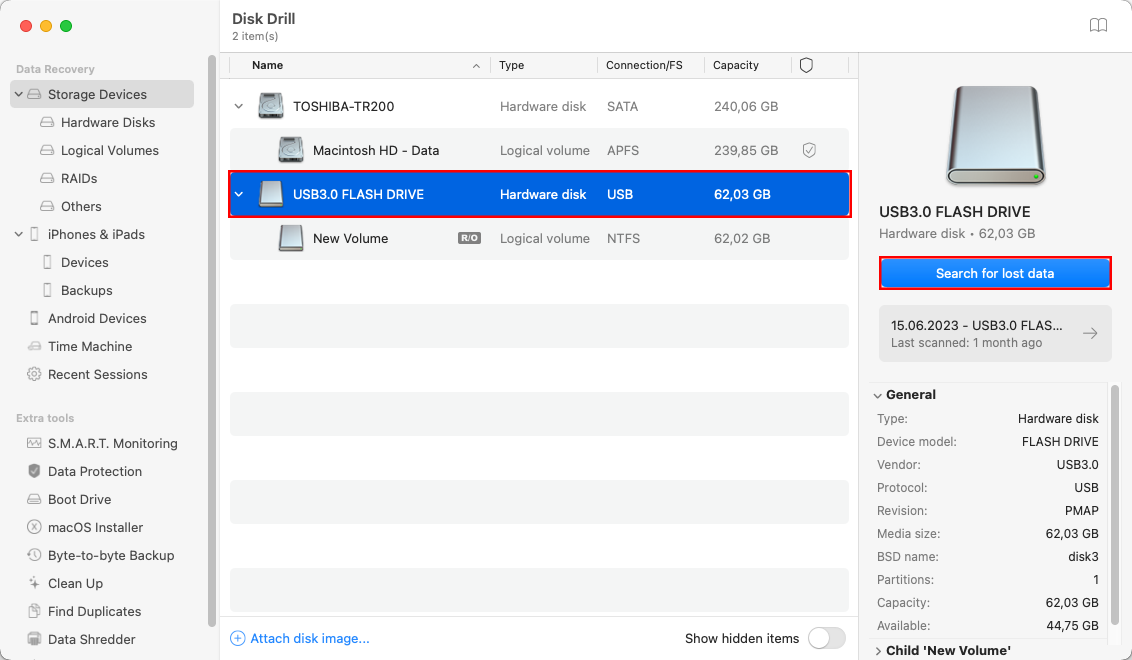
Step 3.Launch Disk Drill and navigate to Storage devices or whatever the category is that your storage device falls under. Then click on Search for lost data.
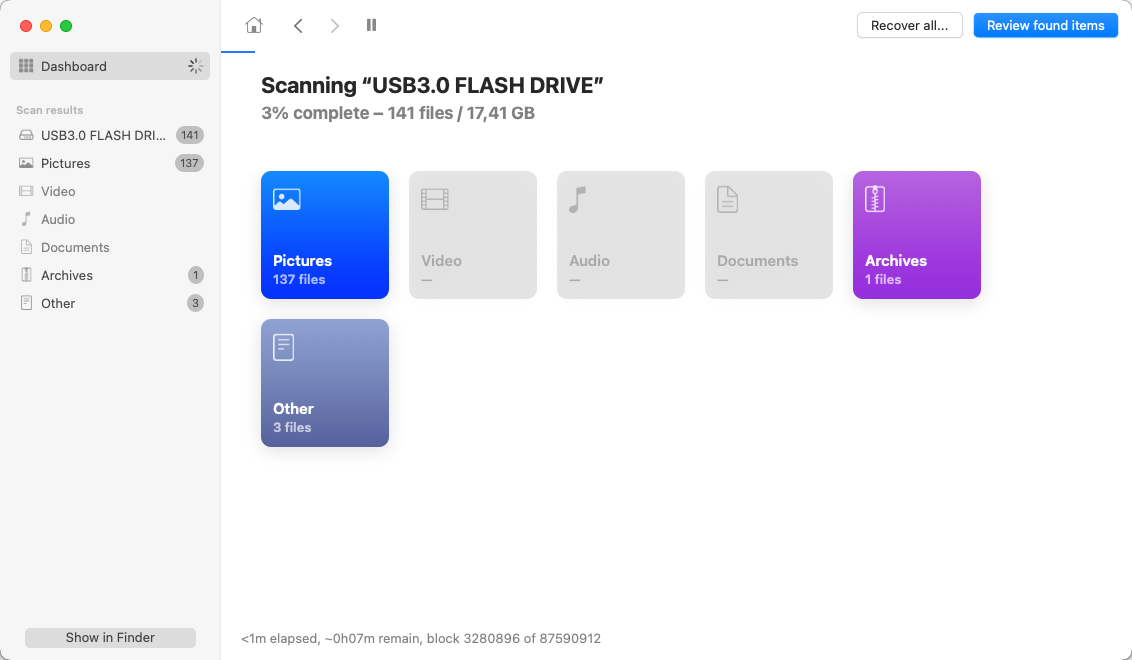
Step 4.Wait for the scan process to complete.
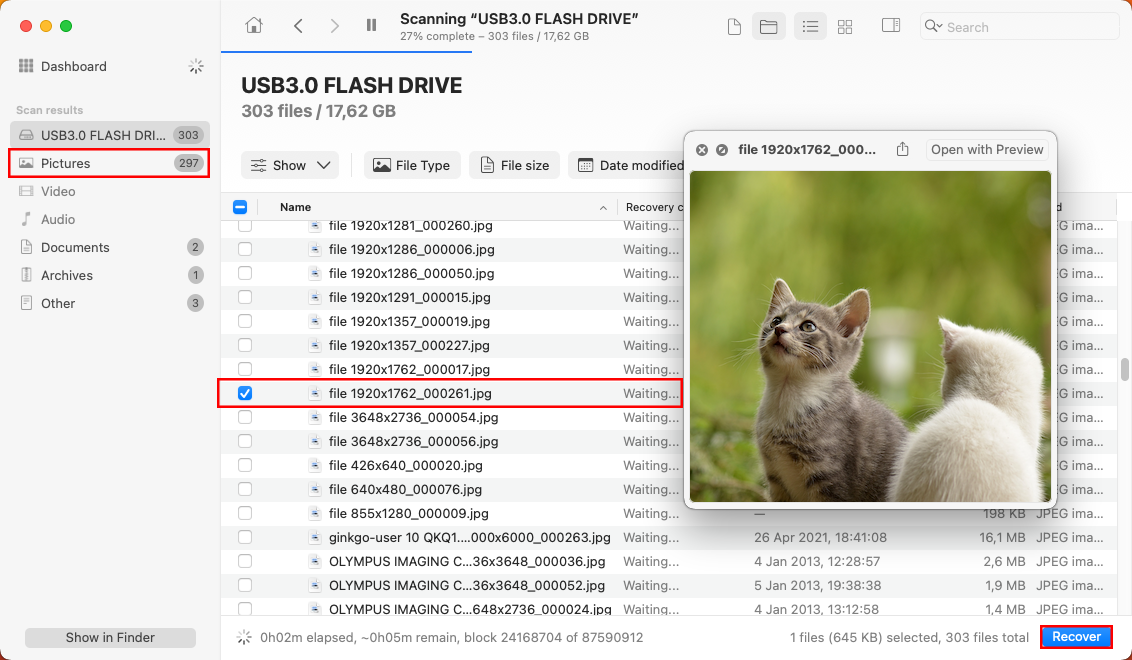
Step 5.Once the scan has been completed, review the results and recover the data that is most important to you. You can look at the thumbnail or click on the eye icon to preview the file. Checkmark the files that you would like to recover and then click on the blue Recover button to put the files back onto your Mac.
That’s it! You can look at all of your files, pictures, videos, audio, documents, archives, and then other when using Disk Drill.
How to Fix “The Disk You Inserted Was Not Readable”
Now that we have recovered the data from our external device, let’s troubleshoot and try to fix the device.
Below, we will walk through the best methods to get our device working again. I would recommend that you follow these in order as they will be from the easiest and most practical to ones that will then require more steps and work.
Method 1: General Suggestions
Before proceeding to more complex fixes, here are some general suggestions that could potentially fix an unreadable disk on your Mac.
| Suggestion | Description |
| 🔎 Examine the External Storage Drive | The first thing you should do is visually examine the external storage device. Ensure that there are no signs of damage, no bent connectors, and the connector pins aren’t oxidized. Additionally, if any cables are involved, ensure they’re not peeling or bent irregularly. If possible, connect the drive directly to your Mac, instead of using a USB hub or other kinds of adapters. |
| 💻 Restart Your Mac | A restart can be an easy fix to “the drive is not readable” error. To restart your Mac, click on the Apple logo in the top-left corner of your screen and choose Restart. |
| 🔌 Clean the Ports | Upon use, dust can get into your Mac’s ports, which could cause issues with the device not being able to connect to your Mac. You can use compressed air to clean them out. I wouldn’t recommend that you use anything abrasive as it can damage your Mac. |
| ➰ Connect to a Different Port on Your Mac | You can also try plugging your external device into another port on your Mac. There could be an issue with just one of the ports on your computer. If you’re using a dongle to connect the device to your Mac, it could be causing the issue. Try using another dongle, or take your computer into an Apple Store and ask to use one of theirs. |
| 🔁 Replace USB Cables | Replacing the cable for your external device might help. A Google search of your device should help you figure out what cable it is using and then you can replace it. |
Method 2: Reset NVRAM or PRAM on Your Mac
NVRAM (nonvolatile random-access memory) is a small amount of memory that your Mac uses to store certain settings and access them quickly. PRAM (Parameter RAM) stores similar information, and the steps for resetting NVRAM and PRAM are the same.
NVRAM stores things such as your sound volume, display resolution, startup disk selection, time zone, and recent kernel panic information.
If you experience issues related to these settings or others, resetting your NVRAM and PRAM might help.
Step 1.Shut down your Mac, then turn it on and immediately press and hold OPTION+COMMAND+P+R and hold these keys for about 20 seconds.
Step 2.Your Mac will then appear to restart. Let it boot up to the home screen and then login.
Step 3.Plug in the device that wasn’t working correctly and see if it works. If you’re using a newer Mac that has a T2 security chip, you can release the keys right after you see the Apple logo.
If this didn’t fix your issue, let’s move onto resetting your SMC on your Mac.
Method 3: Reset the SMC on Your Mac
Resetting your SMC (system management controller reset) can resolve issues related to power, battery, fans, and other features of your Mac. This step will only apply to Macs that have an Intel processor.
This can fix the issue of your Mac not being able to see the external device that you’re plugging into your Mac.
Step 1.Shut down your Mac.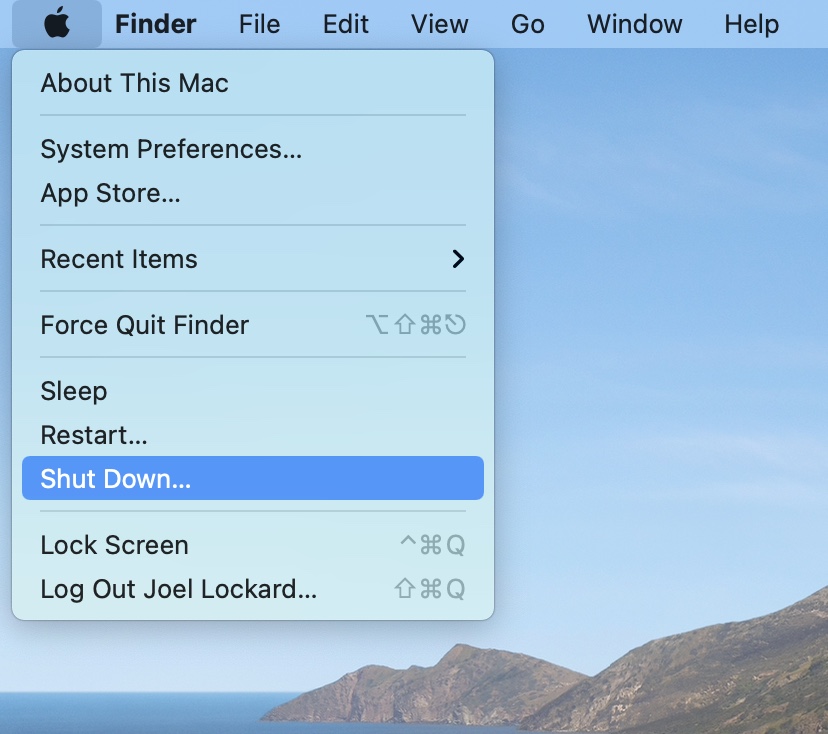
Step 2.On your keyboard, press and hold the Control +Option + Shift keys.
Step 3.Keep holding down all three keys for 7 seconds, then press and hold the power button as well.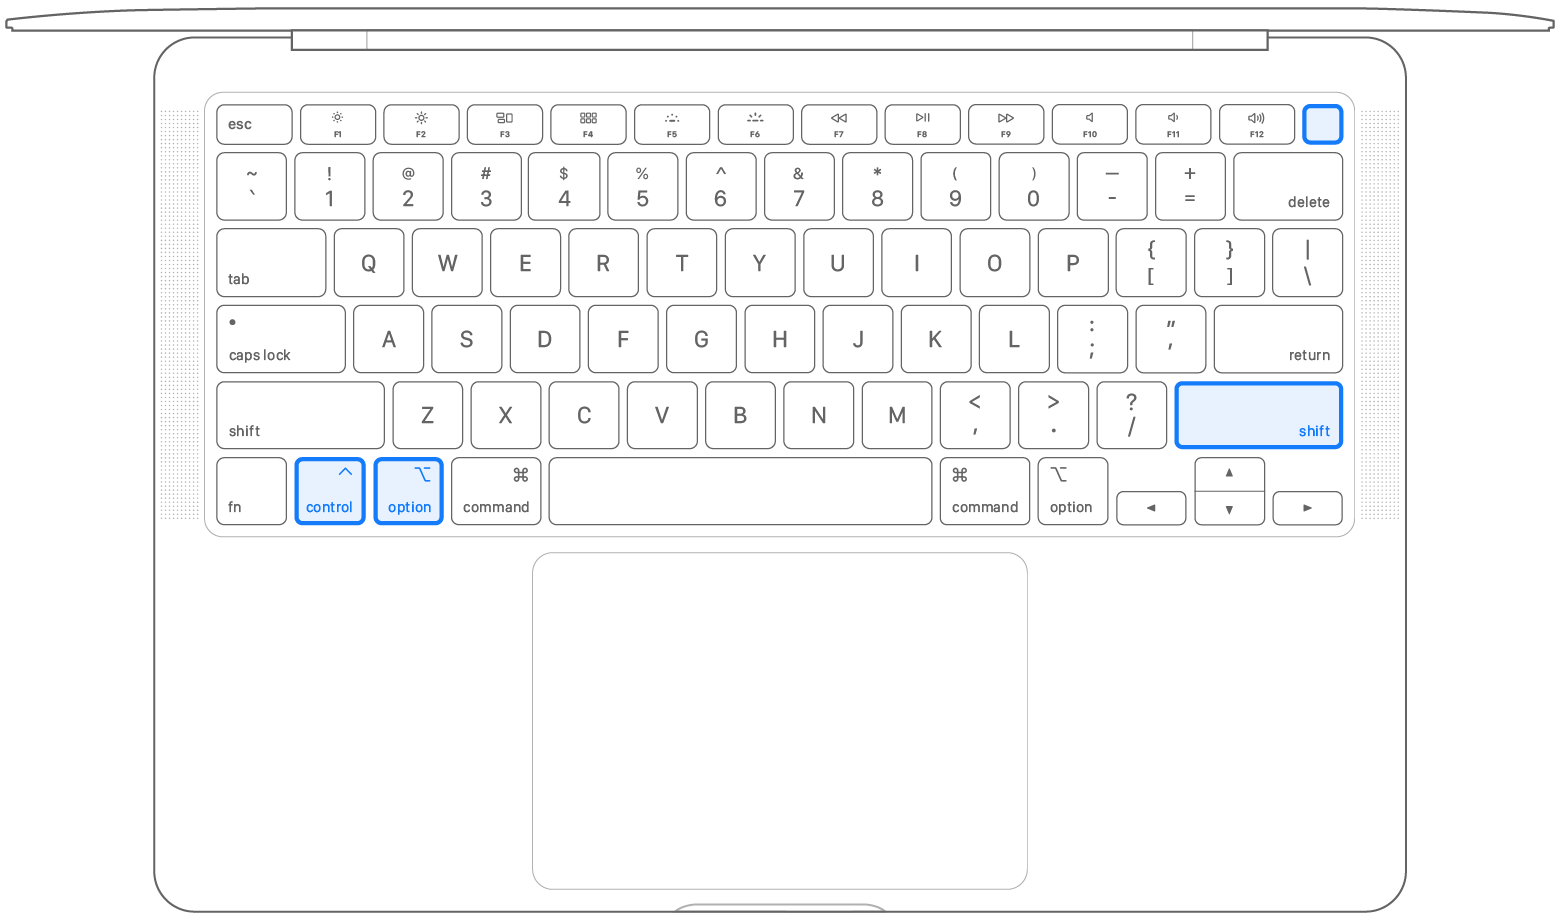
Step 4.Try plugging in your external device and see if it’s working correctly now.
If it’s not working still, let’s try and use First Aid to repair our device.
Method 4: Use First Aid to Repair External Device
First Aid is a repair utility that comes installed on your Mac as part of macOS. We can use it to repair things such as storage devices.
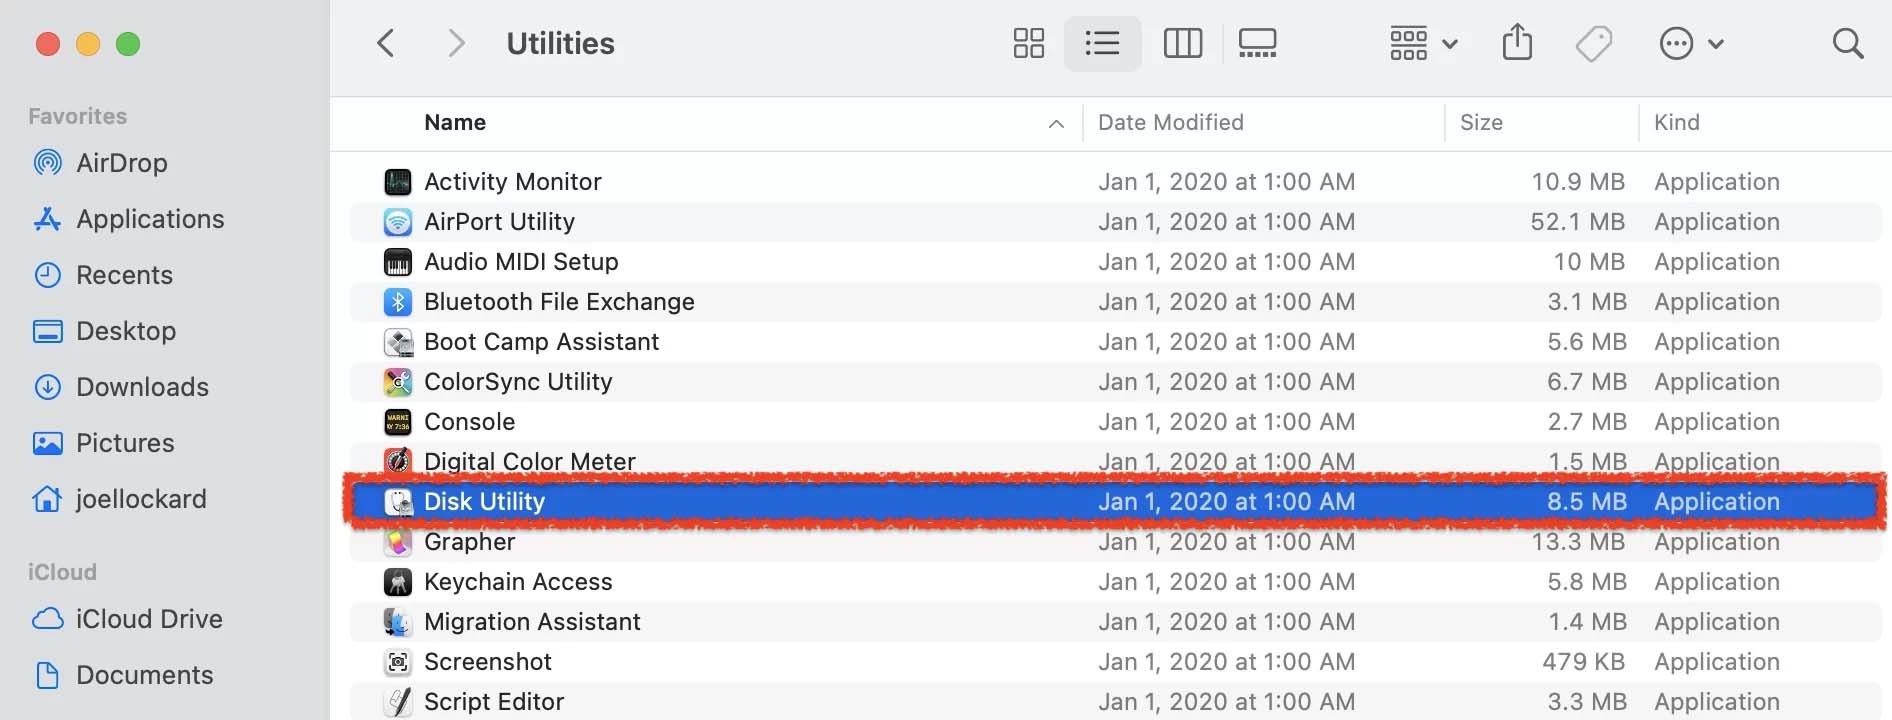
Step 1.Launch Disk Utility by going to the Applications folder and then the Utilities folder. After you’re within the Utilities folder, launch Disk Utility.
Step 2.Once you have launched Disk Utility, select your external device and then click on First Aid.
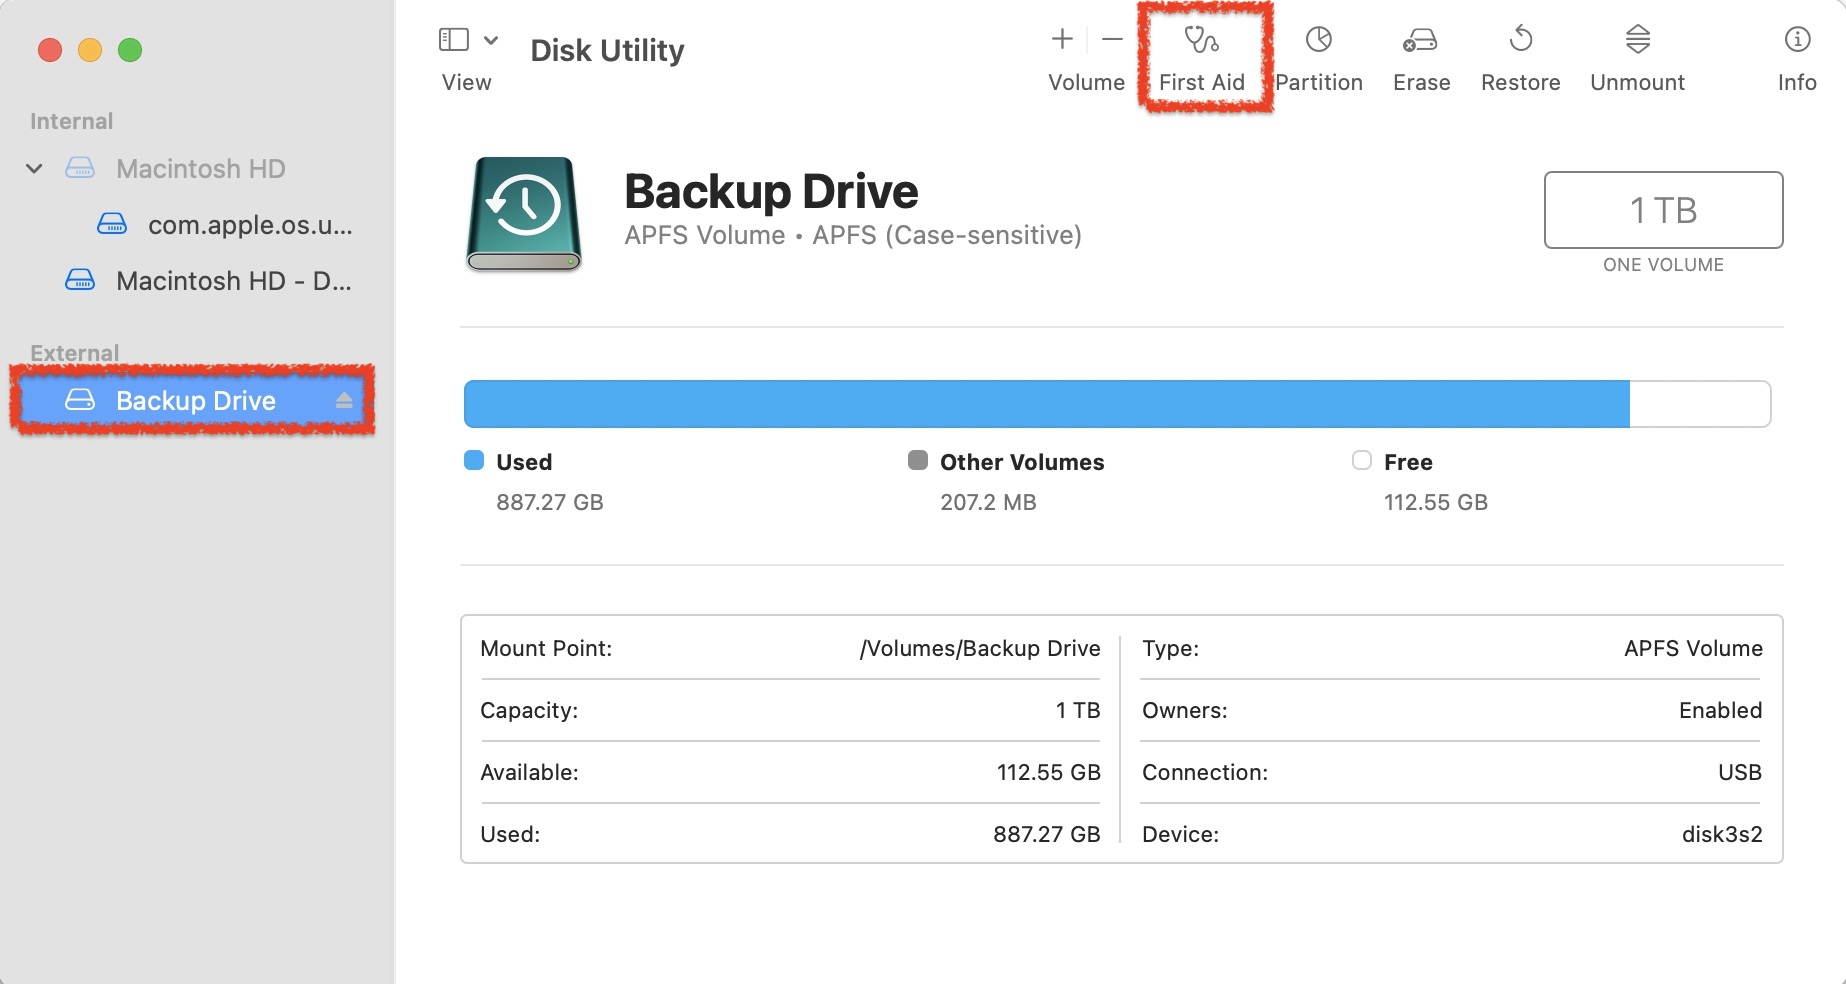
Step 3.Run First Aid on the external device.

Step 4.Check and see if the device is working correctly.
Method 5: Format Your External Drive
Sometimes troubleshooting doesn’t work and formatting the storage device is the last step. This will erase everything on the device and it will be set up like new again. While you do lose your data, this can fix issues when it comes to the external device not connecting.
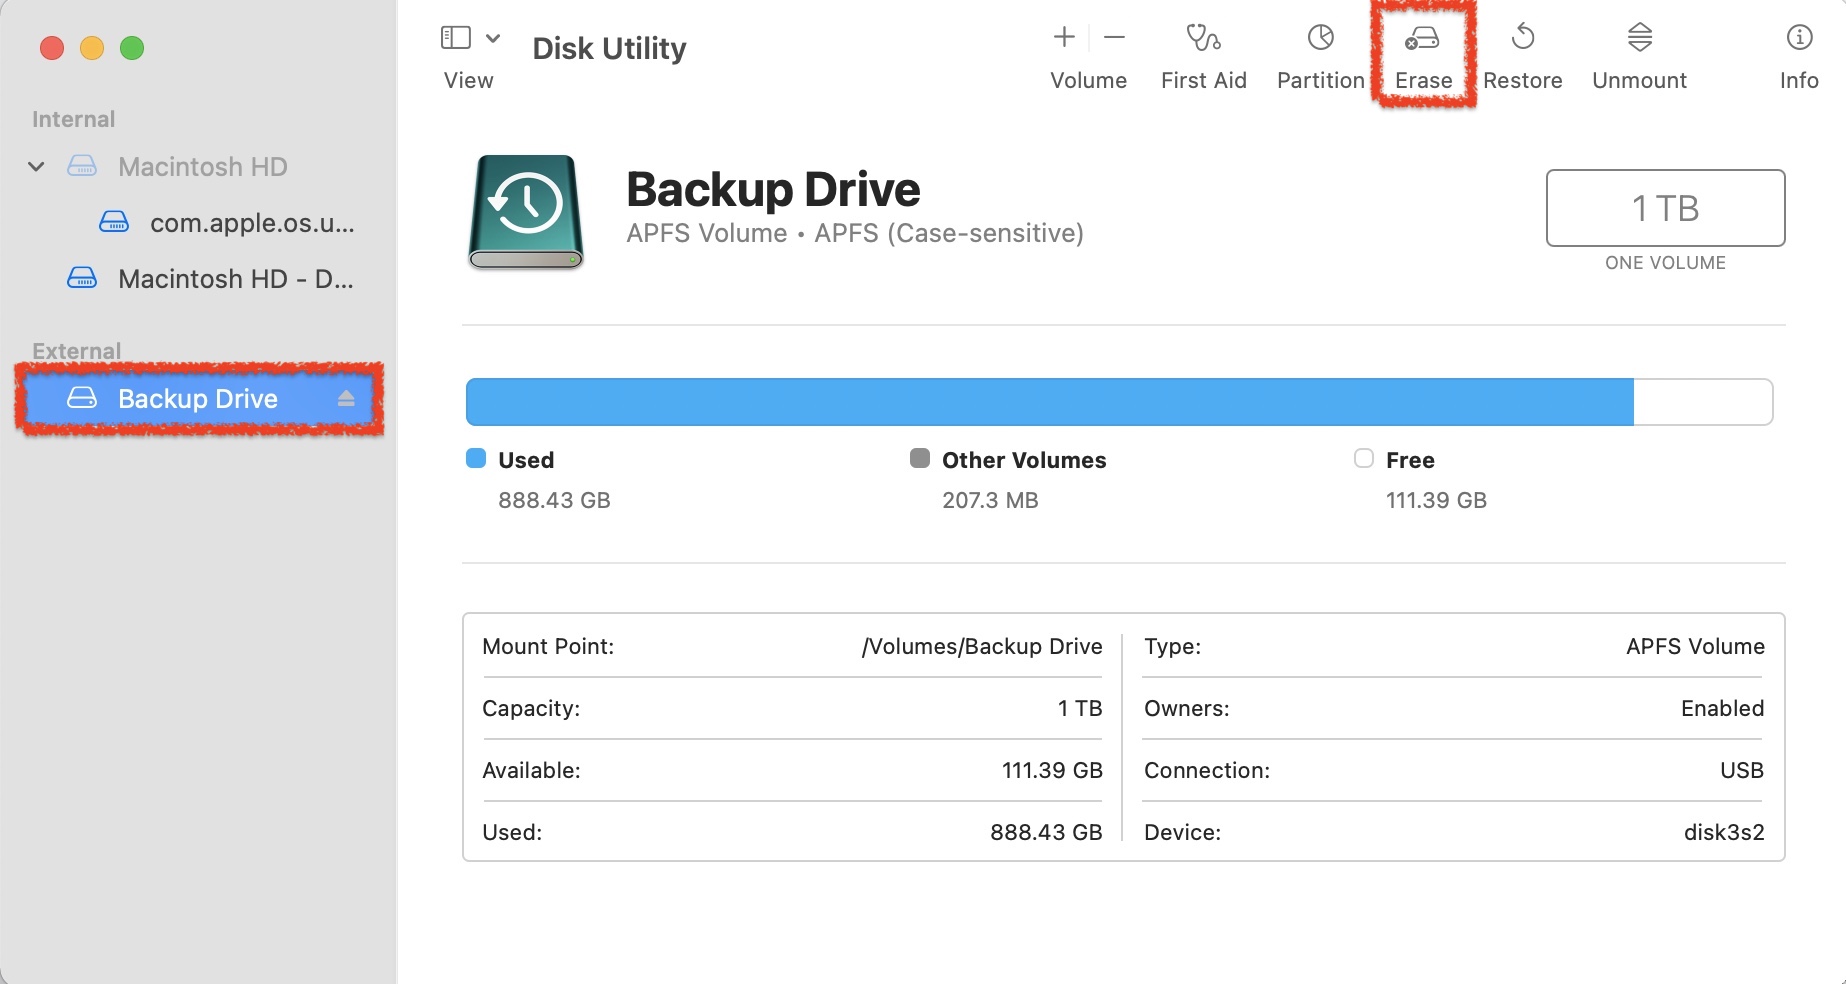
Step 1.Launch Disk Utility by going to the Applications folder and then the Utilities folder. Once inside the Utility folder, launch Disk Utility.
Step 2.Inside Disk Utility select your external hard drive from the list of devices on the left-hand side. Then, click on Erase.
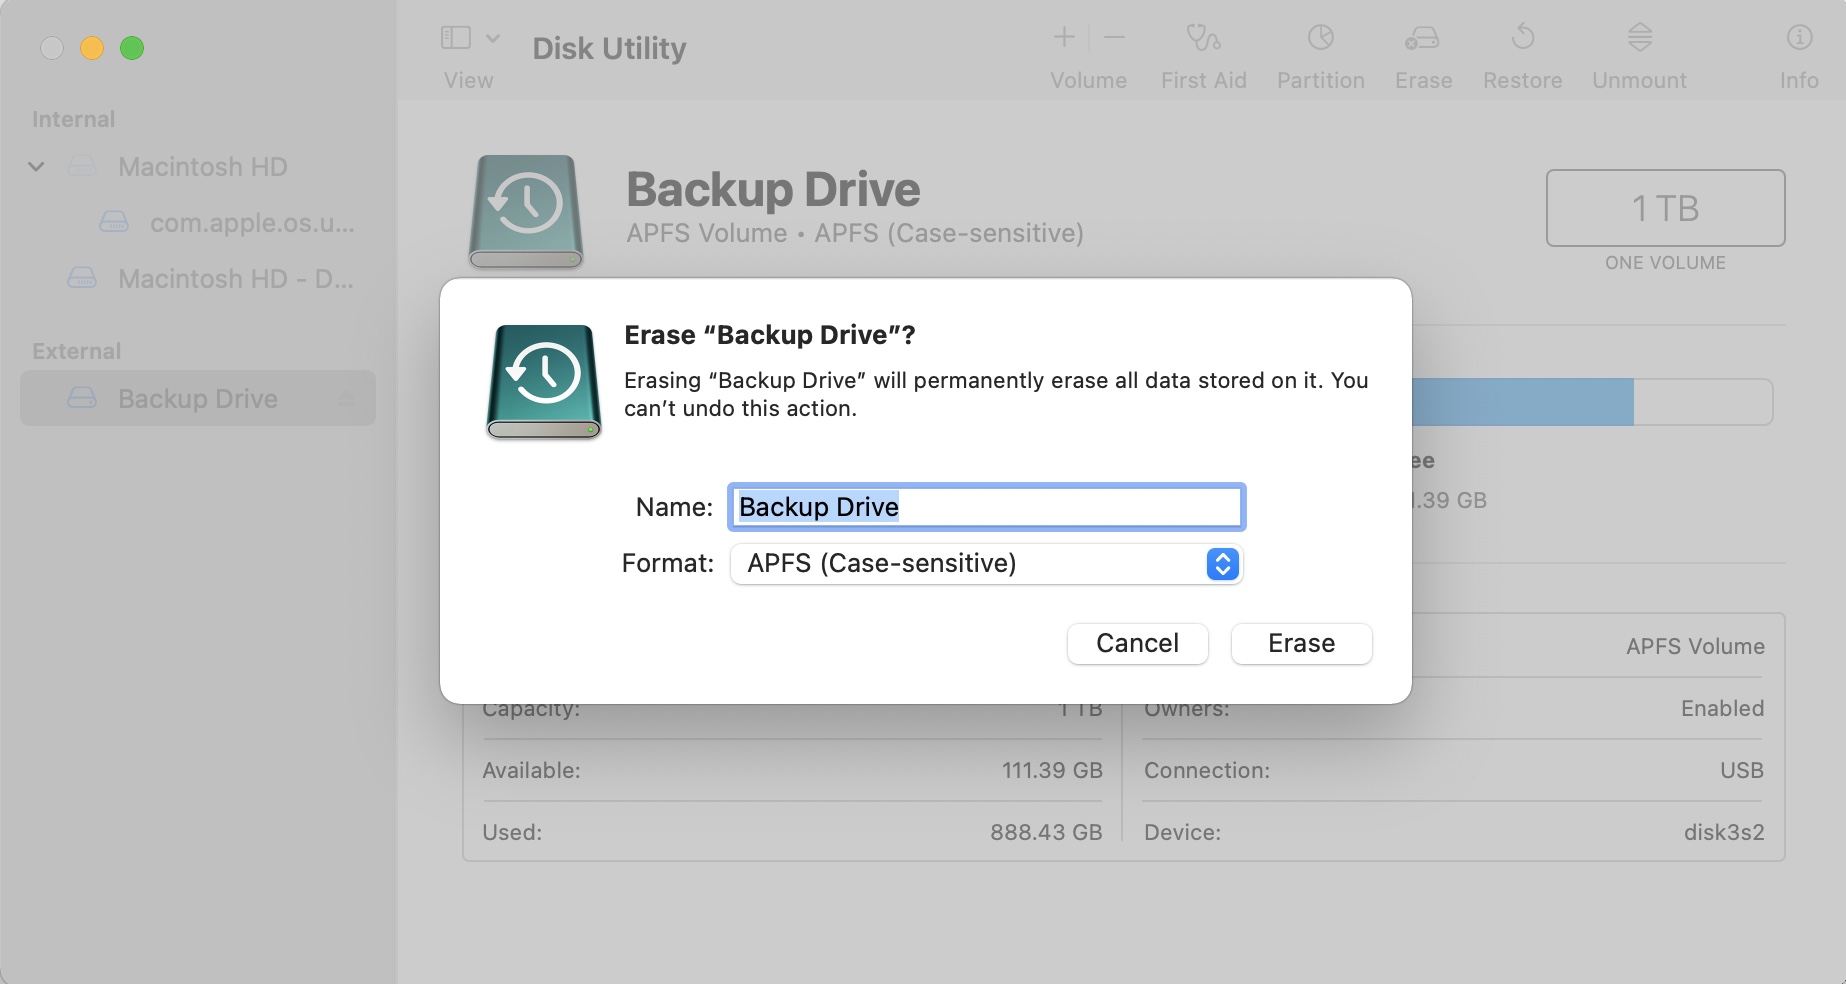
Step 3.Choose the format that you would like to format the external device to.
Hopefully your external device is now working and you can start over fresh!
Conclusion
Usually, the “disk is not readable” error can be fixed by simply following some general tips like using good cables, cleaning the ports, and confirming the drive isn’t physically damaged. You can then proceed to more complex fixes like resetting the NVRAM/PRAM, or SMC. If the issue still remains unresolved, using the First Aid utility, or formatting the drive are your only options. Both of them can cause data loss, so ensure you recover your data beforehand.
FAQ:
To format an unreadable external hard drive on macOS, follow these steps:
- Launch Disk Utility. You can find it in Finder > Go > Utilities.
- Select the external hard drive from the sidebar.
- Click on Erase.
- Choose the format parameters and click Erase.


