
You may have heard of a factory reset before. This sometimes can fix issues mostly relating to software when other troubleshooting steps haven’t been able to solve the problem.
In this article, I’m going to talk about what happens when you factory reset your Mac, whether your data is recoverable after it, and what ways you can attempt to recover the data.
Let’s first talk about what happens during a factory reset.
Table of Contents
What Happens When You Factory Reset a Mac?
Two things happen when you factory reset a Mac. The first is that the hard drive will be formatted and the second is that the original operating system will then be put back onto it.
Formatting the hard drive via a factory reset will erase all of the data on it such as your personal files, documents, music, and anything else that was stored on your computer.
However, in some circumstances even after a factory reset the data may still be recoverable.
Can You Restore Files on a Mac After a Factory Reset?
You can easily restore lost data from the backups, no matter what type of Mac you own. If you don’t have a backup in place, then you will have to use data recovery software which will only work in certain situations. The table below will help break down each scenario and the possibility of being able to restore data without a backup.
It’s important to know what type of processor and hard drive type your Mac has as that will determine which methods will work best for you.
To check your Mac hard drive type follow these instructions:
- Click on the Apple logo in the upper left-hand side of your Mac.
- Select About This Mac.
- Then click on More Info.
- Once within the new window that has appeared, scroll down and click on System Report.
- Scroll down and click on Storage.
- Click on your main hard drive, the default name is Macintosh HD.
- Once that’s selected, scroll down and look for Medium Type. For example, mine says SSD.
SSD would be the type of hard drive that you have in your Mac. The other type that you could have would be an HDD.
Now, let’s look at how to figure out which processor your Mac has.
- Click on the Apple Logo in the upper left-hand corner as was explained in the steps above.
- Select About this Mac.
- Here, you can view the processor type. If it says “Intel” in the name then you have an Intel processor. An example would be “2.6 GHz 6-Core Intel Core i7”. If you see “Apple” and then the name of a processor then you have an Apple Silicon chip. An example would be “Apple M1 Max”.
Let’s take a look at the different Mac processors and hard drive types to determine if you can recover the data on it after a factory reset.
| Mac Processor and Hard Drive Type | Chance of Recovery |
| Apple Silicon Mac | The data can not be recovered unless there was a backup in place. This is due to the T2 security chip installed within the Mac. |
| Intel Mac with an SSD | The data is not recoverable due to the TRIM feature that SSDs operate with. A backup must have been in place. |
| Intel Mac with an HDD | High chance of being able to recover your data without a backup due to the hard drive being Quick Formatted if on macOS Monterey or later. |
Let’s walk through all of the ways that you can recover the data on a Mac after a factory reset.
How to Recover Data on Your Mac After a Factory Reset
There are multiple ways that you can attempt to recover data on our Mac after it has been factory reset. Two of these methods will have required you to have a backup in place while only one will not.
Data recovery software will be best for intel-based Macs that have an HDD. Let’s start talking more about how to recover data from those machines.
Method 1: How to Recover Data on Your Mac Using Data Recovery Software (Intel HDD Only)
Disk Drill is a data recovery tool that is able to scan a Mac and find recoverable data on it. The steppe will walk through how to restore data in Recovery Mode after a factory reset as setting up a Mac and using it will accumulate new files that could overwrite the data you’re trying to recover.
Let’s walk through the steps of getting Disk Drill to run in Recovery Mode.
- Power down your Mac by pressing and holding the power button.
- Next, you need to boot Mac into Recovery Mode. Press and release the power button then immediately press and hold these two keys until you see an Apple logo or other image: Command (⌘) and R.
- You now need to launch the Terminal to download and launch Disk Drill. Once within Recovery Mode, click on Utilities and then select Terminal.
- Type this line of text into the Terminal window to download and launch Disk Drill from within Recovery Mode
sh <(curl http://www.cleverfiles.com/bootmode/boot.xml)
- Press Return on your keyboard after you’ve typed in the command.
- Wait for Disk Drill to download and then launch, this might take a moment.
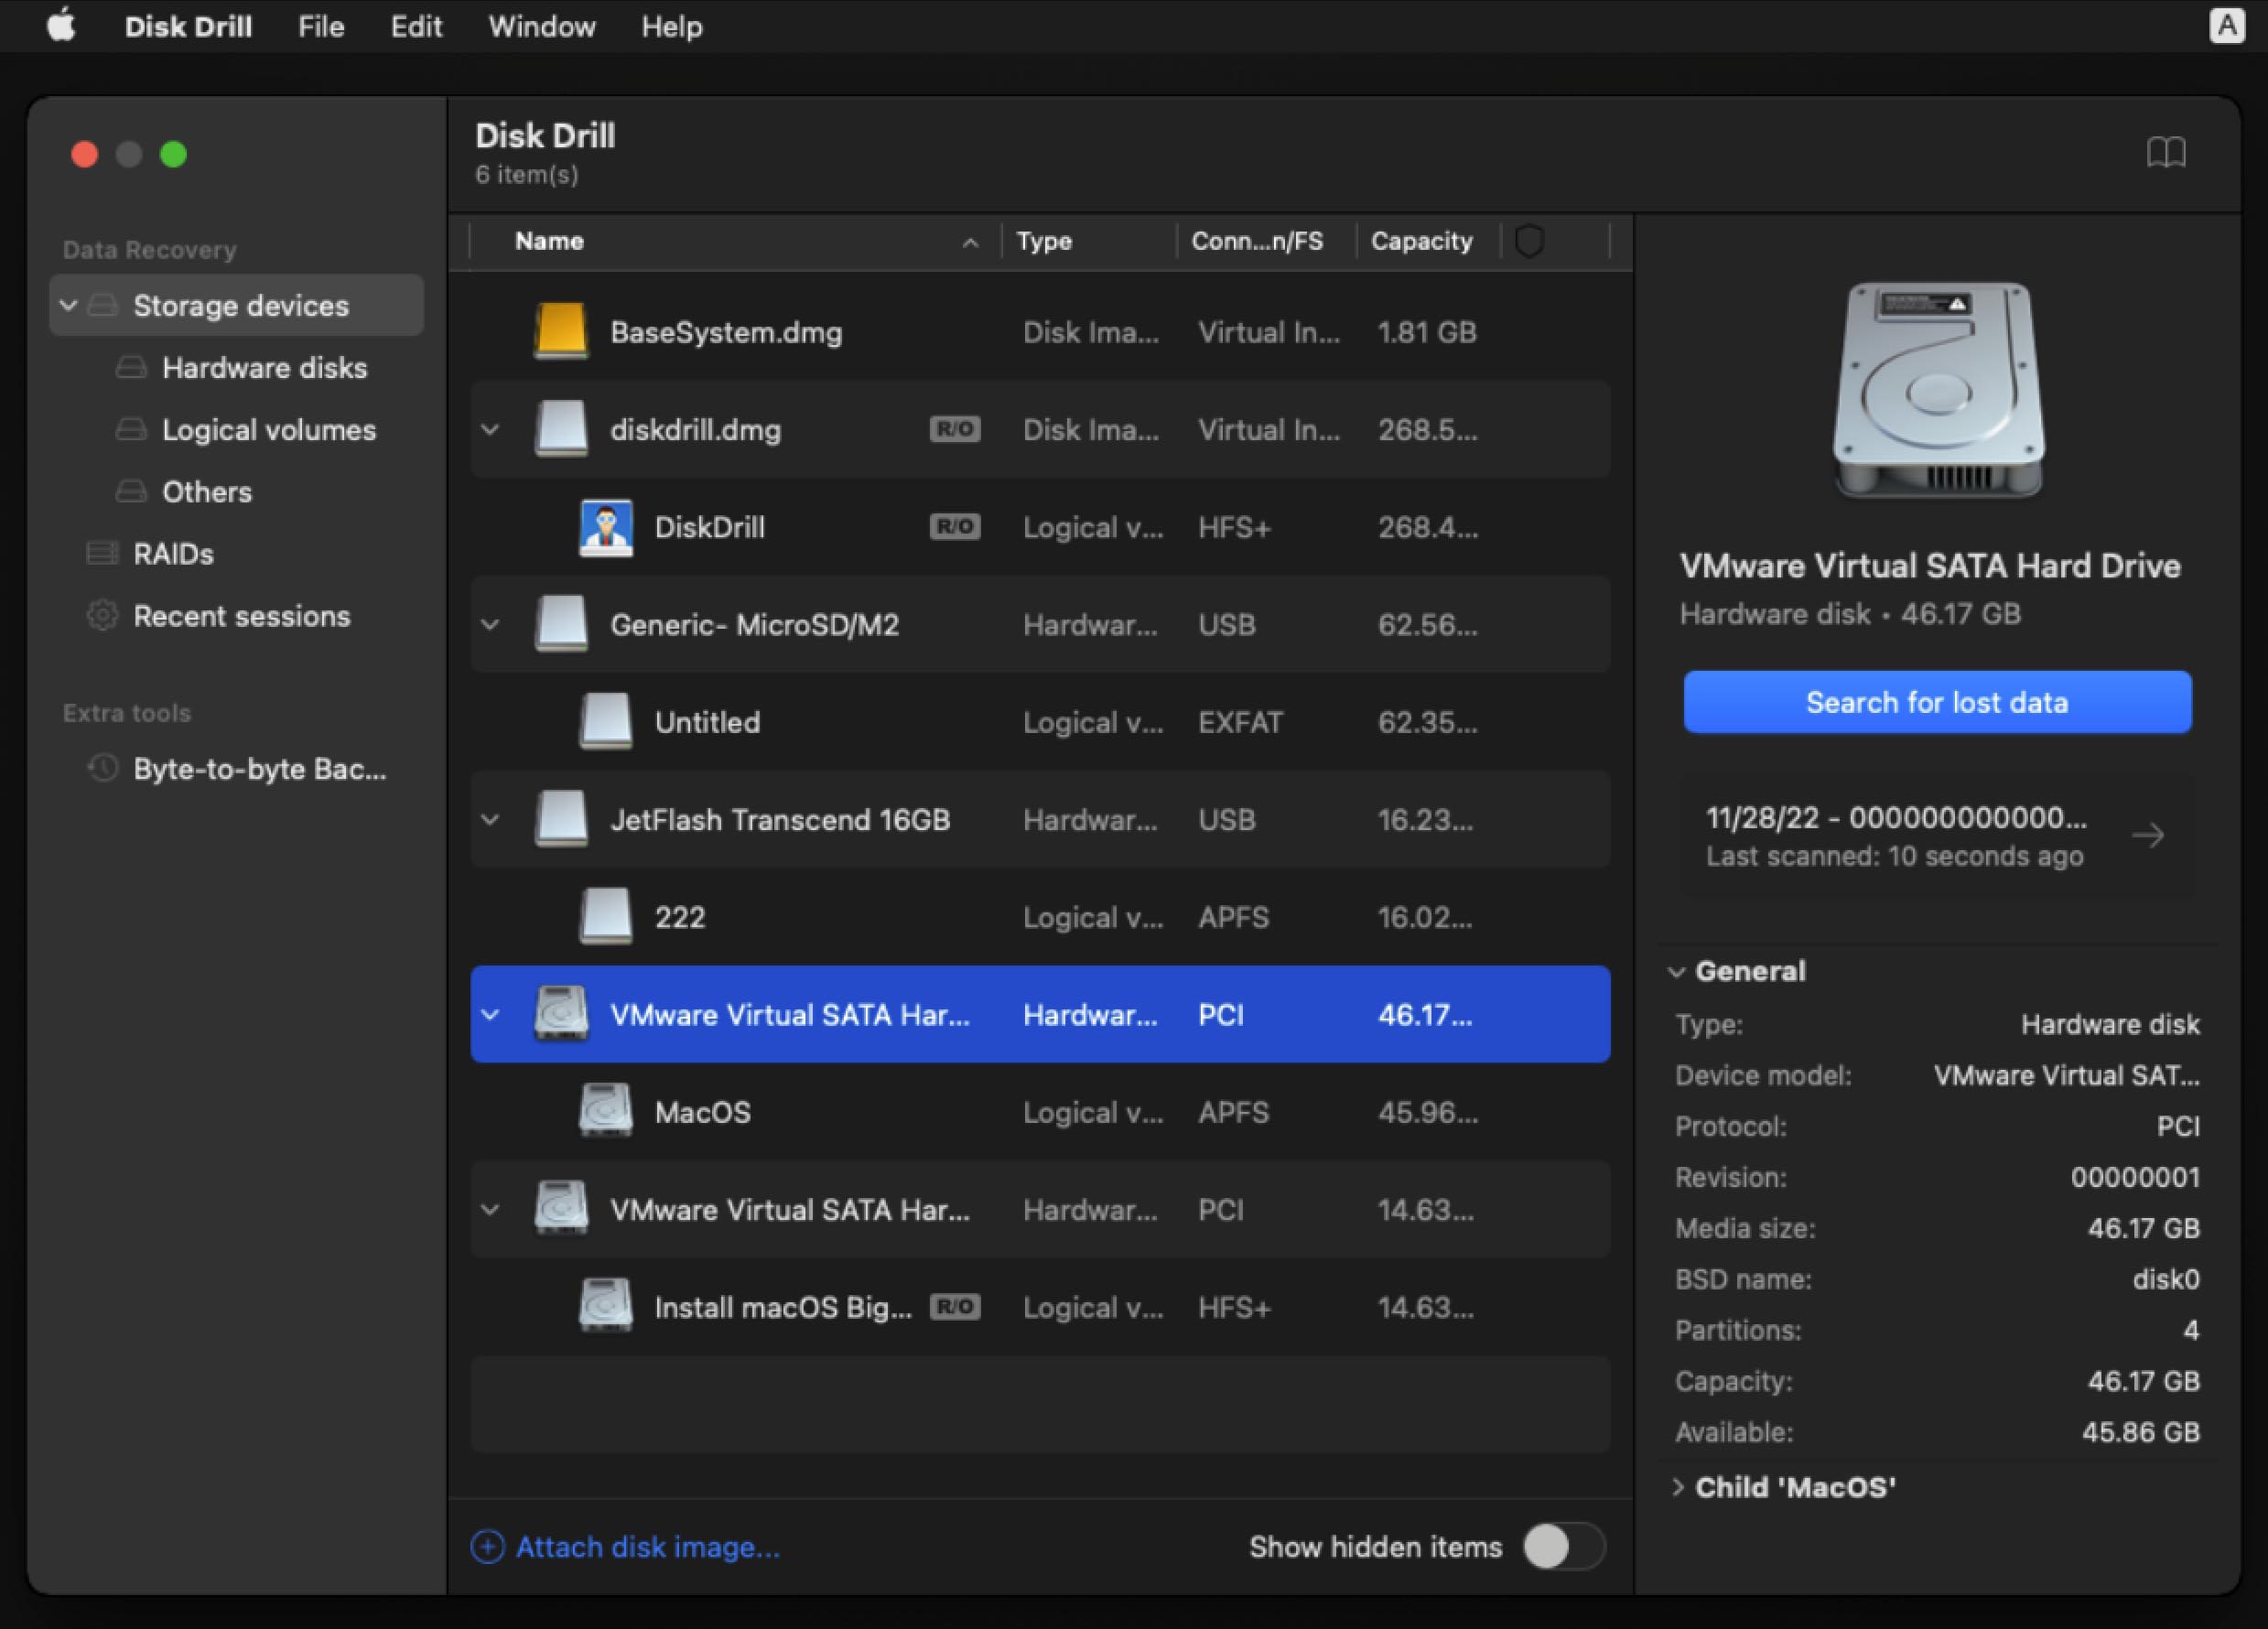
- Below Data Recovery select Storage devices and choose the disk that you would like to scan for lost data. Once you have found the disk, click Search for lost data.
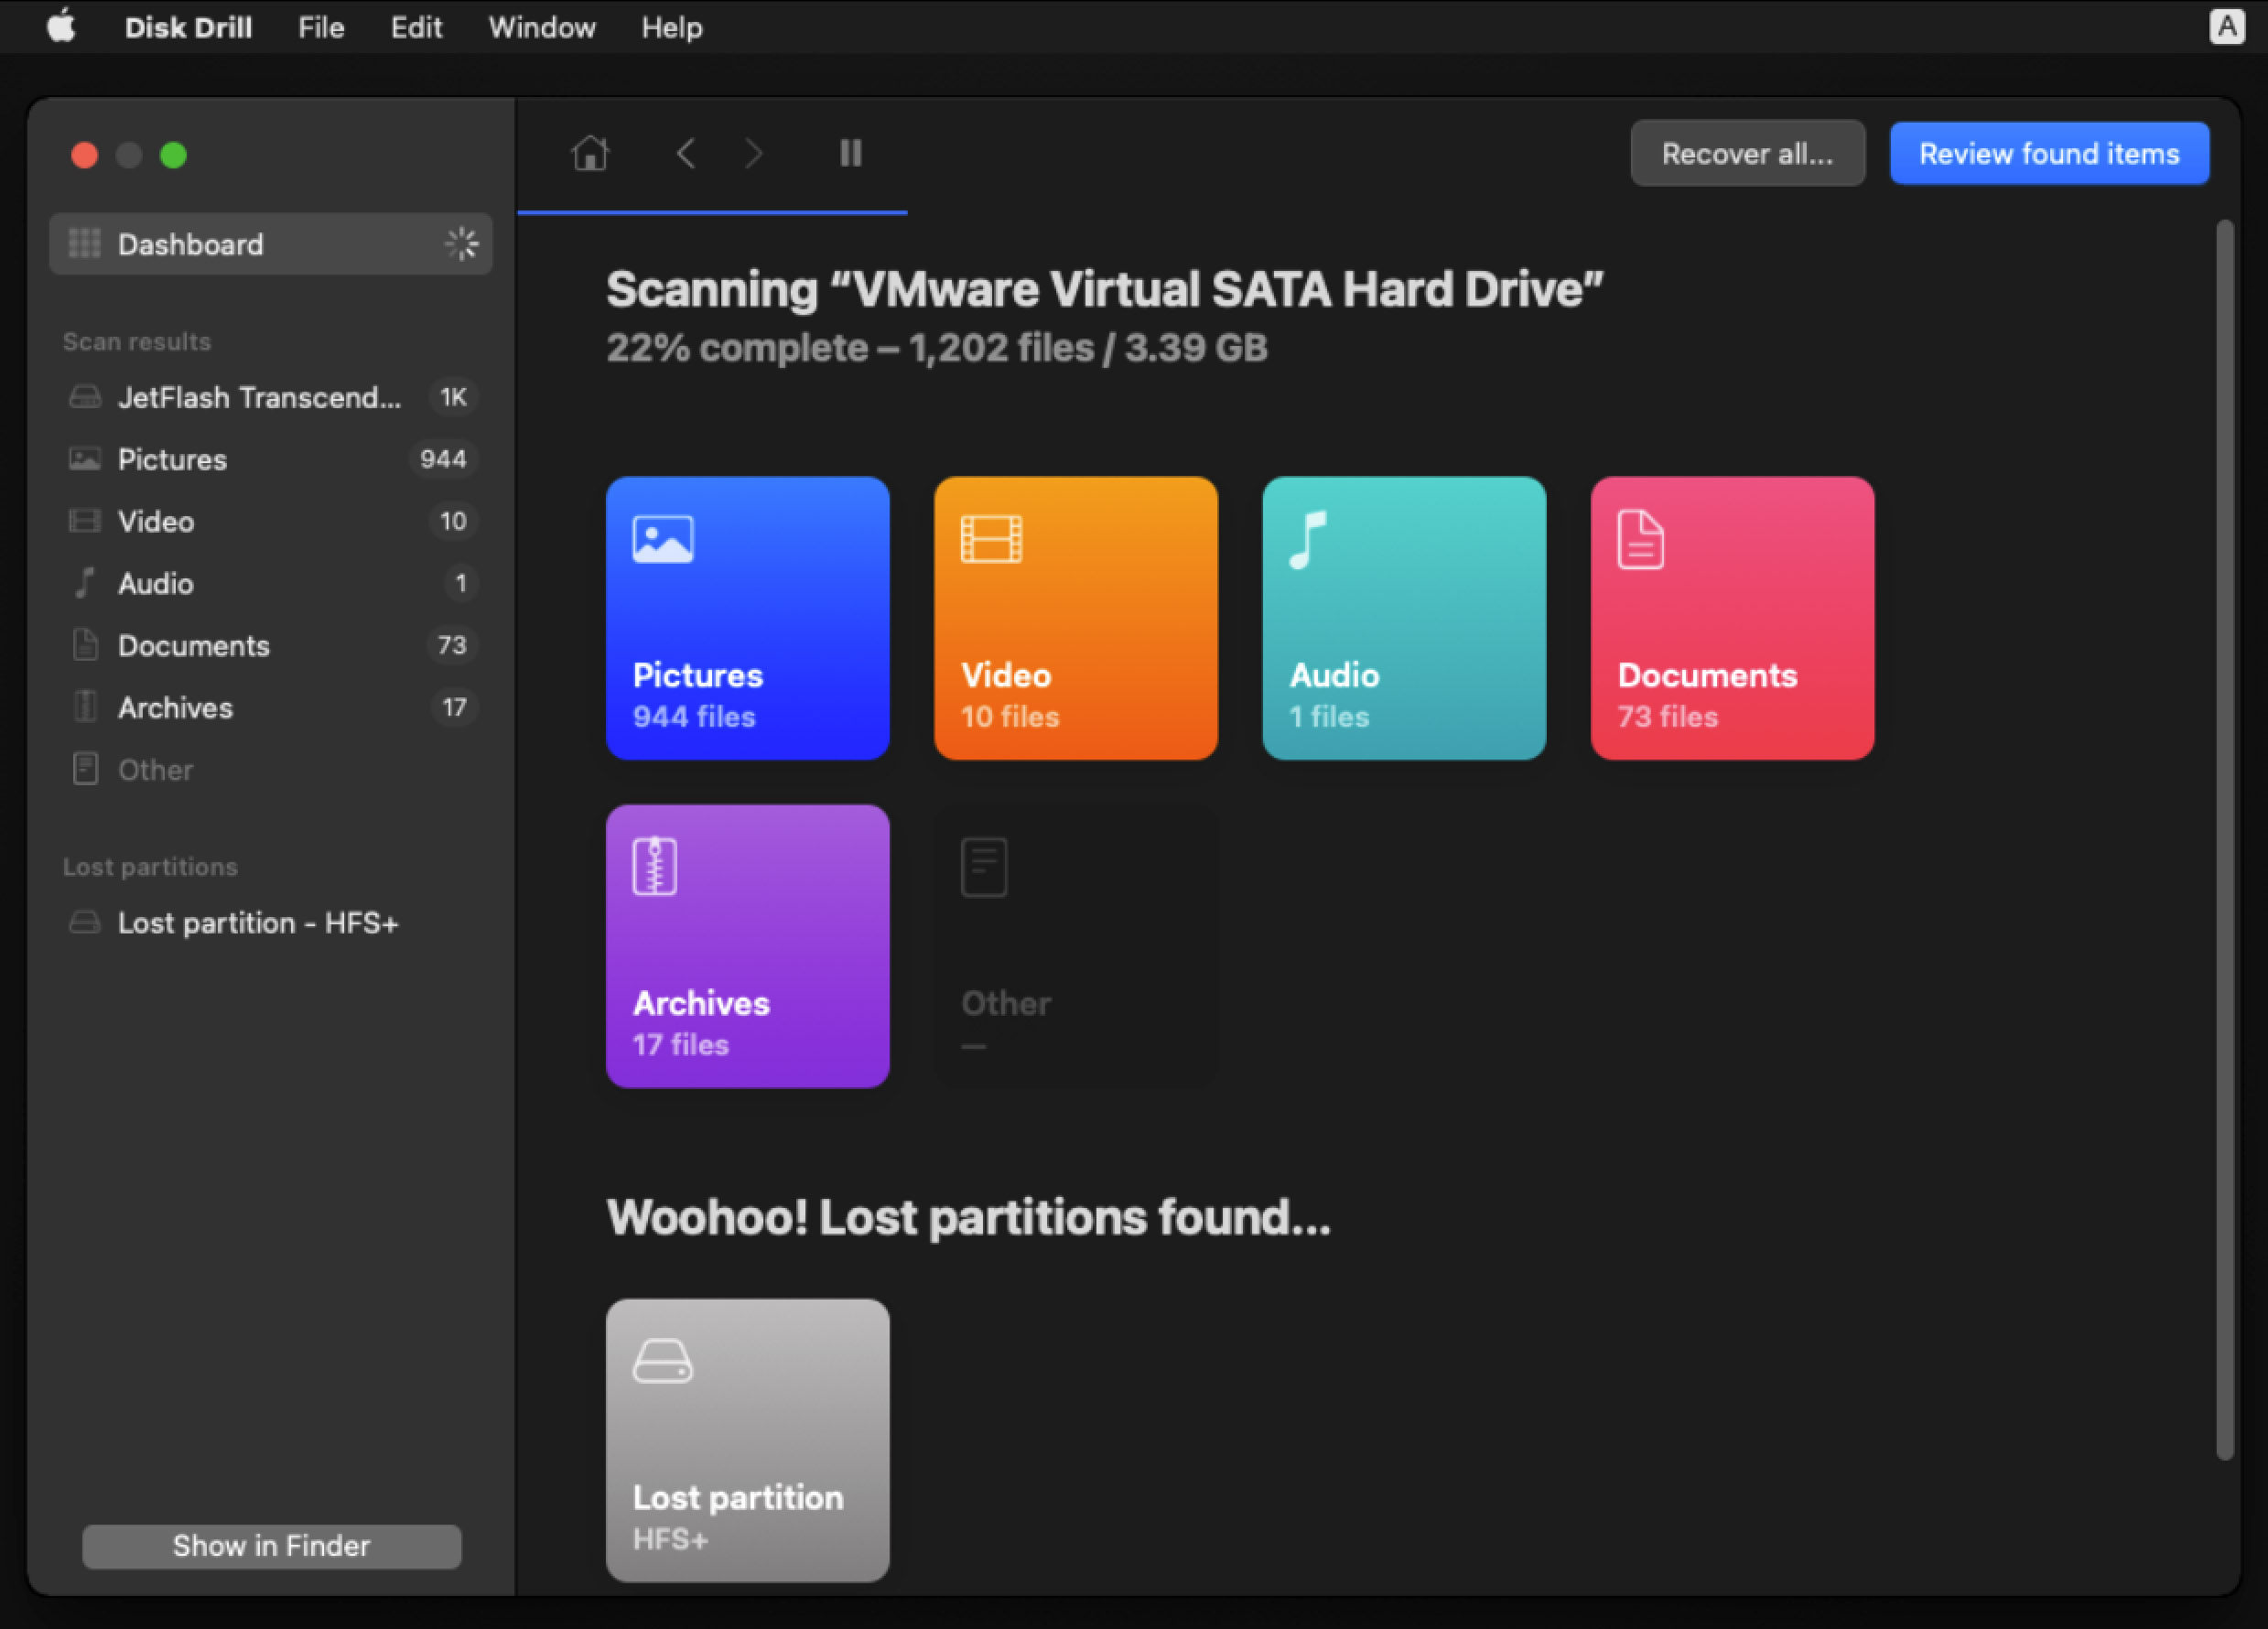
- Wait for the scan to complete.
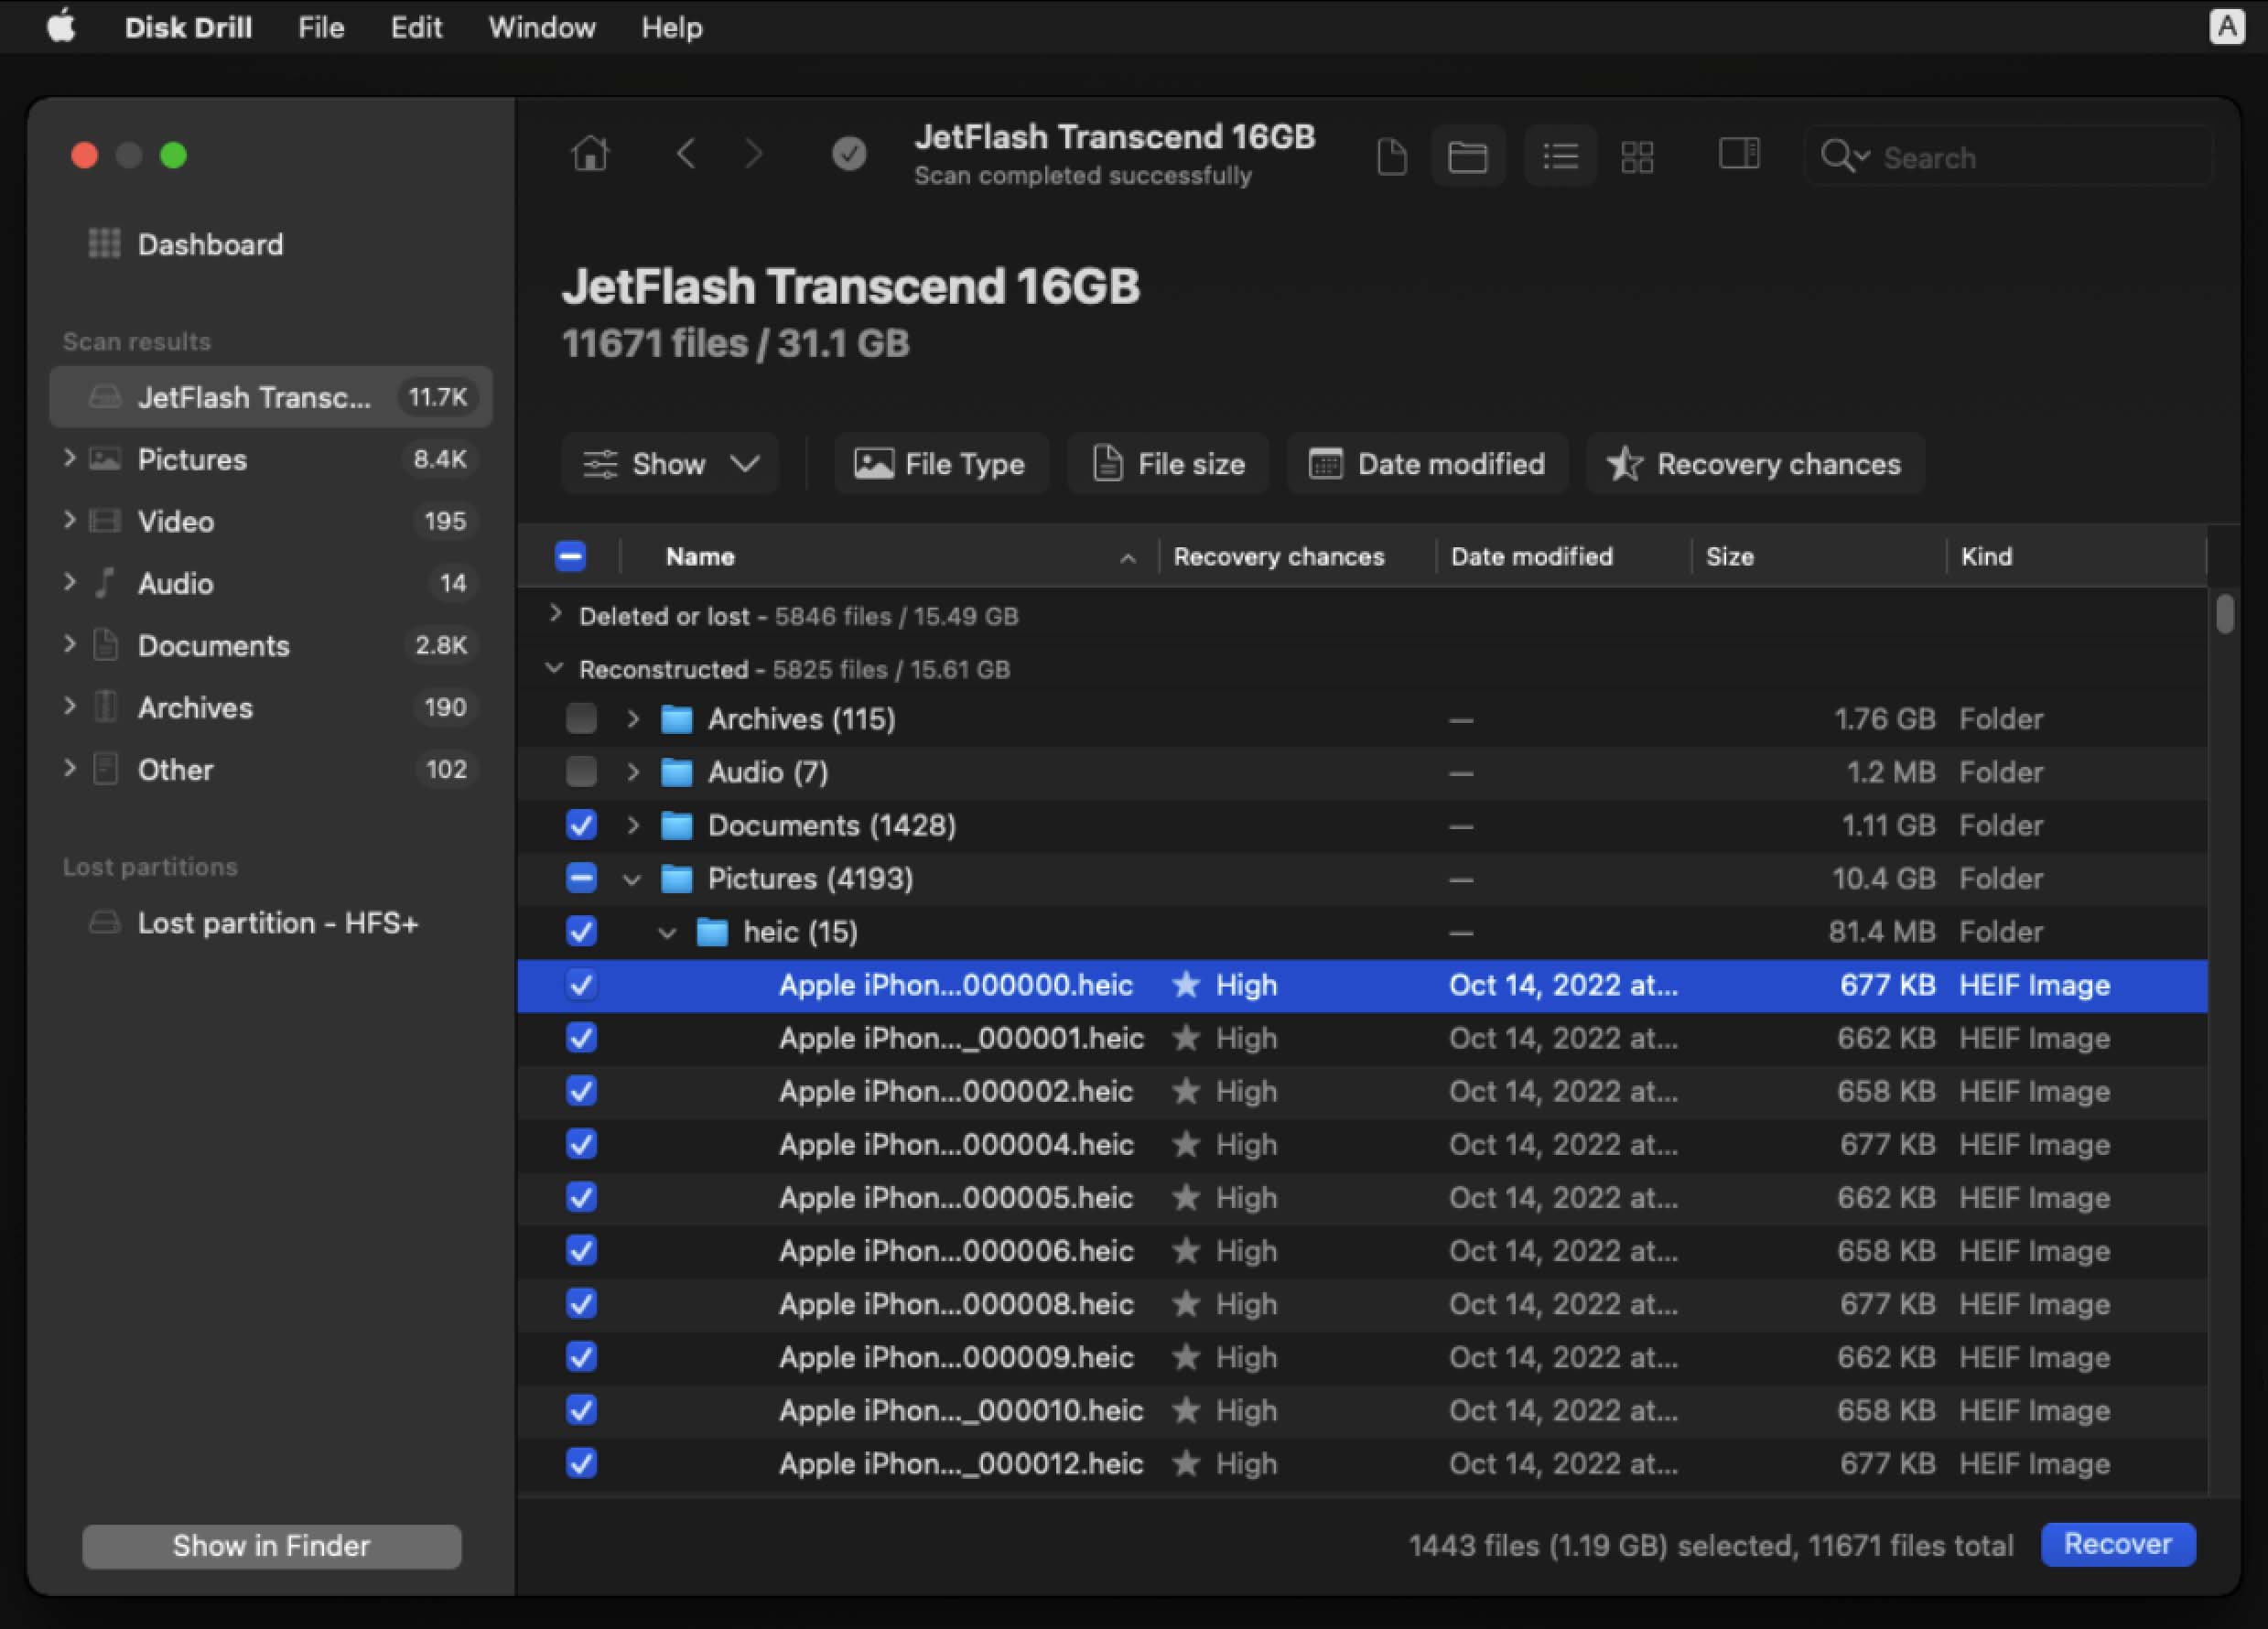
- Review the results and select the data that you would like to recover. You can use the Search box in the upper right-hand corner to look for a file by name if you would like to.
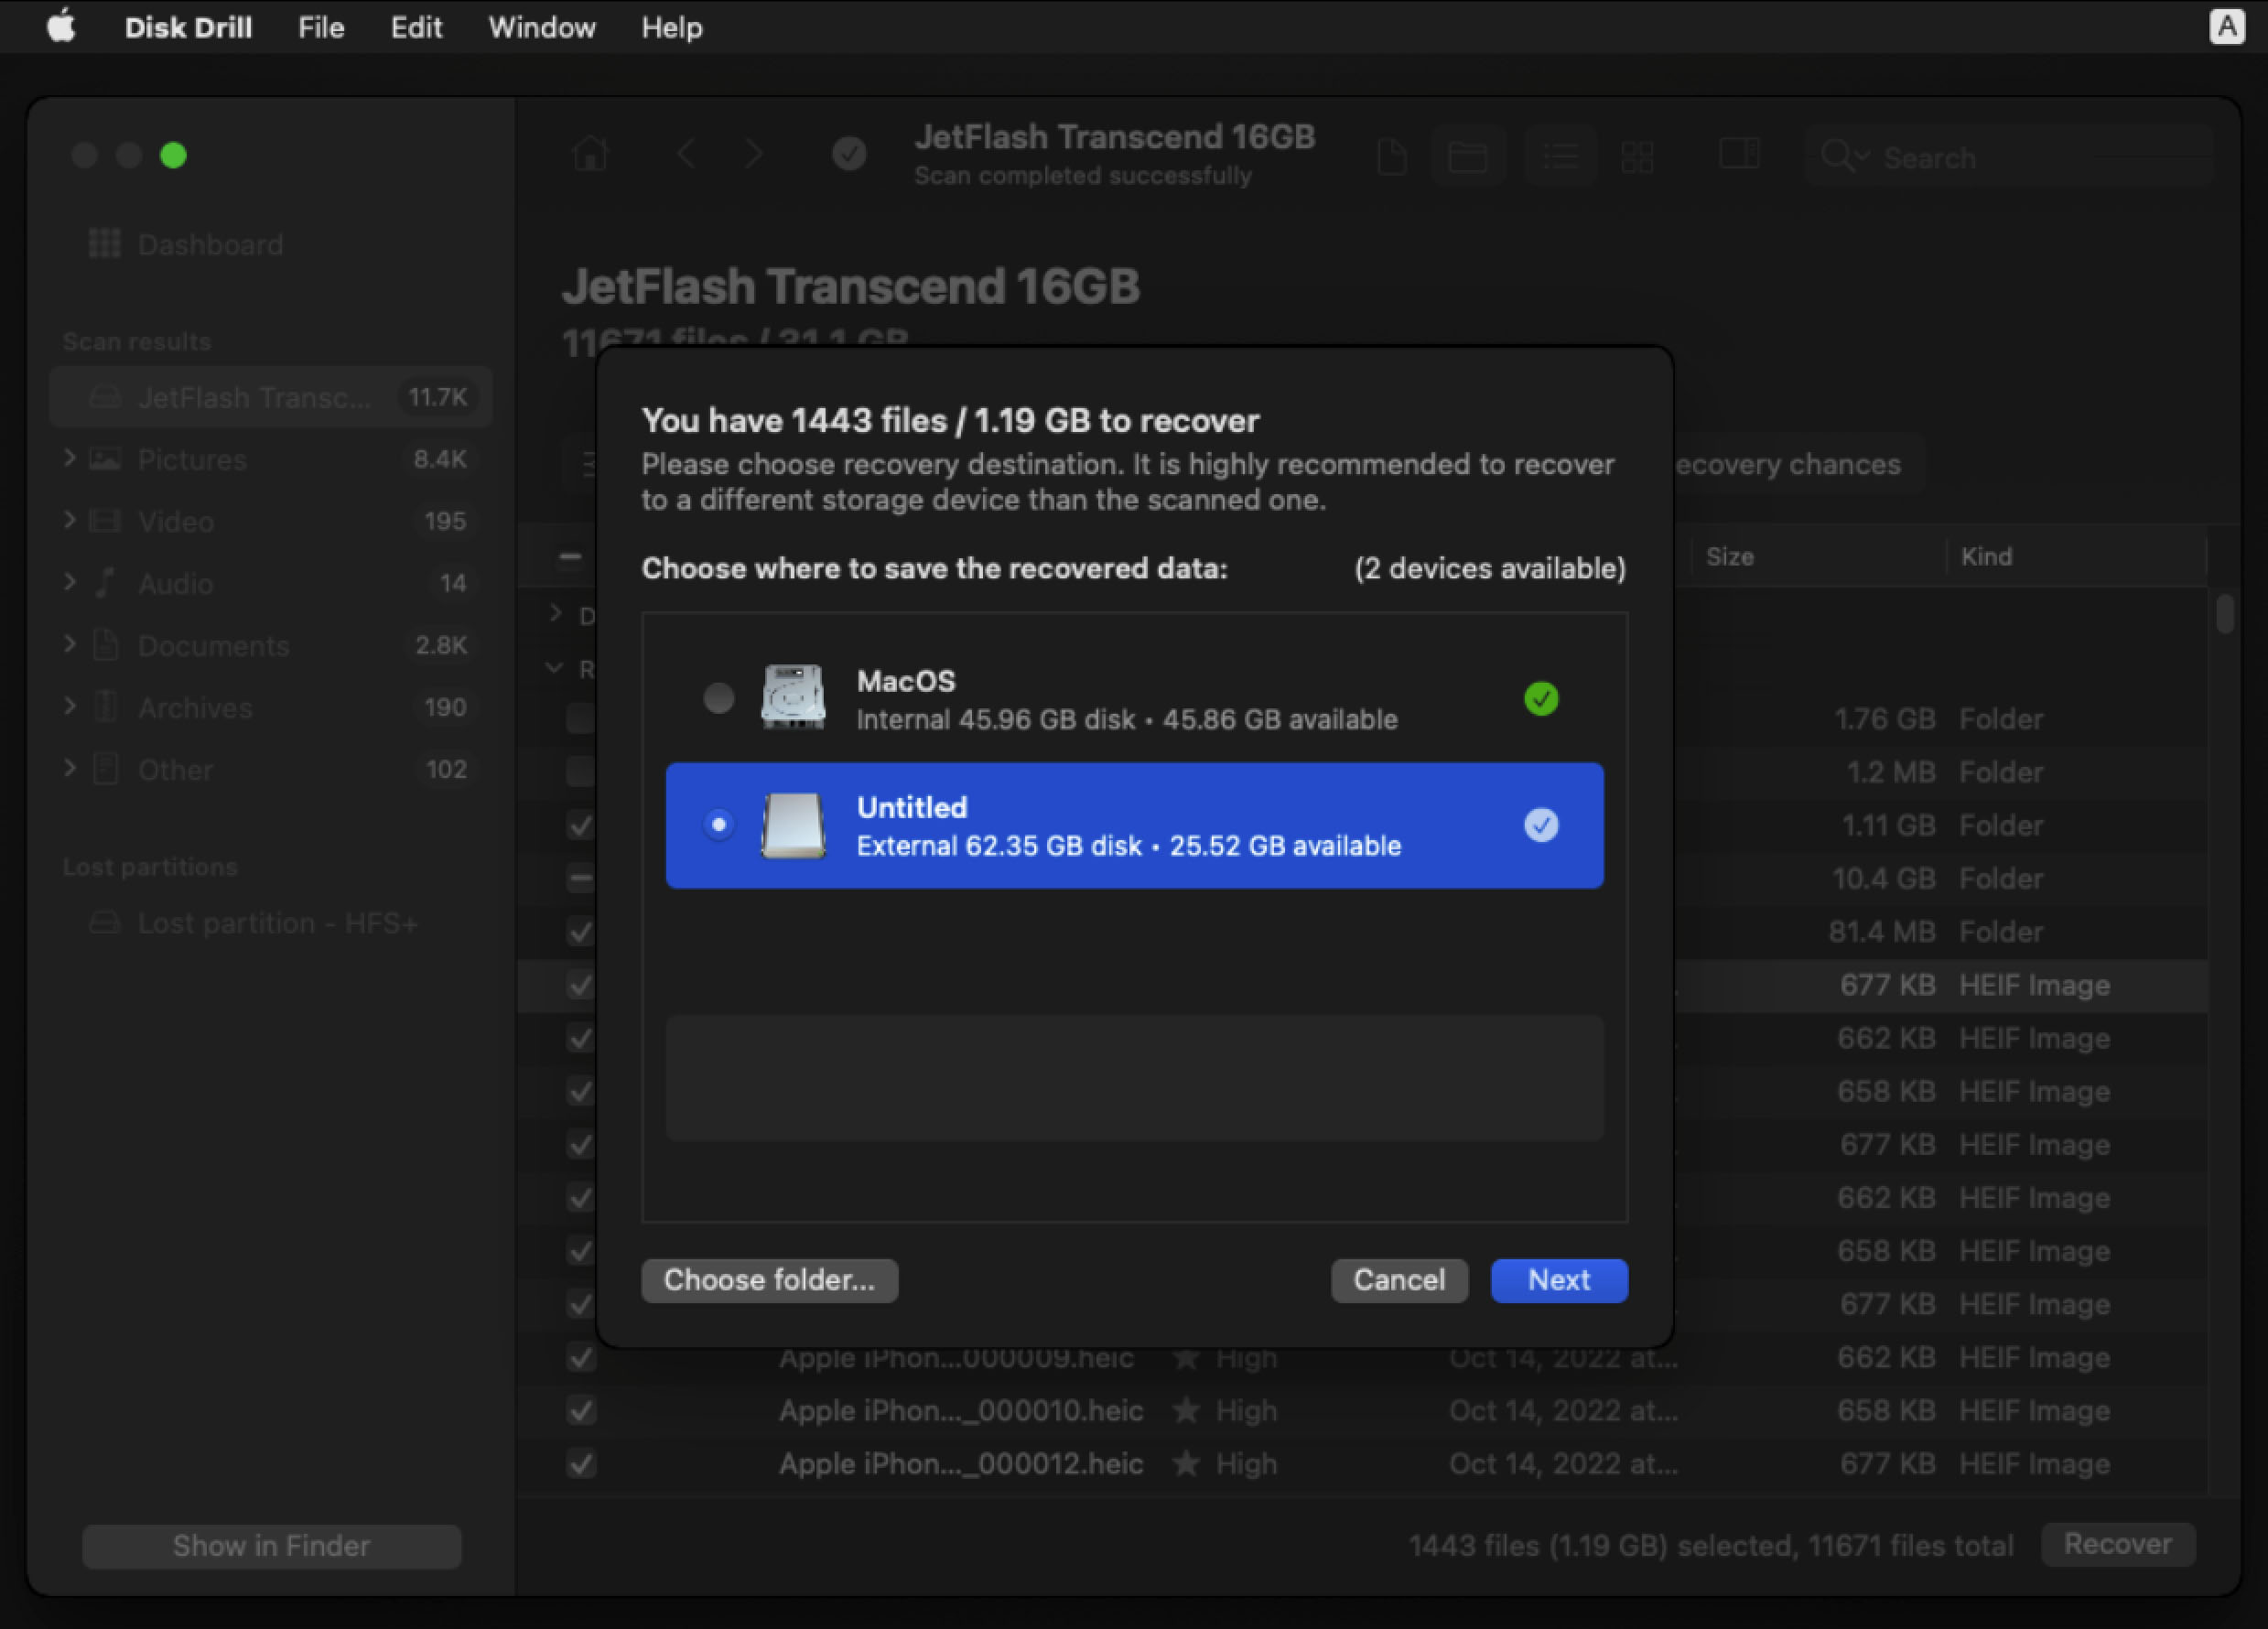
- Choose the destination you would like to recover the data to.
- That’s it! You will now receive a “Data recovery complete” message.

Method 2: Recovering Data From a Time Machine Backup (Apple Silicon and Intel Mac)
Time Machine is a free backup tool that comes installed as part of macOS. If a Mac has been backed up with Time Machine, the data can be recovered and put back onto the Mac.
- Plug the external hard drive that you use as your Time Machine backup disk into your Mac.
- Power your Mac on and launch into Recovery Mode. Please follow the directions below depending on which processor you have in your Mac.
- Apple silicon (newer Macs, these are usually older than 2 years): Press the power button on your Mac and then continue to hold it down until you see the startup options window appear. Click the gear icon labeled Options, then click Continue and this will bring you into Recovery Mode.
- Intel Mac (older Macs, these are usually greater than 2 years old): Press and release the power button then immediately press and hold these two keys until you see an Apple logo or other image: Command (⌘) and R. I usually hold these keys for a little bit of time to get into Recovery Mode or else your Mac will attempt to boot normally.
- Now that you’re in Recovery Mode, you will want to choose Restore from Time Machine. This will be the first option on the list.
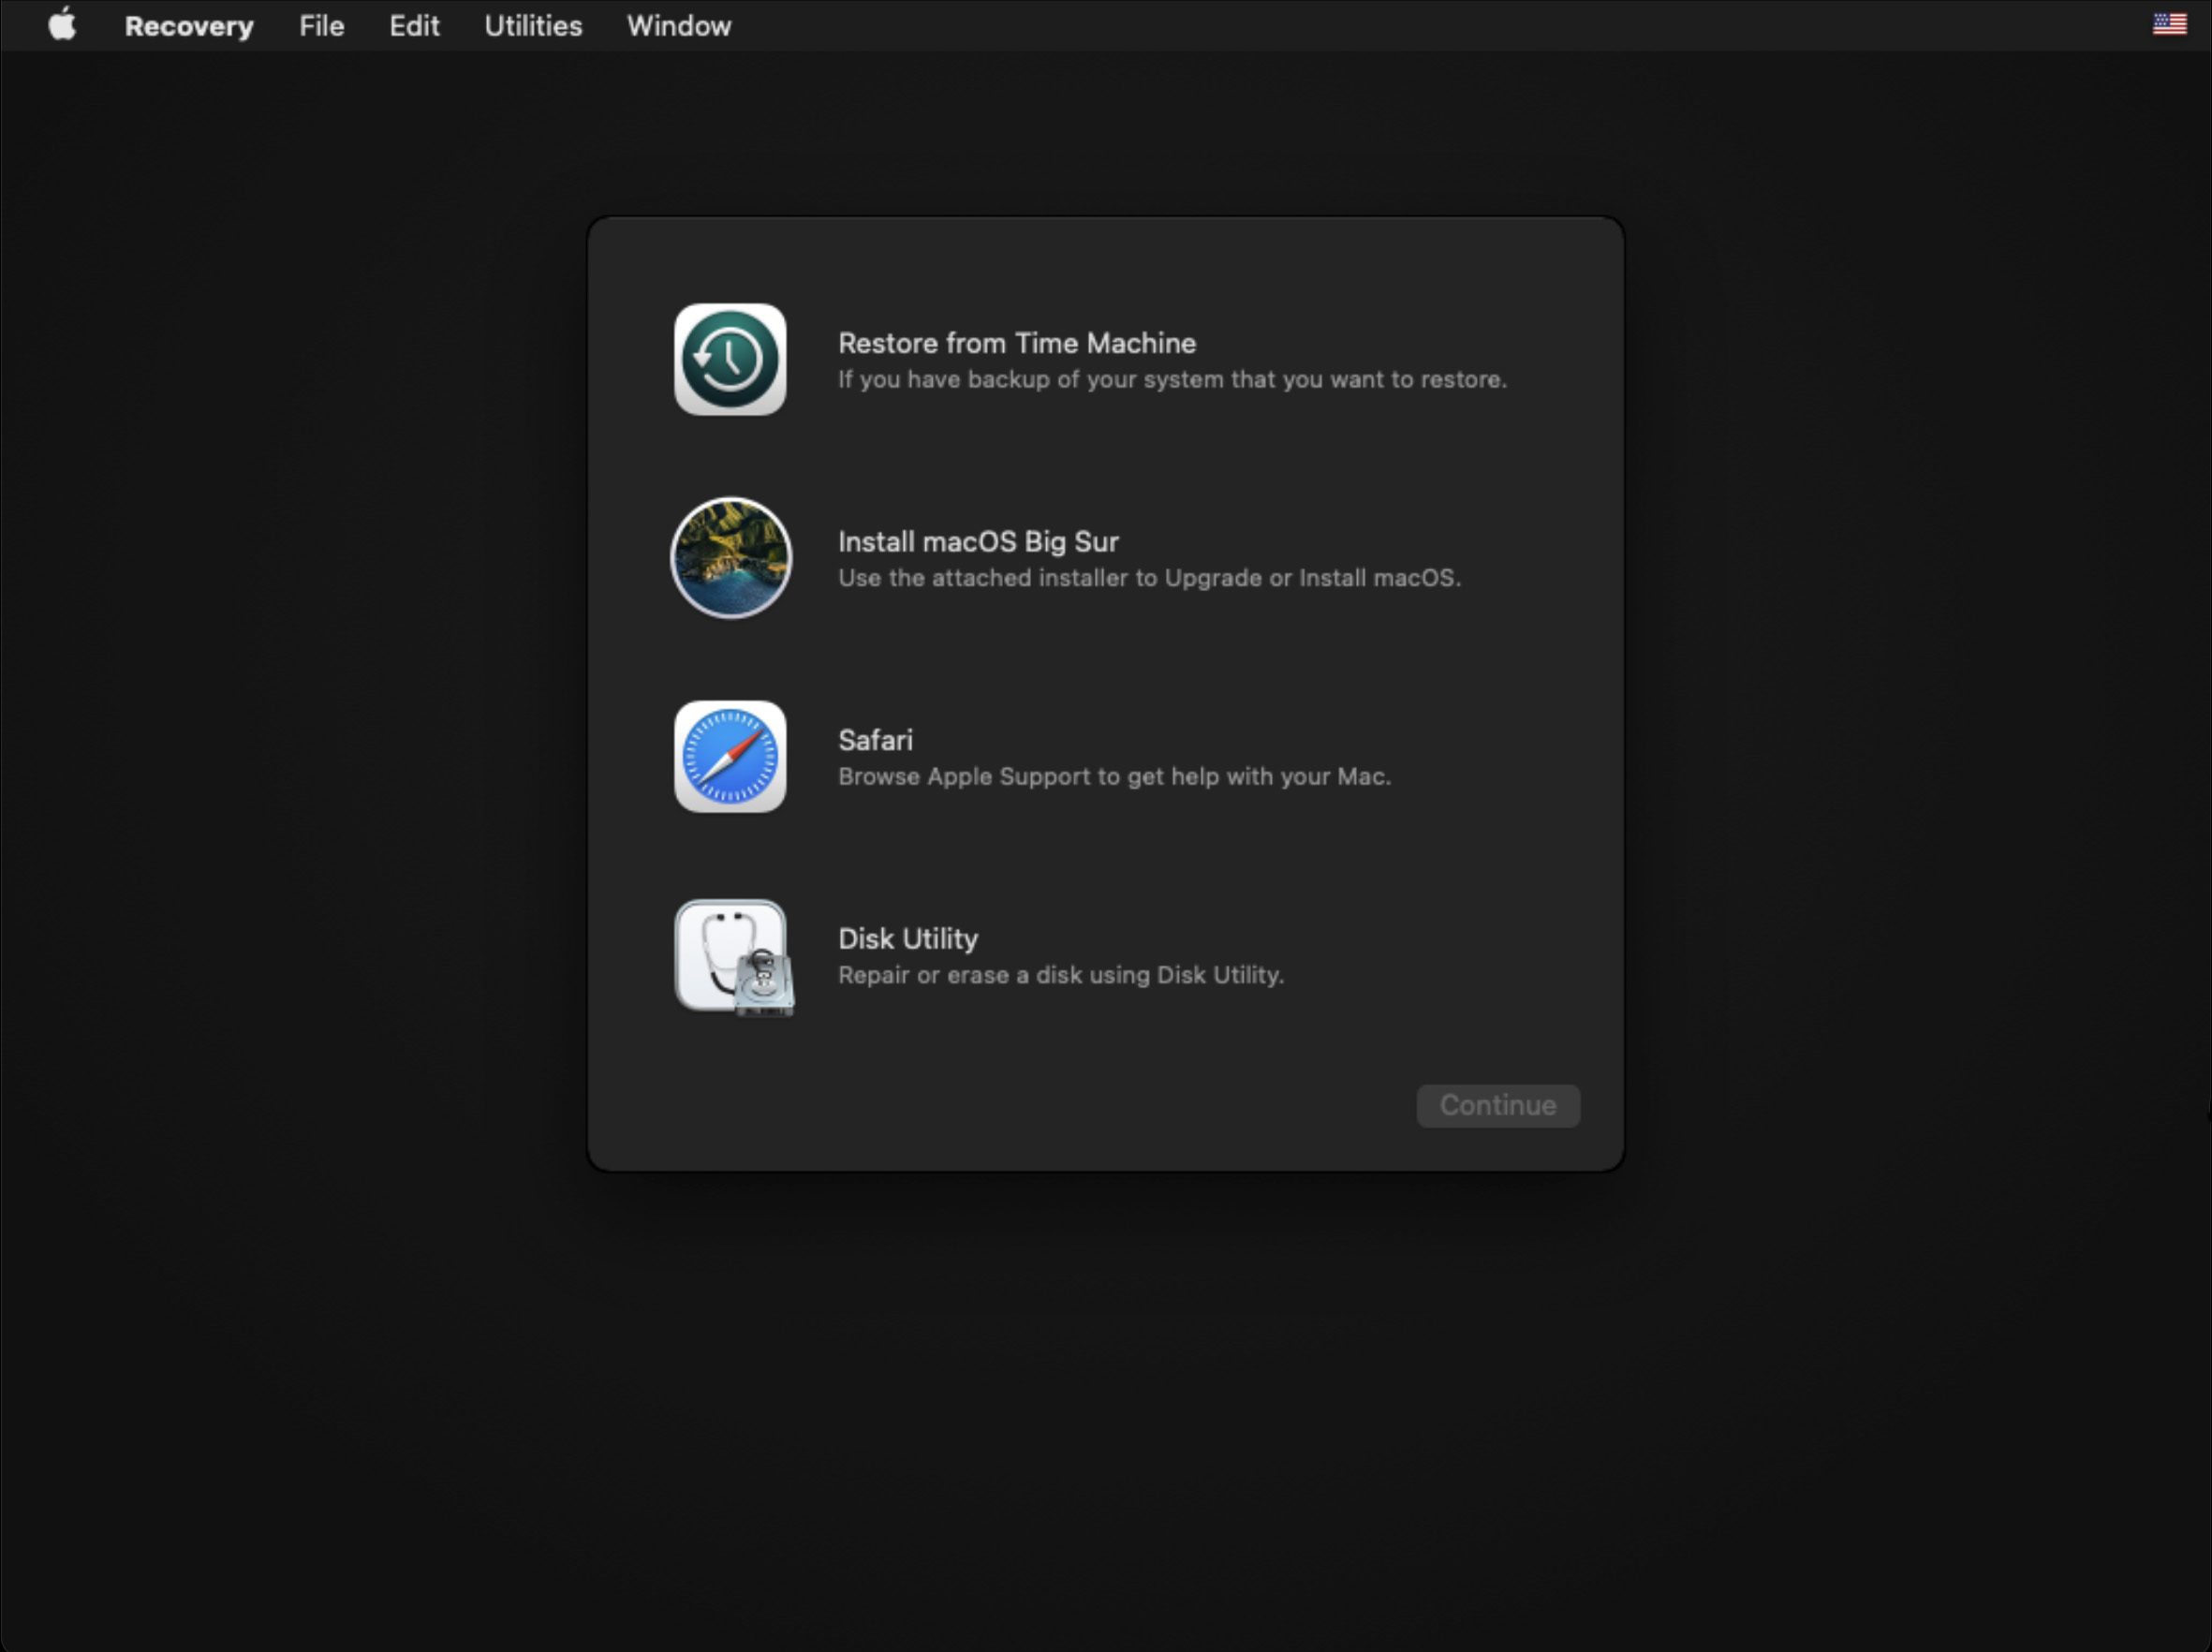
- Select your backup and wait for the restore to complete.
Time Machine will restore everything on your Mac. If you haven’t been using Time Machine, iCloud may have been able to save some of your files.
Method 3: How to Recover Your Data Using iCloud (Apple Silicon and Intel Mac)
iCloud stores files from your Mac in the cloud. You want to turn iCloud on to allow your data to sync. If you haven’t been using iCloud, this feature won’t recover any data after a factory reset. I would say it’s worth turning it on as something the service can be turned on without the user knowing that they set it up.
iCloud will not recover everything on your Mac like Time Machine will, but it can recover the files that are on a Desktop, within the Documents folder, and from any other supported apps.
- Once your Mac is set up, launch System Settings.

- Sign into your Apple ID if you haven’t already.
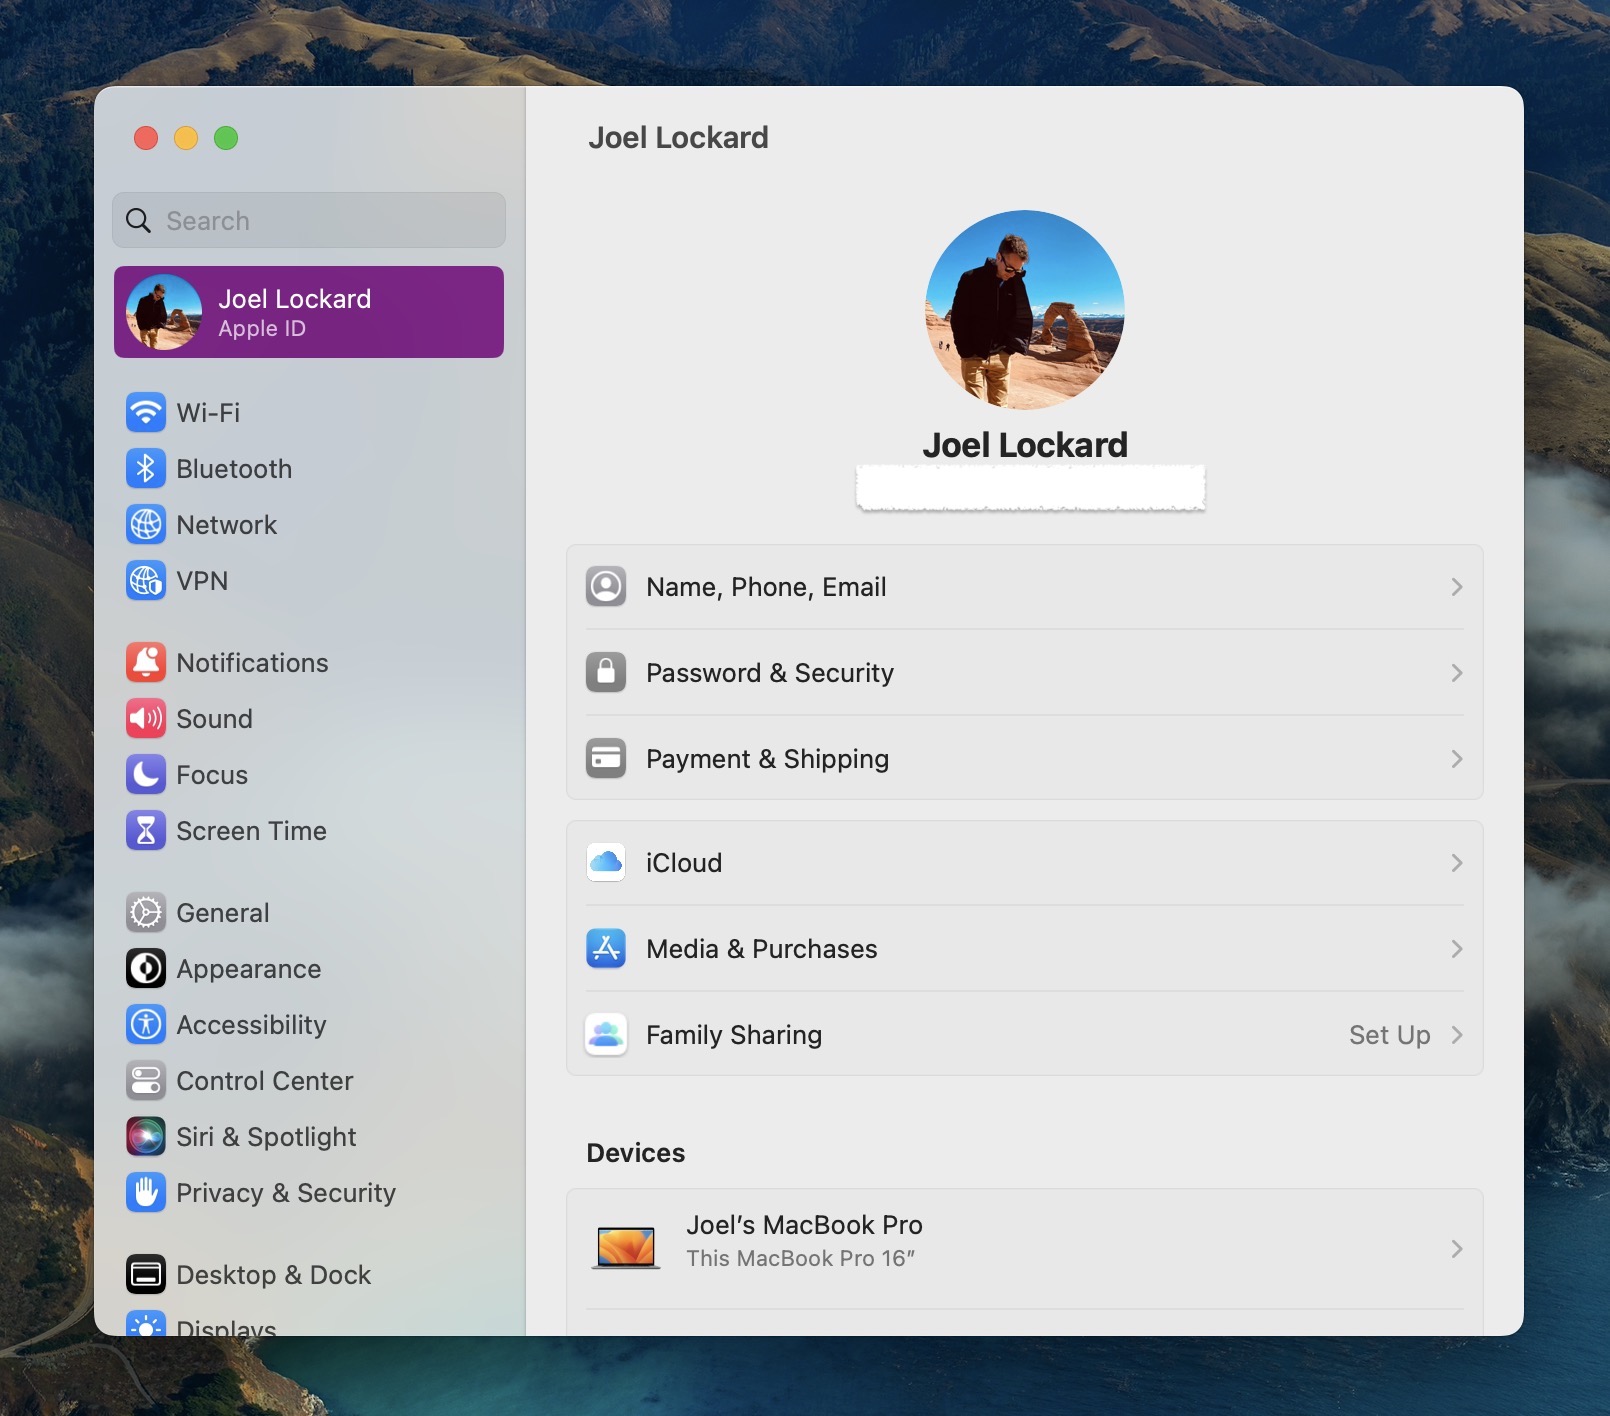
- Then, click on iCloud.
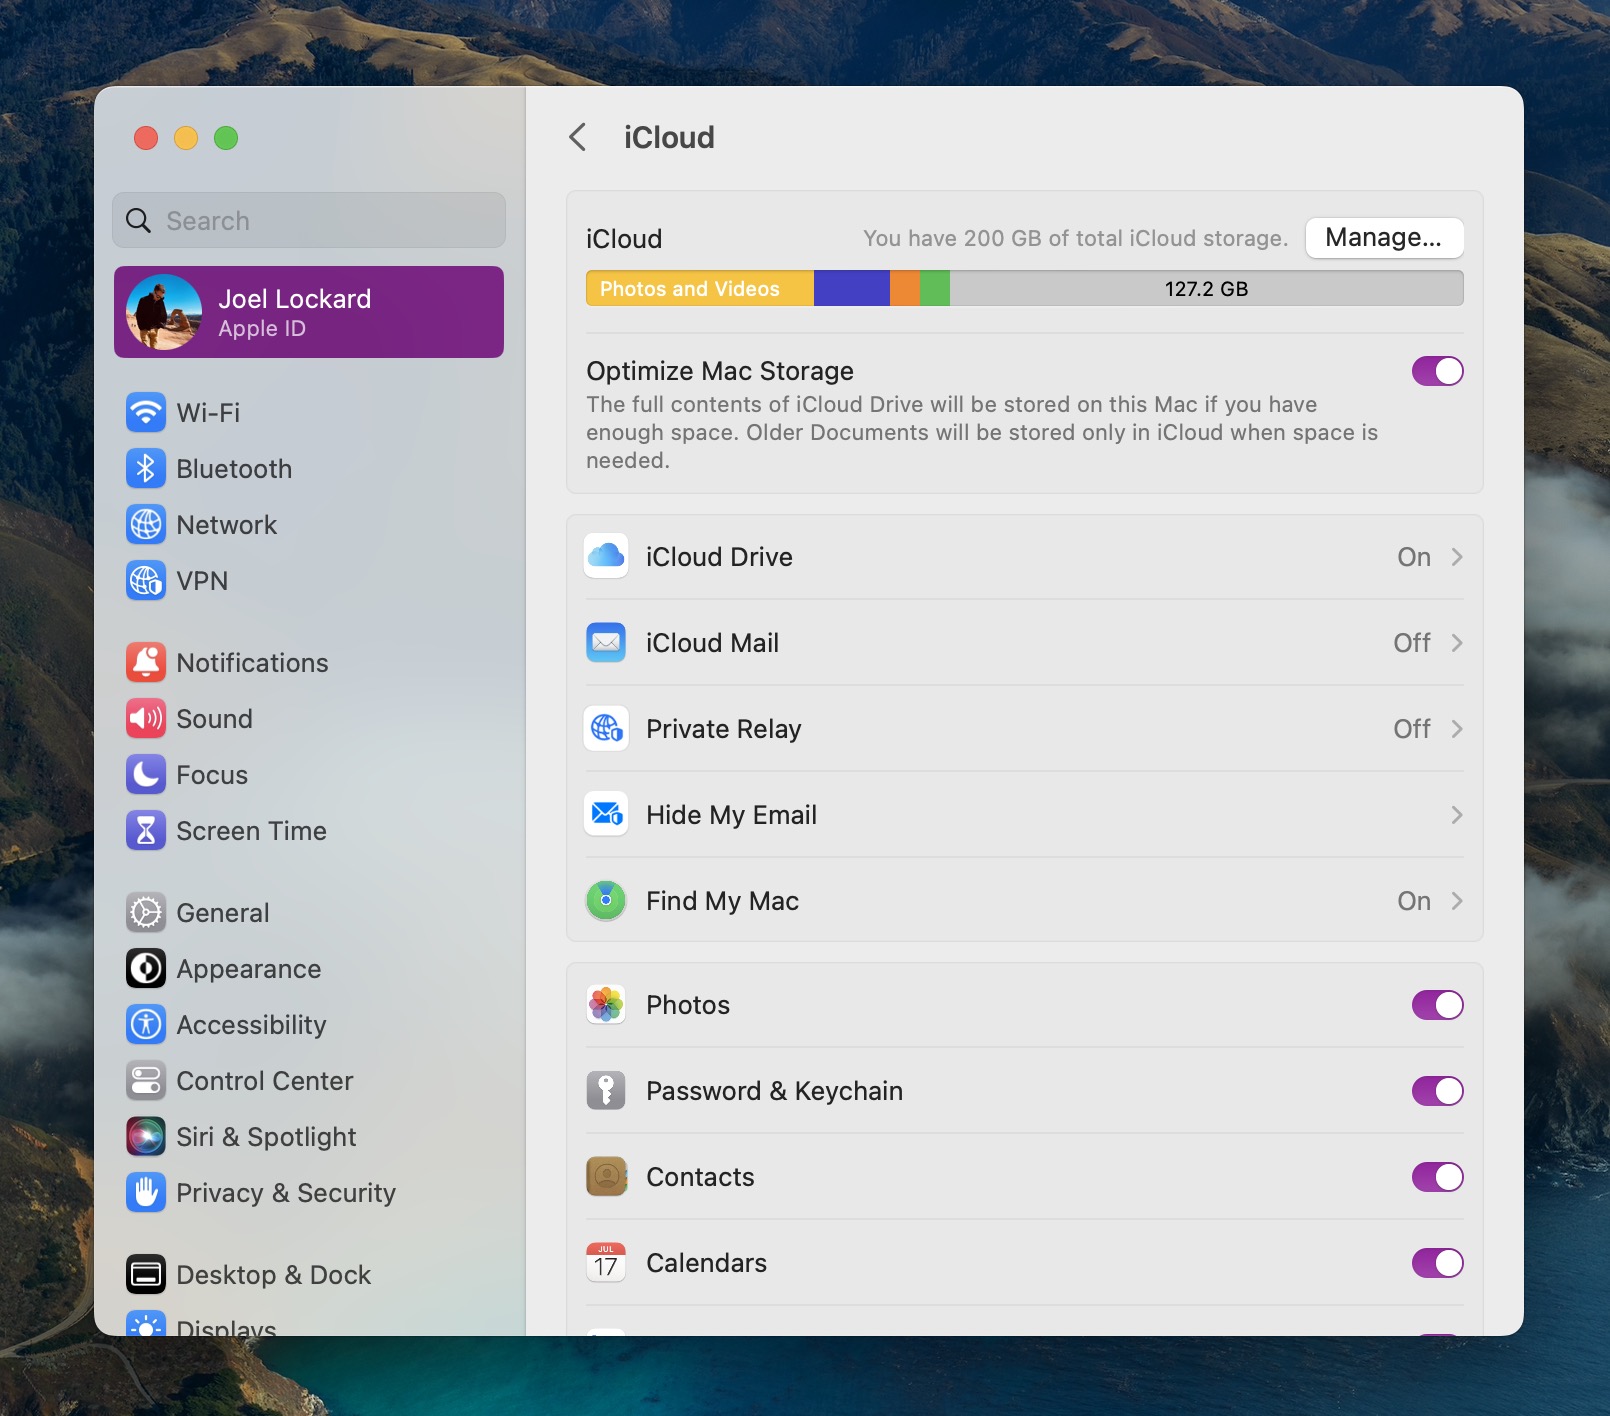
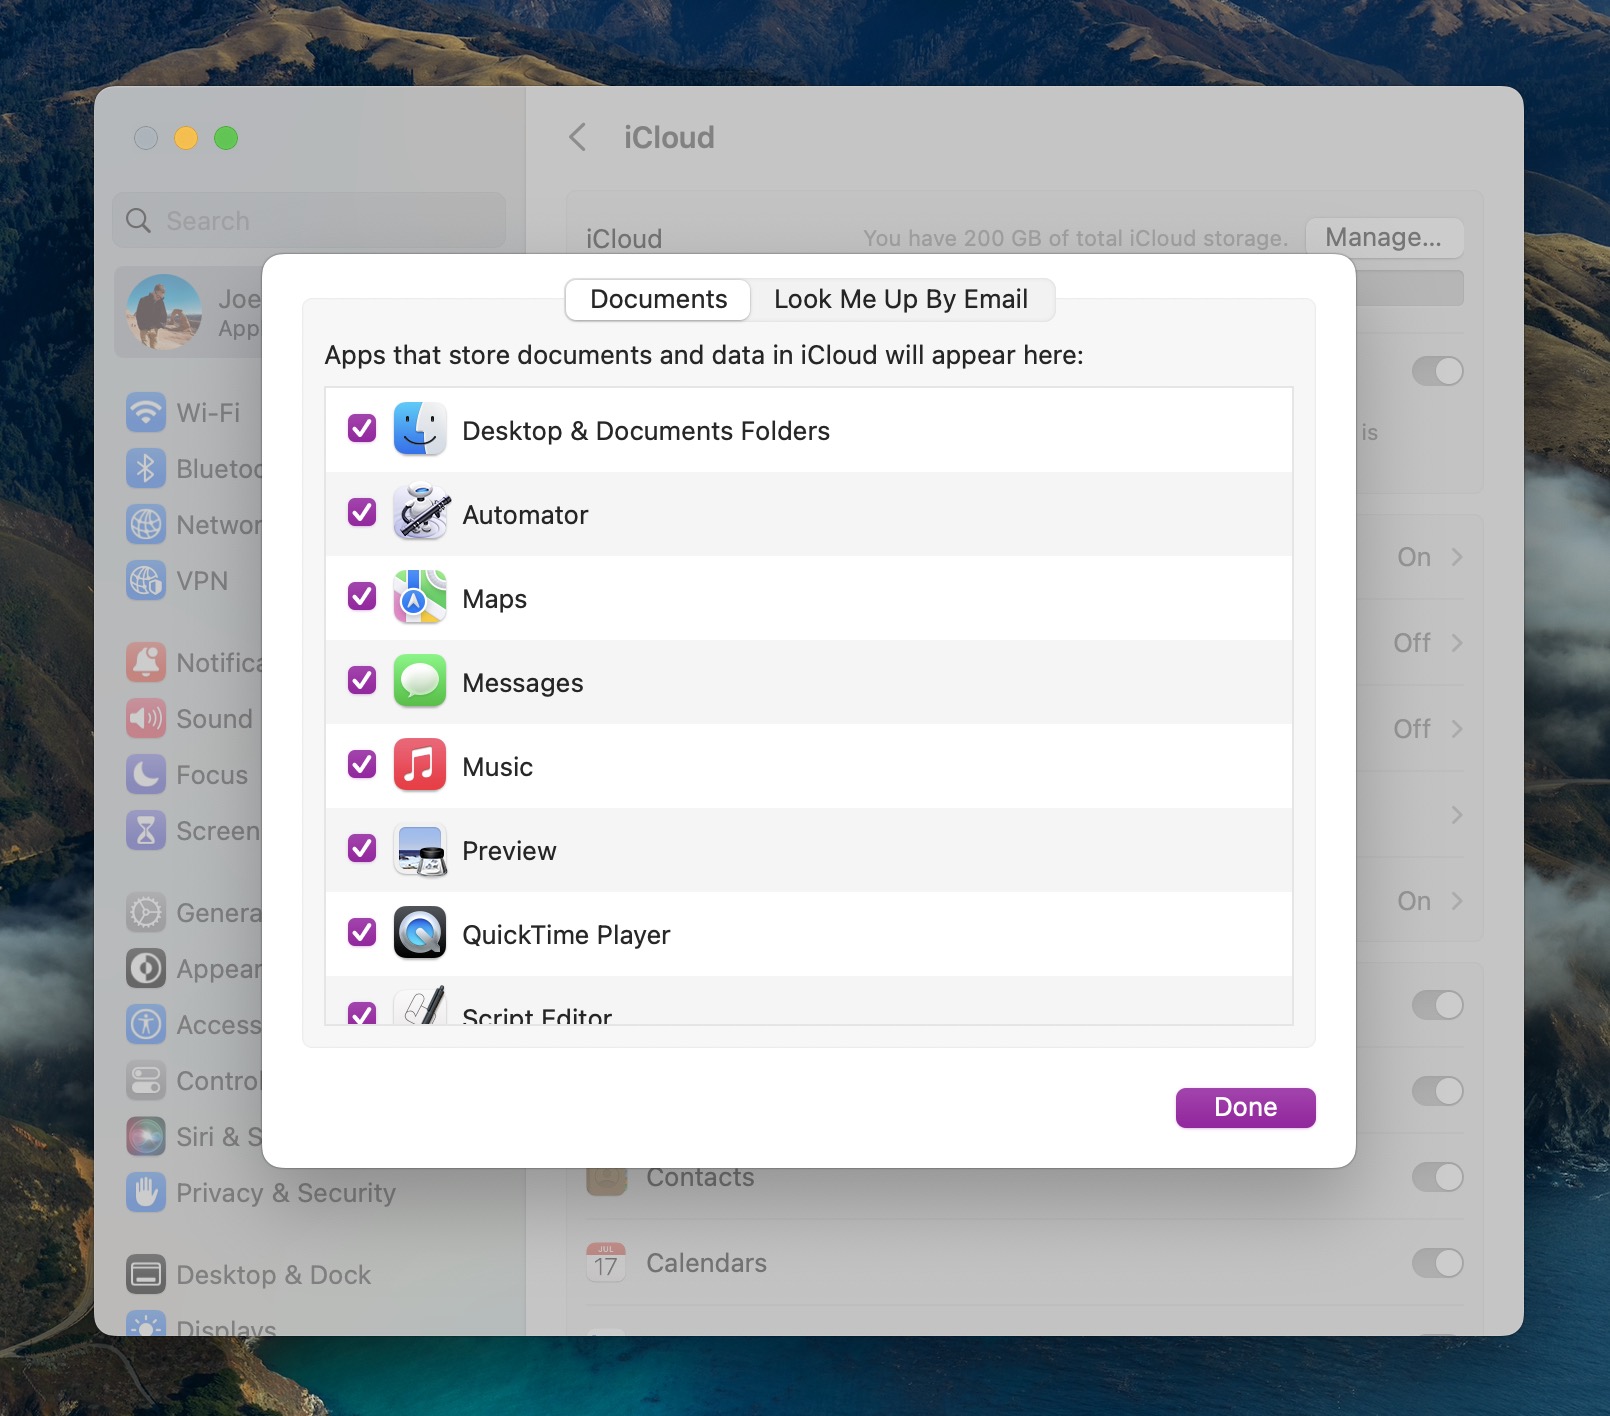
- Select iCloud Drive and turn the feature on.
- Click Options.
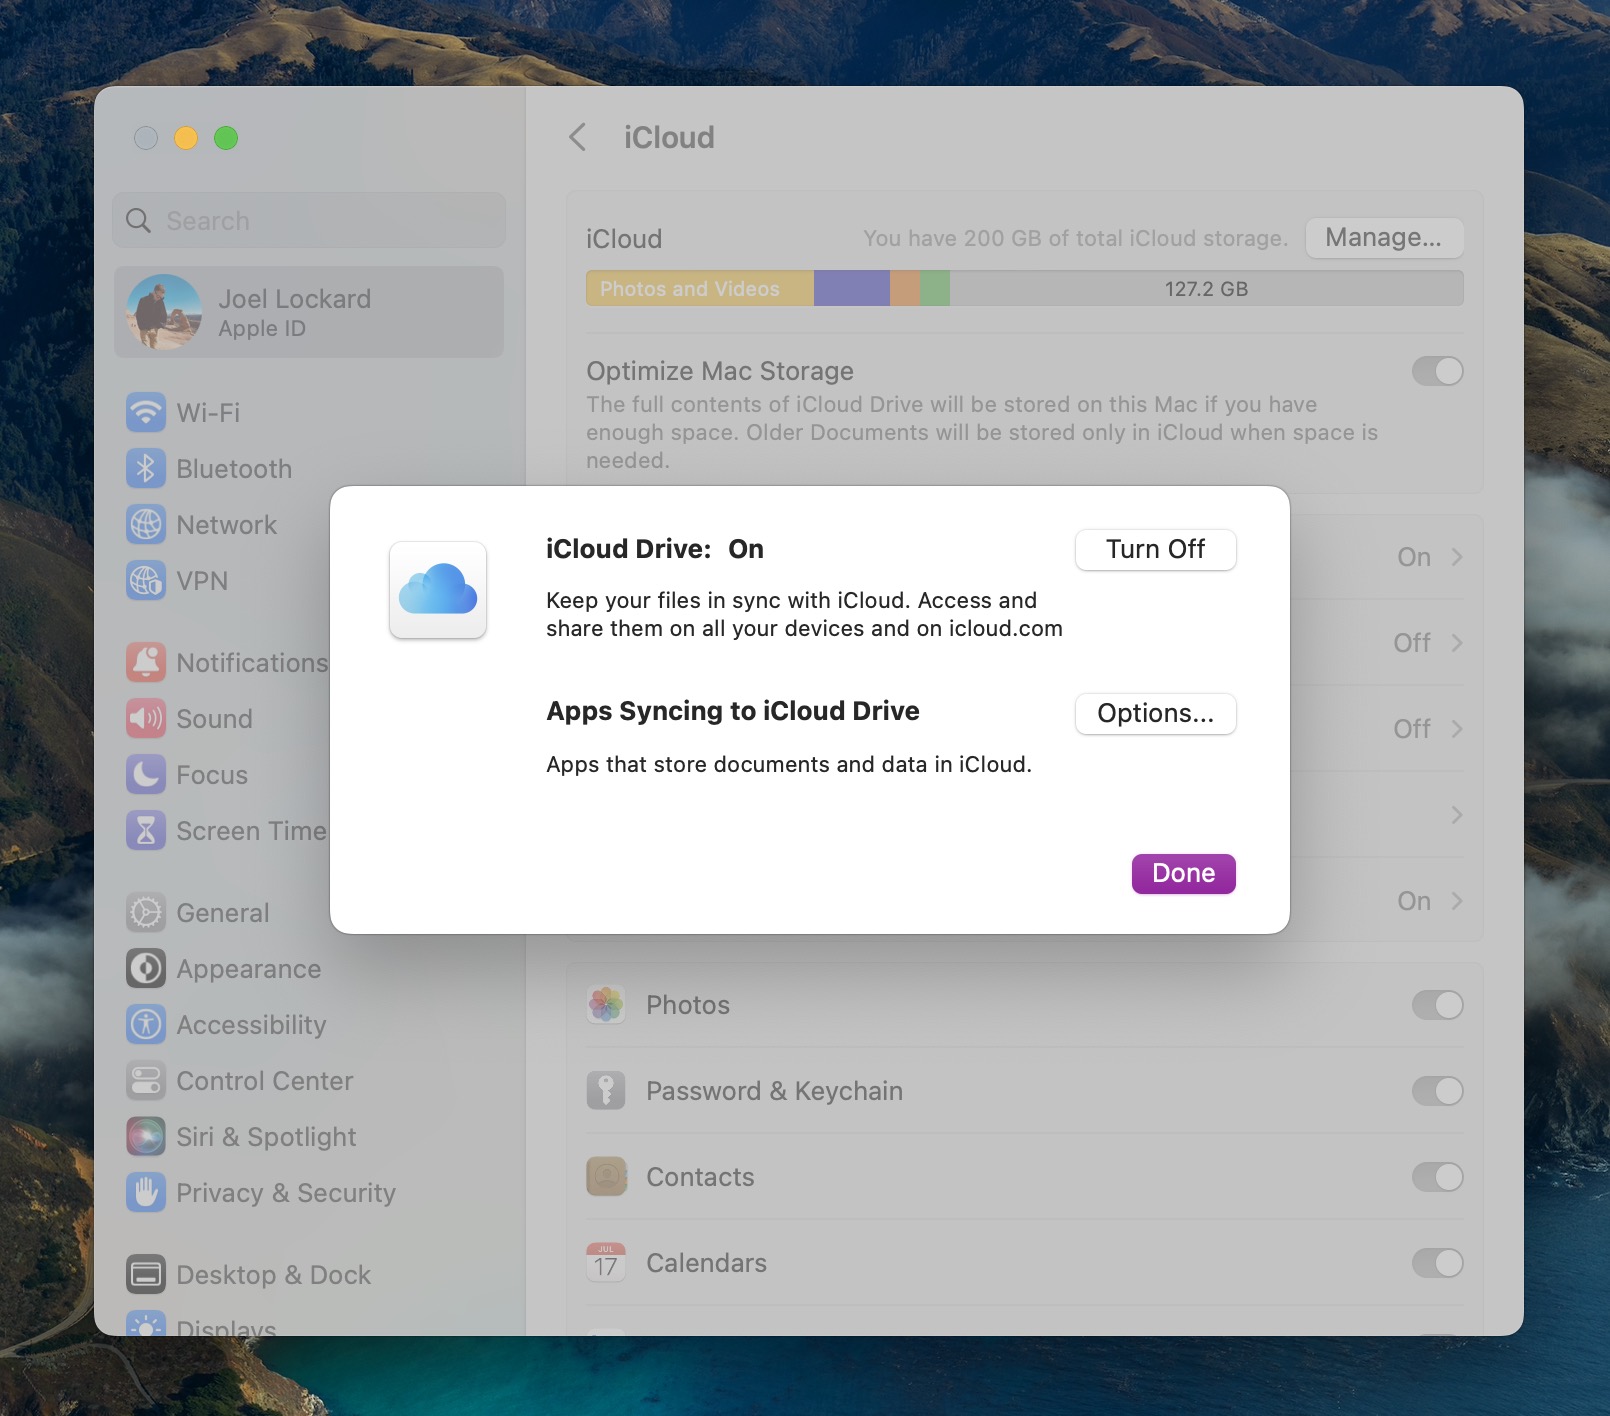
- Under Documents make sure that Desktop & Documents Folders are checked to sync. If there is anything else that you would like to sync from iCloud that you see in this list, please turn that on as well. Once you’re happy with your selections, click on Done.
- Wait for your folders and files to sync to your Mac.
Conclusion
Knowing how to use Disk Drill, Time machine, and iCloud can help ensure that you’re in control of your data at all times. Disk Drill is great for recovering data if you don’t have a backup in place while both iCloud and Time Machine work wonders if you have been backing up your Mac.
Being able to recover data on your Mac after a factory reset has made it so that you can get back to using your Mac and getting the work done that matters most to you. If something is deleted from a factory reset, you now have the skills to get it back.


