
Mac has plenty to offer to amateur and professional photographers alike, from its impressive hardware to a wide range of photo management and editing apps. It also offers several ways to recover lost photos, and we describe five of them in this article to help you avoid a potentially disastrous situation.
Table of Contents
Where Do Deleted Photos Go on Mac?
If you want to locate and restore deleted photos on your Mac, it’s important to know how and from where they were deleted in the first place. Determine your case among these 3 scenarios:
- Scenario 1: Deleted Using the Photos App – When you deleted a photo from the Photos app, it’s immediately sent to the Recently Deleted album. It stays there for 30 days then is automatically and permanently deleted by macOS.
- Scenario 2: Deleted From Finder – Upon deleting a photo from Finder, like any other deleted file, it is sent to the Trash folder on your Mac and remains there until you manually deleted it again or empty your Trash.
- Scenario 3: Permanently Deleted – If you delete a photo from Finder or the Photos app and delete it again from Recently Deleted or Trash, it’s considered “permanently deleted.” You will no longer be able to find it on your Mac. However, its file data is still present on your drive – you can use tools like data recovery software to directly extract it and reconstruct the image file, as long as it hasn’t been overwritten by new data.
5 Ways to Perform Photo Recovery on Mac
We’ve collected five effective methods that you can use to retrieve deleted photos on your Mac. Each of these methods is suitable for certain photo loss scenarios, so we recommend you study all of them and pick the most appropriate one.
Method 1: Photo Recovery Software
Using a tool called data recovery software is the only way to recover deleted photos on Mac after 30 days (when they’ve been removed from the Recently Deleted album or Trash folder) or in the case of manual permanent deletion. Data recovery software has the ability to extract file data directly from your Mac’s fie system and use that to restore the photos.
We’ll be using Disk Drill to demonstrate this method. It’s powerful, yet has a super simple GUI that makes it accessible to users of any level. Most importantly, Disk Drill has a massive database of photo file signatures, which include common file types (like JPG, PNG, and the Apple-based HEIC and HEIF) as well as RAW file types (vendor-specific signatures like CR2, NRW, ORF, KDC, etc.).
In the guide below, we’ll show you how to use Disk Drill (or any other data recovery software – the steps are similar) to recover deleted photos on your Mac.
Here’s how to recover deleted photos with Disk Drill:
Step 1. Download and install Disk Drill for Mac.
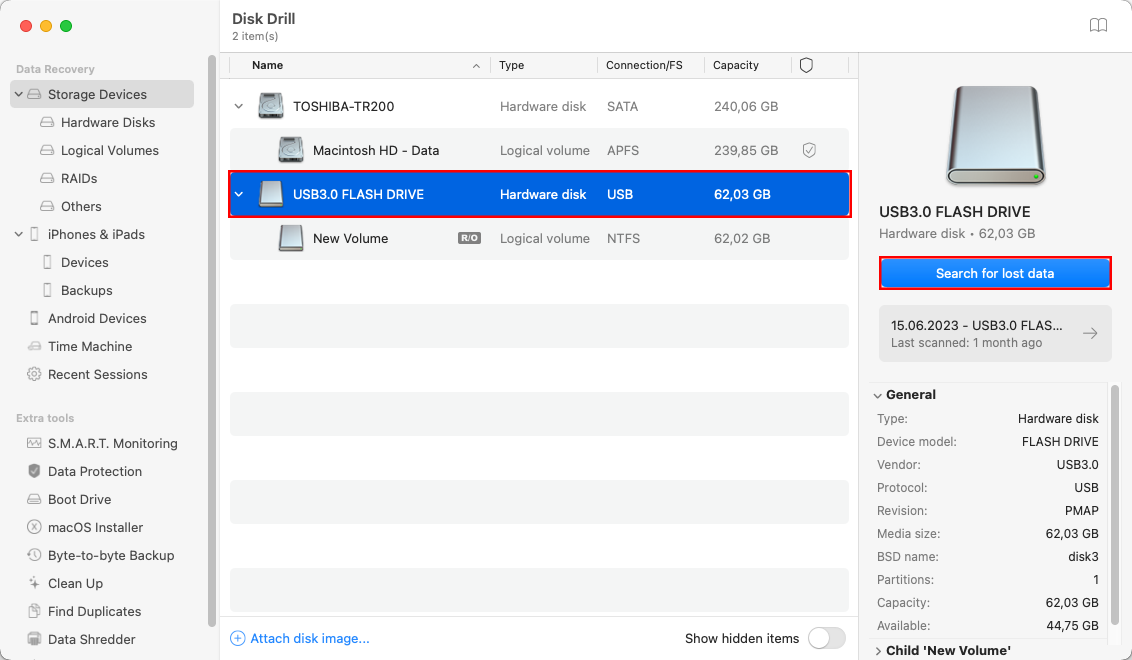
Step 2. Launch Disk Drill and click the Recover button next to the drive you want to recover.
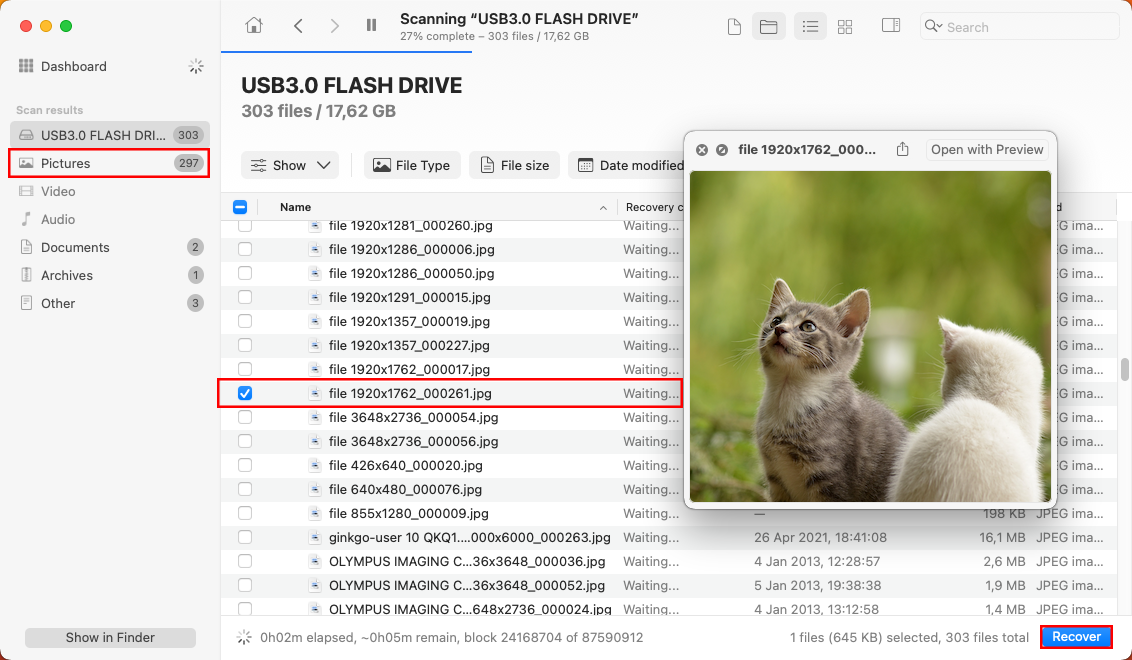
Step 3. Wait for the scan to finish and select all photos that you want to recover. You can preview photos before recovery by clicking the preview button.
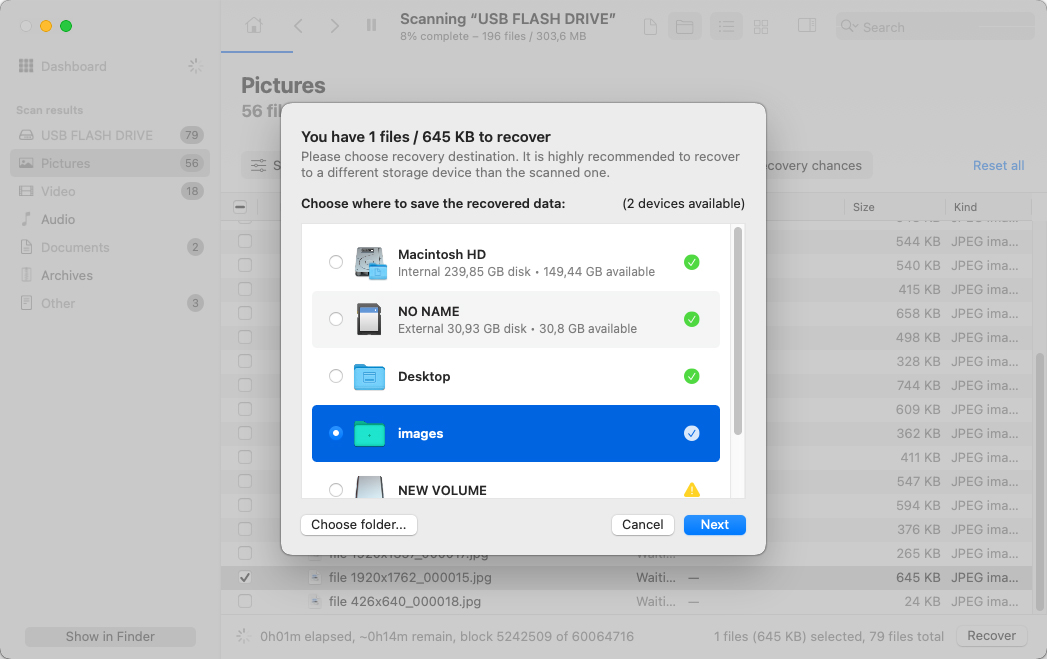
Step 4. Click the Recover button in the top-right corner and specify the recovery destination. Click Next to begin the recovery process.
Method 2: Trash
Photos deleted using Finder can be recovered from Trash, a special hidden folder located in your home directory. This is how to recover deleted photos from Trash:
Step 1. Go to Trash by clicking on its icon in the Dock.

Step 2. Select the photos you want to recover.
Step 3. Right-click on any of the selected photos and choose the Put Back option.
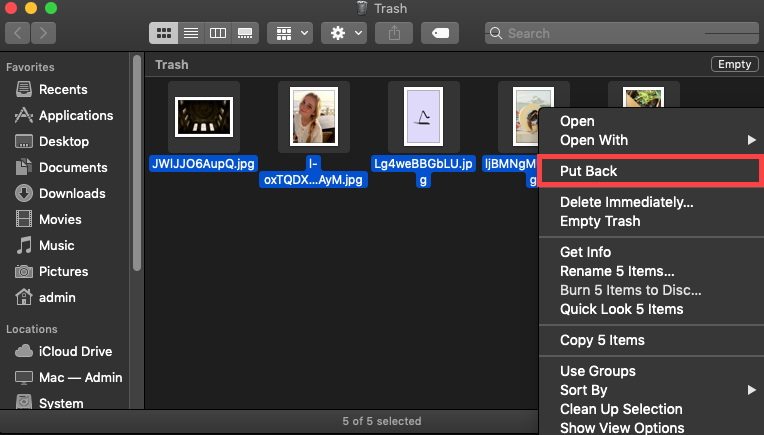
The deleted photos will be moved back to their original locations. Alternatively, you can drag and drop to any folder you want.
If you know the exact name of the deleted photo, you can quickly recover it from Trash using the following Terminal commands:
- cd .Trash (Enter the Trash folder).
- mv filename ../ (Move a specific file to your home folder. Replace filename with the name of the photo you want to recover.)
Method 3: iCloud
iCloud is Apple’s cloud backup service, and you can use it to store your photos and synchronize them across your Apple devices. When you delete a photo from iCloud, it disappears from all devices, but you can still find it in the Recently Deleted folder.
Step 1. Go to: https://www.icloud.com/
Step 2. Sign in with your username and password.

Step 3. Select Photos.

Step 4. Click on Albums at the top.
Step 5. Open the Recently Deleted album.
Step 6. Select the photos you want to restore and click Recover.

Just like with the Photos app, deleted photos don’t remain in the Recently Deleted album forever. They automatically disappear after 40 days to free up your cloud storage space.
Method 4: Local Backup
Your Mac comes with an excellent local backup app called Time Machine. Even if you don’t remember it, it’s possible that you’ve activated Time Machine in the past and configured it to back up your photos in the background. If that’s the case, you can recover them without any problems.
Step 1. Open the Folder where your photos were stored using Finder.
Step 2. Click the Time Machine icon located in the Menu Bar and choose Enter Time Machine.
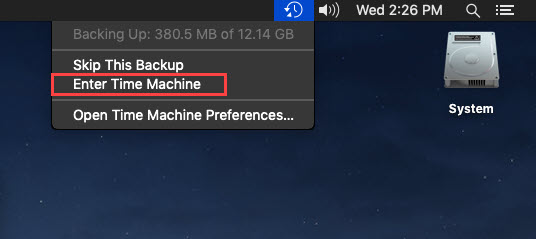
Step 3. Use the arrows on the right to go back in time until you see the deleted photos you want to recover. Click Restore to get them back.

Of course, Time Machine isn’t the only local backup app available for Mac, but it would be beyond the scope of this article to provide step-by-step instructions for all popular backup apps.
Method 5: Photos App
When it comes to organizing photos on Mac computers, the Photos app is the first choice of most users. When you delete a photo from this app, it goes into the Recently Deleted album, where it stays for 30 days. During this 30-day period, you can easily recover it with just a few clicks:
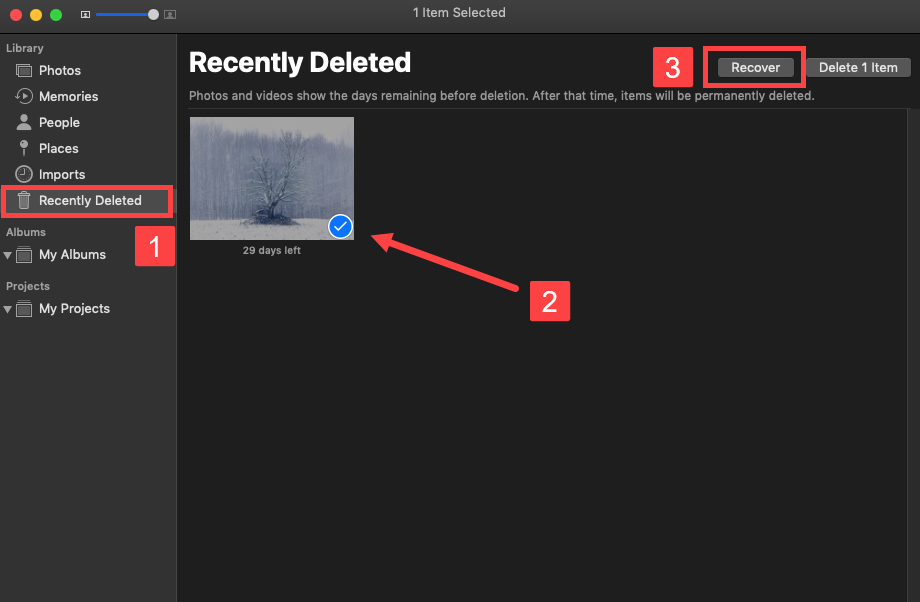
Step 1. Open the Photos app and select Recently Deleted from the column on the left.
Step 2. Select the photo you want to recover and click the Recover button in the top-right corner.
Other Photo Recovery Apps to Consider
While we highly recommend Disk Drill for this task, you may want to explore other data recovery software to find the most suitable one for you. Here are 3 recommendations to get you started:
Option 1: R-Studio
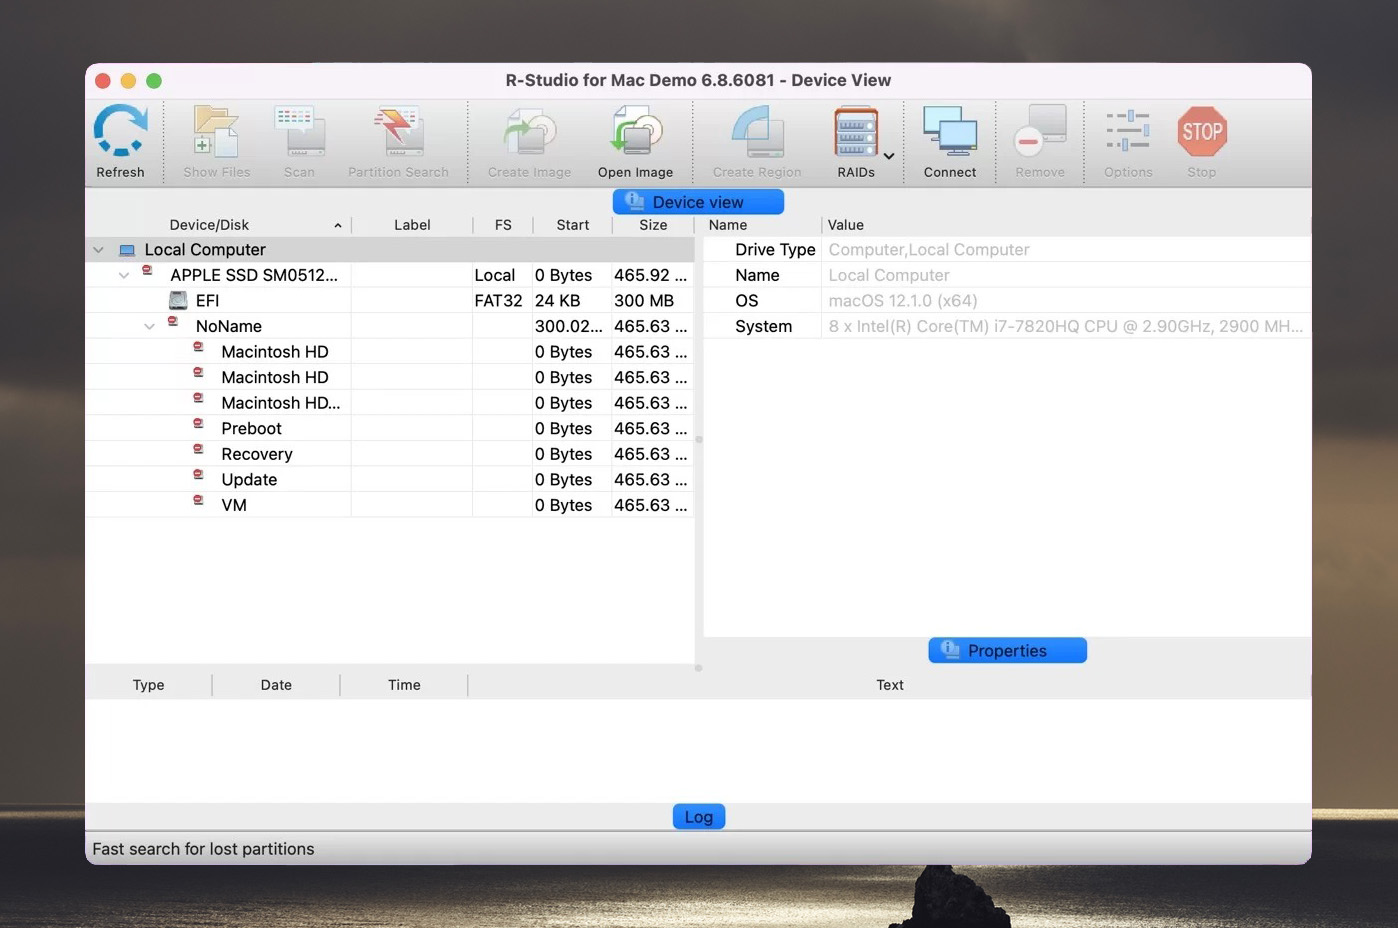 R-Studio is a popular data recovery tool originally designed for technicians. Like Disk Drill, R-Studio has a large database of supported file signatures as well as the ability to add custom signatures. It performed well during our photo recovery tests and has other impressive features like advanced RAID recovery, a hex editor, and portable recovery. However, R-Studio’s interface is cluttered and a lot more complicated to navigate than most apps.
Pros:
- Recognizes a lot of file signatures
- Great performance on almost any device and file system
- Consistently updated
- Lots of advanced features
- Highly customizable scan parameters
Cons:
- Complicated UI
- Free trial only lets you recover files that are under 256 KB individually
- Limited previews
Option 2: PhotoRec
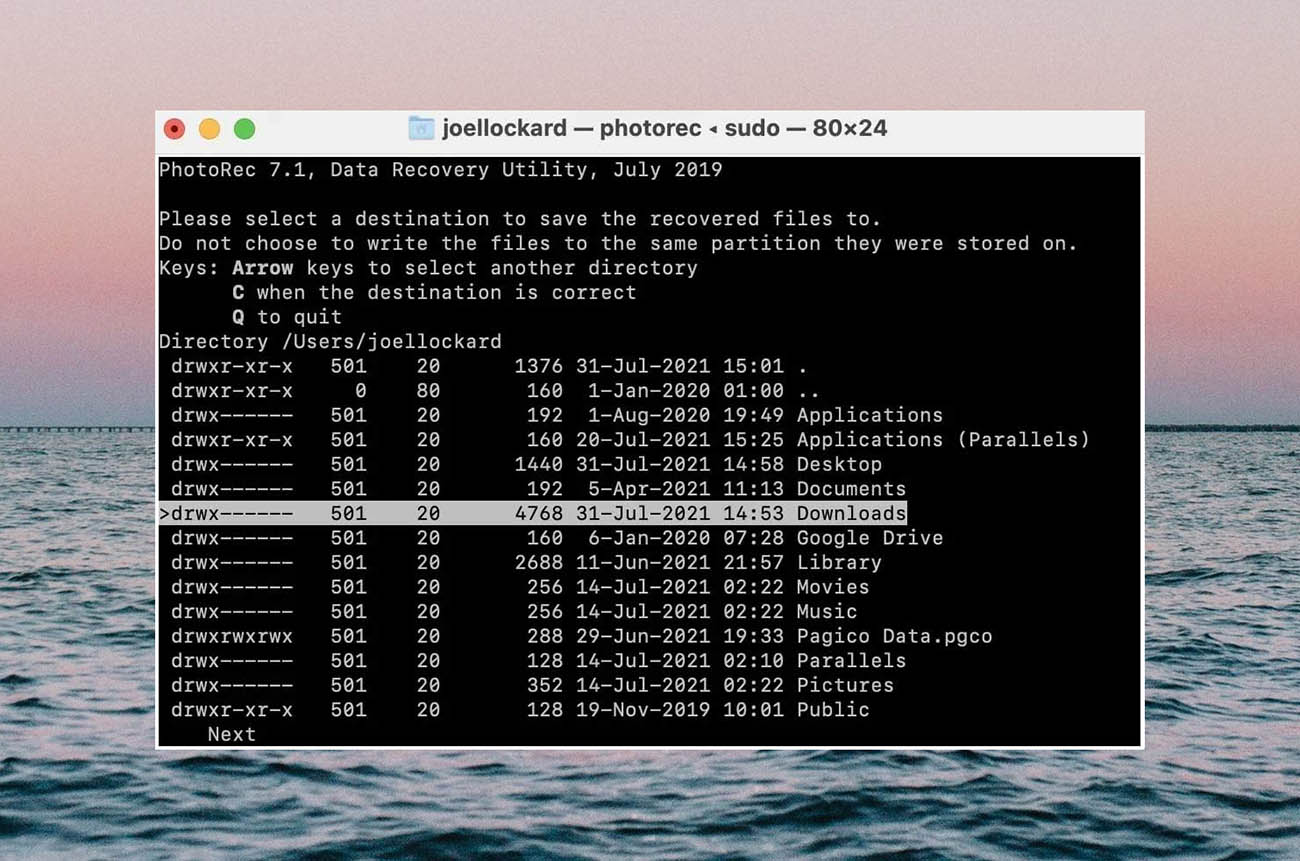 PhotoRec is another well-know data recovery app that is rather powerful and offers extensive file signature support. It’s also completely free! However, its interface looks like a command line (like the Terminal app) and it’s rarely updated. Also, it only offers a signature scanner unlike other apps that use multiple scanning techniques to seek data and increase your chances of recovery.
Pros:
- 100% free and open-source
- Supports many mainstream file signatures, including RAW
- Allows you to scan for specific file types
Cons:
- Interface looks like the command line and you can only use your keyboard to navigate
- Can only scan by file signature
- Rarely updated (PhotoRec’s last major update was released in 2019)
Option 3: Data Rescue for Mac
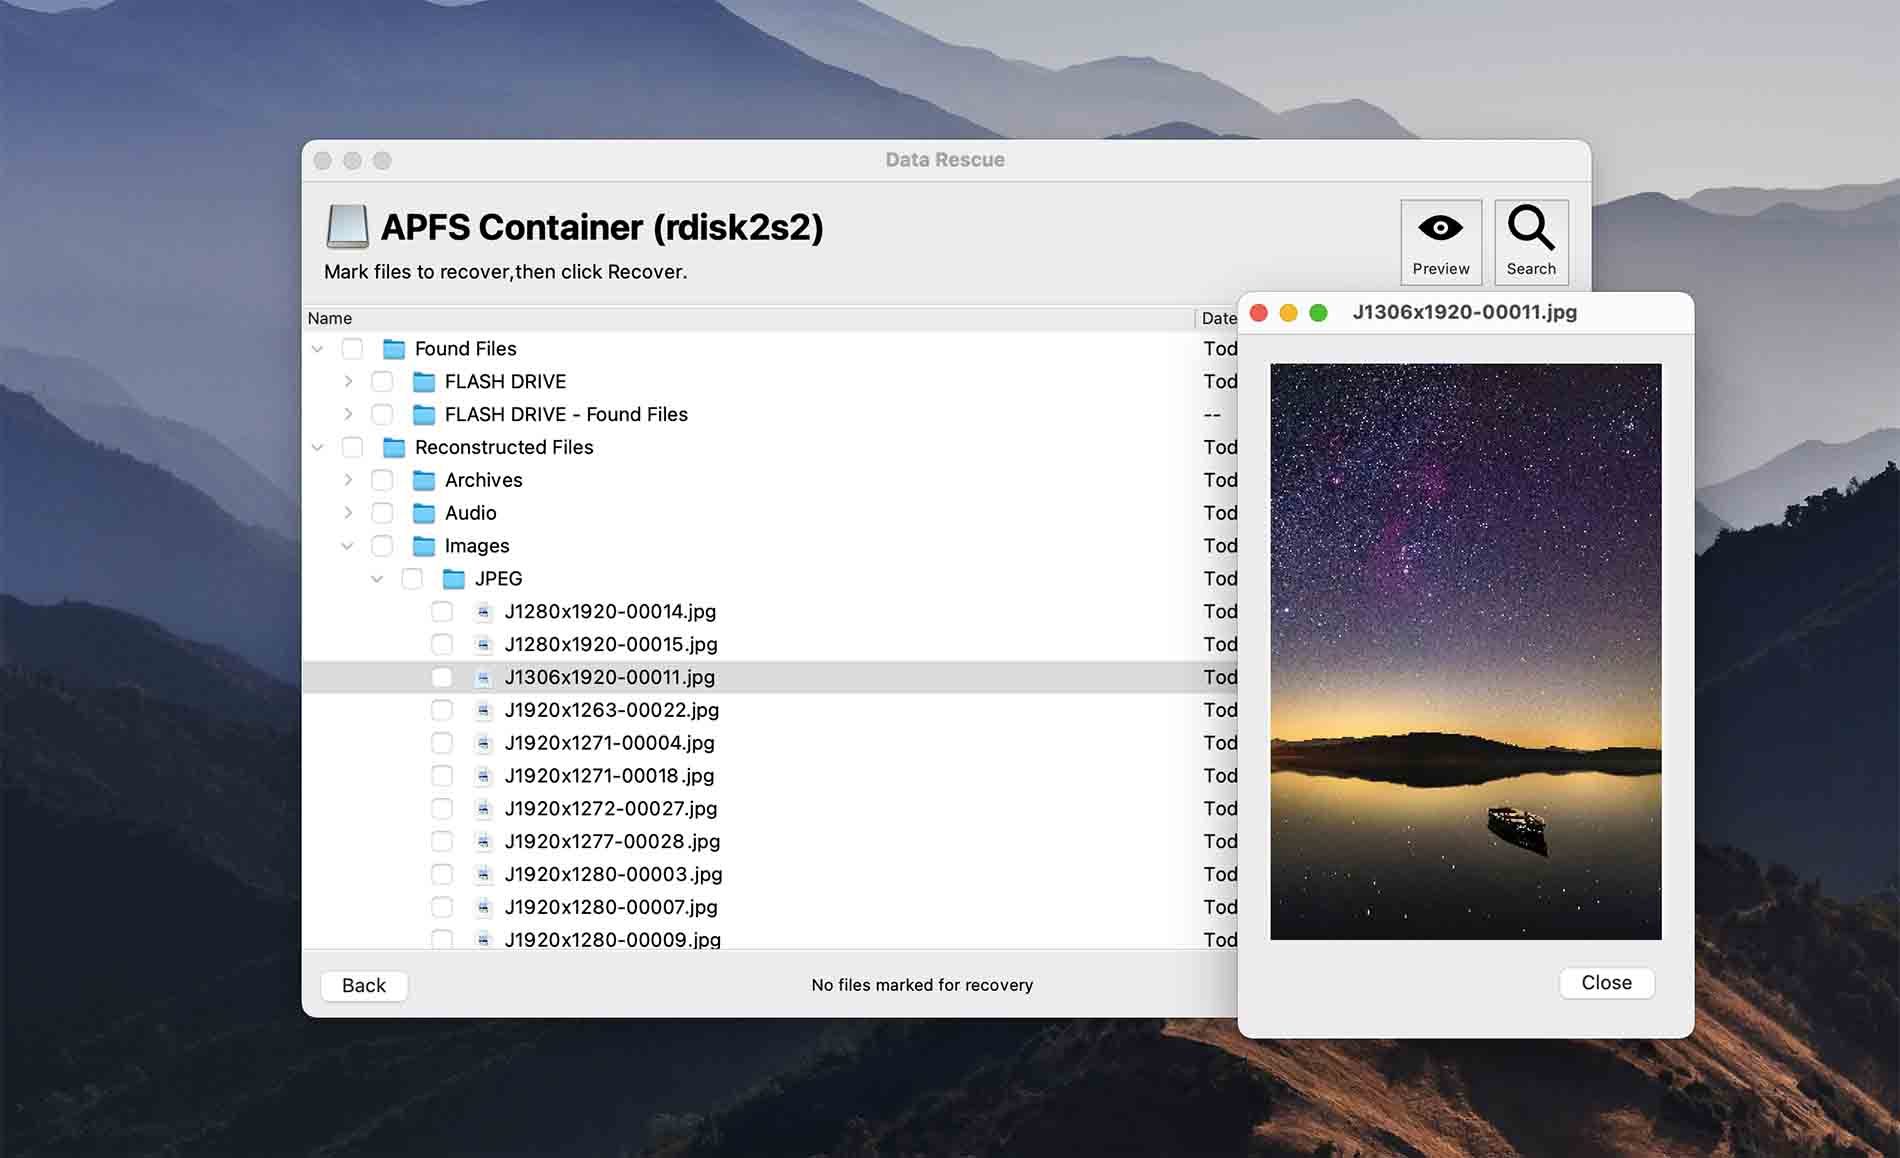 Data Rescue is an affordable and highly rated data recovery app with a nice interface and decent recovery performance. It uses multiple scanning methods to locate files and it can even clone drives in case of hardware issues. However, it can’t scan your system disk (where your OS is installed) and it doesn’t support as many file systems as other data recovery apps.
Pros:
- Very affordable compared to many of its competitors
- Beginner-friendly graphical user interface
- Allows users to specify the starting point of the scan
- Offers some advanced features like a hex editor and drive cloning
Cons:
- Can’t scan entire system disks, which is not only inconvenient but also impedes recovery
- Limited file system support compared to it competitors
How to Avoid Losing Your Photos
The most effective solution for data loss is to prevent it from happening in the first place. While there are many cases where data loss happens beyond our control – such OS bugs – there are some precautions you can take to better safeguard your data.
Below are simple tips that can help you protect your data against the common reasons for photo loss we described at the beginning of this article:
- Review Recently Deleted and Trash folders – Double-check your Recently Deleted and Trash folders for important photos before emptying them so you don’t accidentally cause permanent data loss.
- Create regular backups – Back up your data so you can easily restore them even in cases where they have been permanently deleted, formatted, or corrupted. We suggest using Time Machine.
- Take care of your Mac drive – Physical damage is the only issue that cannot be resolved by DIY recovery. Keep your Mac in a safe place especially when traveling. Avoid exposing it to extreme temperatures and water.
- Only download files from reputable sources – Avoid downloading files from sketchy or unknown sources to decrease the possibility of malware infections.
Conclusion
With these five deleted photo recovery methods for Mac, you should be able to get back your precious pictures in no time and prevent irreplaceable memories from turning into digital dust. Because most methods described in this article work only for a certain amount of time since the initial photo loss incident, you shou


