
Missing data on your CF card? Stop using your camera (or whatever device you’re using)! You may still have a very high chance of recovering most or even all of your files.
And in this article, I’ll cover every scenario. Whether you lost access to your data because your Mac can’t read your CF card or your files have simply been wiped due to human error or corruption.
In the sections below, I’ll show you how to recover data from a CompactFlash Card on Mac – no matter what made them go missing.
Table of Contents
Methods to Troubleshoot Your CompactFlash Card
If you can’t get your Mac to recognize your CompactFlash card, then try the steps below before moving onto CompactFlash card data recovery.
💻 Restart Your Mac: Simply restarting your Mac can fix many issues. Take your CompactFlash card out of your Mac and power it down. Then power your computer back up and put your CompactFlash card back into your Mac. See if this has fixed the issue.
🧹 Clean Out Your Ports: Most Macs that are modern don’t support plugging a CompactFlash card directly into your computer. If you’re using a dongle to attach the card, clean it out with some compressed air and see if that fixes the issue. Sometimes lint and dust can get on the connectors, and this can make it so that your Mac can’t see the storage device even though it may be working fine.
🖥 Try Another Device: If your CompactFlash card won’t connect, try using another Mac if you can do so. It could be the dongle that you’re using, or there could be an issue with the port on your Mac that you’re connecting the dongle to.
Hopefully, you have been able to get your CompactFlash card to show up, and now we can move onto CompactFlash data recovery and other methods to recover your data. It’s important to recover the data from the CompactFlash card as soon as possible should the device stop working or fail.
How to Recover Deleted Files From CF Card?
Data recovery tools allow you to recover data from storage devices even if you have deleted the data or there could even be a hardware problem with it. While these options don’t 100% work every time, they’re your best bet for recovering photos from a CompactFlash card. If you’re unable to get one of the options below to work, we can look at another way to get the data back from your CompactFlash card.
| Data loss scenario | Solution |
| I’ve lost important data from CF card | Disk Drill |
| I’m not ready to pay for files lost from CF card | Photorec |
| My CF card is physically corrupted | Data recovery services |
Method 1: Disk Drill
Disk Drill is a powerful and affordable memory card recovery tool. It allows you to recover data even if you can’t see it anymore. If the storage device is having a hardware issue, Disk Drill can also try to scan it and recover what it can find. Let’s walk through CompactFlash card data recovery.
To recover deleted files from your CF card using Disk Drill:
Step 1. Securely connect your CF card to your Mac using a card reader. Then, download and install Disk Drill.
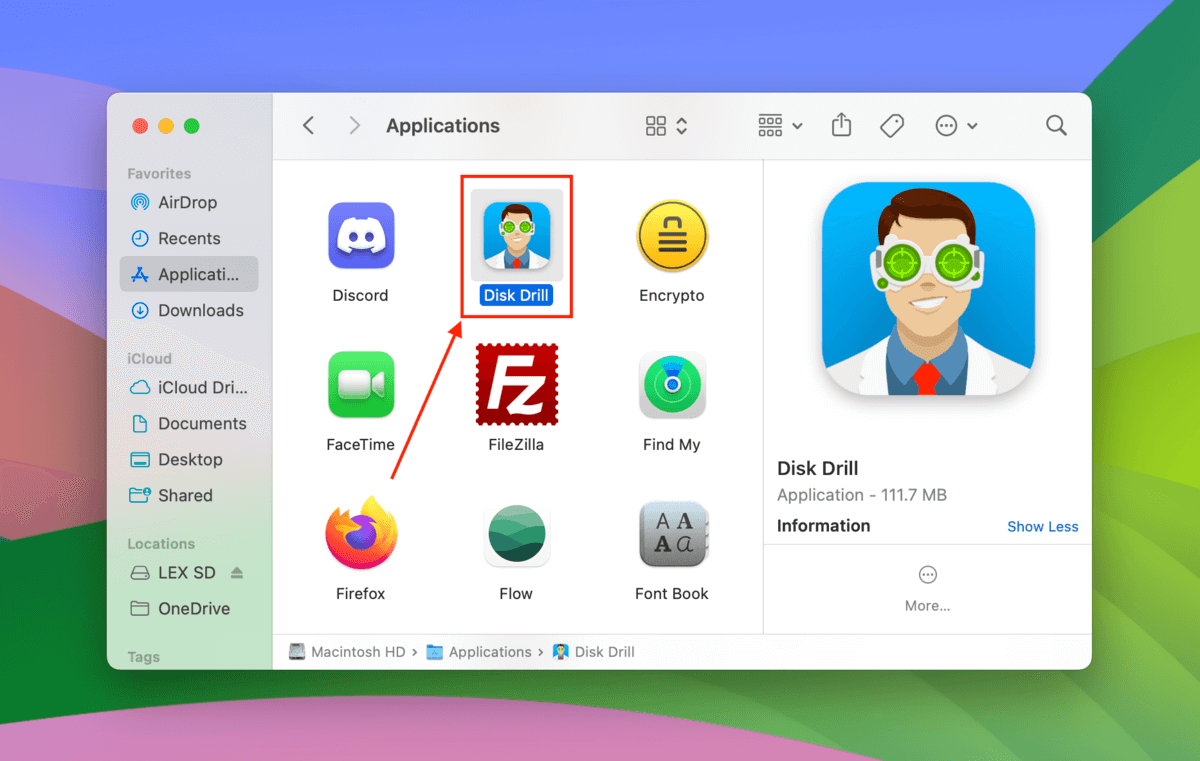
Step 2. Launch Disk Drill (Finder > Applications).
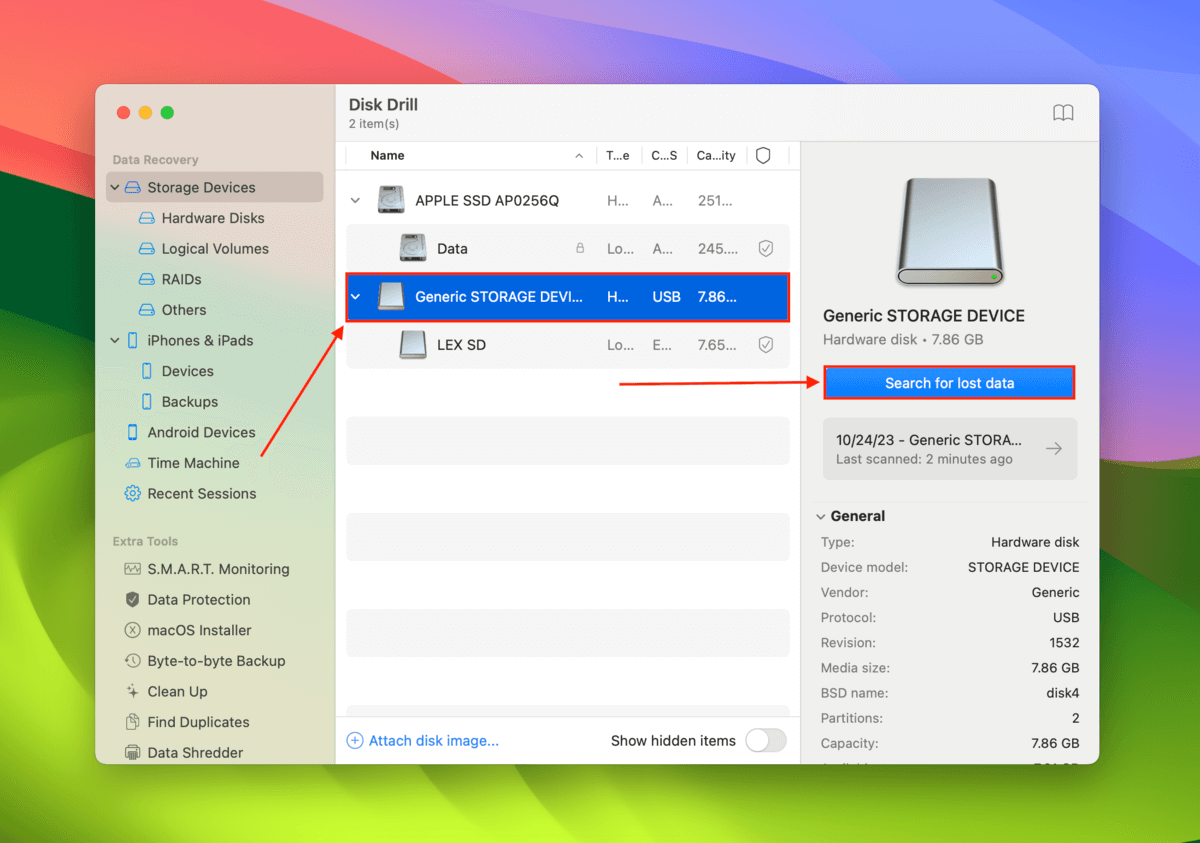
Step 3. Click on your CF card in the drive list and click Search for lost data. If you’re using a card reader, it may appear as “Generic Storage Device”.
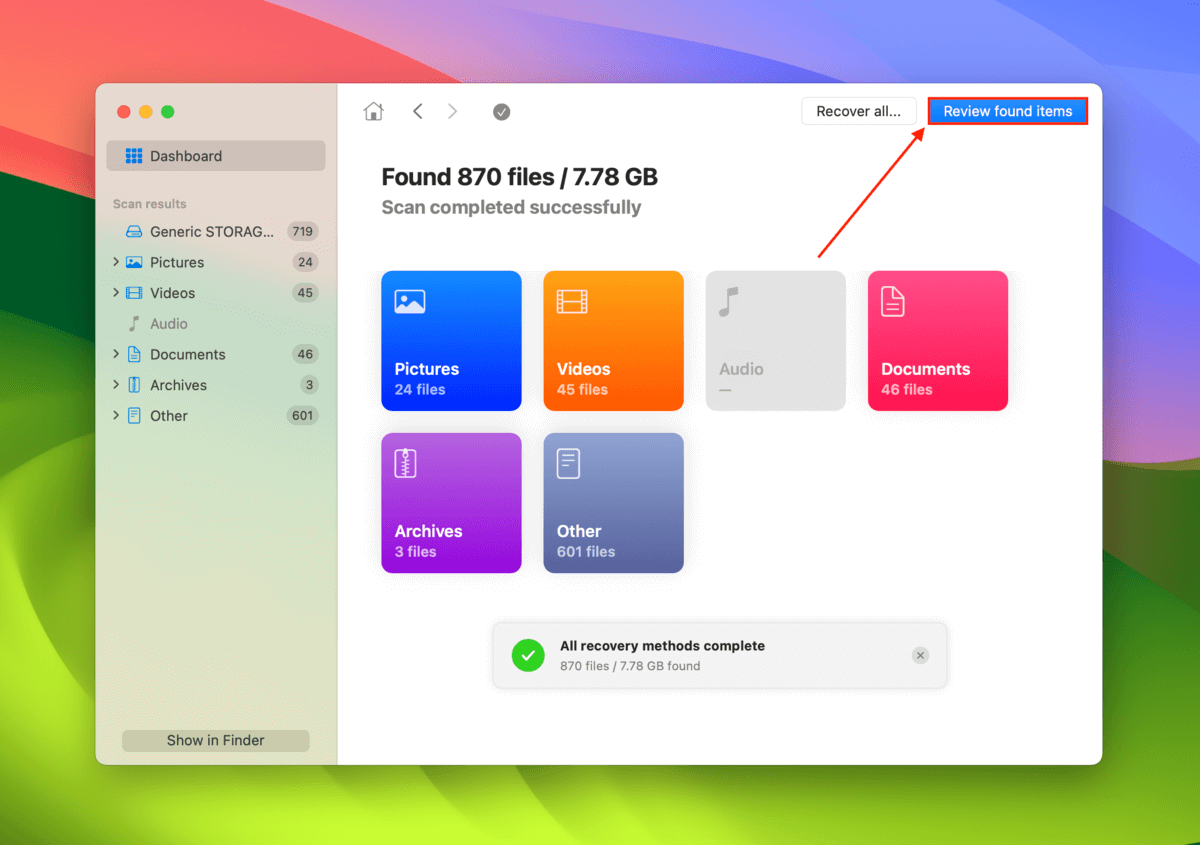
Step 4. Wait for Disk Drill to finish scanning your CF card. Once the scan is done, click Review found items.
Step 5. If you want to recover deleted files, expand the Deleted or lost section. For cases of corruption, expand the Reconstructed section. If your Mac is simply struggling to properly read your CF card (but no files have been deleted), expand the Existing section.
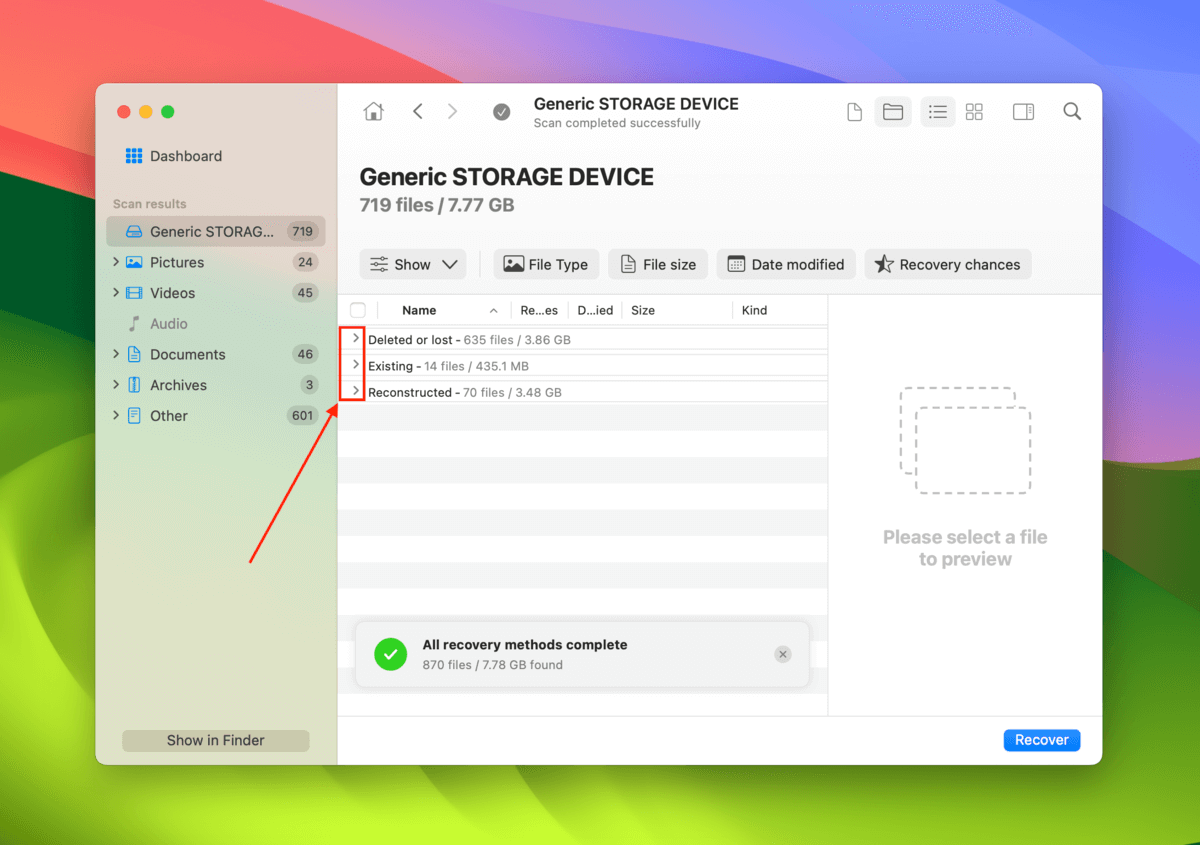
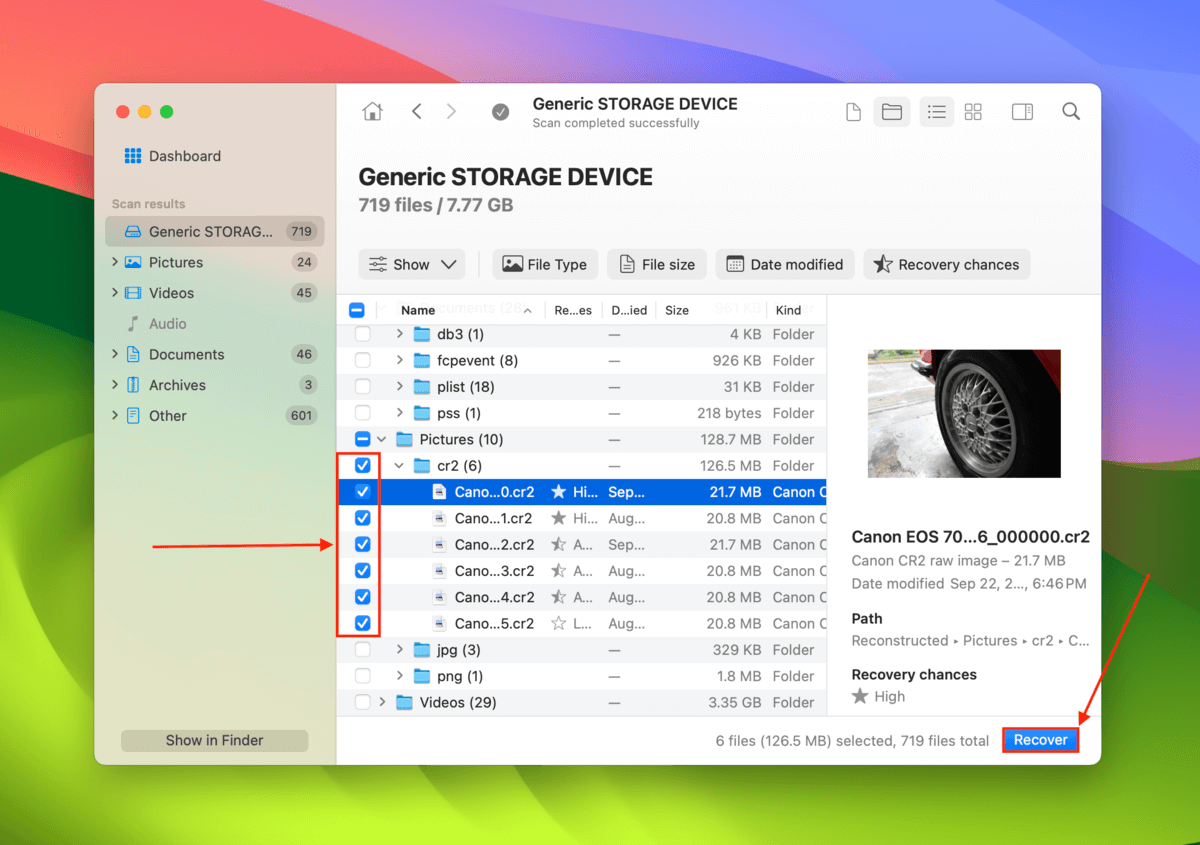
Step 6. Browse your files and make sure they’re recoverable by using the Preview feature (click on any file in the list of scan results to open its preview). Then, mark the boxes (in the leftmost column) beside the files you want to restore. You can also select all files by marking the box in the leftmost column header. Then, click Recover.
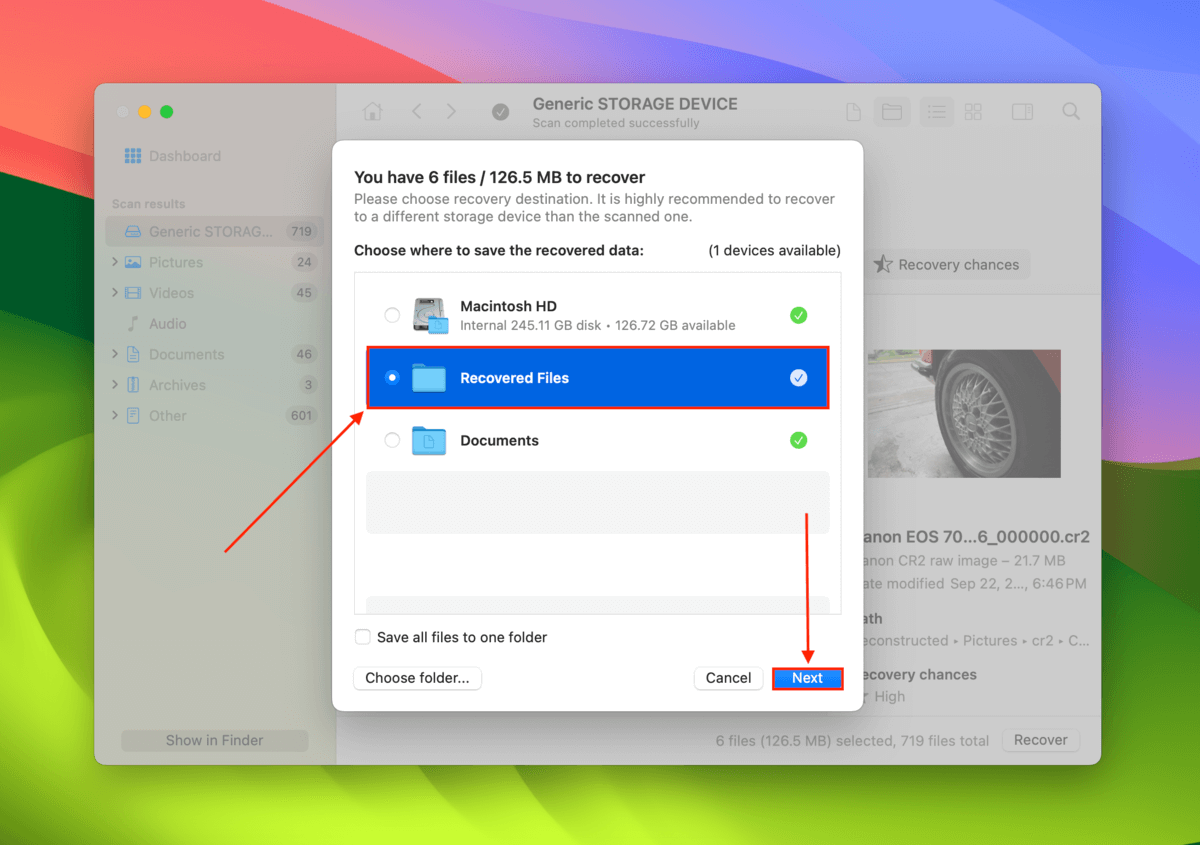
Step 7. Choose a location where Disk Drill will save the recovered files. Make sure to select a location on your Mac – DO NOT save the recovered files back on your SD card because you may overwrite the files in the queue. Once you’re satisfied, click Next to proceed with recovery.
That’s it! Disk Drill makes it very easy to recover data from any storage device that you have, it doesn’t have to be a CompactFlash card. I wrote another tutorial where we recovered data from a Sandisk SD card which is an awesome read for learning more about other recovery methods.
Let’s take a look at PhotoRec which is another form of CompactFlash card recovery software.
Method 2: PhotoRec
PhotoRec is different in that it doesn’t have a graphical user interface but instead uses a textual one. This is a different approach to data recovery but once you get into the app and learn how to use it, you can recover data from your CompactFlash card.
You can click here to download and install PhotoRec on your Mac.
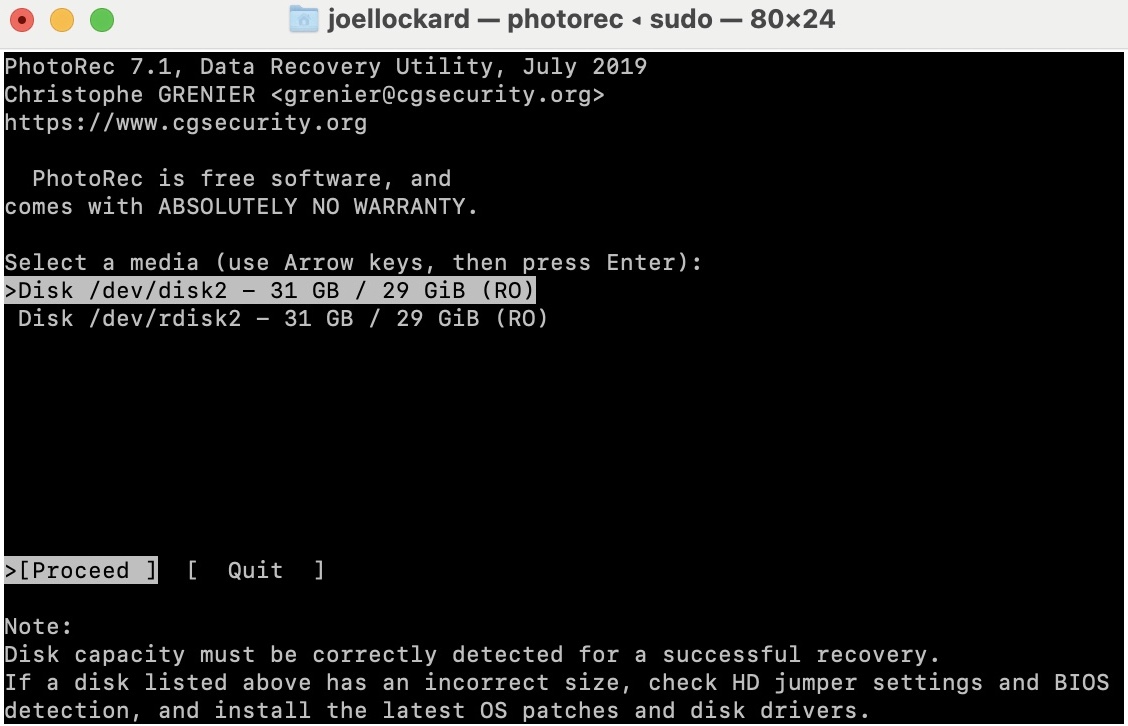
Step 1. Open a new Terminal window and type in
sudo photorec
After you have typed in that command select the storage device that you would like to scan for lost data.
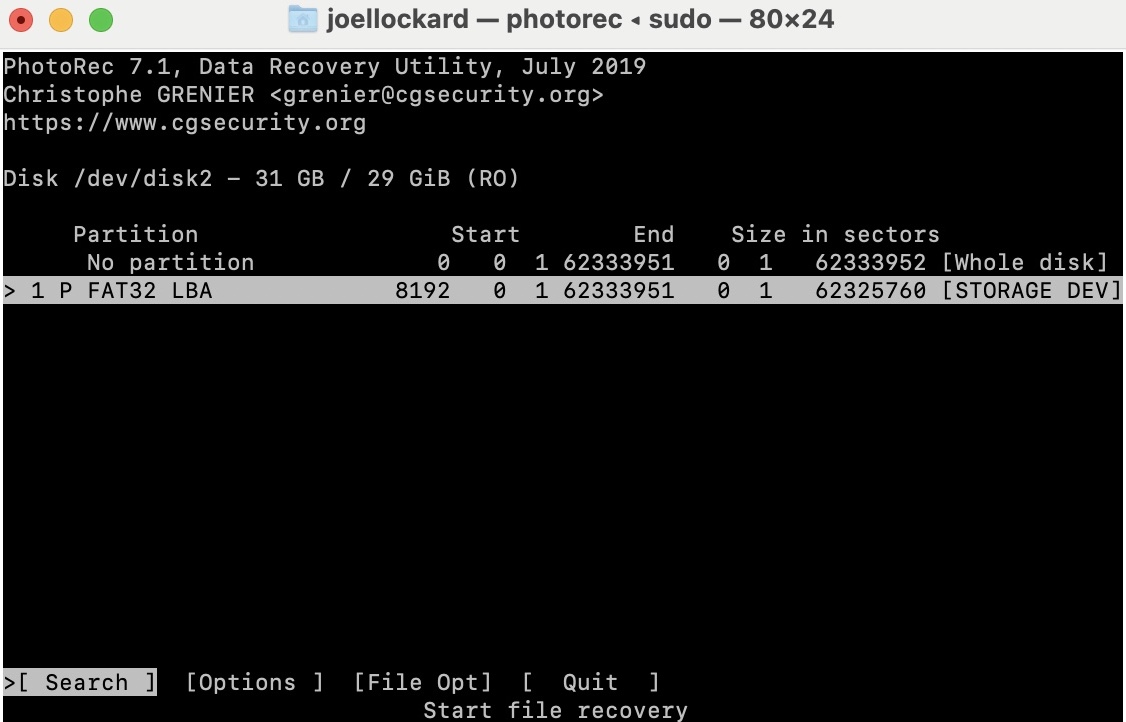
Step 2. Choose a partition to scan.
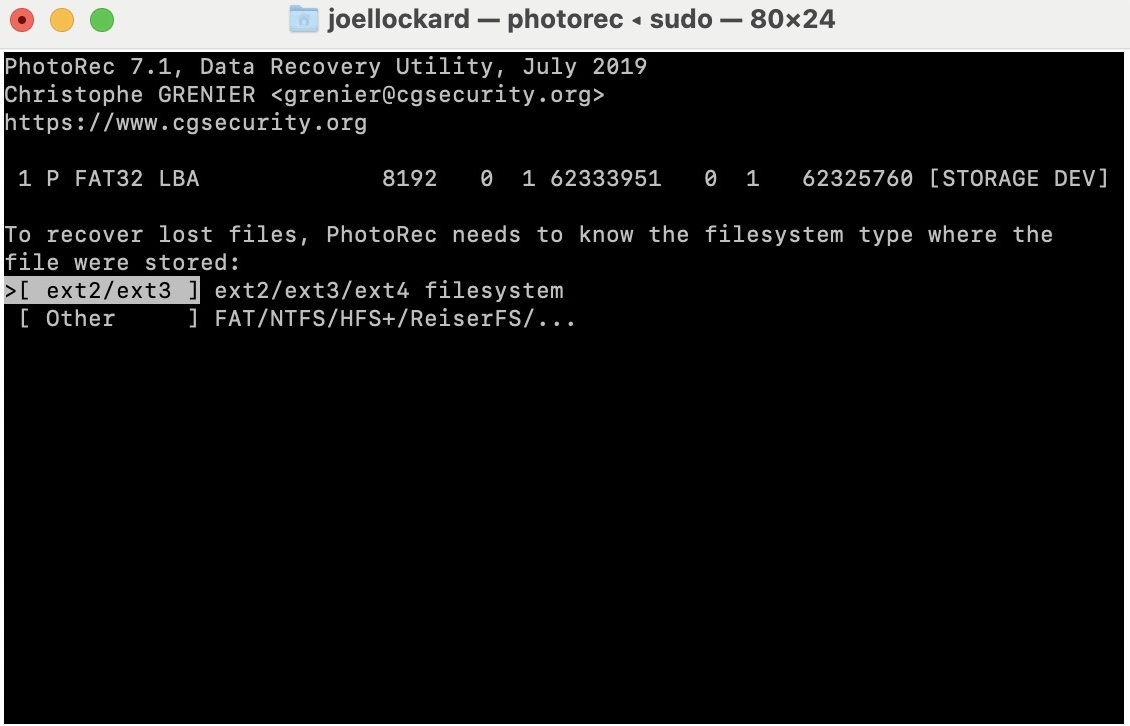
Step 3. To recover lost files, PhotoRec will need to know the file system type where the files were stored.
Step 4. Then choose if all of the space on the storage device needs to be analyzed or not. I would recommend choosing to scan the entire device.

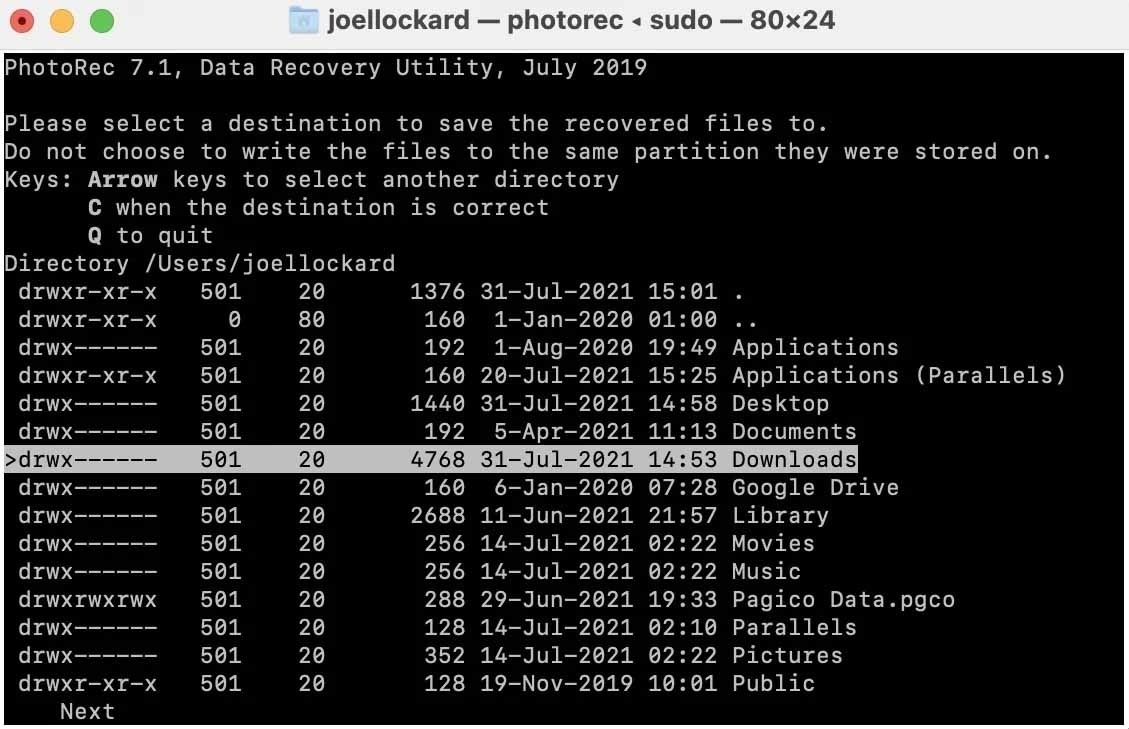
Step 5. Then choose a save location for the files that PhotoRec is able to recover.
Step 6. Wait for the scan process to complete.
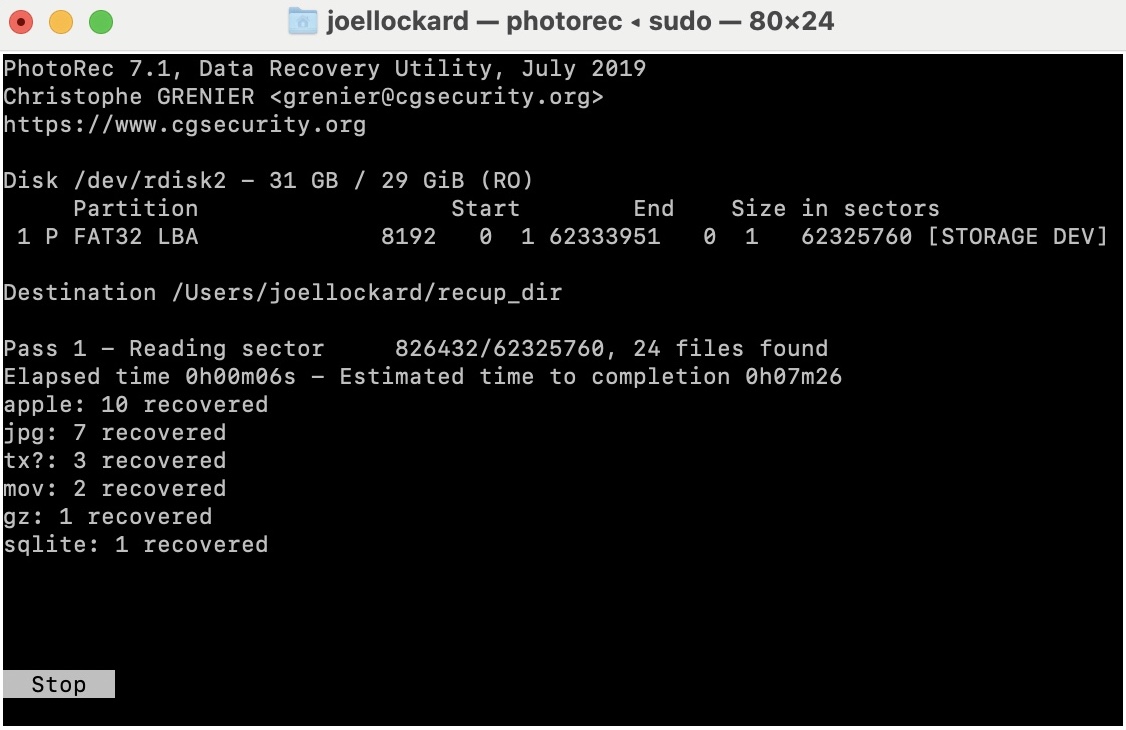
Step 7. The files that PhotoRec was able to recover will now be saved to the destination that you choose.
That’s it! I will admit, when I first went to use PhotoRec it seemed quite daunting at first but it’s actually a handy tool that is surprisingly easy to use. The best part about it is that it’s free! I would highly recommend using this option if you want to try something different.
Let’s next talk about what you can do if neither of these recovery methods worked for you.
Method 3: Data Recovery Service
If the recovery operation wasn’t successful, then it may be time to contact a professional to help you get your data as they may be the only ones left that would be able to get it. Don’t think that you did something wrong with the data recovery options above, it could be that there is physical damage to your storage device which is causing the data recovery software to not run correctly.
CleverFiles has a data recovery option that is worth reaching out to called Data Recovery Center. While this method isn’t a 100% for sure recovery method, it’s your best bet at a last attempt to get the data off of your storage device.
How to Repair Your CompactFlash Card
Now that we have recovered our data and it is safe, let’s use First Aid to repair our storage device and get it working correctly again.
Method 1: First Aid
First Aid is a repair utility that comes built into macOS. It’s great for trying to repairing storage devices such as a CompactFlash card. If we can repair it, this might allow for corrupted CompactFlash card data recovery to be possible.
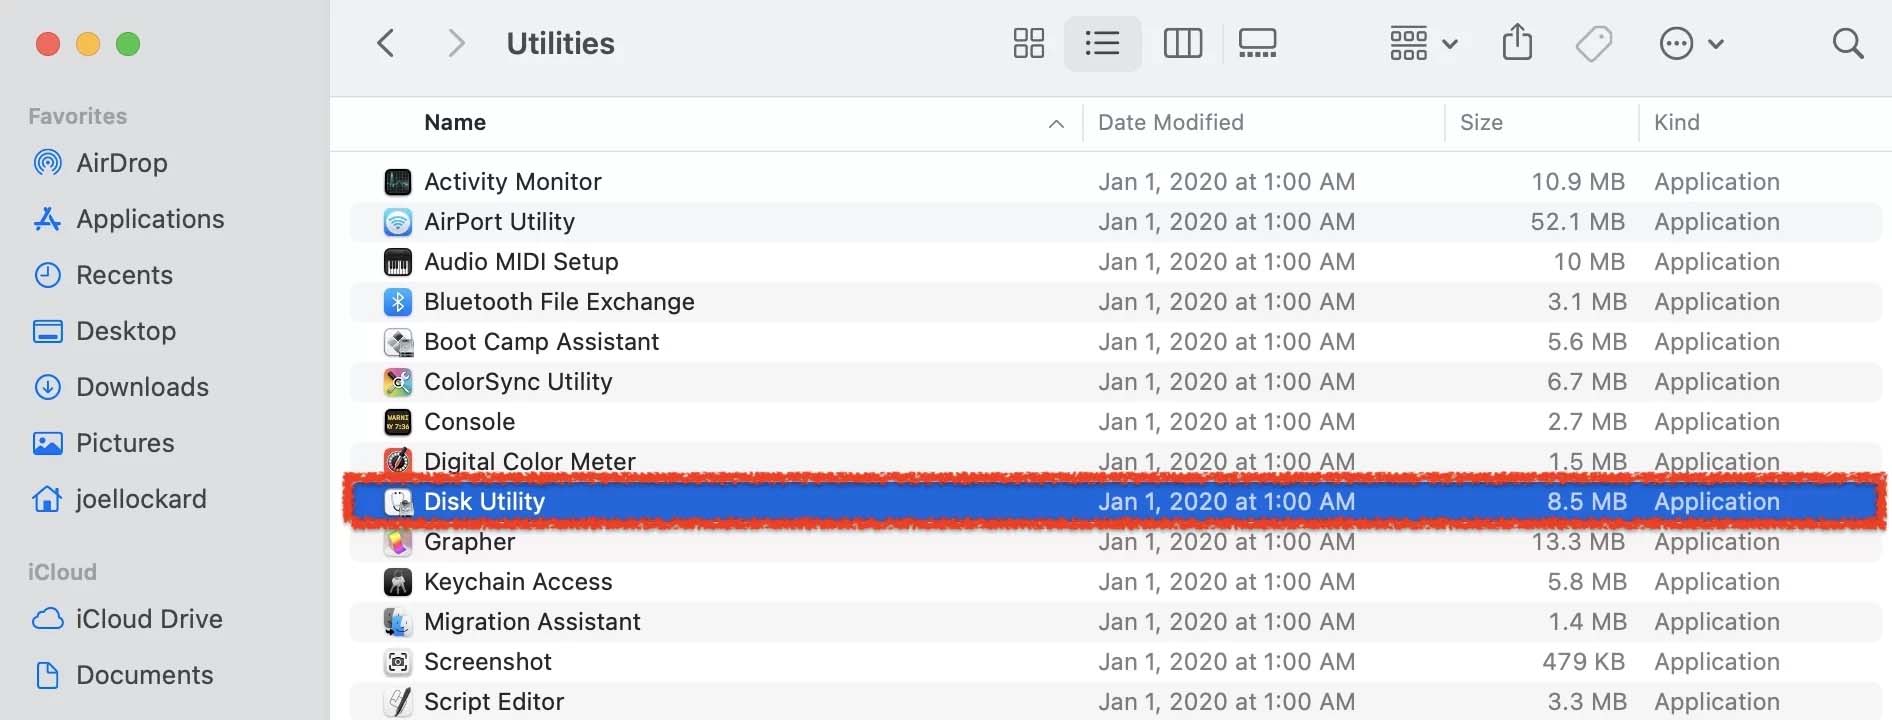
Step 1. Launch Disk Utility by going to the Applications folder and then the Utilities folder. After you’re within the Utilities folder, launch Disk Utility.
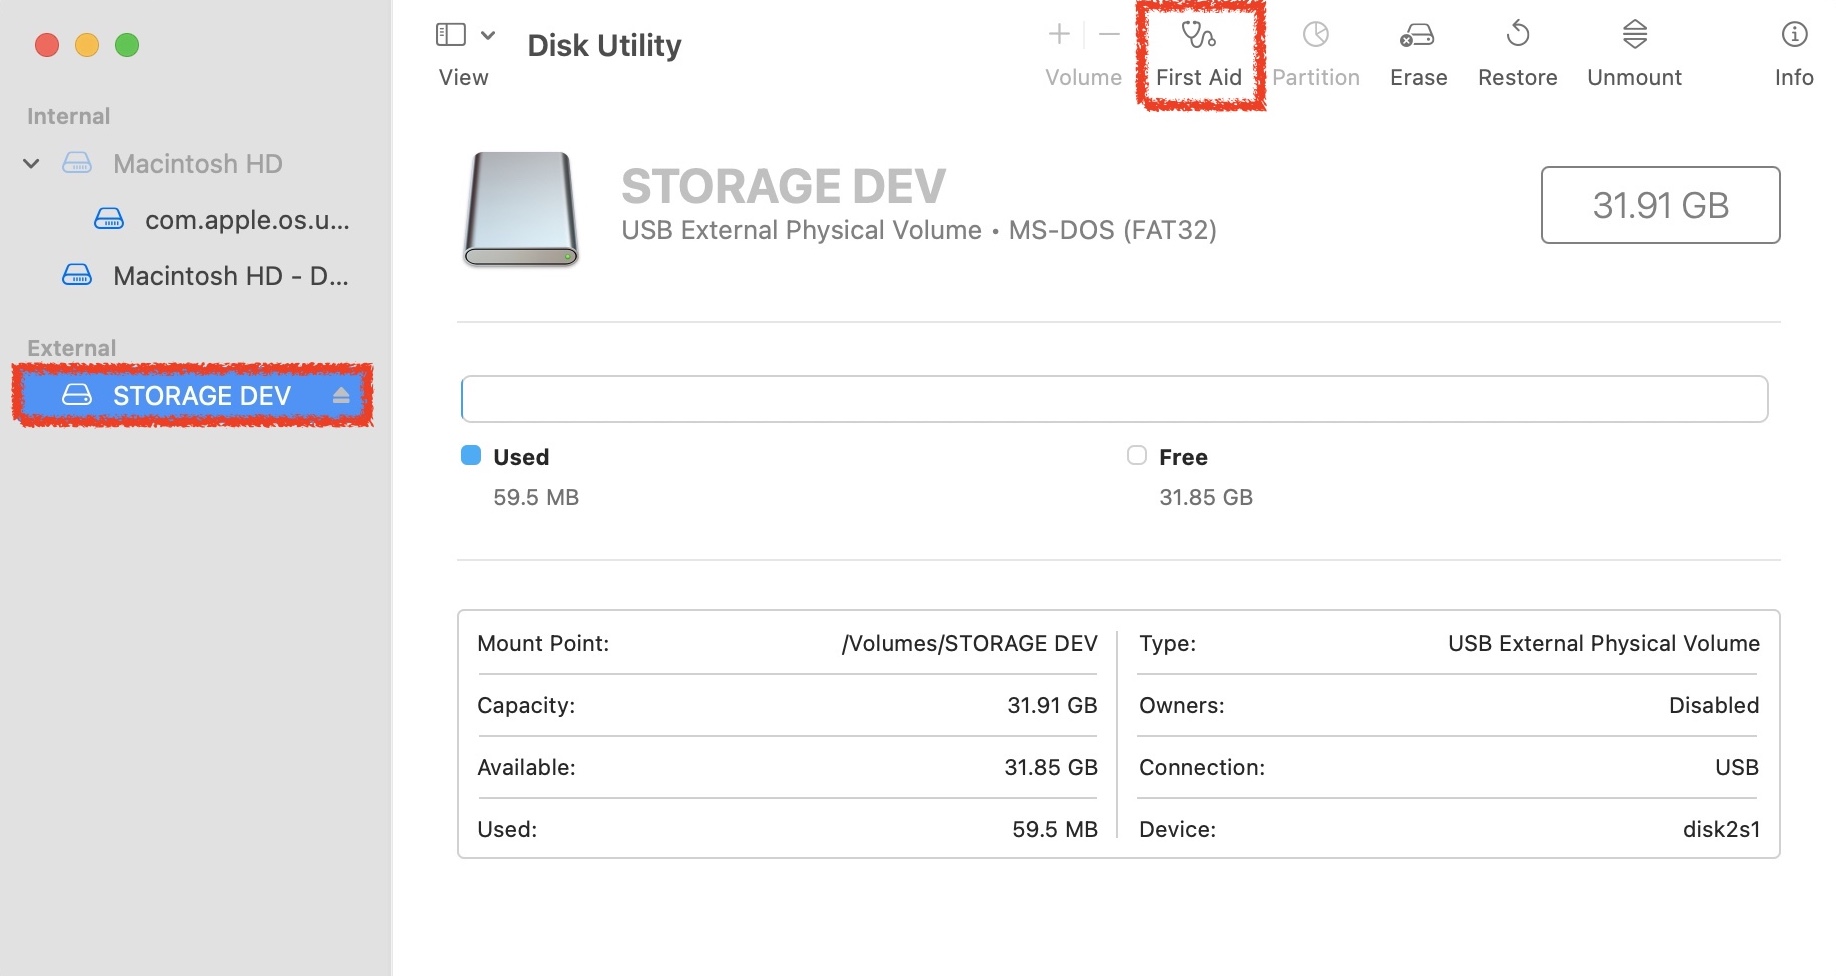
Step 2. Once you have launched Disk Utility, select your CompactFlash card and then click on First Aid.
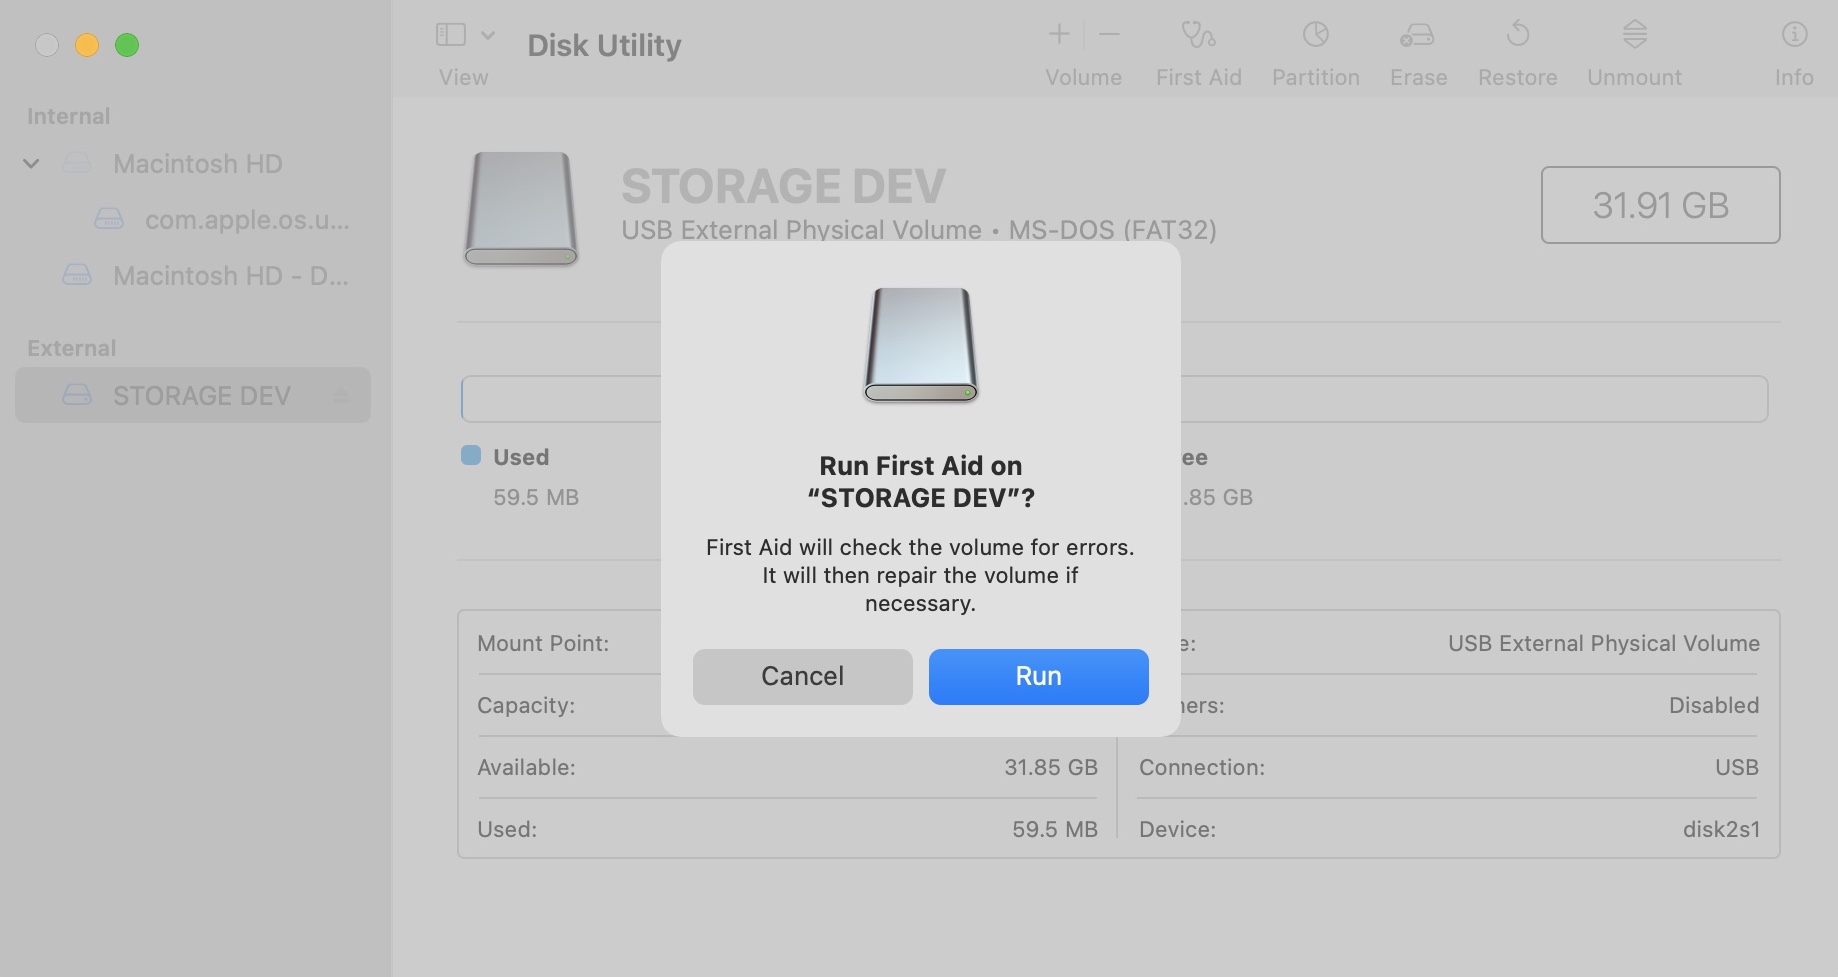
Step 3. Confirm that you want to run First Aid on your CompactFlash card.
Step 4. Wait for First Aid to complete.
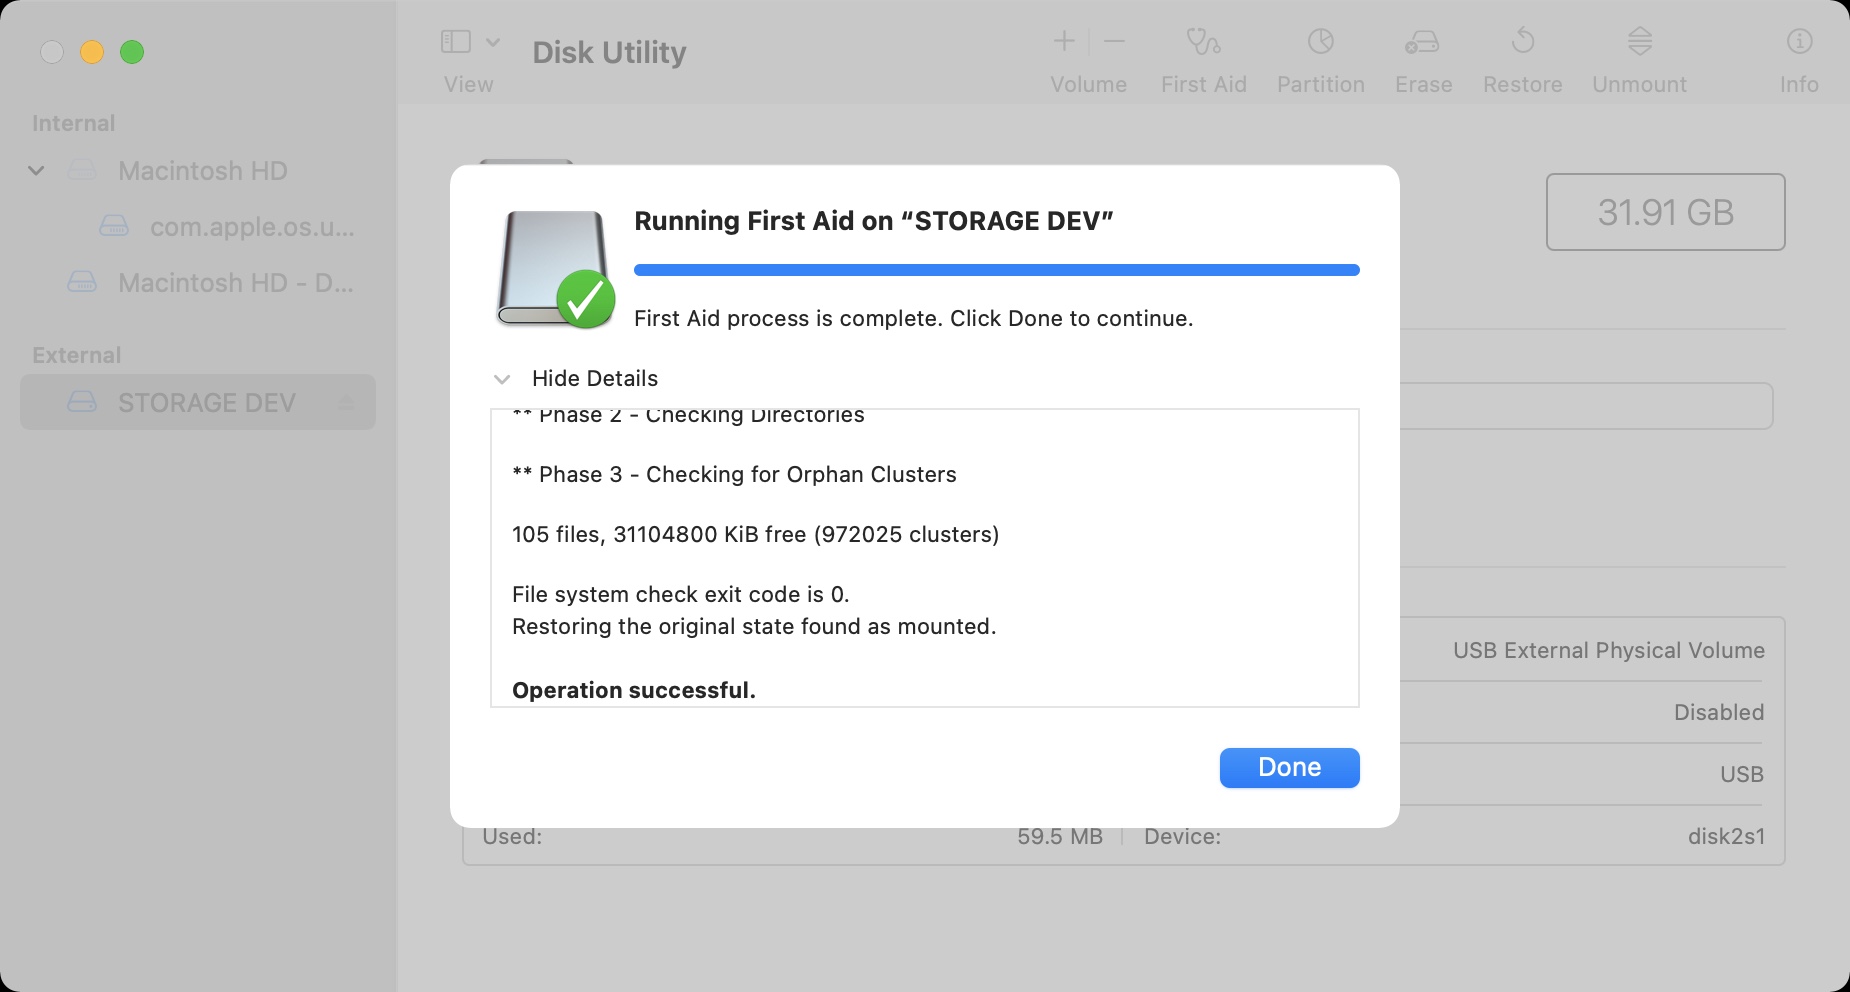
If you received an operation successful message, check your CompactFlash card and see if it is working normally now. If it’s not, then there might be something wrong in terms of hardware or software and and we can not look into formatting the card as a last resort.
Method 2: Formatting Your Compactflash Card
If none of the above options have worked, it might be time to format your CompactFlash card. Keep in mind, this will erase everything on it and make data recovery very hard if not impossible. If it works, you will lose all of your data but you will start with a new working CompactFlash card.
Step 1. Launch Disk Utility by going to the Applications folder and then the Utilities folder. After you’re within the Utilities folder, launch Disk Utility.
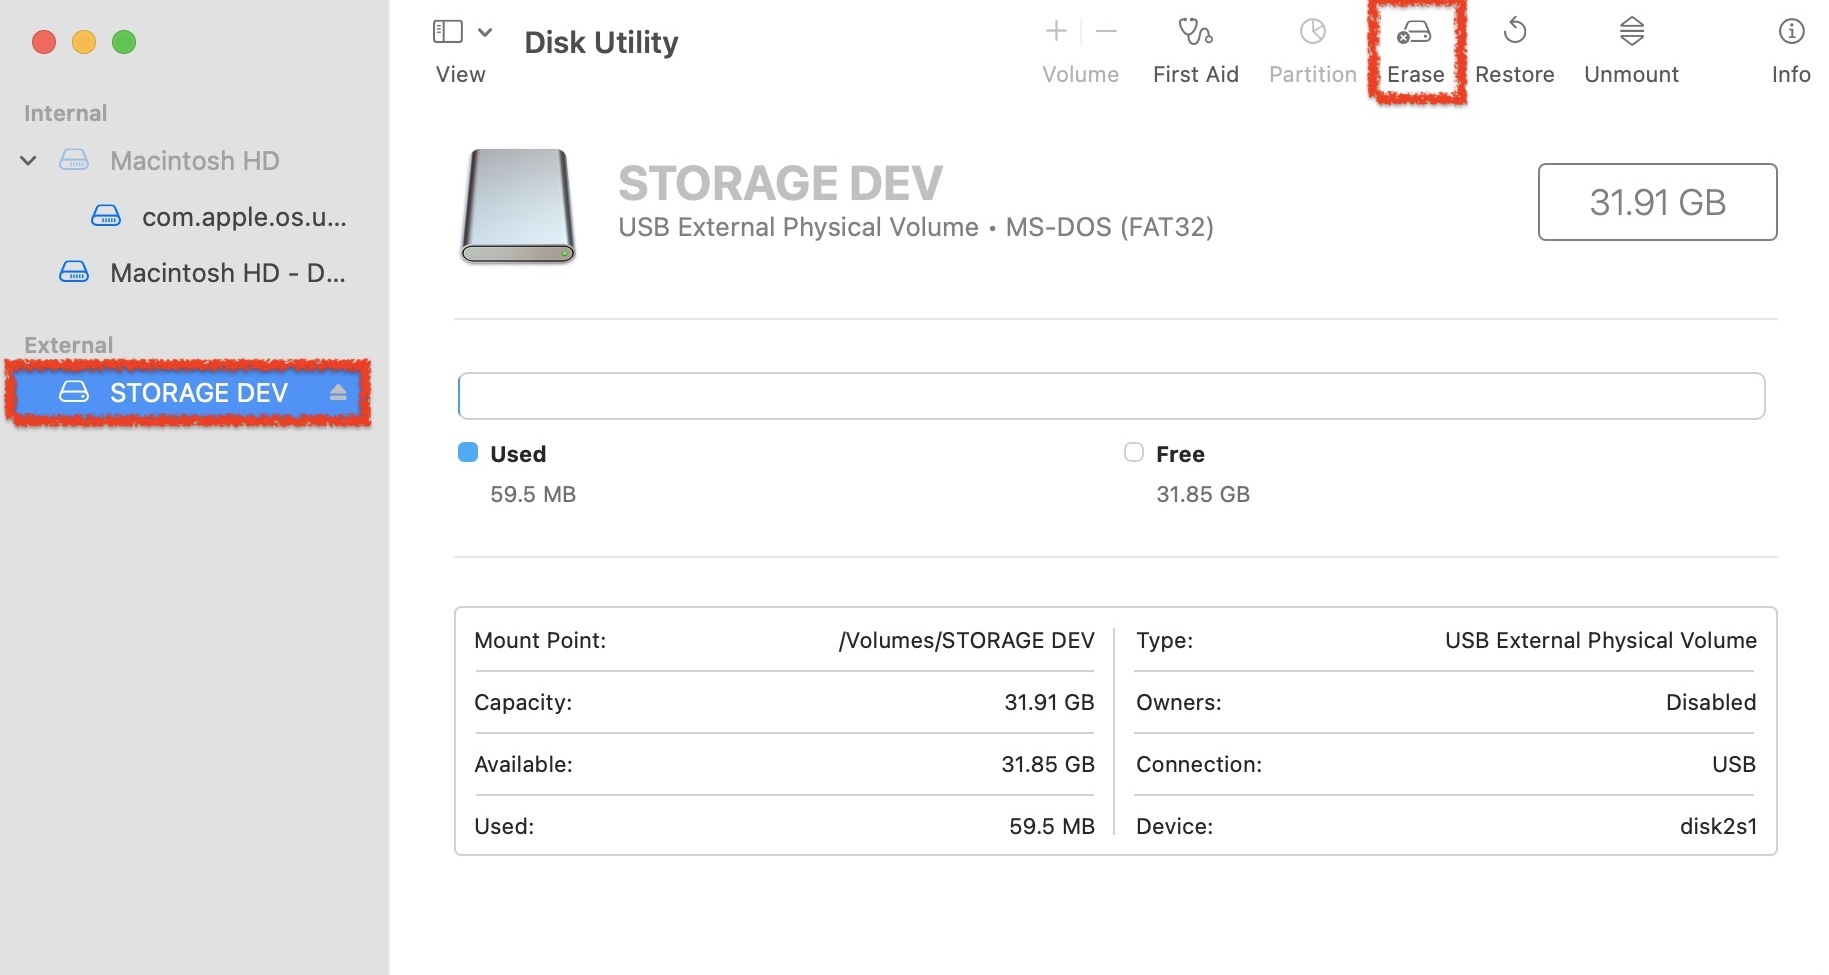
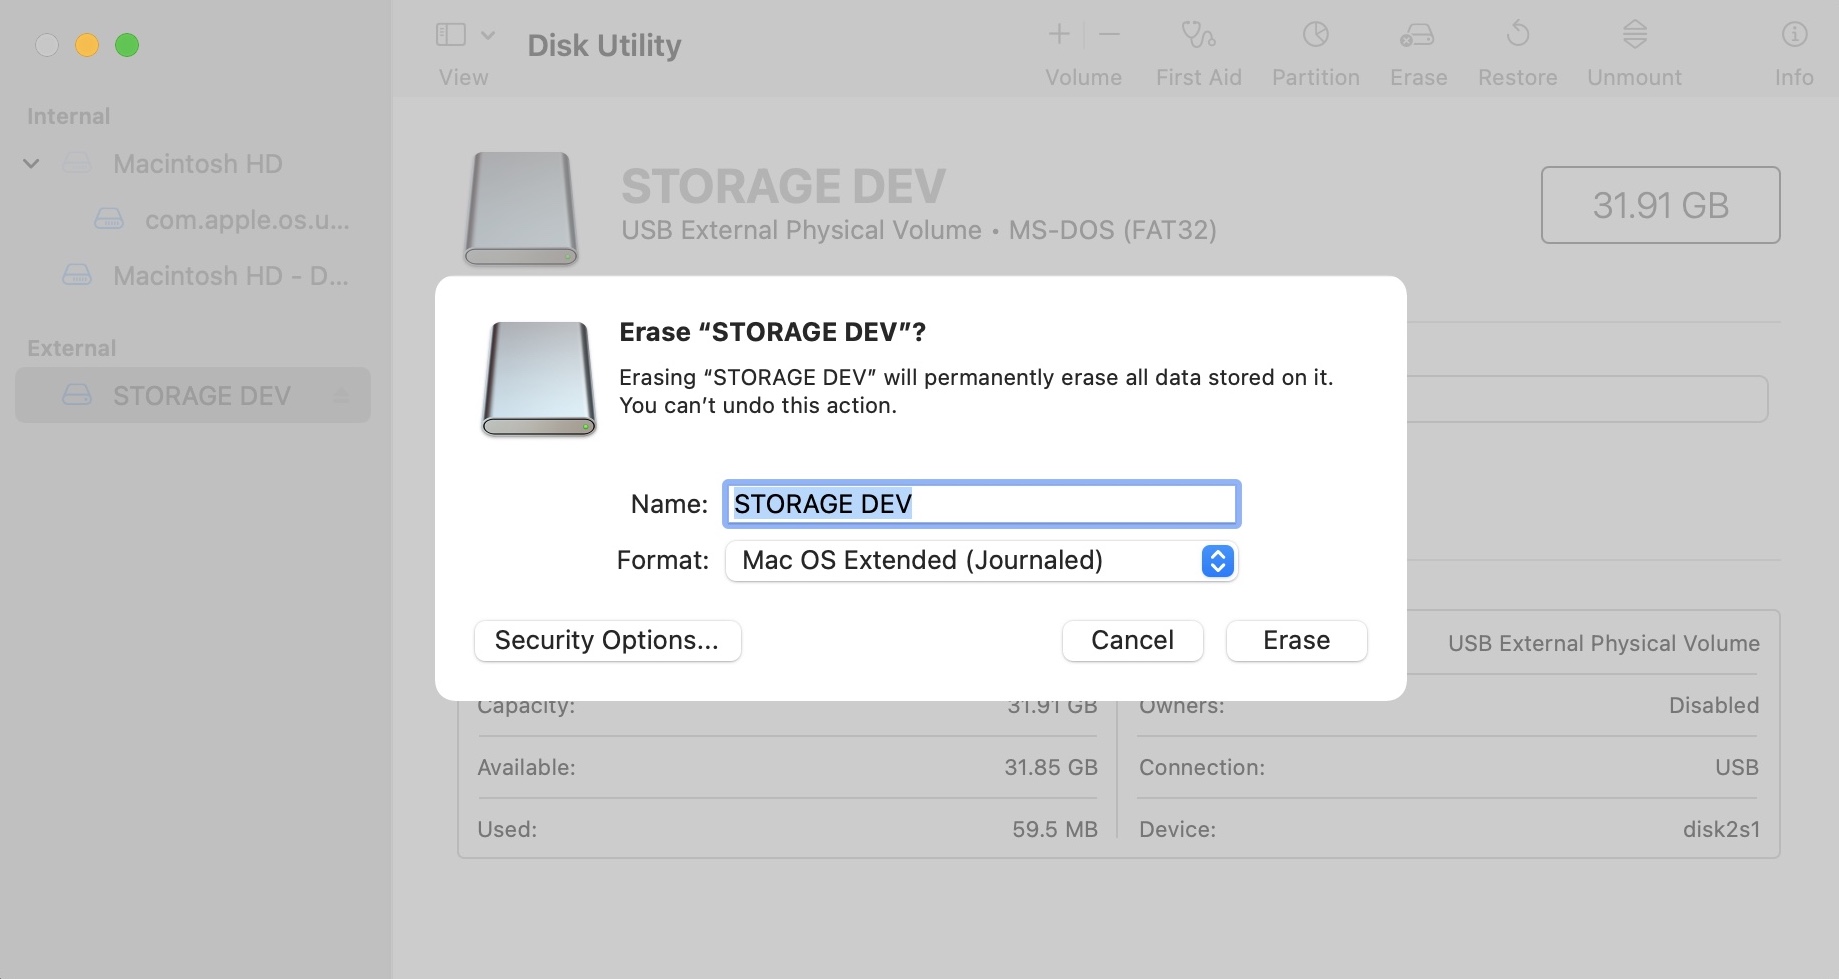
Step 2. Once within Disk Utility, choose your CompactFlash card from the list of devices on the left-hand side. Then, click on Erase.
Step 3. Format the CompactFlash card to the format that you would like to use. I choose MAC OS EXTENDED (Journaled) so that my Mac will be able to see the CompactFlash card. After you have chosen the format, select Erase.
That’s it! Hopefully, this method works and now your CompactFlash card is operating correctly. If this method didn’t work then purchasing a new CompactFlash card may be required. You can also take a look at another article where we talk about fixing corrupted storage devices on Mac if you would like to learn more about this topic.
Conclusion
Knowing how to recover data off of your CompactFlash card will allow you to get your pictures off of it should something happen to it. The skills that you have learned here don’t apply just to CompactFlash cards either. These methods will work on basically any storage device that you can plug into your Mac.
FAQ
- Restart your Mac
- Clean out your ports
- Use another card reader or computer (try both Windows and Mac if available)
Once your Mac can properly read your CF card, you can use data recovery software to restore your data.
- Your Mac currently lacks the resources to properly mount your CF card. Try rebooting.
- Your ports or card reader may be malfunctioning. Try other accessories or computers to isolate the issue.
- Your CF card is using a format that is incompatible with macOS. Try connecting it to a Windows computer.


