
Yosemite comes with a greatly overhauled Spotlight search feature…and a slightly improved Finder. And with each come some new features for getting things done.
Table of Contents
Get A File Preview In Every Finder Window
How can you learn more about a file in the Finder? You might already know about the Get Info window and Quick Look, but Yosemite provides a new way to get you the info you want: the Preview pane. This optional panel appears in every Finder window, and it gives you an at-a-glance overview of the selected file. Better still, it takes only a few seconds to set up.
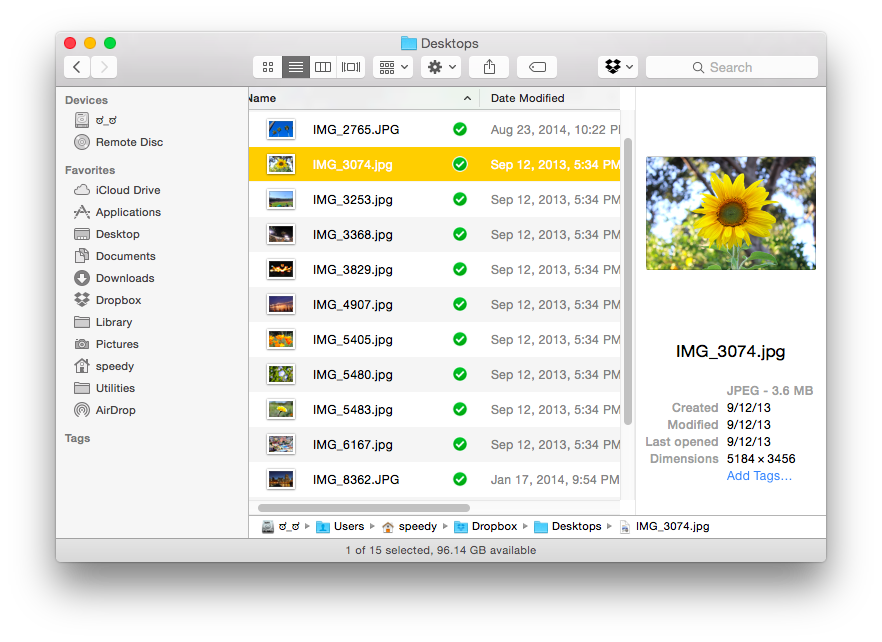
To start, open a new Finder window if you don’t have one open already—opening a folder or double-clicking your hard drive works. Next, pop open the View menu and select Show Preview: Just like that, you’ll get a preview pane in every Finder window that’ll give you the full filename, its size, and a few additional details about the file. You can also assign tags to the file with a couple clicks.
Quickly Rename Multiple Files
Yosemite’s Finder includes a rudimentary batch-rename feature that lets you modify the names of multiple files at once. This is useful if you want to append an event’s name to a batch of photos you took, for example.
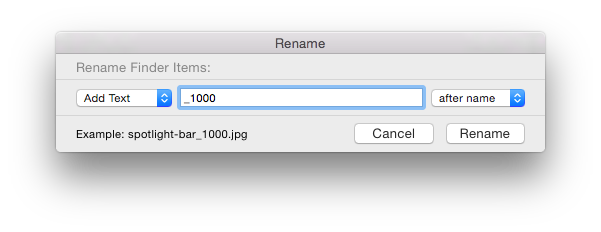
To use the tool, select the files you want to rename, then right-click or control-click the files. From the menu that appears, select Rename X files (where “X” is the number of items you selected). From here, you can add text to the files’ titles, replace a portion of their titles, or apply formatting to the filenames. Once you’re done, click Rename.
Show A File’s Path In Spotlight
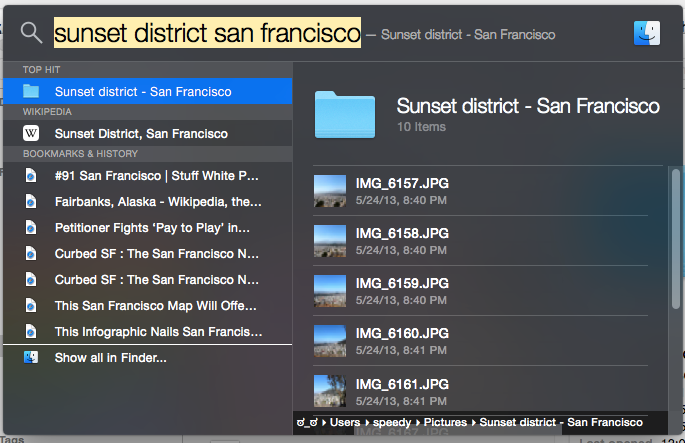
Where in the Finder is that file you just searched for? To find out, select the file in question in Spotlight, then hold down the Command key to see that file’s location on your system. Unfortunately, Spotlight doesn’t come with an option to always show the path bar.
Copy A File From Within Spotlight
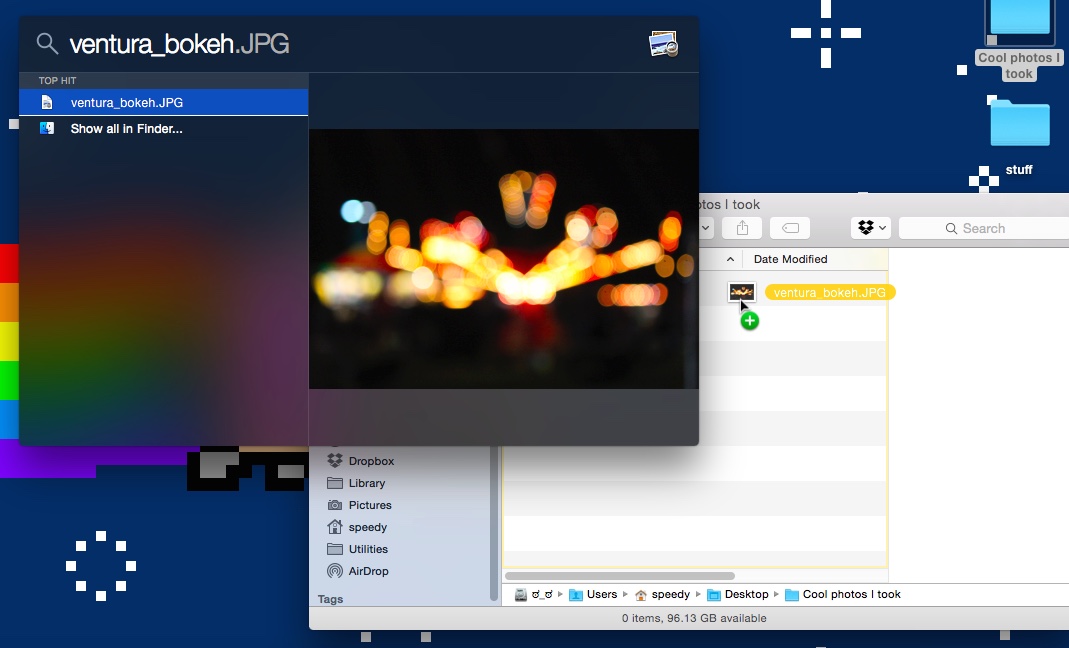
If you want to make a copy of file that you searched for using Spotlight, you don’t have to go back to the Finder to do the deed: Drag the file’s icon from the Spotlight window to wherever you want a copy of that file. It doesn’t appear as if you can move a file using this approach, however. (I have no idea if this feature is new, but I used it to tweet an image with Twitter’s Mac client.)
Change What Shows Up In Spotlight Results
It’s hardly a new feature, but it’s worth mentioning again: You can pick and choose what sort of results you get when you perform a Spotlight search—a useful feature if you want to exclude Web search results, for example, or don’t need to see your Mail messages in every search.
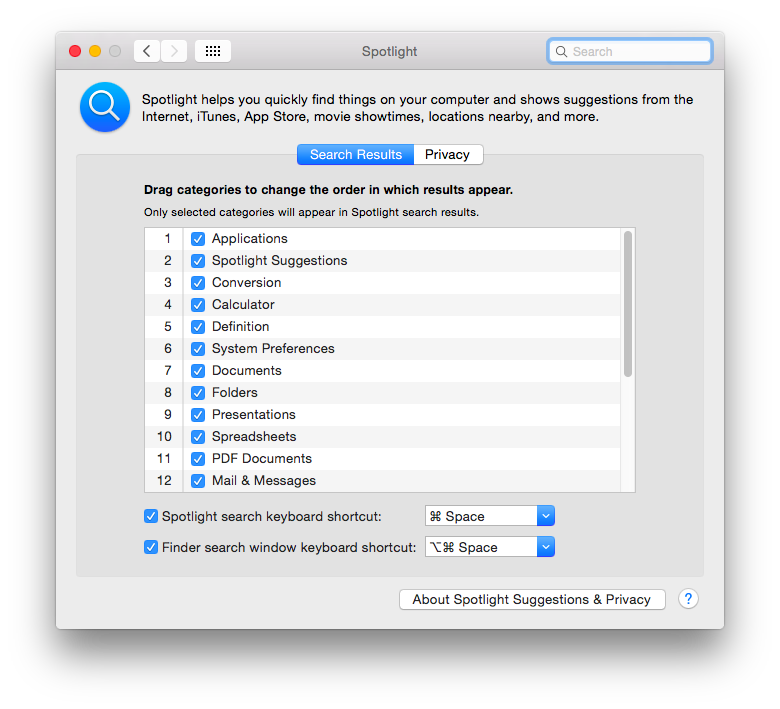
Go to System Preferences, then select Spotlight. Next, go to the Search Results tab (if you aren’t there already) and check or uncheck any of the items Spotlight can search for. You can also change the order in which search results appear by dragging them around the list.
If you’d like to prevent the contents of certain folders or drives from appearing in search results, head on over to the Privacy tab, and either drag a folder or disk in from the Finder or press the “+” button and go from there. Also, while you’re at it, click About Spotlight Suggestions & Privacy to read up on how Apple uses your search queries to pull up Web search or Maps results.


